
Checking Song Compatibility
Before setting a song as a ringtone on your iPhone 14, it's crucial to ensure that the song is compatible with the device's ringtone requirements. Here's how to check the song's compatibility:
-
Format Compatibility: The iPhone 14 supports specific audio file formats for ringtones, including M4R, MP3, and AAC. To check the format of your song, you can use a file explorer or music player that displays file information. Look for the file format to ensure it's compatible with the iPhone 14.
-
Duration: Ringtones on the iPhone 14 have a maximum duration limit. Typically, the recommended length for a ringtone is around 30 seconds. To check the duration of your song, you can use various media players or editing software that displays the song's length. If the song exceeds the recommended duration, you may need to trim it to the appropriate length.
-
Digital Rights Management (DRM): Some songs downloaded from music platforms may be protected by DRM, which can prevent them from being used as ringtones. To check for DRM protection, you can refer to the song's properties or information in your music library. If the song is DRM-protected, you may need to acquire a DRM-free version to use it as a ringtone.
-
Bitrate and Sample Rate: The iPhone 14 has specific requirements for the bitrate and sample rate of ringtones. To check the bitrate and sample rate of your song, you can use audio editing software or media players that provide detailed file information. Ensure that the song meets the recommended bitrate and sample rate for iPhone 14 ringtones.
By thoroughly checking the song's compatibility with the iPhone 14's ringtone requirements, you can ensure a seamless and successful process when converting and setting the song as your custom ringtone.
Converting the Song to a Ringtone
Once you have confirmed the compatibility of your chosen song with the iPhone 14's ringtone requirements, the next step is to convert the song into a suitable ringtone format. This process involves creating a custom clip of the song that will play when you receive a call or notification on your iPhone 14. Here's a detailed guide on how to convert your favorite song into a personalized ringtone:
1. Selecting the Segment
Begin by selecting the specific segment of the song that you want to use as your ringtone. This segment should ideally be captivating and easily recognizable, as it will be the snippet that plays whenever you receive a call. Consider choosing a catchy chorus, a memorable guitar riff, or any part of the song that resonates with you.
2. Editing the Duration
Using audio editing software or a dedicated ringtone maker app, trim the selected segment to ensure that it meets the iPhone 14's ringtone duration limit, typically around 30 seconds. This step is crucial as it allows you to focus on the most impactful part of the song, creating a concise and attention-grabbing ringtone.
3. Adjusting the Volume Levels
To ensure that your ringtone is neither too soft nor too loud, consider adjusting the volume levels of the selected segment. This step can be performed using audio editing tools to optimize the sound quality and ensure that the ringtone plays at an appropriate volume when activated on your iPhone 14.
4. File Conversion
Once the segment has been edited and refined, convert the audio file into the M4R format, which is the standard ringtone format for iPhones, including the iPhone 14. There are various online converters and software programs available that can facilitate this conversion process, allowing you to transform your edited segment into a compatible ringtone file.
5. Transferring to iPhone 14
After obtaining the M4R file, transfer it to your iPhone 14 using methods such as iTunes, iCloud, or third-party file transfer applications. Ensure that the ringtone is placed in the designated folder for custom ringtones on your device, enabling it to be easily accessible for setting as your personalized ringtone.
By following these steps, you can effectively convert your favorite song into a unique and personalized ringtone for your iPhone 14. This process allows you to infuse your device with a touch of individuality, as the custom ringtone reflects your musical preferences and personal style.
Setting the Ringtone on iPhone 14
Once you have successfully converted your favorite song into a custom ringtone, the final step involves setting it as the default ringtone or assigning it to specific contacts on your iPhone 14. This process allows you to personalize your device further and add a touch of individuality to your incoming call and notification alerts. Here's a comprehensive guide on how to set the custom ringtone on your iPhone 14:
1. Accessing Settings
Begin by unlocking your iPhone 14 and navigating to the "Settings" app, which is represented by the gear icon on your home screen. Tap on the "Settings" icon to access the device's settings menu, where you can customize various aspects of your iPhone's functionality.
2. Selecting Sounds & Haptics
Within the "Settings" menu, locate and tap on the "Sounds & Haptics" option. This section allows you to manage the sound and vibration settings for different events and notifications on your iPhone 14, including the default ringtone, text tone, and other alert sounds.
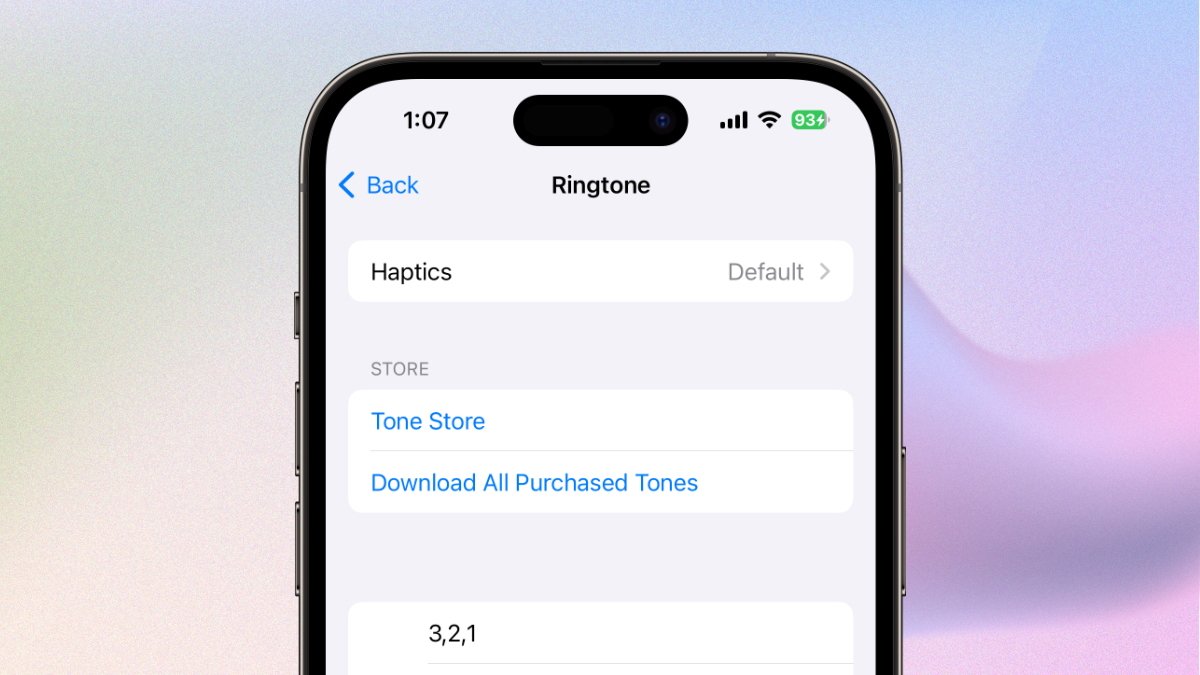
3. Choosing the Default Ringtone
Under the "Sounds and Vibration Patterns" section, tap on "Ringtone." Here, you will find a list of pre-installed ringtones as well as any custom ringtones that you have added to your iPhone 14. Scroll through the available options to locate your custom ringtone, which will be displayed with its assigned title.
4. Assigning to Specific Contacts
If you wish to assign the custom ringtone to specific contacts, you can do so by accessing the "Contacts" app on your iPhone 14. Select the contact for whom you want to set the custom ringtone, tap on "Edit," and then choose "Ringtone" to assign the personalized sound to that particular contact.
5. Verifying the Selection
After selecting your custom ringtone as the default or assigning it to specific contacts, it's essential to verify the changes. You can do this by asking a friend or family member to call your iPhone 14, allowing you to hear the custom ringtone in action and confirm that it has been successfully set.
By following these steps, you can seamlessly integrate your custom ringtone into your iPhone 14's settings, ensuring that it reflects your personal style and preferences. Whether you opt for a catchy melody, a memorable lyric, or an instrumental riff, setting a custom ringtone on your iPhone 14 allows you to infuse your device with a touch of individuality and musical flair.