
Why Wrap Text in Google Slides?
When creating presentations in Google Slides, effective and visually appealing text formatting is essential. One important aspect of text formatting is wrapping the text, which means adjusting the way text flows within a text box or shape. Wrapping text allows you to control the placement and arrangement of text to fit it seamlessly into your slides, improving readability and overall design. Here are some key reasons why wrapping text in Google Slides is important:
- Enhanced Readability: Wrapping text ensures that it is displayed in a way that is easy to read and understand. By avoiding long, uninterrupted lines of text, you can prevent strain on the audience’s eyes and make the content more accessible.
- Improved Visual Appeal: Wrapping text allows you to create visually attractive slides by adjusting the text placement. With proper wrapping, you can align text with other graphics, images, or shapes to create a cohesive and visually appealing layout.
- Optimized Space Utilization: Properly wrapped text helps make the most of the available slide space. By adjusting the size and position of text boxes, you can ensure that your content fits within the slide’s dimensions without wasting space or overcrowding the slide.
- Emphasis on Key Points: When text is wrapped effectively, you can highlight important or key points by bolding, italicizing, changing the font size, or using other formatting options. This makes it easier for the audience to identify and retain critical information from your presentation.
- Consistent Design: Wrapping text ensures uniformity throughout your presentation, maintaining a consistent design aesthetic. By aligning text elements with other visual elements, you can create a seamless and professional-looking presentation.
Overall, wrapping text in Google Slides enhances the visual appeal, readability, and organization of your presentation. It allows you to effectively communicate your message and engage your audience by presenting content in a clear and visually appealing manner.
Method 1: Using a Text Box
One of the simplest ways to wrap text in Google Slides is by using a text box. Follow these simple steps:
- Select the slide where you want to add the text box.
- Click on the “Text box” icon in the toolbar. It looks like a “T” inside a square.
- Click and drag on the slide to create the text box. Adjust the size and position according to your preference.
- Type or paste the desired text into the text box.
Once you have added the text to the text box, you can customize its appearance and wrapping options:
- Resize the Text Box: Hover your cursor over the corners or sides of the text box until you see a double-headed arrow. Click and drag to resize the text box to fit your text.
- Adjust Text Alignment: With the text box selected, use the text alignment options in the toolbar to align the text within the text box. You can choose left, right, center, or justified alignment.
- Change Text Font and Style: Highlight the text within the text box and use the toolbar options to change the font, font size, font color, and apply bold, italic, or underline formatting.
- Wrap Text: Google Slides automatically wraps text within the text box based on its size. If the text extends beyond the boundaries of the text box, it will be wrapped to the next line. You can adjust the size of the text box or modify the text content to achieve the desired text wrapping.
Using a text box in Google Slides provides you with flexibility and control over text placement and wrapping. Experiment with different text box sizes and alignments to optimize the visual appearance of your presentation.
Method 2: Adjusting the Size of the Text Box
Another way to wrap text in Google Slides is by adjusting the size of the text box. Here’s how you can do it:
- Select the text box that contains the text you want to wrap.
- Click and drag on any of the corners or sides of the text box to resize it. Make it larger or smaller as needed.
By resizing the text box, you can control how much space is available for the text to wrap within. Here are some tips to consider when adjusting the size of the text box:
- Avoid Overcrowding: Make sure not to resize the text box too small, as this can result in overcrowded text or truncated words. Ensure that there is enough room for the text to wrap naturally and maintain legibility.
- Allow for Breathing Space: Leave some empty space around the text within the text box. This will create a more visually appealing layout and improve readability.
- Test on Different Devices: Keep in mind that the size and resolution of screens can vary on different devices. Test your presentation on different screen sizes to ensure that the text wrapping is effective and readable across all devices.
Remember that resizing the text box may require you to adjust other elements on the slide, such as images or other text boxes, to maintain a balanced and visually pleasing layout.
Experiment with different sizes for the text box until you achieve the desired text wrapping effect. By adjusting the size of the text box, you can create a visually appealing presentation where the text fits nicely within each slide.
Method 3: Using the Line Spacing Tool
An effective method for wrapping text in Google Slides is by using the line spacing tool. This tool allows you to adjust the vertical space between lines of text, which can aid in text wrapping and improve readability. Here’s how you can use the line spacing tool:
- Select the text that you want to wrap or adjust the line spacing for.
- Click on the “Line spacing” icon in the toolbar. It resembles three horizontal lines with arrows pointing up and down.
- In the drop-down menu, choose the desired line spacing option. You can select single, 1.5 lines, double, or customize the line spacing.
By adjusting the line spacing, you can control how closely or widely the lines of text are spaced, allowing for better text wrapping. Here are a few tips to consider when using the line spacing tool:
- Don’t Overdo It: While adjusting the line spacing can aid in text wrapping, be cautious not to make the lines too close together or too far apart. Strive for a spacing that strikes a balance between readability and efficient use of space.
- Consider the Font Size: Larger fonts may require slightly more line spacing compared to smaller fonts to ensure clear visibility and readability.
- Use Consistency: Maintain a consistent line spacing throughout your presentation to create a cohesive and polished look. Inconsistent line spacing can be distracting and make the text appear disjointed.
Experiment with different line spacing options to find the right balance for your text wrapping needs. By using the line spacing tool, you can enhance the readability and overall appearance of your Google Slides presentation.
Method 4: Adjusting the Columns
An effective way to wrap text in Google Slides is by adjusting the columns. By dividing the slide content into multiple columns, you can better control the placement and wrapping of text. Here’s how you can adjust the columns:
- Select the text box or shape that contains the text you want to wrap.
- Click on the “Columns” icon in the toolbar. It resembles two lines with an arrow pointing between them.
- In the drop-down menu, choose the number of columns you want to divide the text into. You can select two, three, or more columns.
Once you have adjusted the columns, you can customize the text within each column for better text wrapping. Here are a few tips when using the column feature:
- Distribute Content Evenly: When dividing the text into multiple columns, ensure that the content is distributed evenly across each column. This will create a balanced and visually appealing layout.
- Consider the Text Length: Be mindful of the length of the text and the number of columns selected. If the text is too long for the selected number of columns, it may result in awkward wrapping or overcrowded columns. Adjust the number of columns accordingly or modify the text content.
- Experiment with Column Width: You can further refine the text wrapping by adjusting the width of each column. Click and drag the column dividers to resize the width of each column as needed.
Using the column feature in Google Slides provides you with more flexibility in controlling the text wrapping within your presentation. It allows you to create visually appealing slides by organizing text into columns that fit harmoniously within the slide’s layout.
Method 5: Using Tables
Another effective method for wrapping text in Google Slides is by using tables. Tables provide a structured layout that allows for precise alignment and control over text wrapping. Here’s how you can use tables to wrap text:
- Click on the “Table” icon in the toolbar. It resembles a grid with squares.
- Select the number of rows and columns for your table by dragging the cursor over the grid.
- Once the table is created, click inside a cell and enter the text you want to wrap.
After adding the text to the table, you can customize the table and adjust the text wrapping options:
- Resize Table: Click and drag the table borders to resize the width and height of the table. Ensure that the table dimensions accommodate the text without overcrowding or unnecessary empty cells.
- Merge and Split Cells: Right-click on a cell or group of cells to access the merge and split options. Merging cells can help create larger areas for text wrapping, while splitting cells can allow for more precise control over text placement.
- Adjust Text Alignment: Use the text alignment options in the toolbar to align the content within each cell. You can choose left, right, center, or justified alignment.
Tables are particularly useful when dealing with large amounts of text or when you need to organize information into a structured format. By using tables, you can achieve clean and organized text wrapping that enhances both readability and aesthetics in your Google Slides presentation.
Method 6: Using the Fit Text Function
In Google Slides, there is a convenient feature called “Fit Text” that automatically adjusts the font size to fit the text within a given text box. This can be a useful method for wrapping text without having to manually resize text boxes or adjust line spacing. Here’s how you can use the Fit Text function:
- Select the text box that contains the text you want to wrap.
- Click on the “Font size” drop-down menu in the toolbar.
- Choose the “Fit text” option from the menu.
Once you enable the Fit Text function, Google Slides will automatically adjust the font size to fit your text within the text box based on its dimensions. Here are a few important things to keep in mind:
- Text Box Size: Ensure that your text box is appropriately sized to accommodate the text. If the text box is too small, the font size may become excessively small, making it difficult to read.
- Font Scaling: The Fit Text function will scale the font size uniformly. This means that longer lines may have a smaller font size compared to shorter lines in the same text box.
- Review and Adjust: After applying the Fit Text function, preview the results to ensure that the text remains legible. If needed, you can manually edit the font size to restore readability.
The Fit Text function can be particularly useful when you have variable amounts of text that need to be wrapped within a specific text box. By automatically adjusting the font size, it helps maintain a clean and organized text layout and improves the overall aesthetics of your Google Slides presentation.
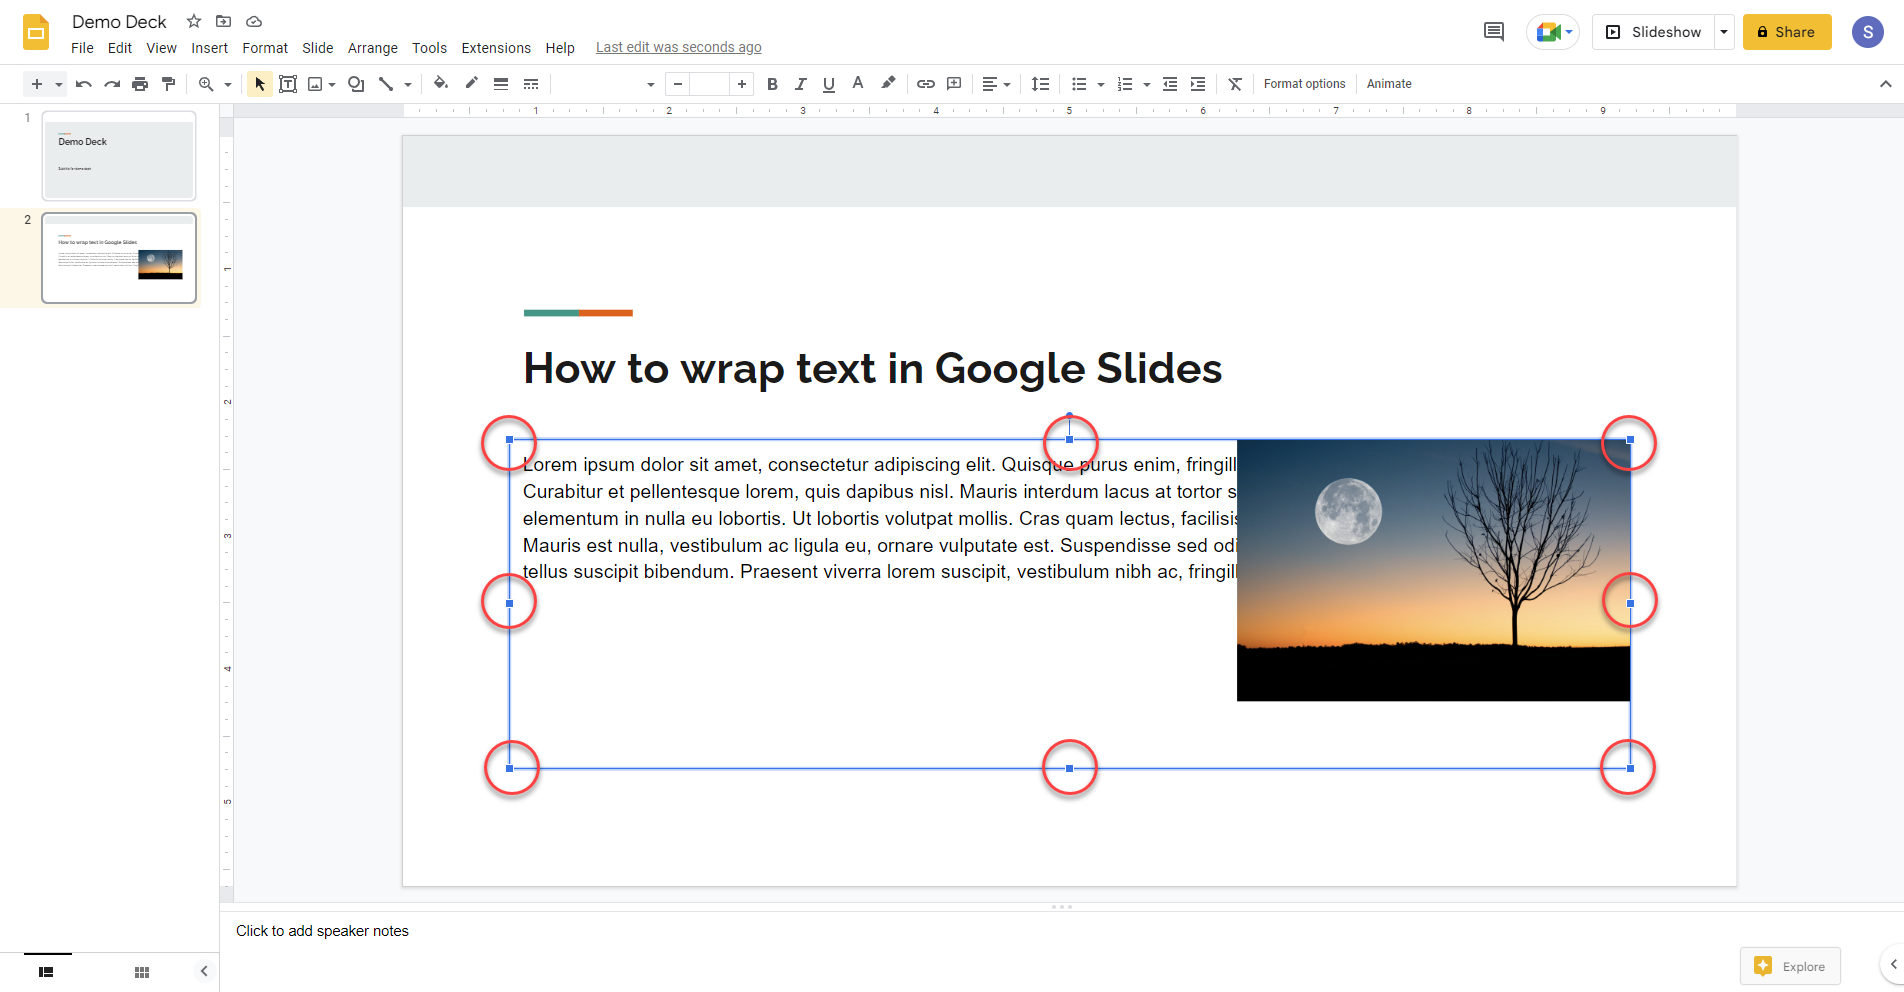
Method 7: Inserting Text over Images
A creative and visually appealing way to wrap text in Google Slides is by inserting text directly over images. This method allows you to integrate text and visuals seamlessly, enhancing the overall impact of your presentation. Here’s how you can insert text over images:
- Select the slide where you want to insert the image and text.
- Click on the “Insert” tab in the toolbar and select “Image.”
- Choose the image you want to insert from your computer or from the web.
- After inserting the image, click on it to select it.
- Click on the “Text Box” icon in the toolbar and draw a text box on top of the image.
- Type or paste the desired text into the text box.
Once you have inserted the text over the image, you can further customize the appearance and wrapping options:
- Text Formatting: Use the toolbar options to format the font, size, color, and other styling elements of the text.
- Text Box Positioning: Resize and reposition the text box to fit the desired portion of the image. Click and drag the text box handles to adjust its size, and click within the text box to reposition it.
- Contrast and Visibility: Consider the contrast between the text color and the underlying image to ensure legibility. Adjust the text color or add an overlay to the image if needed.
By inserting text over images, you can create visually impactful slides that combine the power of words with captivating visuals. Be mindful of the placement and styling of the text to ensure that it enhances the image and maintains readability for your audience.
Method 8: Adjusting the Margin and Padding
Another effective method for wrapping text in Google Slides is by adjusting the margins and padding of text boxes. The margin refers to the space between the text box and the edge of the slide, while the padding refers to the space between the text and the text box’s boundaries. By adjusting these settings, you can control how the text wraps and visually aligns within the text box. Here’s how you can do it:
- Select the text box that contains the text you want to wrap.
- Click on the “Format options” icon in the toolbar. It looks like a paint roller.
- In the sidebar that appears, adjust the margin and padding values by clicking and dragging the sliders or entering specific values.
When adjusting the margin and padding, consider the following tips:
- Margin: Increasing the margin value will create more space between the text box’s edge and the slide’s edge. This can provide room for the text to wrap without getting too close to the slide’s boundaries.
- Padding: Adjusting the padding value affects the space between the text and the text box’s boundaries. A larger padding value will create more space, allowing for better text wrapping and enhancing readability.
- Balancing Margins and Padding: Find a balance between the margin and padding settings to create a visually pleasing and well-wrapped text. Pay attention to the overall aesthetics of your slide while ensuring that the text remains legible.
By fine-tuning the margins and padding, you can optimize the wrapping and alignment of text within text boxes in Google Slides. Experiment with different settings to find the perfect balance that suits your presentation design and enhances the readability of your text.
Method 9: Using the Word Art Feature
One creative and flexible method for wrapping text in Google Slides is by utilizing the Word Art feature. Word Art allows you to apply various artistic and decorative styles to your text, helping you achieve unique and visually appealing text wrapping effects. Here’s how you can use the Word Art feature:
- Select the text box or shape that contains the text you want to wrap.
- Click on the “Insert” tab in the toolbar and select “Word Art.”
- Choose the desired Word Art style from the gallery of options.
- Type or paste the text into the Word Art box.
After inserting the Word Art, you can further customize and adjust the text wrapping options:
- Edit the Text: Double-click on the Word Art object to access the editing options. Modify the text, change the font, adjust the size, and apply various styling effects as desired.
- Resize and Reposition: Click and drag the edges of the Word Art object to resize it. Move the object around the slide to control the placement of the text and wrap it in an aesthetically pleasing manner.
- Formatting Options: Experiment with additional formatting options, such as adding shadows, gradients, or outlines to the Word Art. These visual enhancements can further enhance the text wrapping effect.
The Word Art feature offers endless possibilities for creative text wrapping in Google Slides. Use it to make your text stand out, engage your audience, and add a touch of artistic flair to your presentation.
Method 10: Manipulating the Text Position
To achieve precise and customized text wrapping in Google Slides, you can manipulate the position of the text. By adjusting the alignment and placement of the text within a text box or shape, you can create unique and visually appealing text wrapping effects. Here’s how you can manipulate the text position:
- Select the text box or shape that contains the text you want to wrap.
- Click on the “Text alignment” icon in the toolbar. It resembles a series of lines, arrows, or boxes.
- Choose the desired alignment option that best suits your text wrapping needs. You can align the text to the left, right, center, or justify it.
Once you have adjusted the text alignment, you can further customize the text position:
- Text Box Adjustments: Click and drag the text box handles to resize it and create unique text wrapping shapes. Experiment with different text box shapes to add visual interest and variety to your presentation.
- Layering and Overlapping: Arrange multiple text boxes or shapes on top of each other to create layered text wrapping effects. Overlapping text elements can enhance visual impact and give your presentation a dynamic look.
- Path Animation: Use the “Animate” feature to apply motion paths to your text, guiding it along a predefined path. This method can create engaging and interactive text wrapping effects during slide transitions.
By manipulating the text position, you can achieve unique and customized text wrapping effects that align with your creative vision. Experiment with different text alignments, box shapes, and animation options to create visually captivating text wrapping in your Google Slides presentation.