
Understanding iPhone 12 Ringtone Format
When it comes to personalizing your iPhone 12, custom ringtones are a fantastic way to add a touch of individuality. Understanding the ringtone format compatible with the iPhone 12 is crucial for creating and using custom ringtones effectively.
The iPhone 12 supports two primary ringtone formats: M4R and MP3. The M4R format is specifically designed for iPhone ringtones and is the recommended format for creating custom ringtones. This format ensures compatibility and optimal performance on the iPhone 12.
MP3 files, while widely used for audio, require conversion to the M4R format before they can be used as ringtones on the iPhone 12. This conversion process involves changing the file extension and adjusting the file properties to meet the specific requirements of iPhone ringtones.
It's important to note that the iPhone 12 has certain limitations when it comes to ringtone length and file size. For standard ringtones, the recommended length is between 15 to 30 seconds, ensuring that the ringtone doesn't become too lengthy or intrusive. Additionally, the file size should not exceed 2MB to maintain optimal performance and storage efficiency on the device.
Understanding the iPhone 12 ringtone format empowers users to select and prepare audio files that are compatible with the device's specifications. This knowledge sets the foundation for creating custom ringtones that seamlessly integrate with the iPhone 12's functionality and enhance the overall user experience.
Choosing and Preparing Audio Files for Ringtones
Selecting the right audio file is the first step in creating a custom ringtone for your iPhone 12. When choosing an audio file, it's essential to consider the format, length, and quality to ensure compatibility and a pleasant listening experience.
Format Compatibility
The iPhone 12 supports M4R and MP3 formats for ringtones. While M4R is the preferred format, MP3 files can be converted to M4R using various software or online tools. It's important to ensure that the selected audio file is in a format that can be easily converted to M4R to avoid compatibility issues.
Length and Content
When selecting an audio file for a ringtone, it's crucial to consider the length and content of the audio. Ideally, a ringtone should be between 15 to 30 seconds long to avoid being overly intrusive. Additionally, the content of the audio should be suitable for use as a ringtone, such as a catchy melody, a memorable chorus, or a distinctive sound that grabs attention without being jarring.
Quality and Clarity
The quality and clarity of the audio file significantly impact the overall sound of the ringtone. Choosing a high-quality audio file ensures that the ringtone sounds crisp and clear when played on the iPhone 12. It's advisable to select audio files with minimal background noise and distortion to maintain the integrity of the sound.
Preparing the Audio File
Before creating a custom ringtone, it's essential to prepare the selected audio file. This may involve editing the audio to trim it to the desired length, adjusting the volume levels, and enhancing the overall sound quality. Various audio editing software and apps are available to facilitate these preparations, allowing users to customize their chosen audio file to perfection.
By carefully selecting and preparing the audio file for the ringtone, users can ensure that their custom creation aligns with the iPhone 12's specifications and delivers a delightful auditory experience. This attention to detail sets the stage for a seamless and enjoyable process of creating and using custom ringtones on the iPhone 12.
Creating Custom Ringtones Using iTunes
Creating custom ringtones for your iPhone 12 using iTunes is a straightforward process that allows you to personalize your device with unique and distinctive sounds. iTunes, the multimedia management software developed by Apple, provides a convenient platform for converting audio files into the M4R format, which is compatible with the iPhone 12's ringtone specifications.
Step 1: Selecting the Audio File
Begin by selecting the audio file you wish to use as a custom ringtone. This could be a song, a sound effect, or any audio clip that resonates with your personal style and preferences. Ensure that the selected audio file is in a format supported by iTunes, such as MP3 or AAC, to facilitate the conversion process.
Step 2: Importing the Audio File into iTunes
Once you have chosen the audio file, import it into your iTunes library. This can be done by simply dragging and dropping the file into the iTunes window or using the "File" > "Add File to Library" option. The imported audio file will now be accessible within your iTunes library.
Step 3: Editing and Trimming the Audio
Before creating the custom ringtone, it's essential to edit and trim the audio file to the desired length. Right-click on the imported audio file in your iTunes library and select "Get Info." Navigate to the "Options" tab and specify the start and stop times for the segment of the audio that you want to use as the ringtone. Ensure that the selected segment does not exceed 30 seconds to comply with the iPhone 12's ringtone length guidelines.
Step 4: Converting the Audio to the M4R Format
With the desired segment of the audio file defined, proceed to convert it to the M4R format. Right-click on the edited audio file in your iTunes library and select "Create AAC Version." This action will generate a duplicate of the selected segment in the AAC format.
Step 5: Renaming and Locating the M4R File
Locate the newly created AAC version of the audio file in your iTunes library. Right-click on the file and choose "Show in Windows Explorer" (for Windows users) or "Show in Finder" (for Mac users). This will reveal the file in its storage location on your computer. Change the file extension from .m4a to .m4r to convert it to the required ringtone format.
Step 6: Adding the Custom Ringtone to iTunes
After renaming the file, return to iTunes and delete the AAC version of the audio file from your library. When prompted, choose to move the file to the Recycle Bin or Trash. Then, drag and drop the renamed M4R file from its storage location into your iTunes library. The custom ringtone will now be available in your iTunes library and can be synced to your iPhone 12.
By following these steps, you can seamlessly create custom ringtones for your iPhone 12 using iTunes. This process empowers you to infuse your device with personalized sounds that reflect your individuality and style, enhancing the overall user experience.
Creating Custom Ringtones Using GarageBand
GarageBand, a versatile music creation software developed by Apple, offers a user-friendly platform for crafting custom ringtones that resonate with your personal style and preferences. Whether you're a music enthusiast or a novice in audio editing, GarageBand provides intuitive tools and features to transform audio files into unique ringtones for your iPhone 12.
Step 1: Launching GarageBand
Begin by launching GarageBand on your Mac or iOS device. The software's intuitive interface welcomes you to a world of creative possibilities, allowing you to explore various instruments, loops, and audio recording options.
Step 2: Selecting the Project Type
Upon launching GarageBand, choose the "Audio Recorder" project type to initiate the process of creating a custom ringtone. This project type provides a straightforward platform for importing, editing, and exporting audio files seamlessly.
Step 3: Importing the Audio File
Once the project is set up, import the audio file that you wish to use as a custom ringtone. This could be a song, a sound effect, or any audio clip that captures the essence of the desired ringtone. GarageBand's intuitive import feature allows you to seamlessly bring your chosen audio file into the project workspace.
Step 4: Editing and Trimming the Audio
With the audio file imported, use GarageBand's editing tools to trim the audio to the desired length. The software's precision editing capabilities enable you to select the specific segment of the audio that will serve as the custom ringtone. Ensure that the trimmed segment aligns with the iPhone 12's recommended ringtone length of 15 to 30 seconds.
Step 5: Enhancing the Audio
GarageBand offers a range of audio enhancement tools, allowing you to refine the sound quality and characteristics of the ringtone. You can adjust the volume levels, apply audio effects, and fine-tune the overall sound to create a captivating and distinctive ringtone that resonates with your preferences.
Step 6: Exporting the Ringtone
Once the audio editing and enhancement are complete, it's time to export the custom ringtone from GarageBand. Navigate to the export options and choose the appropriate format for the ringtone, ensuring compatibility with the iPhone 12. GarageBand provides seamless export capabilities, allowing you to save the custom ringtone to a location of your choice.
By following these steps, you can leverage GarageBand's intuitive interface and powerful audio editing tools to create custom ringtones that reflect your individuality and style. The software's seamless integration with the iPhone ecosystem ensures that the custom ringtone can be easily transferred to your iPhone 12, enriching your device with personalized sounds that enhance the overall user experience.
Transferring Custom Ringtones to iPhone 12
Transferring custom ringtones to your iPhone 12 is the final step in the process of personalizing your device with unique and distinctive sounds. Once you have created or obtained custom ringtones using iTunes or GarageBand, the next crucial step is to seamlessly transfer these ringtones to your iPhone 12, ensuring that they are readily available for use.
Method 1: Using iTunes
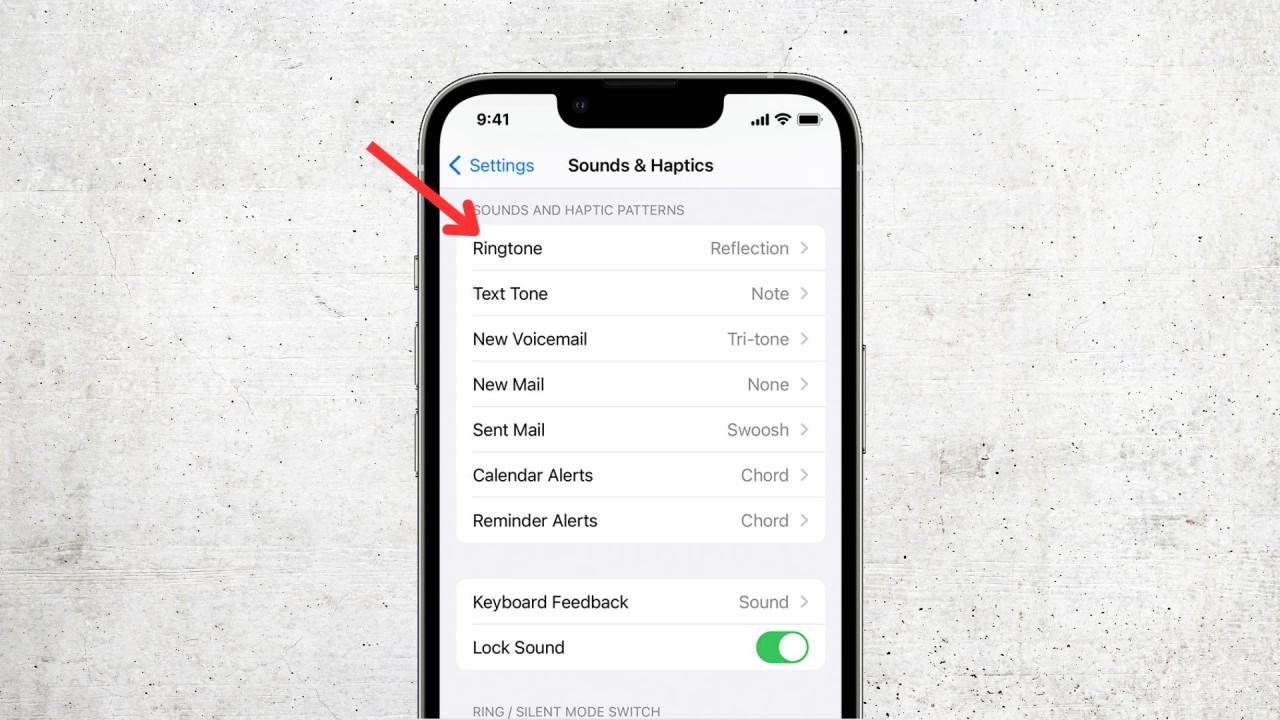
If you have created custom ringtones using iTunes, the software provides a straightforward method for transferring these ringtones to your iPhone 12. Connect your iPhone 12 to your computer using a USB cable and launch iTunes. Once your device is recognized, navigate to the device icon within iTunes and select "Tones" from the left-hand sidebar. Here, you can simply drag and drop the custom ringtones from your iTunes library to the Tones section of your iPhone 12. Once the ringtones are successfully transferred, they will be accessible from the Sounds settings on your iPhone 12, allowing you to assign them to specific contacts or system notifications.
Method 2: Using GarageBand
If you have created custom ringtones using GarageBand on your iOS device, the process of transferring these ringtones to your iPhone 12 is seamless. After exporting the custom ringtone from GarageBand, the file will be saved to a location of your choice on your device. To transfer the ringtone to your iPhone 12, simply navigate to the file location and tap on the ringtone file. This action will prompt a dialogue that allows you to select "Use as Ringtone," effectively adding the custom ringtone to your iPhone 12's available ringtones. Once added, the custom ringtone will be accessible from the Sounds settings, enabling you to set it as your default ringtone or assign it to specific contacts.
By following these methods, you can effortlessly transfer custom ringtones to your iPhone 12, infusing your device with personalized sounds that reflect your individuality and style. This process empowers you to curate a collection of unique ringtones that enhance the overall user experience, allowing you to personalize your iPhone 12 with distinctive auditory notifications that resonate with your preferences.