
Checking Compatibility
Before installing a SIM card in your Android device, it’s crucial to ensure that the device is compatible with the SIM card you intend to use. Here are the steps to check compatibility:
- Verify SIM Card Type: Android devices typically support nano-SIM cards, but it’s essential to confirm the specific SIM card size required for your device. You can find this information in the device’s user manual or by visiting the manufacturer’s website.
- Check Network Compatibility: Ensure that the SIM card you have is compatible with your mobile network. Different carriers use varying technologies, such as GSM or CDMA, and not all devices support both. You can check with your carrier or refer to their website for details on network compatibility.
- Confirm Device Unlock Status: If your Android device is locked to a specific carrier, you may need to unlock it before using a SIM card from a different carrier. Contact your current carrier to verify the unlock status of your device.
By following these steps, you can ensure that your Android device is compatible with the SIM card, thereby avoiding potential issues during the installation process.
Powering Off the Device
Before proceeding with the SIM card installation, it’s important to power off your Android device to prevent any potential damage and ensure a smooth installation process. Here’s how to power off your device:
1. Locate the Power Button: The power button is typically located on the side or top of the device. Press and hold the power button until the power-off menu appears on the screen.
2. Follow On-Screen Prompts: Once the power-off menu appears, follow the on-screen prompts to confirm the shutdown process. Depending on the device model and Android version, you may need to swipe or tap on the screen to power off the device.
3. Wait for Shutdown: Allow the device to power off completely before proceeding to the next step. This ensures that the internal components are not active during the SIM card installation, reducing the risk of damage to the device or the SIM card.
By powering off your Android device using the appropriate method, you can prepare it for the safe installation of the SIM card without encountering any interruptions or potential issues.
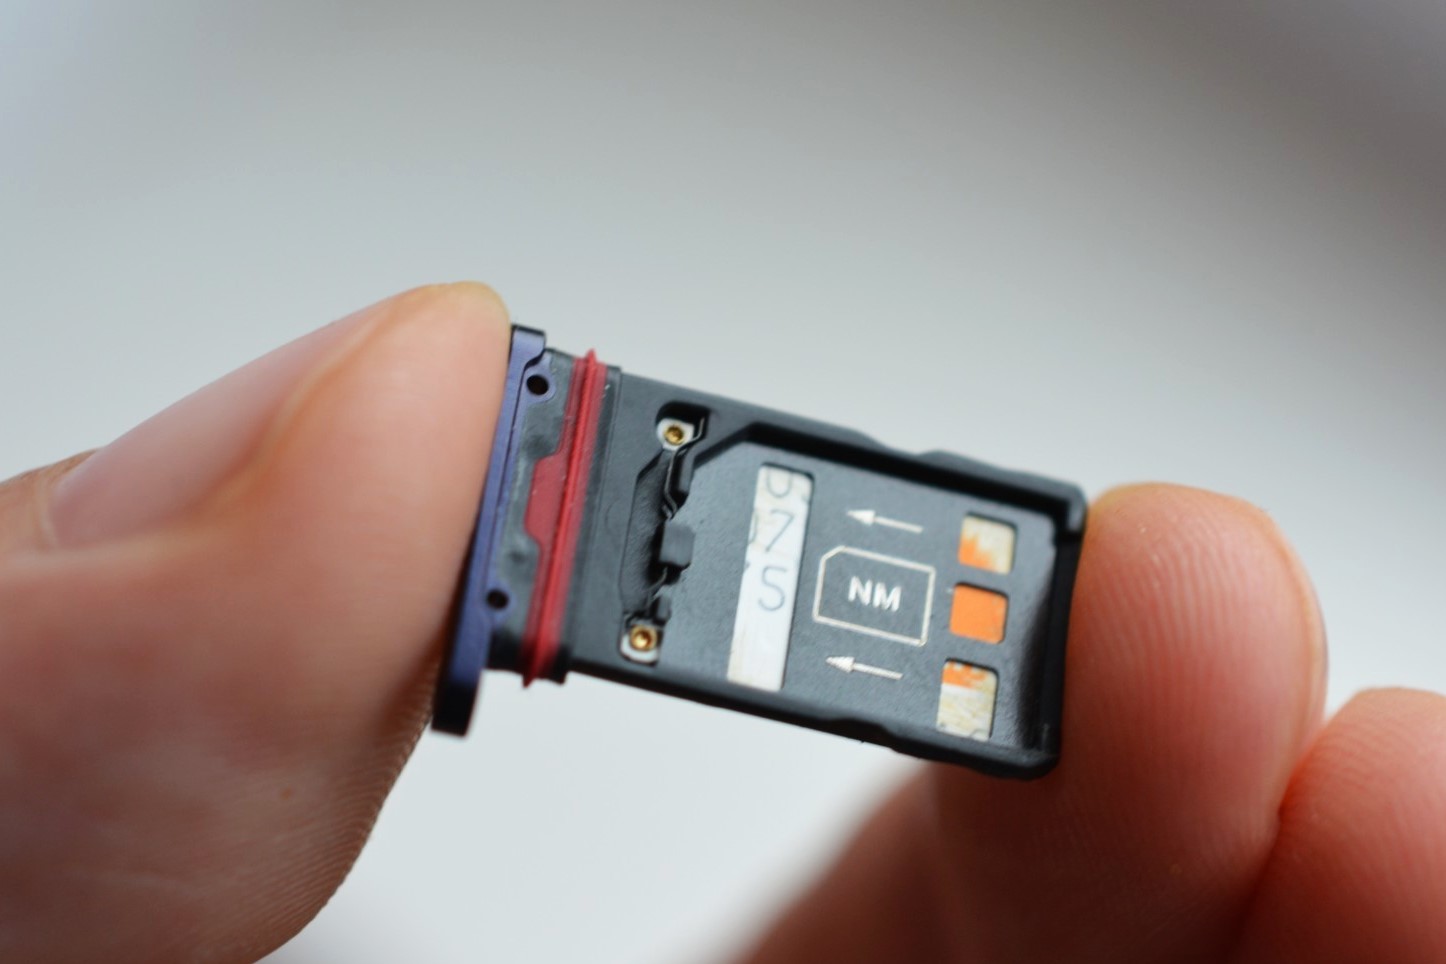
Locating the SIM Card Slot
Locating the SIM card slot on your Android device is the next step in the installation process. The location of the SIM card slot may vary depending on the device model, but the following general steps can help you find it:
- Refer to the User Manual: If you have the user manual that came with your device, it often contains detailed instructions on locating the SIM card slot. Look for the section related to SIM card installation or physical features of the device.
- Inspect the Device: Examine the sides of your device for a small tray or compartment with a pinhole or a small opening. The SIM card slot is often located near the power button or on the opposite side of the volume buttons.
- Use Online Resources: If the user manual is not available, you can visit the manufacturer’s website and search for your specific device model. Many manufacturers provide online guides and diagrams to help users locate the SIM card slot.
Once you have located the SIM card slot, you are ready to proceed with the next step of inserting the SIM card into your Android device.
Inserting the SIM Card
After locating the SIM card slot, the next step is to insert the SIM card into your Android device. Follow these simple steps to complete this process:
- Access the SIM Card Slot: Use the SIM ejector tool or a paperclip to gently press into the pinhole or opening near the SIM card slot. This will release the SIM card tray.
- Place the SIM Card: Carefully remove the SIM card tray from the device. Then, place the SIM card into the tray, ensuring that it aligns with the designated grooves and that the gold contacts on the card are facing downward.
- Reinsert the Tray: Once the SIM card is in place, gently slide the tray back into the device until it is securely positioned. Be cautious not to apply excessive force to avoid damaging the SIM card or the device.
- Power On the Device: After inserting the SIM card, power on your Android device by pressing and holding the power button until the device boots up. Allow the device to establish a connection with the network.
By following these steps, you can successfully insert the SIM card into your Android device, enabling it to access the mobile network and other communication services.
Powering On the Device
Once the SIM card is securely inserted into the device, the next step is to power on your Android device. Follow these steps to ensure a smooth power-up process:
- Press the Power Button: Locate the power button on your device and press it for a few seconds until the screen lights up. Depending on the device model, the power button is typically located on the side or top of the device.
- Wait for Boot-Up: Allow the device to boot up fully. This process may take a few moments, during which the device will perform its startup sequence and establish a connection with the network using the newly installed SIM card.
- Enter PIN (if required): If your SIM card is protected by a PIN, the device will prompt you to enter the PIN to unlock the SIM card. Follow the on-screen instructions to enter the correct PIN and unlock the SIM card for use.
- Verify Network Connection: Once the device has powered on, check for the network signal indicator on the screen to ensure that the SIM card is successfully connected to the mobile network. You should now be able to make calls, send messages, and access mobile data services.
By following these steps, you can power on your Android device after inserting the SIM card, allowing you to seamlessly connect to the mobile network and enjoy the full functionality of your device.
Activating the SIM Card
Activating the SIM card is the final step to ensure that your Android device can fully utilize the network services associated with the SIM card. Follow these steps to activate the SIM card:
- Check for Activation Instructions: If your SIM card requires activation, you may find instructions and a dedicated activation phone number or website on the SIM card packaging or the carrier’s documentation. Follow the provided instructions to initiate the activation process.
- Initiate a Test Call: Place a test call to verify that the SIM card is active and functioning properly. Dial a known number, such as your voicemail or another phone, to confirm that the device can make and receive calls using the newly installed SIM card.
- Confirm Data Connectivity: Test the mobile data connectivity by accessing a website or using an app that requires an internet connection. This step ensures that the SIM card is provisioned for data services and that the device can access the internet via the mobile network.
- Verify Text Messaging: Send and receive a text message to confirm that the device is capable of sending and receiving SMS messages using the activated SIM card. This step ensures that the messaging services are fully functional.
By following these steps, you can activate the SIM card and verify that your Android device is fully operational with the newly installed SIM card, allowing you to make calls, send messages, and access mobile data services seamlessly.