Checking the SIM Card Slot Location
Checking the SIM Card Slot Location
Before you embark on the journey of inserting a SIM card into your Android phone, it’s crucial to identify the location of the SIM card slot. The SIM card slot is typically situated on the side of the phone or under the back cover. However, the exact location can vary depending on the make and model of your Android device. To find the SIM card slot:
- Refer to the user manual: The user manual that came with your phone is a valuable resource for locating the SIM card slot. It often contains detailed illustrations and instructions to guide you through the process.
- Inspect the sides of the phone: Many modern Android phones feature a SIM card slot on the side. Look for a small pinhole or a removable panel that conceals the slot.
- Check under the back cover: In some Android devices, the SIM card slot is positioned beneath the back cover. If your phone has a removable back cover, gently remove it to reveal the SIM card slot.
By familiarizing yourself with the location of the SIM card slot, you’ll be better prepared to proceed with the subsequent steps of inserting the SIM card into your Android phone.
Powering Off the Phone
Powering Off the Phone
Before you begin the process of inserting a SIM card into your Android phone, it’s important to power off the device to prevent any potential damage and ensure a smooth installation. Here’s how to power off your Android phone:
- Press and hold the power button: Locate the power button on your phone, which is usually situated on the right or left side. Press and hold this button until the power-off menu appears on the screen.
- Select “Power off” or “Shut down”: Once the power-off menu is displayed, tap on the option to power off your device. This action initiates the shutdown process, and your phone’s screen will turn off as the device powers down.
- Wait for the phone to power off completely: Allow your phone a few moments to complete the shutdown process. You may notice the screen going blank, indicating that the device has successfully powered off.
By powering off your Android phone, you minimize the risk of causing any disruptions or malfunctions during the SIM card insertion process. This simple yet essential step sets the stage for a seamless and successful SIM card installation.
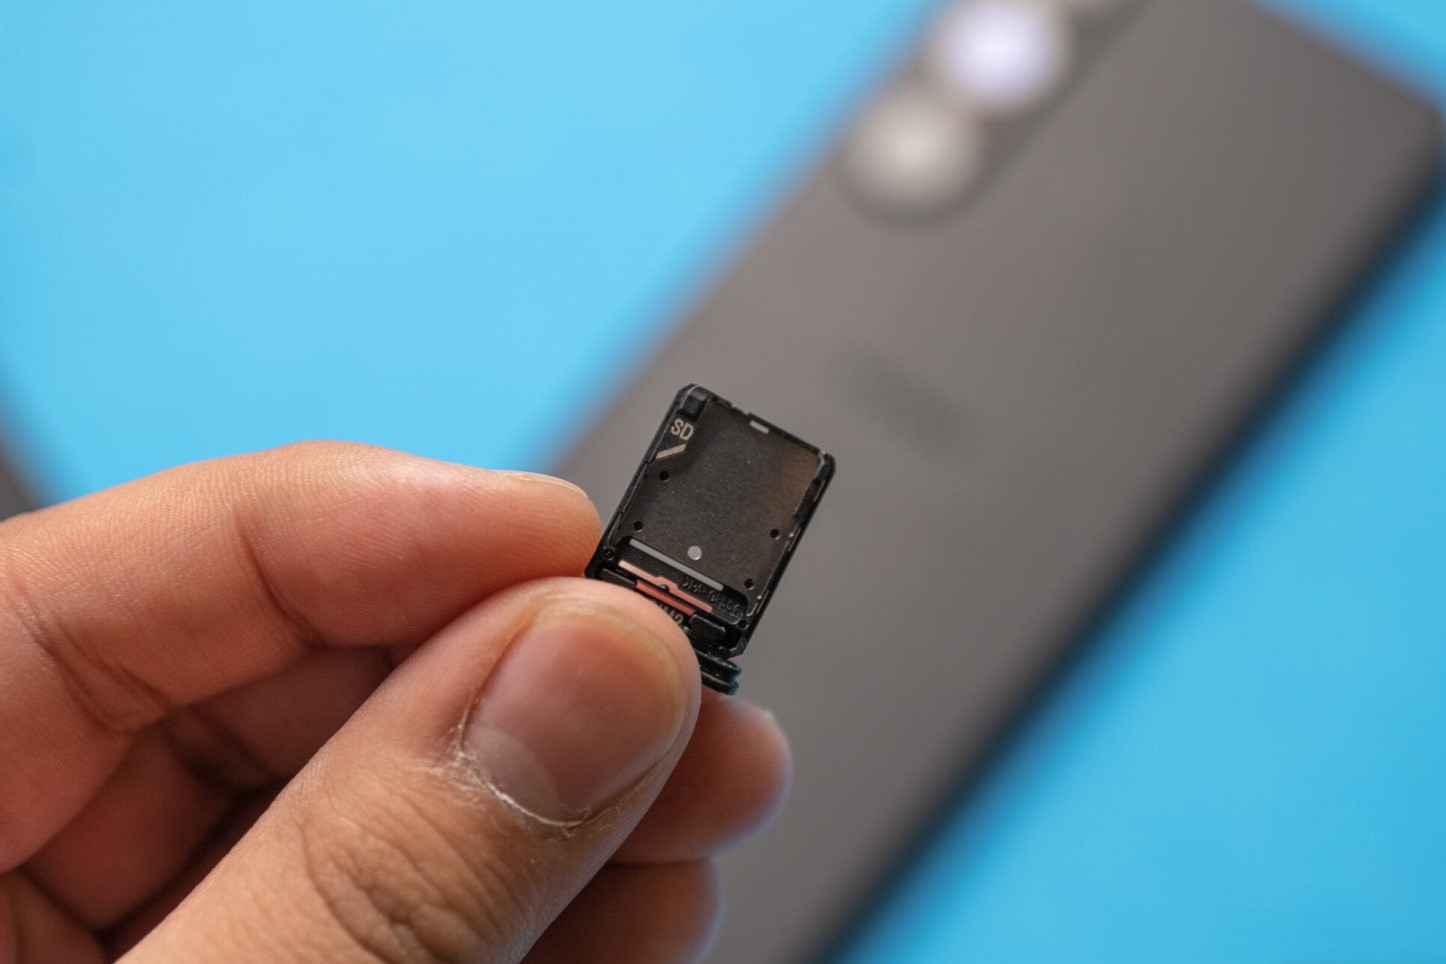
Opening the SIM Card Tray
Once your Android phone is powered off, the next step in the process of inserting a SIM card is to open the SIM card tray. The SIM card tray is a small, rectangular slot that holds the SIM card and is typically located on the side of the phone. Here’s how to open the SIM card tray:
- Locate the SIM card tray slot: Examine the sides of your phone to find the SIM card tray slot. It is usually a small pinhole with a tiny outline indicating the tray’s location.
- Insert the SIM card removal tool: Most Android phones come with a SIM card removal tool, a small pin-like object. If your phone didn’t come with one, a paperclip can be used as an alternative. Insert the tool into the pinhole and press gently until the SIM card tray pops out slightly.
- Remove the SIM card tray: Once the SIM card tray is partially ejected, carefully pull it out from the phone. The tray will slide out smoothly, allowing you to access the compartment where the SIM card will be placed.
Opening the SIM card tray is a crucial step in the process, as it grants you access to the slot where the SIM card will be inserted. By following these steps, you’ll be ready to proceed with the next stage of inserting the SIM card into your Android phone.
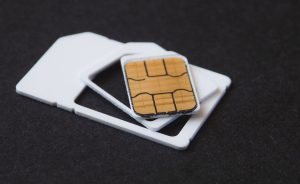
Inserting the SIM Card
With the SIM card tray now accessible, it’s time to insert the SIM card into your Android phone. Follow these steps to ensure a smooth and successful insertion:
- Inspect the SIM card: Before inserting the SIM card, take a moment to examine it. Note the orientation of the card and locate the notched corner, which aligns with the SIM card tray to ensure the correct positioning.
- Place the SIM card in the tray: Carefully position the SIM card on the tray, ensuring that it fits securely within the designated area. Align the notched corner of the SIM card with the corresponding area on the tray to ensure proper placement.
- Slide the SIM card tray back into the phone: Once the SIM card is in place, gently slide the SIM card tray back into the phone. Ensure that it fits snugly and aligns with the slot, as any misalignment may cause difficulty in closing the tray.
Inserting the SIM card into your Android phone is a straightforward process, but it’s important to handle the SIM card with care to avoid any damage. By following these steps, you’ll successfully complete this stage of the SIM card installation process.
Closing the SIM Card Tray
After securely placing the SIM card in the tray, the next step is to close the SIM card tray on your Android phone. This step is crucial for ensuring that the SIM card remains firmly in place and that the phone functions properly. Follow these steps to close the SIM card tray:
- Align the SIM card tray: Ensure that the SIM card tray is correctly aligned with the slot on the phone. Proper alignment is essential to prevent any damage to the SIM card or the phone’s internal components.
- Gently push the tray back into the phone: With the SIM card tray aligned, carefully push it back into the phone until it sits flush with the device. Apply gentle pressure to ensure that the tray is securely in place.
- Listen for a click or feel for a slight resistance: As you push the SIM card tray back into the phone, you may hear a subtle click or feel a slight resistance, indicating that the tray is properly seated.
By following these steps, you’ll effectively close the SIM card tray on your Android phone, securing the SIM card in its designated slot. This ensures that the SIM card remains in place and that your phone operates seamlessly.
Powering On the Phone
Now that the SIM card has been securely inserted and the tray closed, the final step is to power on your Android phone. Follow these simple steps to bring your device back to life:
- Press and hold the power button: Locate the power button on your phone and press and hold it until the device powers on. This button is typically situated on the right or left side of the phone.
- Wait for the phone to boot up: After pressing the power button, your phone will begin the boot-up process. Wait for the manufacturer’s logo to appear on the screen, indicating that the device is powering on.
- Enter your PIN or unlock pattern: Once the phone has powered on, you may be prompted to enter your PIN, password, or unlock pattern, depending on your device’s security settings. Follow the on-screen instructions to access your phone’s home screen.
By following these steps, you’ll successfully power on your Android phone after inserting the SIM card. Your device is now ready to connect to the network and provide you with seamless communication and connectivity.