
Reasons to Remove Kaspersky Internet Security
There can be various reasons why you may want to remove Kaspersky Internet Security from your computer. While Kaspersky is a well-known and respected antivirus software, it may not always meet your specific needs or preferences. Here are a few reasons why you might consider uninstalling Kaspersky Internet Security.
- Performance Issues: One of the primary reasons people opt to remove Kaspersky Internet Security is due to performance issues. While Kaspersky is designed to protect your computer from malware and other threats, it can sometimes consume a significant amount of system resources, leading to slow performance or system freezes.
- Incompatible Software: Certain software programs or applications may not be compatible with Kaspersky Internet Security. If you frequently encounter compatibility issues or find that Kaspersky conflicts with other important software, it may be more practical to uninstall it.
- Preference for Another Antivirus: Some users may have a personal preference for a different antivirus solution that better suits their individual needs. If you have found an alternative antivirus software that you prefer over Kaspersky, you might choose to uninstall it to make room for the new program.
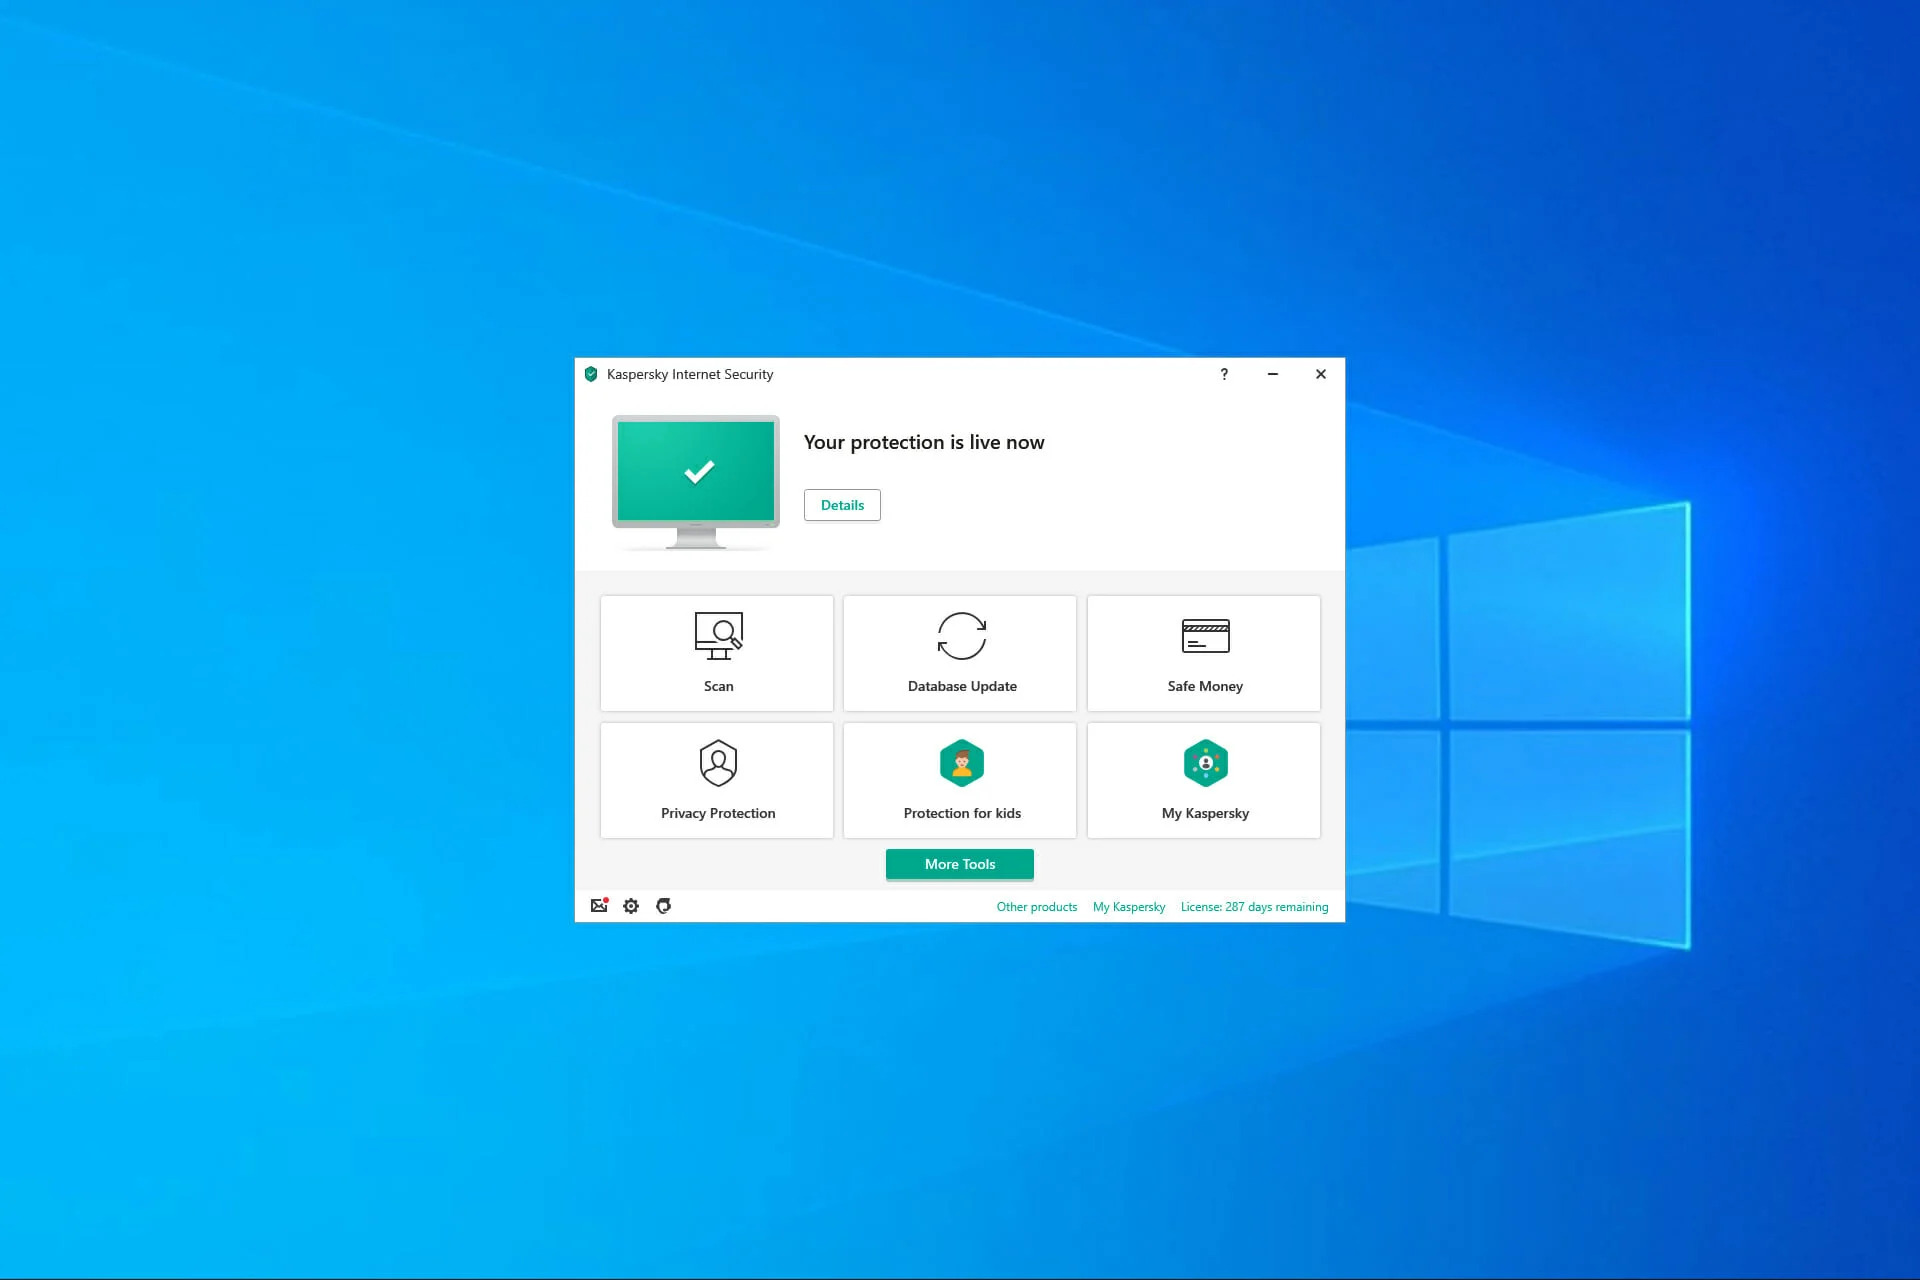
- Expiry or License Renewal: If your Kaspersky Internet Security license has expired, and you do not intend to renew it, you may choose to remove the software from your computer.
- Change of Security Strategy: Over time, your security needs may change, and you may decide to adopt a different security strategy. If you have shifted to cloud-based security solutions or integrated security suites, you may no longer require Kaspersky Internet Security and may want to uninstall it.
These are just a few reasons why you might choose to remove Kaspersky Internet Security from your computer. It’s important to note that before uninstalling any antivirus software, it’s recommended to have an alternative security solution in place to ensure that your computer remains protected.
Uninstall Kaspersky Internet Security using the Control Panel
If you have decided to remove Kaspersky Internet Security from your computer, one of the easiest methods is to use the Control Panel. Here is a step-by-step guide on how to uninstall Kaspersky using the Control Panel:
- Open the Control Panel by clicking the Start button and selecting “Control Panel” from the menu.
- In the Control Panel, navigate to “Programs” or “Programs and Features.”
- Locate and click on “Kaspersky Internet Security” in the list of installed programs.
- Click on the “Uninstall” or “Remove” button that appears above the list of programs.
- Follow the on-screen prompts to complete the uninstallation process. It may ask you to confirm your decision or prompt you to restart your computer.
Once the uninstallation process is complete, Kaspersky Internet Security will be removed from your computer. It is important to note that some residual files or remnants may still remain on your system, which could be potential security risks. Therefore, it is recommended to use additional methods to ensure a complete removal of Kaspersky Internet Security.
If you encounter any difficulties or errors during the uninstallation process, you can refer to the Kaspersky support website or contact their customer support for assistance. They may provide specific instructions or offer a dedicated uninstallation tool to remove the software more effectively.
Remember to restart your computer after uninstalling Kaspersky to ensure all changes take effect before installing a new antivirus solution or making any other system modifications.
Use the Kaspersky Removal Tool to Uninstall
If you are having trouble uninstalling Kaspersky Internet Security using the Control Panel or if remnants of the software are still present after uninstallation, you can use the Kaspersky Removal Tool. The Kaspersky Removal Tool is a dedicated utility provided by Kaspersky Lab to ensure a complete and thorough removal of their software from your computer. Here’s how you can use the Kaspersky Removal Tool:
- Visit the official Kaspersky Lab website or perform a search for “Kaspersky Removal Tool” to find the download page.
- Download the latest version of the Kaspersky Removal Tool to your computer.
- Once the download is complete, locate the file and run it as an administrator.
- Read and accept the terms and conditions presented by the tool.
- The Kaspersky Removal Tool will scan your computer for any remaining Kaspersky software and related components.
- After the scan is complete, the tool will present you with a list of detected Kaspersky products. Select the product you want to remove and click on the “Remove” or “Uninstall” button.
- Follow the on-screen instructions to proceed with the removal process. It may prompt you to restart your computer to complete the uninstallation.
Once the Kaspersky Removal Tool has successfully uninstalled the software, restart your computer to finalize the removal process. It is important to note that using the Kaspersky Removal Tool removes all Kaspersky products and related files, so make sure you have an alternative security solution in place before proceeding.
Using the Kaspersky Removal Tool ensures a more thorough removal of all Kaspersky components, including any stubborn files or registry entries that may have been left behind. However, it’s always prudent to double-check for any remnants manually or use additional cleanup tools if necessary.
If you encounter any issues with the Kaspersky Removal Tool or have further questions, you can refer to the support resources provided by Kaspersky Lab or reach out to their customer support for assistance.
Remove Kaspersky Internet Security Manually
If you prefer a more hands-on approach or if the previous methods did not fully remove Kaspersky Internet Security from your computer, you can try removing it manually. Here are the steps you can follow:
- Open the File Explorer on your computer by pressing the Windows key + E.
- Navigate to the folder where Kaspersky Internet Security is installed. By default, it is usually located in the “Program Files” or “Program Files (x86)” folder on your system drive.
- Locate the Kaspersky Internet Security folder and right-click on it.
- From the context menu, select “Delete” to remove the folder. You may need to confirm the deletion by clicking “Yes” or providing administrator permissions.
- Next, navigate to the “AppData” folder on your system drive. You can do this by entering “%appdata%” (without quotes) in the address bar of File Explorer and pressing Enter.
- In the AppData folder, navigate to the “Local” and “Roaming” subfolders.
- Look for any remaining Kaspersky folders, such as “Kaspersky Lab” or “Kaspersky Internet Security.” Right-click on them and select “Delete.”
- Open the Registry Editor by pressing the Windows key + R, typing “regedit,” and pressing Enter.
- In the Registry Editor, navigate to the following key: HKEY_LOCAL_MACHINE\SOFTWARE\Microsoft\Windows\CurrentVersion\Uninstall
- Look for a folder or entry related to Kaspersky Internet Security. Right-click on it and select “Delete.” Be careful not to delete any other important entries.
- Repeat the previous step, but this time navigate to the following key: HKEY_CURRENT_USER\SOFTWARE\Microsoft\Windows\CurrentVersion\Uninstall
- Delete any Kaspersky-related folder or entry found in this location.
Keep in mind that manually removing Kaspersky Internet Security requires caution, as deleting the wrong files or registry entries can potentially harm your system. It is always a good idea to create a backup or restore point before making any changes to your computer’s files or registry.
After manually deleting the Kaspersky Internet Security files and registry entries, restart your computer to ensure that all changes take effect. Additionally, it’s recommended to scan your computer with another reputable antivirus software to ensure there are no remaining threats.
If you encounter any difficulties or are unsure about any steps, it is advisable to seek assistance from Kaspersky support or a computer technician to avoid any unintended consequences.
Clear Leftovers After Uninstallation
Even after uninstalling Kaspersky Internet Security using the methods mentioned earlier, there may still be leftover files, folders, or registry entries that were not removed. These remnants can occupy storage space, clutter your system, and potentially cause conflicts with other software. To ensure a thorough cleanup, here are some additional steps you can take:
- Use a reputable file cleaning tool: There are several third-party software programs available that specialize in scanning and removing leftover files and registry entries. Examples include CCleaner, Revo Uninstaller, and IOBit Uninstaller. Download and install one of these tools and use it to scan your system for any remaining Kaspersky-related remnants. Follow the instructions provided by the software to clean and remove them.
- Delete temporary files: Temporary files can accumulate over time and take up unnecessary space on your computer. To remove them, press the Windows key + R, type “%temp%” (without quotes), and press Enter. This will open the temporary files folder. Select all the files and folders within this folder and press the Delete key to remove them.
- Clear the Windows registry: Editing the Windows registry should be done with caution, as it contains critical system information. However, if you are comfortable and knowledgeable about the registry, you can manually delete any leftover Kaspersky registry entries. Open the Registry Editor by pressing the Windows key + R, typing “regedit,” and pressing Enter. Navigate to the following keys: HKEY_CURRENT_USER\Software\ and HKEY_LOCAL_MACHINE\Software\. Look for any Kaspersky-related entries, right-click on them, and select “Delete.”
- Perform a system cleanup: Windows provides a built-in tool called Disk Cleanup that allows you to remove temporary files, system files, and other unnecessary items. To access it, press the Windows key + R, type “cleanmgr,” and press Enter. Select the drive where Kaspersky Internet Security was installed, and check the boxes for the types of files you want to remove. Click OK to start the cleanup process.
Remember to exercise caution when deleting files or making changes to the registry. It is always a good idea to create a backup or restore point before performing any system modifications.
By following these additional steps, you can ensure a more thorough removal of any leftover remnants after uninstalling Kaspersky Internet Security. This will help optimize your system’s performance and ensure a clean slate for installing any alternative antivirus software or making other system modifications.
Reinstalling Kaspersky Internet Security (Optional)
If you have decided to reinstall Kaspersky Internet Security after removing it from your computer, here are the steps you can follow:
- Ensure that your computer meets the system requirements for Kaspersky Internet Security. Check the official Kaspersky website for the specific requirements.
- Visit the official Kaspersky website or purchase a licensed copy of Kaspersky Internet Security from a reputable retailer.
- Download the installation file from the Kaspersky website or insert the installation disc into your computer’s CD/DVD drive.
- Locate the downloaded installation file or run the installation disc, and double-click on it to start the installation process.
- Follow the on-screen prompts to proceed with the installation. You may need to accept the license agreement, choose the installation location, and customize the installation options.
- During the installation, you may be prompted to enter the activation code or license key. If you purchased a license, enter the code when prompted. Otherwise, select the trial version option.
- After completing the installation, Kaspersky Internet Security will be ready to use. Update the antivirus database to ensure you have the latest protection.
- Configure the settings according to your preferences. Customize the scan schedules, set up real-time protection, and enable any additional features you require.
- Perform a full system scan to ensure that your computer is free from any existing threats.
Remember to regularly update Kaspersky Internet Security to ensure you have the latest virus definitions and security patches. This will ensure optimal protection against emerging threats.
Before reinstalling Kaspersky Internet Security, it is advisable to restart your computer to ensure a clean starting point. Additionally, if you previously had any other antivirus software installed, make sure it is completely removed from your system to avoid conflicts.
Reinstalling Kaspersky Internet Security can provide you with reliable protection against malware and other online threats. However, if you experience any issues during the installation or have questions, you can refer to the support resources provided by Kaspersky or contact their customer support for assistance.