
Ways to Hide the Dock
The Dock is a prominent feature on the Mac, providing quick access to your favorite apps and files. However, there may be times when you want a clutter-free desktop or wish to maximize the screen real estate for certain applications. Fortunately, there are several ways to hide the Dock on your Mac. Let’s explore a few of these methods:
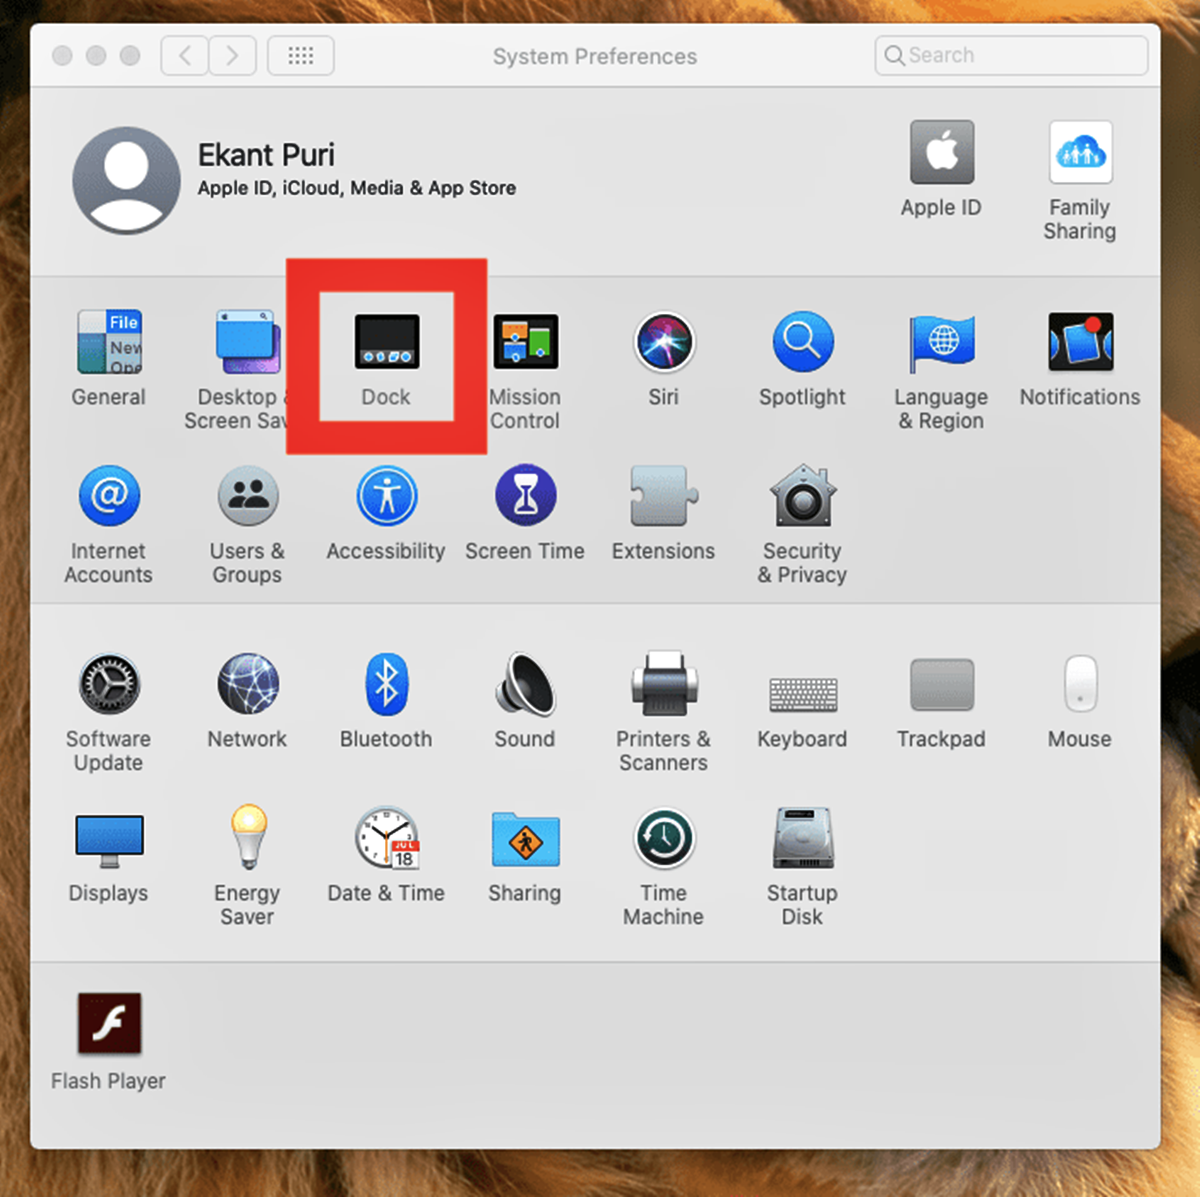
- Automatically hide the Dock: This is the most convenient method as it automatically hides the Dock when you’re not using it. To enable this option, go to “System Preferences” and click on “Dock.” Check the box next to “Automatically hide and show the Dock.” The Dock will now disappear when you’re not actively using it and reappear when you need it by hovering your cursor at the bottom of the screen.
- Manually hide the Dock from the Apple menu: Another way to hide the Dock is by accessing the Apple menu. Simply click on the Apple logo in the top-left corner of the screen and navigate to “Dock.” From the dropdown menu, select “Turn Hiding On.” The Dock will instantly vanish from your view.
- Manually hide the Dock with a keyboard shortcut: If you prefer using keyboard shortcuts, you can hide the Dock by pressing “Option + Command + D.” The Dock will promptly disappear, providing you with a clean workspace.
- Change the Dock hiding/showing behavior: By default, the Dock appears on the bottom of the screen. However, you can change its position to the left or right side. To do this, go to “System Preferences,” click on “Dock,” and select your preferred position from the “Position on screen” dropdown menu. You can also adjust the size and magnification of the Dock according to your preference.
- Use a third-party app to hide the Dock: There are third-party apps available that offer more customization options for hiding and showing the Dock. For instance, you can use apps like “Dock Dodger” or “TinkerTool” to modify the Dock’s behavior and appearance. These apps provide additional features, such as partial hiding, adjusting transparency, and more.
With these methods, you can easily hide the Dock on your Mac to create a cleaner and distraction-free workspace whenever you need it. Experiment with different techniques and find the one that suits your workflow best.
Ways to Show the Dock
The Dock on your Mac provides quick access to your most-used apps and files. While hiding the Dock can be helpful in certain situations, there are times when you may want it readily available. Here are a few ways to show the Dock on your Mac:
- Automatically show the Dock: If you have previously enabled the “Automatically hide and show the Dock” option, the Dock will reappear when you move your cursor to the bottom of the screen. Simply hover your cursor in that area, and the Dock will slide back into view.
- Manually show the Dock from the Apple menu: Alternatively, you can access the Apple menu by clicking on the Apple logo in the top-left corner of the screen. From there, navigate to “Dock” and select “Turn Hiding Off” in the dropdown menu. The Dock will immediately become visible and remain on the screen.
- Manually show the Dock with a keyboard shortcut: If you prefer using keyboard shortcuts, you can press “Option + Command + D” to reveal the Dock. This keyboard combination instantly brings the Dock back into view, allowing you to access your favorite apps and files with ease.
- Change the Dock’s position: By default, the Dock appears at the bottom of the screen, but you can change its position to the left or right side. To change the Dock position, go to “System Preferences,” click on “Dock,” and select your preferred position from the “Position on screen” dropdown menu. The Dock will relocate to the desired side of your screen.
- Use a third-party app to show the Dock: While macOS provides built-in options to show the Dock, there are also third-party apps available that can enhance the Dock’s functionality. Apps like “DockShelf” or “HyperDock” offer additional features, including customizable hotkeys and advanced preview capabilities.
With these methods, you can easily bring back the Dock on your Mac whenever you need it. Whether it’s accessing your favorite apps or quickly launching files, having the Dock readily available will enhance your productivity. Choose the method that aligns with your workflow and enjoy the convenience of an easily accessible Dock.
Automatically Hide the Dock
Your Mac’s Dock is a central hub for accessing frequently used apps and files. However, there may be times when you want to maximize your screen space or minimize distractions. One way to achieve this is by automatically hiding the Dock. Here’s how you can enable this feature:
To automatically hide the Dock on your Mac, follow these steps:
- Click on the “Apple” logo in the top-left corner of your screen and select “System Preferences.”
- In the System Preferences window, click on “Dock.”
- Check the box next to “Automatically hide and show the Dock.”
Once you’ve enabled this setting, the Dock will automatically disappear when you’re not using it, giving you more screen real estate to work with. It will reappear when you move your cursor to the bottom of the screen.
This feature is especially useful if you often work with full-screen applications, such as video editing software or presentation tools. It allows you to have a clutter-free workspace and minimizes distractions, enhancing your focus and productivity.
Keep in mind that even when the Dock is hidden, you can still access it by moving your cursor to the bottom of the screen. This quick and seamless transition ensures that you can effortlessly access your favorite apps and files whenever you need them.
By automatically hiding the Dock, you can create a clean and spacious desktop environment, providing you with more flexibility and a distraction-free experience. Give it a try and see how it enhances your workflow.
Manually Hide the Dock from the Apple Menu
The Apple menu on your Mac offers easy access to various system settings and features. One of the options available in the Apple menu is the ability to manually hide the Dock. This can be helpful if you want to quickly declutter your desktop or maximize screen space. Here’s how to manually hide the Dock using the Apple menu:
To manually hide the Dock from the Apple menu, follow these simple steps:
- Click on the “Apple” logo in the top-left corner of your screen.
- In the dropdown menu, move your cursor over “Dock.”
- Select “Turn Hiding On” from the Dock submenu.
Once you select “Turn Hiding On,” the Dock will immediately disappear from your desktop. This enables you to have a clean and clutter-free workspace, allowing you to focus on your tasks without distractions.
Don’t worry; just because the Dock is hidden doesn’t mean it’s gone forever. To bring it back, simply move your cursor to the bottom of the screen, and the Dock will smoothly slide back into view.
This manual hiding feature is particularly useful when you need more screen real estate for specific applications or want to create a distraction-free environment. It offers a seamless way to temporarily hide the Dock and instantly bring it back when you need it.
By utilizing the manual hiding option from the Apple menu, you have more control over your desktop’s appearance and can customize it to match your preferences and workflow.
Take advantage of this quick and convenient method to hide the Dock and create a clutter-free workspace on your Mac whenever you need it.
Manually Show the Dock from the Apple Menu
The Apple menu on your Mac provides quick access to various system settings and features, including the ability to manually show the Dock. This can be useful when you want to bring back the Dock after hiding it or if it’s not automatically visible. Here’s how you can manually show the Dock using the Apple menu:
To manually show the Dock from the Apple menu, follow these steps:
- Click on the “Apple” logo in the top-left corner of your screen.
- In the dropdown menu, move your cursor over “Dock.”
- Select “Turn Hiding Off” from the Dock submenu.
Once you select “Turn Hiding Off,” the Dock will reappear on your desktop, ready for you to access your favorite apps and files. This manual method allows you to take control of the Dock’s visibility, ensuring that it remains visible at all times.
If you have previously enabled automatic hiding for the Dock, manually showing it will override the automatic setting and keep the Dock visible until you choose to hide it again.
By manually showing the Dock, you can quickly access your frequently used apps, files, and folders without the need for additional clicks or gestures. It offers a straightforward solution for ensuring that the Dock is readily available whenever you need it.
Remember, if you prefer using keyboard shortcuts, you can also use the “Option + Command + D” shortcut to show or hide the Dock at any time.
With the option to manually show the Dock from the Apple menu, you have the flexibility to customize your desktop experience and adapt it according to your workflow. Whether you prefer a constantly visible Dock or enjoy the convenience of hiding it, this feature provides the control you need.
Take advantage of this simple method to manually show the Dock and enjoy seamless navigation and accessibility on your Mac.
Manually Hide the Dock with a Keyboard Shortcut
When working on your Mac, you may find it convenient to have a keyboard shortcut to quickly hide the Dock. This allows you to instantly declutter your desktop and maximize your screen space. Here’s how you can manually hide the Dock using a keyboard shortcut:
To manually hide the Dock with a keyboard shortcut, follow these steps:
- Press and hold the “Option” key on your keyboard.
- While holding the “Option” key, press the “Command” key (⌘).
- Simultaneously press the “D” key.
By pressing “Option + Command + D” on your keyboard, you can instantly hide the Dock on your Mac. This is a quick and efficient way to create a clutter-free desktop environment, especially when you need to focus on specific tasks or want to maximize your screen space.
It’s important to note that even when the Dock is hidden, you can still access it by moving your cursor to the bottom of the screen. This keyboard shortcut simply provides a convenient method to hide the Dock with a single key combination.
If you prefer using keyboard shortcuts, this method allows you to quickly hide the Dock when needed, without the need to go through menus or settings. It can be particularly useful when you’re working on content creation, writing, or any other activity that requires a distraction-free workspace.
Feel free to experiment with this keyboard shortcut and incorporate it into your workflow. It can significantly improve your productivity and provide a cleaner desktop experience on your Mac.
Discover the efficiency and convenience of using the “Option + Command + D” keyboard shortcut to manually hide the Dock on your Mac and enjoy a clutter-free workspace.
Manually Show the Dock with a Keyboard Shortcut
Having a keyboard shortcut to quickly show the Dock on your Mac can be a time-saving and convenient feature. It allows you to bring back the Dock instantly and access your favorite apps and files without the need for extra clicks or gestures. Here’s how you can manually show the Dock using a keyboard shortcut:
To manually show the Dock with a keyboard shortcut, follow these steps:
- Press and hold the “Option” key on your keyboard.
- While holding the “Option” key, press the “Command” key (⌘).
- Simultaneously press the “D” key.
By pressing “Option + Command + D” on your keyboard, you can swiftly bring back the Dock on your Mac. This keyboard shortcut allows for a seamless transition, making it easy to access your frequently used apps and files in an instant.
Whether you have manually hidden the Dock or have it set to automatically hide and show, this keyboard shortcut works consistently, bringing the Dock back into view whenever you need it.
Using a keyboard shortcut to show the Dock can significantly improve your productivity, especially if you prefer using keystrokes over mouse movements. It offers a quick way to bring back the Dock while keeping your hands on the keyboard, allowing for a smooth workflow.
Don’t forget that you can also customize keyboard shortcuts on your Mac through the “Keyboard” settings in the System Preferences. This allows you to assign different key combinations based on your preferences and working style.
Try incorporating the “Option + Command + D” keyboard shortcut into your workflow and experience the convenience of having the Dock readily available on your Mac.
With a simple key combination, you can effortlessly show the Dock and access your favorite apps and files, enhancing your overall efficiency and productivity.
Change the Dock Hiding/Showing Behavior
Your Mac offers flexibility when it comes to customizing the Dock’s hiding and showing behavior. By default, the Dock appears at the bottom of the screen, but you can easily change its position and adjust its hiding and showing preferences. Here’s how you can modify the Dock’s behavior:
To change the Dock hiding and showing behavior on your Mac, follow these steps:
- Click on the “Apple” logo in the top-left corner of your screen.
- Select “System Preferences” from the dropdown menu.
- In the System Preferences window, click on “Dock.”
Once you’re in the Dock preferences, you’ll find several options to customize its behavior:
- Position on screen: You can select the position of the Dock on your screen—either on the bottom, left, or right side. Simply choose your preferred option from the “Position on screen” dropdown menu.
- Size: You can adjust the size of the Dock by dragging the size slider from left to right. This allows you to make the Dock smaller or larger based on your visual preference and screen size.
- Magnification: Enabling the “Magnification” option causes the icons on the Dock to grow in size when you hover your cursor over them. This visual effect can make it easier to identify and select specific apps on the Dock.
These customization options give you control over how the Dock behaves on your screen. You can choose the position that suits your workflow, adjust the size for optimal visibility, and enable or disable magnification depending on your preference.
Experiment with different settings to find the configuration that best suits your needs and enhances your overall Mac experience. If you’re using multiple monitors, remember that you can individually customize the Dock behavior for each display.
By changing the Dock’s hiding and showing behavior, you can personalize your desktop and create a workflow that aligns with your preferences. Take advantage of these options to optimize your productivity and make the most of your Mac.
Use a Third-Party App to Hide/Show the Dock
While your Mac provides built-in options to hide and show the Dock, there are also third-party apps available that offer additional functionality and customization. These apps can give you more control over how the Dock behaves and provide extra features to enhance your desktop experience. Here’s how you can use a third-party app to hide and show the Dock:
There are several third-party apps available that can help you hide and show the Dock on your Mac. Here are a few popular options:
- Dock Dodger: Dock Dodger allows you to partially hide the Dock by tweaking its transparency. You can choose to hide the background or the entire Dock itself while still keeping the icons visible. This can be useful if you want to maintain quick access to your apps while minimizing visual distractions.
- TinkerTool: TinkerTool provides various customization options for your Mac, including Dock preferences. With TinkerTool, you can adjust the size, position, and behavior of the Dock. You can even change the transparency and animation effects. It offers comprehensive control over the Dock’s appearance and functionality.
- HyperDock: HyperDock offers advanced features for your Dock. It provides window previews when you hover over app icons, giving you a convenient way to preview and manage open windows. Additionally, HyperDock allows you to create custom shortcuts, gestures, and hotkeys for specific Dock actions, further enhancing your productivity.
These third-party apps give you the ability to customize the Dock to your liking and add extra features beyond what the default macOS settings provide. They offer increased flexibility and options to make the Dock align with your workflow and personal preferences.
Before installing any third-party app, make sure to research well, read reviews, and ensure that you’re downloading from reliable sources. It’s important to exercise caution and only install reputable apps that are compatible with your Mac’s operating system.
By using third-party apps to hide and show the Dock, you can enhance your desktop experience and tailor the Dock’s behavior to suit your needs. Explore these alternatives to find the one that offers the features and customization options you desire.
Note that using third-party apps may come with their own set of configuration options and potential compatibility issues. Make sure to follow the instructions provided by the app developers and stay updated with any software updates or new versions released.
Troubleshooting Common Issues with Hiding/Showing the Dock
While hiding and showing the Dock on your Mac is generally a straightforward process, there may be instances when you encounter issues or face unexpected behavior. Here are some common issues that users might experience when hiding or showing the Dock and potential solutions to troubleshoot these problems:
- The Dock doesn’t automatically hide/show: If the Dock doesn’t automatically hide or show as expected, go to “System Preferences” and click on “Dock.” Ensure that the “Automatically hide and show the Dock” option is enabled. If it’s already enabled, try restarting your Mac to refresh the system settings.
- The Dock doesn’t appear when moving the cursor: If the Dock fails to appear when you move the cursor to the bottom of the screen, check if the “Automatically hide and show the Dock” option is enabled in the “Dock” preferences. If it is, try restarting your Mac to resolve any temporary glitches.
- The Dock is partially hidden or stuck: If you notice that the Dock is only partially hidden or doesn’t respond to hiding/showing commands, try resetting the Dock preferences. To do this, open Terminal and enter the command “killall Dock”. This will restart the Dock process, potentially resolving any issues with its behavior.
- The Dock position doesn’t change: If you’re unable to change the Dock’s position from the bottom to the left or right side, make sure the Dock is not locked. Right-click (or Ctrl + click) on the Dock, and ensure the “Lock/Unlock Dock” option is unchecked. You should then be able to move the Dock to the desired side.
- The Dock size or magnification doesn’t adjust: If you’re unable to change the Dock’s size or enable magnification, go to the “Dock” preferences in “System Preferences” and adjust the size or magnification slider. If the changes don’t take effect, try restarting your Mac or resetting the Dock preferences with the Terminal command mentioned earlier.
If none of these troubleshooting steps resolve the issues you’re experiencing with hiding or showing the Dock, you may want to consider reaching out to Apple Support for further assistance. They can provide additional guidance and help troubleshoot any hardware or software-related problems specific to your Mac.
Remember to keep your Mac updated with the latest software releases from Apple, as these updates often come with bug fixes and improvements that can address common issues.
By following these troubleshooting tips, you can resolve common problems that may arise when hiding or showing the Dock on your Mac and ensure a smooth and enjoyable user experience.