
What is Nvcpl.dll
Nvcpl.dll is a dynamic link library (DLL) file associated with the NVIDIA Control Panel. DLL files contain code and data that multiple programs can use simultaneously, providing efficient memory usage and reducing redundancy. The Nvcpl.dll file specifically contains functions and resources related to configuring and managing NVIDIA graphics cards and drivers on Windows operating systems.
The primary purpose of the Nvcpl.dll file is to provide the graphical user interface (GUI) for the NVIDIA Control Panel, which allows users to adjust various settings and preferences for their graphics card. This includes options for adjusting image quality, display resolution, multiple monitor configurations, 3D settings, and more. The DLL file also facilitates communication between software applications and the NVIDIA graphics driver, ensuring proper functionality and performance.
When a program or system process requires access to the functions provided by Nvcpl.dll, it will load the DLL file into memory. However, there are instances where errors related to Nvcpl.dll may occur, causing issues with the proper functioning of the NVIDIA Control Panel or other applications utilizing the file.
It is important to note that the Nvcpl.dll file itself is not a malicious component and is an essential part of the NVIDIA graphics driver infrastructure. However, certain circumstances may lead to errors or problems associated with this file, such as corruption, deletion, or outdated driver versions. Resolving these issues typically involves troubleshooting techniques such as reinstalling or updating the graphics driver, restoring the file from a backup, or performing system scans to detect and remove malware.
Understanding the role of Nvcpl.dll and having knowledge of the common causes of errors can greatly assist in troubleshooting and resolving issues related to the NVIDIA Control Panel and graphics driver on your Windows computer.
Common Causes of Nvcpl.dll Errors
When encountering errors related to the Nvcpl.dll file, it is essential to identify the underlying causes to effectively address the issue. Here are some common reasons for Nvcpl.dll errors:
- Corrupted or missing Nvcpl.dll file: One of the most prevalent causes of Nvcpl.dll errors is when the file becomes corrupted or is accidentally deleted. This can occur due to improper installation or uninstallation of NVIDIA drivers, system crashes, malware infections, or manual deletion by mistake.
- Outdated or incompatible NVIDIA graphics driver: Another common cause of Nvcpl.dll errors is an outdated or incompatible graphics driver. Using an outdated driver or installing an incompatible version can lead to conflicts and issues with the Nvcpl.dll file and the NVIDIA Control Panel.
- Malware or virus infection: Malicious software can infect DLL files, including Nvcpl.dll, and cause various errors. Malware can modify or corrupt the file, resulting in the malfunctioning of the NVIDIA Control Panel or associated applications.
- System file corruption: In some cases, corruption of system files can lead to Nvcpl.dll errors. This can occur due to system crashes, power outages, or other factors that interrupt the proper functioning of the operating system.
- Conflicts with third-party applications: Certain third-party applications or software conflicts can interfere with the functioning of the Nvcpl.dll file. This can occur when multiple programs attempt to access or modify the file simultaneously, resulting in errors.
By identifying the potential causes of Nvcpl.dll errors, you can take the necessary steps to resolve them effectively. Understanding these causes will help you determine the appropriate troubleshooting methods and ensure the smooth functioning of the NVIDIA Control Panel on your Windows system.
How to Fix Nvcpl.dll Not Found Error
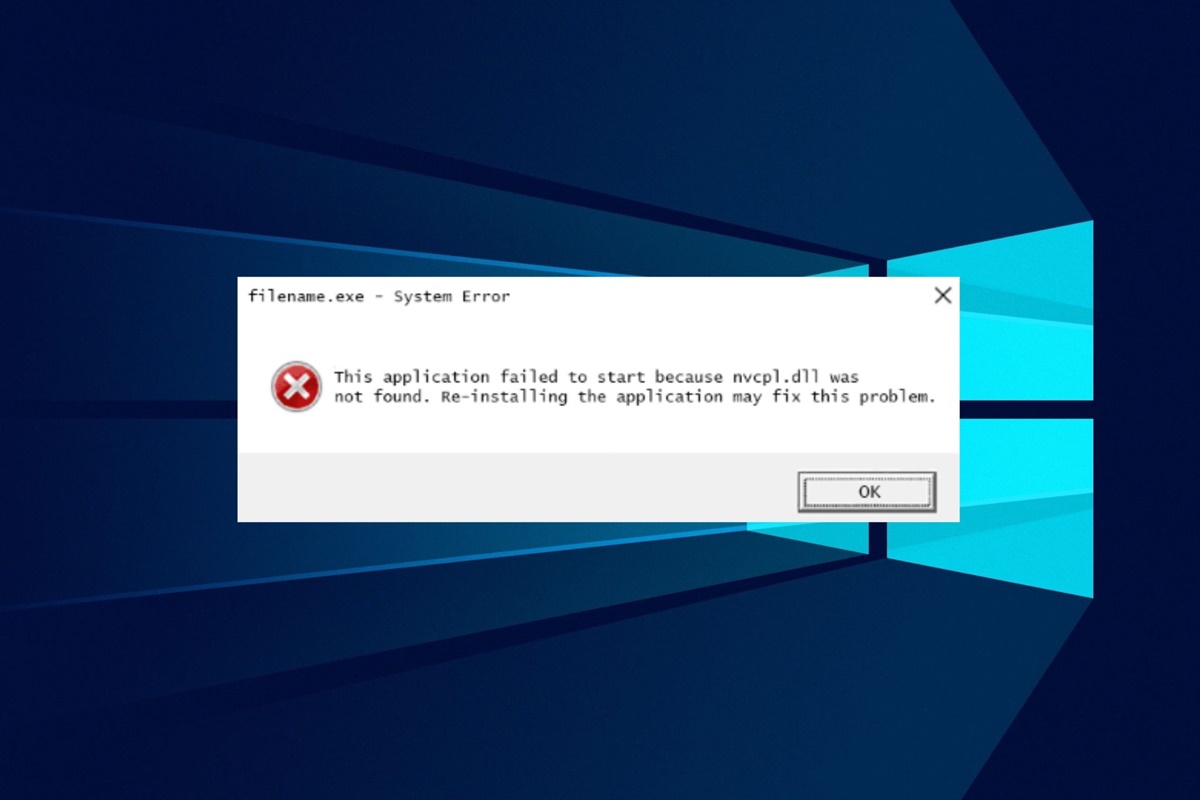
The “Nvcpl.dll not found” error is a common issue that can occur when the NVIDIA Control Panel or related applications are unable to locate the Nvcpl.dll file. This error can prevent you from accessing and utilizing the NVIDIA Control Panel’s features and settings. Fortunately, there are several effective solutions you can try to resolve this error:
- Reinstall the Nvidia Graphics Driver: Uninstall the current Nvidia graphics driver from your system and then reinstall the latest version available from the official Nvidia website. This process will ensure that the Nvcpl.dll file is properly installed.
- Update the Nvidia Graphics Driver: Updating your graphics driver to the latest version can also resolve Nvcpl.dll errors. Visit the Nvidia website or use the GeForce Experience application to download and install the latest driver for your system.
- Restore the Nvcpl.dll File from Recycle Bin: If you accidentally deleted the Nvcpl.dll file, check your Recycle Bin for the deleted file. If it’s there, restore it to its original location to fix the “not found” error.
- Perform a System File Checker Scan: Use the System File Checker (SFC) tool to scan and repair corrupt system files, including the Nvcpl.dll file. Open Command Prompt as an administrator and run the command “sfc /scannow” to initiate the scan.
- Run a Malware Scan: Malware infections can corrupt or delete DLL files, including Nvcpl.dll. Run a thorough scan using reliable antivirus software to detect and eliminate any malware that may be causing the error.
- Use a System Restore Point: If you recently made changes to your system that may have caused the Nvcpl.dll error, you can try using a system restore point to revert your system back to a previous state when the error was not present.
- Reinstall the Application: If the error is specific to an application, uninstalling and reinstalling that application can resolve the issue. This ensures that the application’s dependencies, including the Nvcpl.dll file, are correctly installed.
- Perform a Clean Windows Installation: If all else fails, a clean installation of Windows can fix any underlying system issues that may be causing the Nvcpl.dll error. However, remember to back up your important files and data before proceeding.
By implementing these solutions, you can address the “Nvcpl.dll not found” error and regain access to the NVIDIA Control Panel and its functionalities on your Windows system.
Solution 1: Reinstall the Nvidia Graphics Driver
A common solution for fixing the “Nvcpl.dll not found” error is to reinstall the Nvidia graphics driver. This process ensures that the necessary files, including the Nvcpl.dll file, are properly installed and configured. Below are the steps to reinstall the Nvidia graphics driver:
- Open the Device Manager by right-clicking on the “Start” button and selecting “Device Manager” from the context menu.
- Expand the “Display adapters” category to view the installed graphics card.
- Right-click on the Nvidia graphics card and select “Uninstall device” from the drop-down menu. Confirm any prompts to uninstall the driver completely.
- Visit the official Nvidia website (www.nvidia.com) and navigate to the “Drivers” section.
- Enter your graphics card’s details or use the automatic driver detection feature to find the appropriate driver for your system.
- Download the latest version of the Nvidia driver and save it to a location on your computer.
- Run the downloaded file and follow the on-screen instructions to install the driver. Choose the “Custom” installation option and make sure to select the “Perform a clean installation” checkbox.
- Once the installation is complete, restart your computer to apply the changes.
Reinstalling the Nvidia graphics driver ensures that all the necessary files, including Nvcpl.dll, are correctly installed and configured. It also helps to resolve any conflicts that may have occurred with the previous installation. After reinstalling the driver, check if the “Nvcpl.dll not found” error is resolved and if you can access the Nvidia Control Panel without any issues.
In some cases, it may be necessary to repeat this process multiple times or try alternative solutions if the error persists. However, reinstalling the Nvidia graphics driver is often an effective solution for resolving the “Nvcpl.dll not found” error and restoring the proper functioning of the Nvidia Control Panel.
Solution 2: Update the Nvidia Graphics Driver
Updating the Nvidia graphics driver is another effective solution for fixing the “Nvcpl.dll not found” error. Outdated or incompatible drivers can cause conflicts and prevent the proper functioning of the Nvidia Control Panel. Updating the driver ensures that you have the latest version with bug fixes and improved compatibility. Here’s how you can update the Nvidia graphics driver:
- Visit the official Nvidia website (www.nvidia.com) and go to the “Drivers” section.
- Use the manual driver search or let the website automatically detect your graphics card model.
- Once you’ve identified the correct driver for your system, download the latest version.
- Run the downloaded file and follow the on-screen instructions to install the driver. Choose the “Custom” installation option and ensure that the “Perform a clean installation” checkbox is selected.
- After the installation is complete, restart your computer to apply the changes.
Updating the Nvidia graphics driver ensures that the Nvcpl.dll file and other related components are up-to-date. It also resolves any compatibility issues with the software or operating system. Once the driver is updated, the “Nvcpl.dll not found” error is often resolved, and you can access the Nvidia Control Panel without any further issues.
It is recommended to periodically check for driver updates to ensure optimal performance, stability, and compatibility with your Nvidia graphics card. The Nvidia website provides regular driver updates, taking into account new features, performance improvements, bug fixes, and security enhancements. By keeping your graphics driver updated, you can prevent potential errors related to the Nvcpl.dll file and enjoy the full capabilities of your Nvidia graphics card.
Solution 3: Restore the Nvcpl.dll File from Recycle Bin
Sometimes, the “Nvcpl.dll not found” error can occur if the file has been accidentally deleted and is sitting in the Recycle Bin. In such cases, restoring the Nvcpl.dll file from the Recycle Bin can resolve the error without the need for additional troubleshooting. Here’s how you can restore the file:
- Double-click on the Recycle Bin icon on your desktop to open it.
- Use the search bar or manually browse through the listed files to locate the Nvcpl.dll file.
- Right-click on the Nvcpl.dll file and select “Restore” from the context menu. This will move the file back to its original location.
- Close the Recycle Bin and restart your computer to apply the changes.
Restoring the Nvcpl.dll file from the Recycle Bin brings back the missing file and allows the Nvidia Control Panel and associated applications to function properly. It is important to note that this solution only works if the file was recently deleted and is still present in the Recycle Bin. If the file has been permanently deleted or is not found in the Recycle Bin, you will need to explore other solutions discussed in this article.
Accidental deletion of files can happen, especially during system cleanup or when manually removing unnecessary files. Therefore, it’s always a good practice to check the Recycle Bin first before taking further troubleshooting steps. Restoring the Nvcpl.dll file can be a simple and effective solution to resolve the “Nvcpl.dll not found” error and regain access to the Nvidia Control Panel and its functionalities.
Solution 4: Perform a System File Checker Scan
If you’re encountering the “Nvcpl.dll not found” error, it’s possible that system file corruption is the underlying cause. The System File Checker (SFC) tool is a built-in Windows utility that can scan and repair corrupt or missing system files, including the Nvcpl.dll file. Here’s how you can perform a System File Checker scan:
- Press Windows + R to open the Run dialog box. Type cmd and press Enter to open Command Prompt.
- In the Command Prompt window, type sfc /scannow and press Enter. This command instructs the SFC tool to scan for and repair any corrupted system files.
- Wait for the scan to complete. It may take some time, so be patient.
- Once the scan is finished, you will see the scan results. If any errors or corrupted files are found, the SFC tool will attempt to repair them automatically. Follow the on-screen instructions if prompted.
- After the repair process is complete, restart your computer.
Performing a System File Checker scan can fix any issues related to corrupt or missing system files, including the Nvcpl.dll file. The SFC tool scans your computer’s system files, comparing them to a known good version and replacing any corrupted files with the correct ones. Restarting your computer after the scan ensures that the repaired files take effect.
Keep in mind that the System File Checker scan may not always fix the “Nvcpl.dll not found” error if the file is missing or has been permanently deleted. In such cases, you may need to explore other solutions mentioned in this article to address the error effectively.
Performing regular scans with the System File Checker tool is a good maintenance practice to keep your system files in a healthy state. It can help prevent and resolve various system-related errors, ensuring the smooth functioning of your Windows system.
Solution 5: Run a Malware Scan
Malware infections can often be the cause of various system errors, including the “Nvcpl.dll not found” error. Malicious software can corrupt or delete DLL files, including Nvcpl.dll, which can lead to issues with the Nvidia Control Panel and other related applications. Running a comprehensive malware scan can help detect and remove any malware that may be causing the error. Here’s how you can run a malware scan:
- Install and update a reputable antivirus or anti-malware software on your computer.
- Launch the antivirus software and navigate to the scan options.
- Select a full system scan or a custom scan that includes all system files and folders.
- Initiate the scan and allow the antivirus software to scan your computer thoroughly.
- If any malware or viruses are detected, follow the instructions provided by the antivirus software to remove them.
- After the scan and removal process is complete, restart your computer to apply the changes.
Running a malware scan can help identify and eliminate any malicious software that may be responsible for the “Nvcpl.dll not found” error. The antivirus software will detect and remove the malware, restoring the integrity of the Nvcpl.dll file and resolving any associated issues with the Nvidia Control Panel.
It is important to keep your antivirus software up to date to ensure the best protection against the latest malware threats. Regularly scanning your computer for malware is also crucial for maintaining a secure and stable system.
If the “Nvcpl.dll not found” error persists after running a malware scan, you may need to explore other solutions discussed in this article to resolve the issue.
Solution 6: Use a System Restore Point
If you are experiencing the “Nvcpl.dll not found” error and recently made system changes or updates that may have triggered the issue, using a system restore point can be a viable solution. System Restore is a built-in feature in Windows that allows you to revert your computer’s settings to a previous state. Here’s how you can use a system restore point to resolve the error:
- Press Windows + R to open the Run dialog box. Type rstrui and press Enter.
- The System Restore window will open. Click on Next to proceed.
- Select a system restore point that predates the occurrence of the “Nvcpl.dll not found” error. Choose a restore point when your system was functioning correctly.
- Follow the on-screen instructions to complete the system restore process. Your computer will restart during the process.
- After the restoration is complete and your computer restarts, check if the error is resolved. The system restore will revert your system settings to a previous state, including the Nvcpl.dll file, potentially fixing any issues related to the error.
It is essential to note that using a system restore point will undo any system changes that occurred after the selected restore point. This includes installed applications, drivers, and system updates. However, it will not affect your personal files such as documents, pictures, or videos.
Using a system restore point can be an effective solution if the “Nvcpl.dll not found” error is a result of recent system changes. By restoring your computer to a previous working state, you can resolve any issues that may have caused the error, including incorrect configurations or incompatible updates.
If the error persists after using a system restore point, you may need to try other solutions presented in this article to address the issue effectively.
Solution 7: Reinstall the Application
If you continue to encounter the “Nvcpl.dll not found” error in a specific application that relies on the Nvidia Control Panel, reinstalling the application can often resolve the issue. It is possible that the application’s installation files or dependencies, including the Nvcpl.dll file, are corrupted or incomplete. By reinstalling the application, you can ensure that all necessary components are properly installed and configured. Here’s how you can reinstall the application:
- Press Windows + R to open the Run dialog box. Type appwiz.cpl and press Enter to open the Programs and Features window.
- Locate the application that is encountering the “Nvcpl.dll not found” error in the list of installed programs.
- Right-click on the application and select Uninstall to remove it from your system.
- Follow the on-screen instructions to complete the uninstallation process.
- Once the application is successfully uninstalled, restart your computer.
- After the restart, download the latest version of the application from the official website or a trusted source.
- Run the downloaded file and follow the on-screen instructions to install the application.
- Restart your computer after the installation is complete.
By reinstalling the application, you ensure that the necessary files, including the Nvcpl.dll file, are correctly installed and configured. This process can resolve any conflicts, corruption, or incomplete installation issues that may have caused the “Nvcpl.dll not found” error.
If the error is specific to an application, such as a game or software that relies on the Nvidia Control Panel, reinstalling the application is a recommended course of action. It allows you to start fresh with a clean installation, eliminating any potential issues that may have arisen in the previous installation.
If reinstalling the application does not resolve the error, you may need to try other solutions discussed in this article to address the issue effectively.
Solution 8: Perform a Clean Windows Installation
If you have tried all other solutions and still encounter the persistent “Nvcpl.dll not found” error, performing a clean installation of Windows can be considered as a last resort. This solution reinstalls the entire operating system, ensuring that all system files, including the Nvcpl.dll file, are in their proper state. Here are the steps to perform a clean Windows installation:
- Before proceeding with the clean installation, ensure that you have backed up all important files and data to an external storage device or cloud service.
- Obtain a Windows installation media, such as a USB drive or DVD, with the same version as your current operating system.
- Boot your computer from the Windows installation media. This may require changing the boot order in the BIOS settings or using a specific key during startup to access the boot menu.
- Follow the on-screen instructions to begin the Windows installation process. When prompted, choose the “Custom” installation option.
- Select the drive where your current Windows installation is located and format it to perform a clean installation. This will erase all data on the selected drive, so ensure that you have backed up all necessary files.
- Continue with the installation process and follow the prompts to set up your preferences, such as language, region, and user account.
- Once the installation is complete, reinstall all necessary applications and drivers, including the Nvidia graphics driver, to ensure proper functionality.
- Restore your backed-up files and data to your newly installed Windows system.
Performing a clean Windows installation is an extensive process that should be approached with caution. It is important to note that this solution will remove all data on the selected drive and reinstall the operating system from scratch. Hence, it should be considered as a last resort when all other options have been exhausted, and there is a strong suspicion of system-wide corruption causing the “Nvcpl.dll not found” error.
By performing a clean Windows installation, you eliminate any potential underlying issues or corruption that may have been causing the error. It provides a fresh start with a clean installation environment, ensuring the proper functioning of the system files, including the Nvcpl.dll file.
Please note that performing a clean Windows installation requires technical proficiency, and it is recommended to seek assistance from a knowledgeable professional or follow detailed guides provided by Microsoft or other reputable sources for a seamless installation experience.