
What is mso.dll?
mso.dll (Microsoft Office Shared Library) is a crucial component of Microsoft Office Suite, responsible for managing various functions and resources shared between different Office applications. This dynamic link library file contains essential code and data that allows seamless integration and interaction between Office programs such as Word, Excel, PowerPoint, and Outlook.
When you open an Office application or perform specific tasks within the suite, mso.dll is loaded into memory to provide the necessary functionality. Without this file, many features and operations within Office applications may not work correctly or may not work at all.
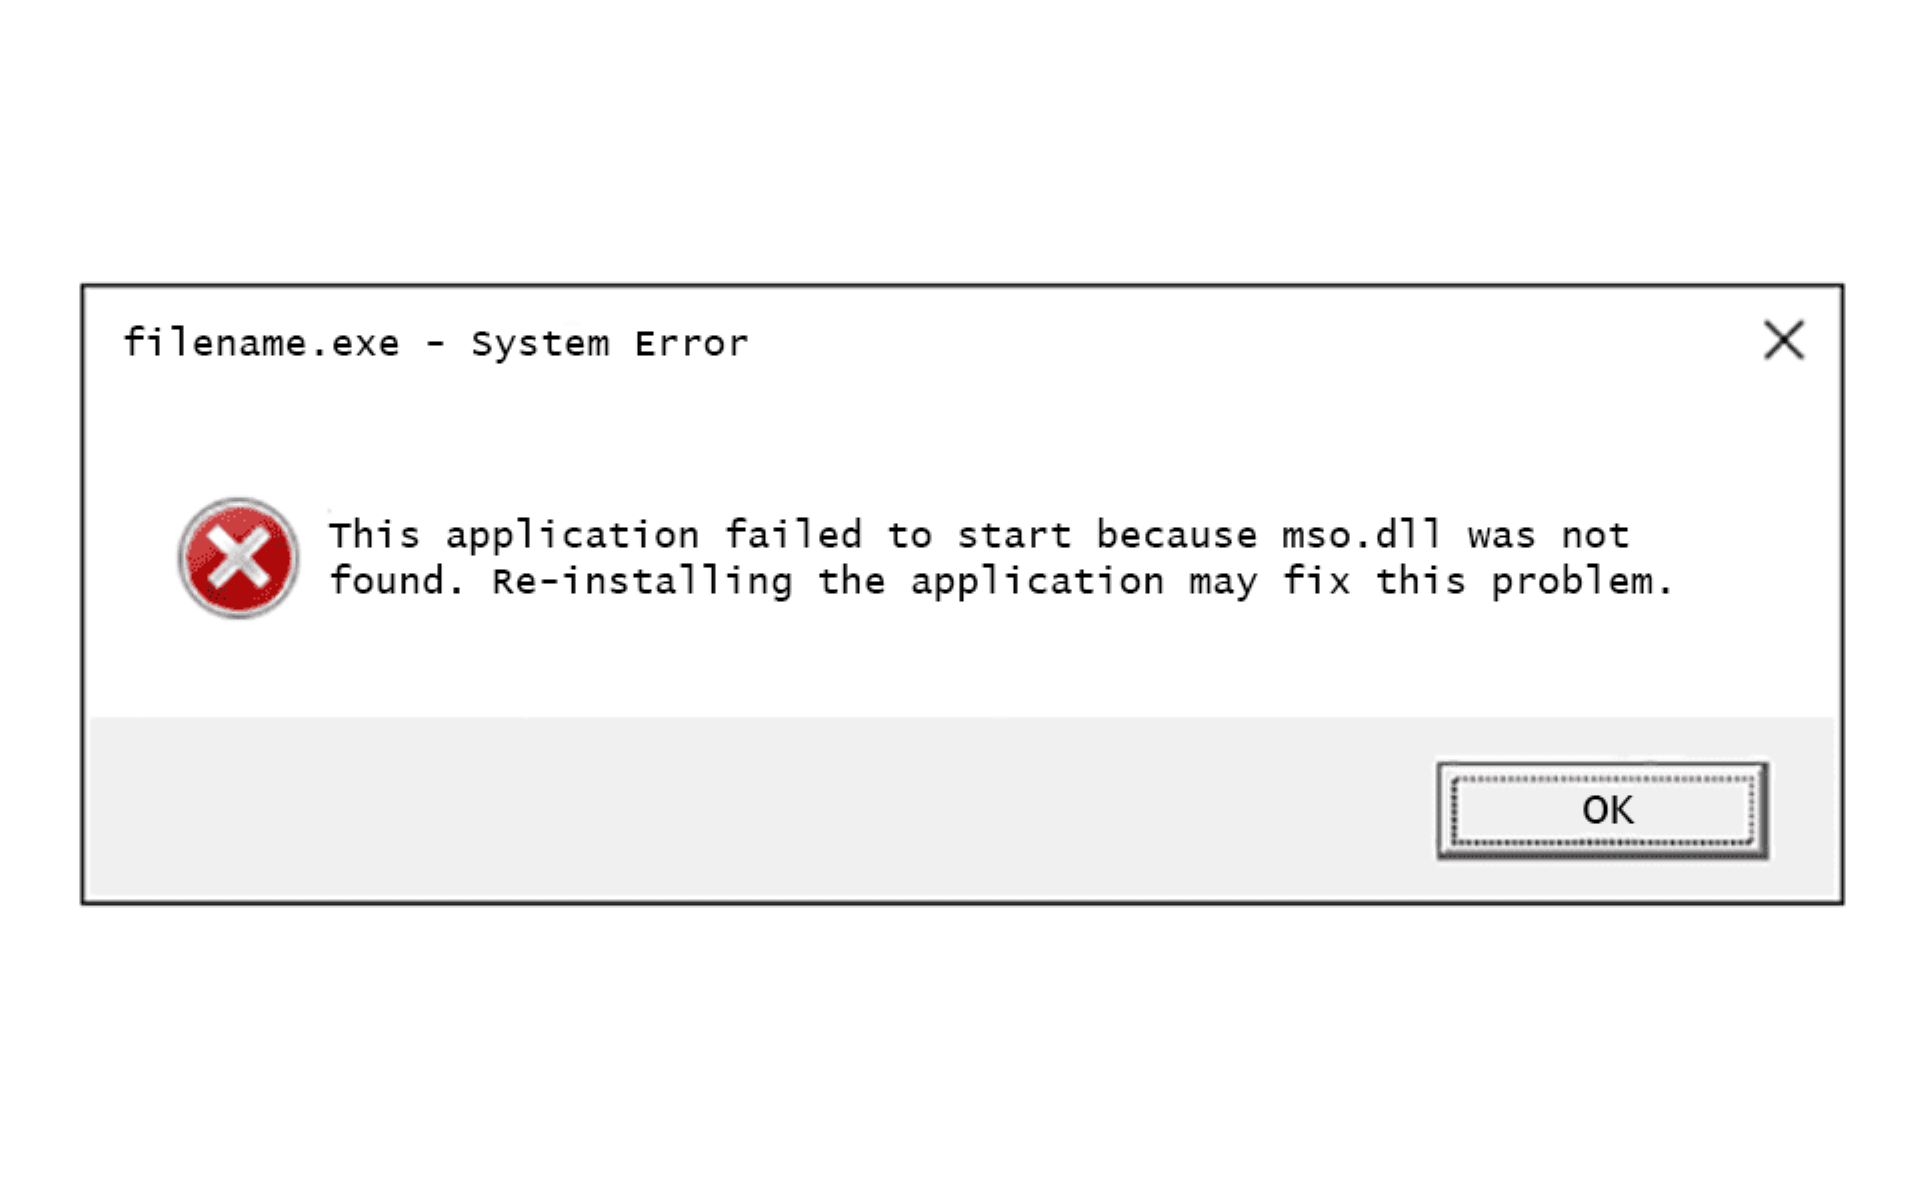
Although mso.dll is an essential system file, it is susceptible to errors and issues that can disrupt the smooth functioning of your Office suite. One common error related to mso.dll is the “mso.dll is missing or not found” error, which can prevent you from accessing or using your Office applications.
It is crucial to address these mso.dll errors promptly to ensure the uninterrupted use of Microsoft Office Suite. In the following sections, we will explore the common causes of mso.dll errors and provide solutions on how to fix them.
Common causes for mso.dll errors
There are several factors that can lead to mso.dll errors in Microsoft Office Suite. Understanding these common causes can help you troubleshoot and resolve the issues effectively. Here are some of the primary reasons behind mso.dll errors:
- Corrupted or missing mso.dll file: The mso.dll file may become corrupted or accidentally deleted due to various reasons such as software conflicts, malware infection, or improper shutdown of the system.
- Outdated or incompatible Microsoft Office installation: Running an outdated version of Microsoft Office or using an incompatible installation package can result in mso.dll errors. This can happen if you have recently upgraded your operating system or made changes to your Office installation.
- System file corruption: Corruption of critical system files can also affect the functioning of mso.dll. This can occur due to hardware issues, software conflicts, or improper system shutdowns.
- Malware or virus infection: Malicious software or viruses can target and modify mso.dll, leading to errors in Microsoft Office applications. These infections can occur through unsafe downloads, email attachments, or visiting compromised websites.
- Conflicts with third-party software: Certain third-party software or add-ins can interfere with the functioning of mso.dll, causing errors in Office applications. This can happen if these applications are not compatible with your version of Office or if they have conflicting DLL files.
By identifying the underlying cause of the mso.dll error, you can implement the appropriate solution to fix the issue and restore the smooth operation of your Microsoft Office Suite. In the next section, we will discuss various methods to resolve the “mso.dll is missing or not found” error.
How to fix mso.dll is missing error
The “mso.dll is missing or not found” error can be frustrating, but fortunately, there are several solutions you can try to resolve this issue. Here are some methods you can use to fix the mso.dll error:
- Reinstall Microsoft Office: Sometimes, the mso.dll file may have been accidentally deleted or corrupted. In such cases, reinstalling Microsoft Office can restore the missing or damaged mso.dll file.
- Run System File Checker (SFC) scan: The System File Checker tool can scan and restore system files, including mso.dll. Open Command Prompt as an administrator and run the command “sfc /scannow” to initiate the scan and replace any corrupted or missing files.
- Use System Restore: If the mso.dll error started occurring recently, you can use the System Restore feature to revert your system back to a previous point when the error was not present. This can help restore the mso.dll file to its working state.
- Repair Microsoft Office installation: Microsoft Office includes a built-in repair feature that allows you to fix common issues with the installation. Access the Control Panel, navigate to “Programs and Features,” locate Microsoft Office in the list, and select the “Repair” option.
- Update Microsoft Office: Keeping your Microsoft Office suite up to date is essential for maintaining stability and resolving known issues. Check for updates through the Office application or download the latest updates from the official Microsoft website.
- Perform a clean installation of Windows: If none of the above solutions work, performing a clean installation of Windows may be necessary. This will remove any system-level issues that may be causing the mso.dll error and provide a fresh environment for Microsoft Office.
- Scan for malware: Malware or viruses can cause mso.dll errors and other system issues. Perform a thorough scan using reliable antivirus software and remove any detected threats.
By following these solutions, you can effectively address the “mso.dll is missing or not found” error and restore the normal functioning of your Microsoft Office Suite.
Solution 1: Reinstall Microsoft Office
If you are encountering the “mso.dll is missing or not found” error, one of the first solutions you can try is to reinstall Microsoft Office. This method can help restore any missing or corrupted files, including the mso.dll file. Here’s how you can reinstall Microsoft Office:
- Begin by uninstalling Microsoft Office from your computer. Open the Control Panel and navigate to “Programs and Features” (or “Apps & Features” in Windows 10).
- Locate Microsoft Office in the list and select the “Uninstall” option. Follow the prompts to complete the uninstallation process.
- Once Microsoft Office is completely uninstalled, restart your computer to ensure any residual files are removed from the system.
- Visit the official Microsoft Office website and sign in with your Microsoft account. If you have a product key, you can use it to download the installation files. Alternatively, if you have a Microsoft 365 subscription, you can log in with your account to access the installation files.
- Download the installation files for the version of Microsoft Office you want to reinstall.
- Once the download is complete, run the installer and follow the on-screen instructions to reinstall Microsoft Office on your computer.
- After the installation is finished, restart your computer once again to finalize the process and ensure that all changes take effect.
After reinstalling Microsoft Office, the mso.dll file should be restored, resolving the “mso.dll is missing or not found” error. Launch your Office applications to verify that the error is no longer occurring. If the error persists, you may need to try other solutions to troubleshoot the issue.
Solution 2: Run System File Checker (SFC) scan
If you’re experiencing the “mso.dll is missing or not found” error in Microsoft Office, running a System File Checker (SFC) scan can help repair any corrupted or missing system files, including the mso.dll file. Here’s how you can run an SFC scan:
- Open the Command Prompt as an administrator. You can do this by searching for “Command Prompt” in the Start menu, right-clicking on it, and selecting “Run as administrator”.
- In the Command Prompt window, type in the command “sfc /scannow” and press Enter. This will start the System File Checker scan.
- Wait for the scan to complete. The scan may take some time, so it’s important to be patient and let it finish.
- If any corrupted or missing files are found during the scan, the System File Checker will attempt to repair them automatically. You may need to restart your computer for the changes to take effect.
By running an SFC scan, you can potentially fix the “mso.dll is missing or not found” error by restoring any corrupted or missing system files. Once the scan is complete, launch your Microsoft Office applications to check if the error has been resolved.
If the error persists or the SFC scan does not detect any issues, you may need to explore other solutions to troubleshoot and fix the mso.dll error on your system.
Solution 3: Use System Restore
If you’re encountering the “mso.dll is missing or not found” error and you believe it started occurring recently, you can consider using the System Restore feature to revert your system back to a previous point when the error was not present. System Restore can help restore system files, including the mso.dll file, to a known working state. Follow these steps to use System Restore:
- Press the Windows key + R to open the Run dialog box. Type in “rstrui” and press Enter. This will open the System Restore window.
- In the System Restore window, click on “Next” to proceed.
- Select a restore point from the list that represents a date and time when you know the “mso.dll is missing or not found” error was not present.
- Click on “Next” and then “Finish” to start the System Restore process.
- System Restore will now restore your system back to the selected restore point. This process may take some time, so it’s important to be patient and let it complete.
- Once the system has been successfully restored, your computer will restart.
After the restart, check if the “mso.dll is missing or not found” error has been resolved in your Microsoft Office applications. If the error continues to persist, you may need to explore alternative solutions to fix the mso.dll error.
It’s important to note that using System Restore will revert your system settings and installed programs to a previous state. Make sure to back up any important files and documents before performing a System Restore to avoid any potential data loss.
Solution 4: Repair Microsoft Office installation
If you’re experiencing the “mso.dll is missing or not found” error in Microsoft Office, repairing the Office installation can help resolve the issue by fixing any corrupted or damaged files related to mso.dll. Follow these steps to repair your Microsoft Office installation:
- Open the Control Panel on your computer.
- Navigate to “Programs” or “Programs and Features” (or “Apps & Features” in Windows 10).
- In the list of installed programs, locate Microsoft Office and select it.
- Click on the “Change” or “Modify” button at the top of the window. This will initiate the Office installation repair process.
- Follow the on-screen prompts and select the repair option. You may have the choice between a quick repair or an online repair. The quick repair option attempts to fix the issue without requiring an internet connection, while the online repair option may download additional files if necessary.
- Wait for the repair process to complete. This may take some time, depending on your system’s performance and the size of the Office installation.
- Once the repair is finished, restart your computer to apply the changes.
After your computer restarts, launch your Microsoft Office applications to check if the “mso.dll is missing or not found” error has been resolved. In most cases, repairing the Office installation can fix any issues related to the mso.dll file. However, if the error persists, additional troubleshooting steps may be required.
Keep in mind that repairing the Microsoft Office installation will attempt to fix any problems with the installation itself, but it may not resolve issues originating from system-level conflicts or other external factors. If necessary, continue exploring other solutions to address the mso.dll error.
Solution 5: Update Microsoft Office
If you’re encountering the “mso.dll is missing or not found” error in Microsoft Office, it is important to ensure that you have the latest updates installed. Updating Microsoft Office can help fix known issues and bugs, including problems related to the mso.dll file. Here’s how you can update Microsoft Office:
- Launch any Microsoft Office application, such as Word or Excel.
- Click on the “File” tab at the top left corner of the application.
- In the left-hand menu, select “Account” or “Office Account”.
- Click on the “Update Options” button and then select “Update Now”.
- Allow Microsoft Office to check for updates and download any available updates for your Office suite.
- Once the updates are downloaded, Office will automatically install them. This process may take some time, depending on the size of the updates and your internet connection speed.
- After the updates are installed, restart your computer to apply the changes.
After your computer restarts, launch your Microsoft Office applications to see if the “mso.dll is missing or not found” error has been resolved. In many cases, updating Microsoft Office to the latest version can resolve issues related to the mso.dll file and enhance the overall stability of the Office suite.
If you have automatic updates enabled for Microsoft Office, the updates will be installed automatically in the background. However, if you’re experiencing the mso.dll error, manually checking for updates ensures that you have the latest fixes and improvements.
If updating Microsoft Office does not resolve the error, you may need to explore further solutions or consider seeking additional technical support.
Solution 6: Perform a clean installation of Windows
If you continue to experience the “mso.dll is missing or not found” error in Microsoft Office even after trying various solutions, performing a clean installation of Windows can be a more comprehensive approach to address the issue. A clean installation will remove any potential conflicts or corrupted files that may be causing the mso.dll error. Here’s how you can perform a clean installation of Windows:
- Back up all your important files and data to an external storage device or cloud service.
- Create a bootable Windows installation media, such as a USB drive or DVD, to use for the clean installation. You can download the Windows ISO file from the official Microsoft website and use a tool like Rufus to create the bootable media.
- Ensure that you have the necessary product key or license for your Windows version. You may need this during the installation process.
- Restart your computer and boot from the Windows installation media you created. You may need to change the boot order in your system’s BIOS settings to prioritize the USB drive or DVD.
- Follow the on-screen instructions to install a fresh copy of Windows. Be sure to select the appropriate disk partition to install Windows and format it if necessary.
- Once the installation is complete, reinstall your Microsoft Office suite and any other necessary software.
- Restore your backed-up files and data to your computer.
Performing a clean installation of Windows can remove any underlying issues that may be causing the “mso.dll is missing or not found” error. It provides a fresh start and ensures that all system files, including mso.dll, are in a working state. However, please note that a clean installation is a more advanced process and should be performed with caution. It is recommended to seek professional assistance or guidance if you are not familiar with the process.
If the “mso.dll is missing or not found” error persists even after a clean installation of Windows, it could indicate a more complex issue related to your hardware or system configuration. In such cases, it may be necessary to consult with a computer technician or Microsoft support for further assistance.
Solution 7: Scan for malware
If you’re encountering the “mso.dll is missing or not found” error in Microsoft Office, it’s important to consider the possibility of malware or virus infections on your system. Malicious software can modify or delete critical files like mso.dll and cause various errors. To address this, you should perform a thorough scan for malware using reliable antivirus software. Follow these steps to scan your system for malware:
- Ensure that you have an updated and reputable antivirus program installed on your computer. If you don’t have one, visit a trusted antivirus provider’s website and download their software.
- Open the antivirus program and navigate to the scanning section. This section may be labeled as “Scan,” “Protection,” or “Security” depending on the antivirus software you are using.
- Select a full system scan or a deep scan option. This will thoroughly scan all files and folders on your computer, including system files like mso.dll.
- Initiate the scan and allow the antivirus software to scan your system for malware and viruses. The scan may take some time depending on the size of your hard drive and the number of files on your system.
- If any malware or viruses are detected during the scan, follow the instructions provided by the antivirus software to remove or quarantine the threats.
- After the malware scan and removal process is complete, restart your computer to ensure that any remaining malicious components are fully eliminated.
Scanning your system for malware is crucial as it can help identify and eliminate any malicious files that may be causing the “mso.dll is missing or not found” error. Additionally, it helps protect your computer from future infections.
Keep in mind that removing malware may not automatically restore the mso.dll file if it was already modified or deleted. In such cases, you may need to try other solutions mentioned earlier to restore the missing mso.dll file.
If the “mso.dll is missing or not found” error persists even after scanning for malware, it is recommended to seek further assistance from a computer technician or Microsoft support to resolve the issue.