
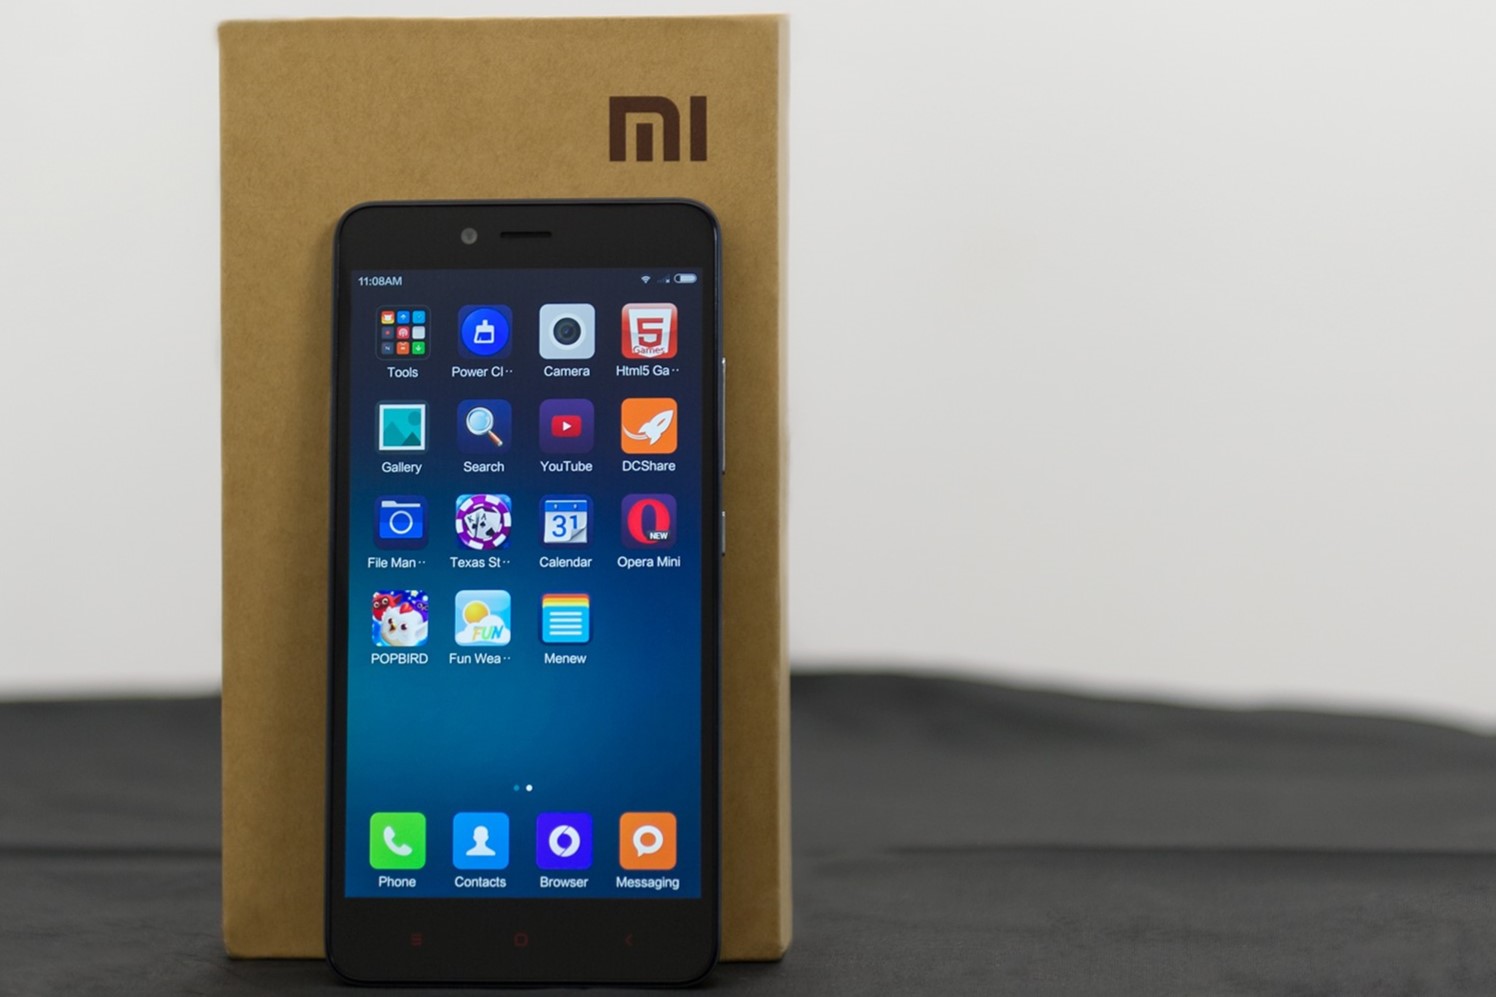
Check the ROM Version
Before embarking on the process of verifying the developer ROM on your Xiaomi Redmi Note 2, it is crucial to ensure that you are working with the correct ROM version. This initial step is imperative as it sets the foundation for the subsequent procedures. To check the ROM version on your device, follow these simple steps:
-
Access the Settings Menu: Unlock your Xiaomi Redmi Note 2 and navigate to the home screen. From there, tap on the "Settings" icon, which is typically represented by a gear or cogwheel symbol.
-
Scroll Down and Select "About Phone": Within the Settings menu, scroll down until you locate the "About Phone" option. This section contains essential information about your device, including the current ROM version.
-
View the ROM Version: Upon selecting "About Phone," you will be presented with various details pertaining to your Xiaomi Redmi Note 2. Look for the "MIUI Version" or "ROM Version" entry, which indicates the specific ROM version currently installed on your device.
-
Note the ROM Version: Take note of the ROM version displayed on the screen. This information will be instrumental in ensuring that you proceed with the appropriate developer ROM verification process.
By following these steps, you can easily check the ROM version on your Xiaomi Redmi Note 2. This preliminary action sets the stage for the subsequent procedures, enabling you to proceed with confidence and accuracy as you delve into the process of verifying the developer ROM on your device.
Enable USB Debugging
Enabling USB debugging is a pivotal step in the process of verifying the developer ROM on your Xiaomi Redmi Note 2. This functionality allows your device to communicate with the Android SDK (Software Development Kit) and facilitates the transfer of data between your phone and computer. By activating USB debugging, you gain the ability to execute advanced operations such as rooting your device, flashing custom ROMs, and debugging applications. Here's a comprehensive guide to enable USB debugging on your Xiaomi Redmi Note 2:
-
Access the Developer Options: To enable USB debugging, you first need to access the Developer Options on your Xiaomi Redmi Note 2. Start by navigating to the "Settings" menu on your device.
-
Locate the About Phone Section: Within the Settings menu, scroll down and select the "About Phone" option. This section contains essential details about your device, including the software and hardware information.
-
Tap the MIUI Version: In the "About Phone" section, locate the "MIUI Version" entry. Tap on this entry repeatedly (typically seven times) to unlock the Developer Options on your Xiaomi Redmi Note 2.
-
Return to the Settings Menu: After tapping the MIUI Version multiple times, a message confirming that you are now a developer will appear. You can then return to the main Settings menu.
-
Access the Developer Options: Once you are back in the Settings menu, scroll down to find the newly unlocked Developer Options. Tap on this option to access a range of advanced settings tailored for developers.
-
Enable USB Debugging: Within the Developer Options, locate the "USB Debugging" option and toggle the switch to enable this feature. A prompt will appear, requesting your confirmation to allow USB debugging. Simply tap "OK" to proceed.
By following these steps, you can successfully enable USB debugging on your Xiaomi Redmi Note 2. This crucial step lays the groundwork for the subsequent stages of verifying the developer ROM on your device. With USB debugging activated, you are poised to delve into the next phases of the process, ensuring seamless communication between your phone and computer as you proceed with verifying the developer ROM.
Unlock the Bootloader
Unlocking the bootloader is a pivotal step in the process of verifying the developer ROM on your Xiaomi Redmi Note 2. The bootloader serves as a security feature that restricts the device from booting into unauthorized software. By unlocking the bootloader, you gain the ability to install custom firmware and make profound modifications to the operating system. Here's a comprehensive guide to unlocking the bootloader on your Xiaomi Redmi Note 2:
-
Backup Your Data: Before initiating the bootloader unlocking process, it is crucial to back up all the essential data on your Xiaomi Redmi Note 2. Unlocking the bootloader involves wiping the device, which will result in the loss of all data. Therefore, it is imperative to create a backup to safeguard your personal information and important files.
-
Enable Developer Options: To unlock the bootloader, you need to enable the Developer Options on your Xiaomi Redmi Note 2. Navigate to the "Settings" menu, scroll down to "About Phone," and tap on the "MIUI Version" entry multiple times to unlock the Developer Options.
-
Access the Developer Options: Once the Developer Options are unlocked, return to the main Settings menu and select "Additional Settings." From there, tap on "Developer Options" to access a range of advanced settings tailored for developers.
-
Enable OEM Unlocking: Within the Developer Options, locate the "OEM unlocking" option and toggle the switch to enable this feature. This step is essential as it allows the bootloader to be unlocked on your Xiaomi Redmi Note 2.
-
Initiate the Bootloader Unlocking Process: With the Developer Options configured, power off your Xiaomi Redmi Note 2. Upon turning off the device, press and hold the Volume Down and Power buttons simultaneously to enter Fastboot mode.
-
Connect Your Device to the Computer: Using a USB cable, connect your Xiaomi Redmi Note 2 to the computer. Ensure that the necessary USB drivers are installed on your computer to facilitate the connection.
-
Execute the Unlocking Command: On your computer, open a command prompt or terminal window and navigate to the directory where ADB and Fastboot are installed. Once in the appropriate directory, execute the command to unlock the bootloader by entering "fastboot oem unlock" and press Enter.
-
Confirm the Bootloader Unlocking: Upon entering the unlocking command, your Xiaomi Redmi Note 2 will display a prompt requesting your confirmation to unlock the bootloader. Use the volume keys to navigate and the power button to confirm the action.
-
Reboot Your Device: After successfully unlocking the bootloader, reboot your Xiaomi Redmi Note 2 by entering the command "fastboot reboot" in the command prompt or terminal window on your computer.
By following these steps, you can successfully unlock the bootloader on your Xiaomi Redmi Note 2. This crucial process paves the way for verifying the developer ROM on your device, enabling you to delve into the subsequent stages with confidence and precision. Unlocking the bootloader empowers you to explore the full potential of your Xiaomi Redmi Note 2, allowing for the installation of custom ROMs and the execution of advanced customization options.
Install ADB and Fastboot on Your Computer
Installing ADB (Android Debug Bridge) and Fastboot on your computer is an essential prerequisite for performing advanced operations on your Xiaomi Redmi Note 2, including verifying the developer ROM. ADB serves as a versatile command-line tool that facilitates communication between your computer and Android device, enabling the execution of various commands such as installing apps, debugging, and accessing the device's shell. Fastboot, on the other hand, allows for bootloader-related operations, such as flashing custom recovery and unlocking the bootloader. Here's a comprehensive guide to installing ADB and Fastboot on your computer:
-
Download the Android SDK Platform Tools: Begin by downloading the Android SDK Platform Tools package, which includes ADB and Fastboot. This package is available for various operating systems, including Windows, macOS, and Linux. You can obtain the Android SDK Platform Tools from the official Android developer website or other trusted sources.
-
Extract the Platform Tools Package: Once the download is complete, extract the contents of the Platform Tools package to a convenient location on your computer. This extracted directory will contain the ADB and Fastboot executable files, which are essential for interacting with your Xiaomi Redmi Note 2.
-
Add the Platform Tools Directory to the System Path: To ensure seamless access to ADB and Fastboot from any directory in the command prompt or terminal, it is advisable to add the Platform Tools directory to the system path. By doing so, you can execute ADB and Fastboot commands without specifying the full path to the executable files.
-
Verify the Installation: After adding the Platform Tools directory to the system path, open a command prompt or terminal window and enter "adb version" to verify the successful installation of ADB. Similarly, you can enter "fastboot devices" to confirm the installation and connectivity of Fastboot.
By following these steps, you can effectively install ADB and Fastboot on your computer, laying the groundwork for the subsequent stages of verifying the developer ROM on your Xiaomi Redmi Note 2. With ADB and Fastboot readily accessible, you are equipped to execute advanced operations and commands, enabling a seamless and efficient verification process for the developer ROM on your device.
Download the Developer ROM
Downloading the developer ROM for your Xiaomi Redmi Note 2 is a crucial step in the process of verifying and installing the latest software version on your device. The developer ROM, also known as the beta version, offers early access to new features, improvements, and optimizations before they are officially released to the general public. This provides enthusiasts and developers with the opportunity to test and provide feedback on the upcoming updates, contributing to the refinement of the software before its stable release.
To download the developer ROM for your Xiaomi Redmi Note 2, follow these steps:
-
Visit the Official Xiaomi Website: Access the official Xiaomi website or the MIUI community forum, where the latest developer ROMs are typically made available for download. Xiaomi ensures that the developer ROMs are easily accessible to users who are interested in testing and providing feedback on the upcoming software updates.
-
Navigate to the ROM Download Section: Once on the official Xiaomi website or the MIUI community forum, navigate to the "ROM Download" or "MIUI ROM" section. This is where you can find a comprehensive list of available ROMs for various Xiaomi devices, including the developer ROMs for the Xiaomi Redmi Note 2.
-
Select the Developer ROM for Xiaomi Redmi Note 2: Locate the specific developer ROM intended for the Xiaomi Redmi Note 2 within the ROM download section. Ensure that you select the appropriate version compatible with your device model to avoid compatibility issues during the installation process.
-
Download the ROM Package: Once you have identified the correct developer ROM for your Xiaomi Redmi Note 2, proceed to download the ROM package to your computer. Depending on the size of the ROM package and your internet connection speed, the download process may take a few minutes to complete.
-
Verify the Integrity of the Downloaded ROM: After the ROM package has been downloaded, it is advisable to verify the integrity of the file to ensure that it has been successfully downloaded without any errors or corruption. This can be achieved by comparing the file size and checksum values provided by the official source.
By following these steps, you can successfully download the developer ROM for your Xiaomi Redmi Note 2, paving the way for the subsequent stage of flashing the developer ROM onto your device using the Mi Flash Tool. The developer ROM offers an exciting opportunity to explore and experience the latest software enhancements and features before they are officially rolled out, allowing you to contribute to the refinement of the software through valuable feedback and testing.
Flash the Developer ROM using Mi Flash Tool
Flashing the developer ROM onto your Xiaomi Redmi Note 2 using the Mi Flash Tool is a pivotal stage in the process of verifying and installing the latest software version on your device. The Mi Flash Tool, developed by Xiaomi, is a powerful utility designed to facilitate the seamless flashing of firmware, ROMs, and custom recovery on Xiaomi devices. By leveraging the Mi Flash Tool, you can ensure a smooth and efficient installation of the developer ROM, unlocking access to new features and optimizations before they are officially released.
To flash the developer ROM using the Mi Flash Tool, follow these comprehensive steps:
-
Download and Install the Mi Flash Tool: Begin by downloading the Mi Flash Tool to your computer from the official Xiaomi website or other trusted sources. Once the download is complete, proceed to install the Mi Flash Tool on your computer by following the on-screen instructions. Ensure that you have the necessary administrative privileges to install the software.
-
Boot Your Xiaomi Redmi Note 2 into Fastboot Mode: Power off your Xiaomi Redmi Note 2, and then press and hold the Volume Down and Power buttons simultaneously to enter Fastboot mode. In Fastboot mode, the device is ready to communicate with the Mi Flash Tool for the flashing process.
-
Connect Your Device to the Computer: Using a USB cable, establish a connection between your Xiaomi Redmi Note 2 in Fastboot mode and your computer. Ensure that the necessary USB drivers are installed to facilitate the connection and communication between the device and the Mi Flash Tool.
-
Launch the Mi Flash Tool: Open the Mi Flash Tool on your computer, and you will be greeted with a user-friendly interface that provides various options for flashing firmware and ROMs. The tool is designed to streamline the flashing process, offering clear instructions and intuitive controls.
-
Select the Developer ROM Package: Within the Mi Flash Tool, navigate to the location where the developer ROM package for your Xiaomi Redmi Note 2 is stored on your computer. Select the appropriate ROM package to initiate the flashing process.
-
Configure Flashing Options: Before proceeding with the flashing process, ensure that the appropriate flashing options are configured within the Mi Flash Tool. These options may include selecting the flashing method, defining the installation path, and specifying the desired action after flashing completion.
-
Initiate the Flashing Process: Once the developer ROM package and flashing options are configured, initiate the flashing process within the Mi Flash Tool. The tool will commence the installation of the developer ROM onto your Xiaomi Redmi Note 2, displaying real-time progress and status updates.
-
Monitor the Flashing Progress: Throughout the flashing process, monitor the progress and status displayed within the Mi Flash Tool. It is essential to allow the tool to complete the flashing process without interruptions to ensure a successful installation of the developer ROM.
-
Completion and Reboot: Upon successful completion of the flashing process, the Mi Flash Tool will display a confirmation message, indicating that the developer ROM has been successfully installed on your Xiaomi Redmi Note 2. You can then reboot your device to access the newly installed developer ROM and explore the latest features and enhancements.
By following these detailed steps, you can effectively flash the developer ROM onto your Xiaomi Redmi Note 2 using the Mi Flash Tool. This process empowers you to experience the latest software updates and optimizations, contributing to the refinement of the software through testing and feedback. The Mi Flash Tool serves as a reliable and efficient platform for flashing firmware and ROMs, ensuring a seamless transition to the developer ROM on your Xiaomi Redmi Note 2.