
Check the Power Button
When faced with an unresponsive iPhone 11 that refuses to turn on, the first step is to check the power button. This seemingly simple component plays a crucial role in initiating the device's startup process. Here's how you can troubleshoot the power button to potentially resolve the issue:
-
Inspect for Physical Damage: Begin by visually examining the power button for any signs of physical damage. Look for cracks, dents, or misalignment that may hinder its functionality. If any damage is detected, it's advisable to seek professional assistance to rectify the issue.
-
Clean the Power Button: Over time, dust, dirt, and debris can accumulate around the power button, impeding its smooth operation. Gently clean the button using a soft, dry cloth to remove any obstructions that may be hindering its functionality.
-
Ensure Proper Contact: Sometimes, the power button may not function as expected due to poor contact. Press the button firmly and ensure that it responds with a tactile click. If the button feels loose or unresponsive, it may indicate an underlying issue that requires attention.
-
Check for Software Glitches: In some cases, software glitches can cause the power button to become unresponsive. If this is suspected, performing a software update or reset may help resolve the issue.
By meticulously examining and addressing potential issues related to the power button, you can take the initial steps towards troubleshooting an unresponsive iPhone 11. If the problem persists despite these efforts, it may be necessary to explore additional troubleshooting measures to pinpoint and resolve the underlying cause.
Charge the iPhone 11
Ensuring that your iPhone 11 has an adequate charge is fundamental to resolving issues related to unresponsiveness. When faced with a device that won't turn on, the first step is to verify whether the battery has ample power. Here's a comprehensive guide to troubleshooting the charging process and reviving your iPhone 11:
-
Use the Original Charger: It's essential to use the original charger that came with your iPhone 11 or a certified third-party charger. Using a different or incompatible charger may result in inefficient charging or no charging at all.
-
Inspect the Charging Port: Examine the charging port of your iPhone 11 for any debris, lint, or damage. If any foreign material is present, carefully clean the port using a soft, dry brush or compressed air. Ensure that the port is free from obstructions that may hinder the connection with the charging cable.
-
Connect to a Power Source: Plug the charger into a power outlet and connect the Lightning cable to your iPhone 11. Upon making the connection, observe the device for any signs of charging activity. If the battery icon or charging indicator is displayed on the screen, it indicates that the device is successfully receiving power.
-
Allow Sufficient Charging Time: In some instances, an iPhone 11 with a completely drained battery may require a few minutes of charging before displaying any signs of life. Allow the device to charge for at least 15-30 minutes before attempting to turn it on.
-
Monitor for Charging Indicators: While the iPhone 11 is charging, keep an eye on the battery icon or charging indicator on the screen. If these indicators do not appear after a significant charging duration, it may indicate a potential issue with the charging process.
-
Consider Wireless Charging: If available, you can also attempt to charge your iPhone 11 using a compatible wireless charger. This alternative method may help determine if the issue lies with the charging cable or port.
By meticulously following these steps and monitoring the charging process, you can effectively troubleshoot an unresponsive iPhone 11 that fails to turn on due to a depleted battery. If the device exhibits no signs of charging activity despite these efforts, it may be necessary to explore additional troubleshooting measures to identify and address the underlying cause.
Check the Lightning Cable and Charger
Ensuring the integrity of the lightning cable and charger is paramount when troubleshooting an unresponsive iPhone 11. A faulty or damaged cable or charger can impede the charging process, leading to a device that refuses to turn on. Here's a detailed exploration of the steps involved in checking and addressing potential issues with the lightning cable and charger:
-
Inspect the Lightning Cable: Begin by carefully examining the entire length of the lightning cable, paying close attention to the connector ends and the cable itself. Look for any signs of fraying, kinks, or exposed wires that may indicate physical damage. If any such damage is detected, it's crucial to replace the cable with a new, undamaged one to ensure a reliable connection and efficient charging.
-
Verify Charger Authenticity: It's essential to use the original charger that was provided with the iPhone 11 or a certified third-party charger. Using an uncertified or incompatible charger can result in suboptimal charging performance or may even damage the device. Check for any indications of compatibility issues between the charger and the iPhone 11, ensuring that the power output and connector type align with the device's specifications.
-
Test with Alternative Charger: If suspicions arise regarding the functionality of the charger, consider testing the iPhone 11 with an alternative, compatible charger. This step can help determine whether the issue lies with the charger or the device itself. If the iPhone 11 responds to the alternative charger and exhibits signs of charging activity, it may indicate a problem with the original charger that requires replacement.
-
Examine the Charging Port: Inspect the charging port of the iPhone 11 for any foreign material, such as lint, debris, or dust. Even minor obstructions can hinder the connection between the lightning cable and the device, resulting in ineffective charging. Carefully clean the charging port using a soft, dry brush or compressed air to ensure unimpeded connectivity.
By meticulously assessing the condition of the lightning cable and charger, as well as verifying their compatibility and functionality, you can effectively troubleshoot an unresponsive iPhone 11. Addressing any identified issues with the cable, charger, or charging port can significantly contribute to resolving the device's unresponsiveness and facilitating successful charging. If the problem persists despite these efforts, further troubleshooting measures may be necessary to pinpoint and address the underlying cause.
Force Restart the iPhone 11
When encountering an unresponsive iPhone 11, performing a force restart can often serve as a potent troubleshooting method to address underlying software or system-related issues. Unlike a standard restart, which involves powering off the device using the touchscreen, a force restart forcibly shuts down and restarts the iPhone 11, potentially resolving the unresponsiveness. Here's a comprehensive guide to executing a force restart on the iPhone 11:
-
Understand the Button Combination: The force restart process for the iPhone 11 differs from earlier models due to the absence of a physical Home button. To initiate a force restart, you'll need to press a specific sequence of buttons in a precise manner to effectively trigger the process.
-
Initiate the Force Restart: Begin by pressing and quickly releasing the Volume Up button located on the left side of the iPhone 11. Follow this by promptly doing the same with the Volume Down button situated adjacent to the Volume Up button.
-
Press and Hold the Side Button: After swiftly releasing the Volume Down button, press and hold the Side button (previously known as the Power button) located on the right side of the device. Continue holding the Side button even when the "Slide to power off" slider appears on the screen.
-
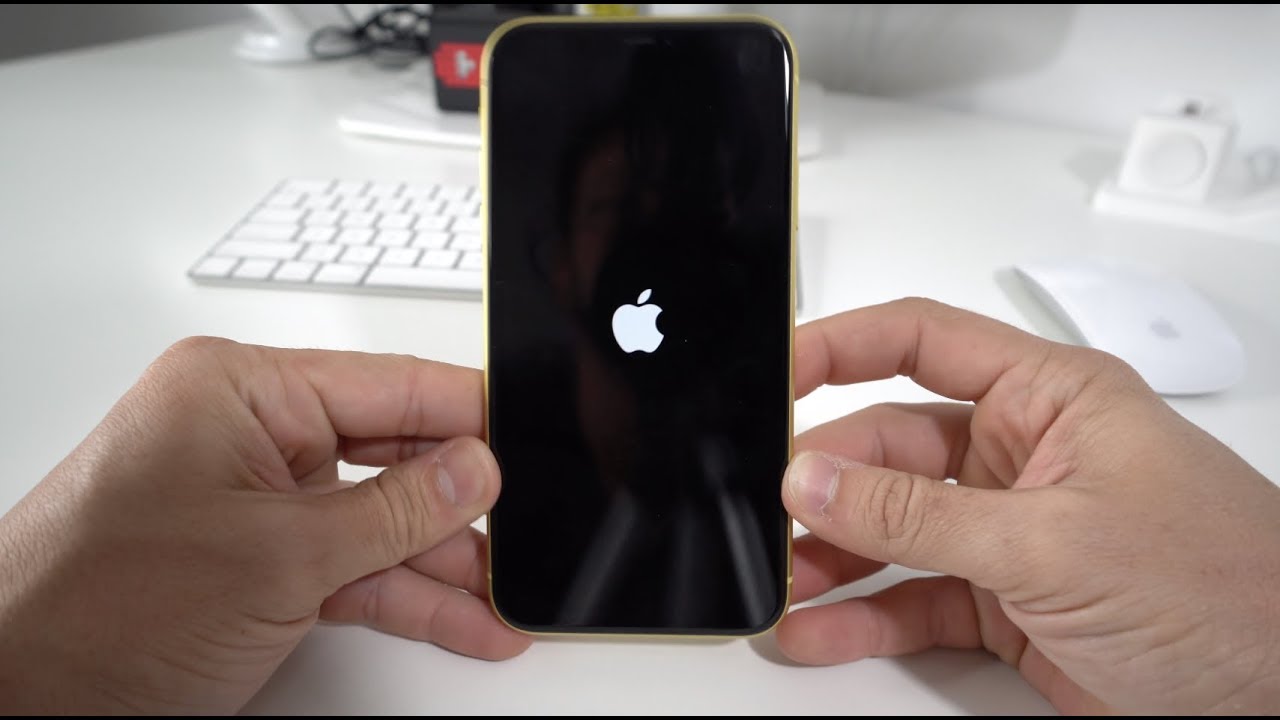
Observe the Apple Logo: As you maintain pressure on the Side button, the screen may go dark, indicating the shutdown process. Shortly after, the Apple logo should appear, signifying that the force restart has been successfully initiated.
-
Release the Side Button: Upon seeing the Apple logo, release the Side button and allow the iPhone 11 to complete the force restart process. The device will undergo a full shutdown and subsequent reboot, potentially resolving the unresponsiveness that was previously experienced.
By meticulously following these steps to execute a force restart on the iPhone 11, you can effectively address software glitches, system freezes, or unresponsive behavior that may have hindered the device's functionality. If the force restart proves successful, the iPhone 11 should reboot and become responsive once again, allowing for seamless operation and usage. If the unresponsiveness persists despite the force restart, further troubleshooting measures may be necessary to identify and resolve the underlying cause.
This method of force restarting the iPhone 11 serves as a valuable tool in the arsenal of troubleshooting techniques, offering a swift and effective means of addressing unresponsiveness without requiring extensive technical expertise or specialized tools.
Update iOS on the iPhone 11
Updating the iOS software on your iPhone 11 can serve as a pivotal solution when faced with unresponsiveness or performance issues. Apple regularly releases iOS updates, each containing bug fixes, security enhancements, and new features. By ensuring that your iPhone 11 is running the latest iOS version, you can potentially address underlying software-related issues and optimize the device's functionality. Here's a comprehensive guide to updating the iOS on your iPhone 11:
-
Check for Available Updates: Begin by accessing the "Settings" app on your iPhone 11 and navigating to "General." Within the "General" settings, select "Software Update" to initiate a check for available iOS updates. If an update is available, it will be displayed, along with details regarding the changes and improvements it encompasses.
-
Connect to a Stable Wi-Fi Network: Before proceeding with the iOS update, ensure that your iPhone 11 is connected to a stable Wi-Fi network. iOS updates are typically large in size and may not be feasible to download over a cellular connection. By connecting to Wi-Fi, you can facilitate a smooth and uninterrupted download and installation process.
-
Backup Your iPhone 11: Prior to initiating the iOS update, it's prudent to create a backup of your iPhone 11's data. This can be accomplished using iCloud or iTunes to safeguard your personal information, settings, and media in the event of any unforeseen complications during the update process.
-
Initiate the Update: If an iOS update is available for your iPhone 11, proceed to download and install it by following the on-screen prompts. Ensure that your device has ample battery life or is connected to a power source to prevent any interruptions during the update process.
-
Monitor the Update Progress: Once the iOS update begins, monitor the progress as the new software is downloaded and installed on your iPhone 11. The device may restart multiple times during the update process, and it's essential to allow the update to complete without interruption.
-
Complete the Update: Upon successful installation of the iOS update, your iPhone 11 will restart, and the updated software version will be in effect. Verify that the device is responsive and functioning as expected, and take note of any improvements or changes introduced by the updated iOS version.
By diligently updating the iOS software on your iPhone 11, you can potentially resolve unresponsiveness, system glitches, and performance issues that may have hindered the device's operation. Keeping the iOS up to date not only ensures optimal functionality but also enhances the overall user experience by incorporating the latest features and security enhancements. If the unresponsiveness persists despite the iOS update, further troubleshooting measures may be necessary to identify and address the underlying cause.
Restore the iPhone 11 with iTunes
Restoring the iPhone 11 with iTunes can be a powerful troubleshooting method to address persistent unresponsiveness, software malfunctions, or system instability. By initiating a restoration process through iTunes, you can effectively reset the device to its factory settings, potentially resolving underlying issues that have hindered its performance. Here's a comprehensive exploration of the steps involved in restoring the iPhone 11 with iTunes:
-
Prepare the Computer and iTunes: Before commencing the restoration process, ensure that you have access to a computer with the latest version of iTunes installed. It's essential to use a trusted and functional computer to facilitate a seamless restoration procedure.
-
Backup Your iPhone 11: Prior to initiating the restoration, it's prudent to create a comprehensive backup of your iPhone 11's data using iTunes. This safeguard ensures that your personal information, settings, and media are preserved, allowing for easy restoration of your data following the reset.
-
Connect the iPhone 11 to the Computer: Using a certified Lightning cable, connect your iPhone 11 to the computer that has iTunes installed. Upon establishing the connection, launch iTunes to initiate the device recognition process.
-
Access the iPhone 11 Summary in iTunes: Within iTunes, navigate to the summary section of your iPhone 11, where you'll find an overview of the device's details and available actions. This section provides essential controls for managing the device's configuration and performing restoration procedures.
-
Initiate the Restoration Process: In the summary section of iTunes, locate the "Restore iPhone" option. Clicking on this option prompts a confirmation dialog, ensuring that you intend to proceed with the restoration. Confirm your decision to initiate the restoration process.
-
Follow On-Screen Prompts: As the restoration process commences, follow the on-screen prompts and instructions provided by iTunes. These prompts guide you through the necessary steps to confirm the restoration and initiate the reset of the iPhone 11 to its factory settings.
-
Monitor the Restoration Progress: Throughout the restoration process, monitor the progress displayed within iTunes. The device will undergo a series of steps to erase its data, reset its configuration, and reinstall the iOS software to establish a clean, factory-default state.
-
Complete the Restoration: Upon successful completion of the restoration process, the iPhone 11 will restart and display the initial setup screen. At this stage, the device has been restored to its factory settings, and you can proceed with setting it up as a new device or restoring your data from the previously created backup.
By meticulously following these steps to restore the iPhone 11 with iTunes, you can effectively address persistent unresponsiveness, software-related issues, or system instability that may have hindered the device's performance. This method of restoration serves as a potent troubleshooting tool, offering a comprehensive solution to reset the device and potentially resolve underlying software or configuration issues. If the unresponsiveness persists despite the restoration, further troubleshooting measures may be necessary to identify and address the root cause of the issue.