
Check the Battery
One of the reasons why an iPhone may not turn on is because of a drained or faulty battery. Before exploring other troubleshooting steps, it is crucial to check the battery status of your device. Here’s how you can do it:
- Charge your iPhone: Connect your iPhone to a wall charger or a computer using a lightning cable. Leave it plugged in for at least 15 minutes to ensure it gets enough power.
- Look for charging indicator: If your iPhone displays a battery icon or a charging symbol on the screen, it means the battery is receiving power. In this case, let it charge for a while before attempting to turn it on.
- Inspect the charging cable and adapter: Sometimes, a faulty cable or adapter can prevent the battery from charging properly. Ensure that the lightning cable is not damaged and the charging adapter is working correctly.
- Try a different power source: If your iPhone still doesn’t display any signs of charging, try plugging it into a different wall outlet or using a different USB port on your computer. There could be an issue with the power source.
If none of the above steps work, it is possible that your iPhone battery needs to be replaced. In such cases, it is advisable to contact an authorized service provider or visit an Apple Store for assistance.
Remember, a dead or faulty battery is a common issue that can be resolved easily in most cases. Checking the battery should always be the first step in troubleshooting an iPhone that won’t turn on.
Force Restart the iPhone
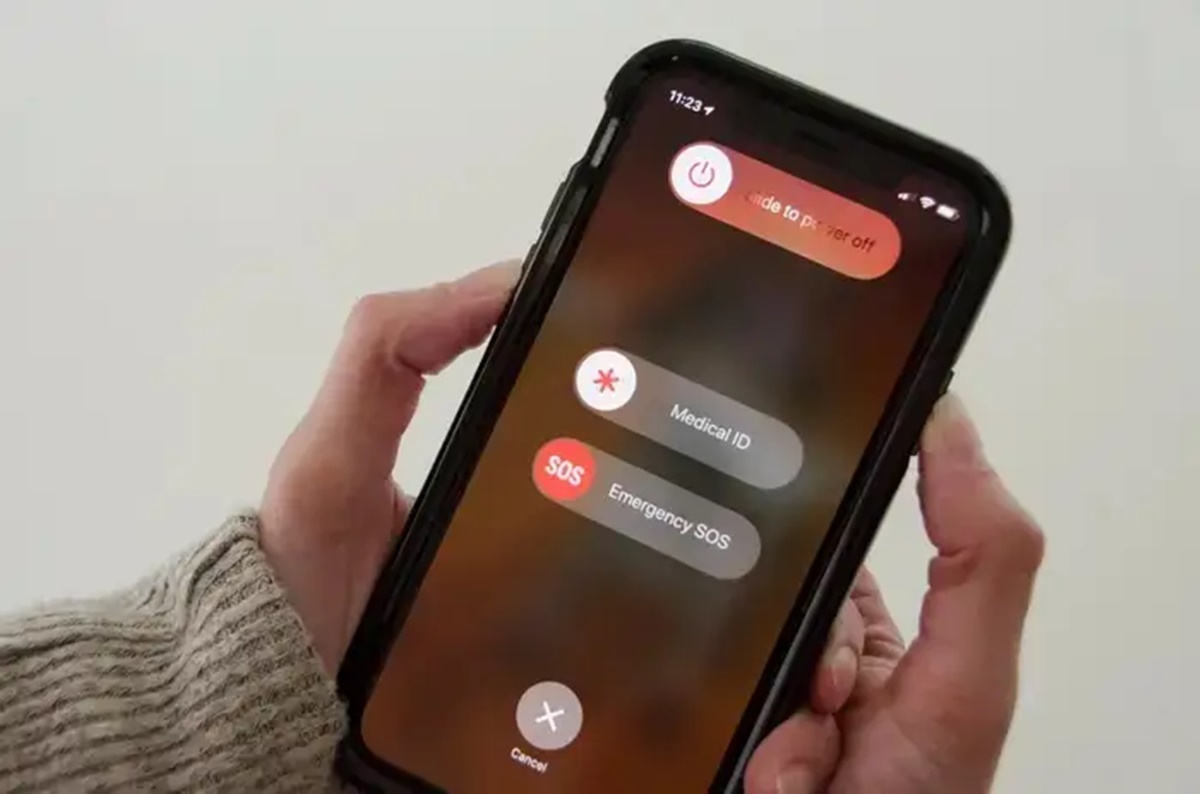
If your iPhone is unresponsive and won’t turn on, performing a force restart can often resolve the issue. This method can help to restart the device when the usual power button doesn’t work. Here’s how you can force restart different models of iPhones:
- iPhone 6s and earlier: Press and hold the Home button and the Sleep/Wake (Power) button together for about 10 seconds. Keep holding the buttons until you see the Apple logo on the screen.
- iPhone 7 and iPhone 7 Plus: Press and hold the Volume Down button and the Sleep/Wake (Power) button together for about 10 seconds. Continue holding the buttons until the Apple logo appears on the screen.
- iPhone 8 and newer models: Press and release the Volume Up button quickly, then press and release the Volume Down button quickly. Finally, press and hold the Side button until the Apple logo appears on the screen.
After performing the force restart, wait for a few seconds to see if your iPhone powers on. If it doesn’t, proceed to the next troubleshooting step.
Force restarting an iPhone clears temporary software glitches and can help resolve minor issues that might be causing the device to not turn on. It is a simple yet effective method that may save you a visit to the Apple Store or the need for professional assistance.
Charge the iPhone
If your iPhone won’t turn on, it’s possible that the battery has completely drained. In such cases, charging the device is essential. Here are the steps to follow:
- Use a wall charger: Connect your iPhone to a wall charger using a lightning cable. Ensure that the charger is working properly and the cable is securely plugged into both the charger and your iPhone.
- Give it time: Leave your iPhone connected to the charger for at least 15-30 minutes. Sometimes, the battery might be extremely low, and it needs a bit of time to accumulate enough charge to power on.
- Check for charging indicator: Look for the charging symbol or battery icon on the screen. If you see it, it means that your iPhone is receiving power and is in the process of charging.
- Try a different charging cable or adapter: If your iPhone doesn’t display any signs of charging, there may be an issue with the lightning cable or power adapter. Consider trying a different cable or adapter to rule out any potential problems.
- Test with a different power source: If possible, plug your iPhone into a different wall outlet or try charging it using a USB port on your computer. Sometimes, a faulty power source can prevent the iPhone from charging properly.
If your iPhone still doesn’t turn on after following these steps, there might be an underlying issue that needs further troubleshooting. However, in many cases, a simple charge is all it takes to get your device up and running again.
Remember to be patient while your iPhone charges, especially if the battery was completely drained. If the problem persists, move on to the next troubleshooting step for further investigation.
Connect to a Computer
If charging your iPhone directly from a wall outlet doesn’t resolve the issue of it not turning on, connecting it to a computer can be another troubleshooting step worth trying. Here’s how you can do it:
- Use a Lightning cable: Connect your iPhone to a computer using a Lightning cable. Ensure that the cable is securely plugged into both the computer and your iPhone.
- Wait for iTunes to launch: In most cases, when you connect your iPhone to a computer, iTunes will automatically launch. If it doesn’t, open iTunes manually. Make sure you have the latest version of iTunes installed on your computer.
- Look for iPhone recognition: Check if your computer recognizes your iPhone. You should see your device appearing in the iTunes window or under “Devices” in the sidebar.
- Follow prompts or prompts screen: If iTunes prompts you with any on-screen instructions, follow them accordingly. There might be situations where your iPhone needs to be updated or restored before it can turn on properly.
- Leave it connected: Keep your iPhone connected to the computer for some time. Sometimes, the connection can help jumpstart the device and resolve any underlying software issues.
If your iPhone still doesn’t turn on after connecting it to a computer, there may be more complex issues at play. It might be necessary to move on to the next troubleshooting steps or seek professional assistance.
Connecting your iPhone to a computer can help in situations where there are software or compatibility issues preventing the device from turning on. It allows for a more direct and in-depth troubleshooting process that may uncover the root cause of the problem.
Update or Restore the iOS
If connecting your iPhone to a computer did not resolve the issue, updating or restoring the iOS software might help. Here are the steps to update or restore the iOS on your iPhone:
- Launch iTunes or Finder: Connect your iPhone to a computer and open iTunes (for Windows) or Finder (for Mac) if it doesn’t launch automatically.
- Select your iPhone: In iTunes or Finder, locate and select your iPhone. It should appear in the device list or sidebar.
- Check for updates: If there is a new iOS software update available, iTunes or Finder will prompt you to download and install it. Follow the on-screen instructions to update your iPhone’s software.
- Attempt a restore: If your iPhone is already running the latest iOS version or the update process did not resolve the issue, you can try restoring the device. This will erase all data and settings, so make sure you have a recent backup.
- Click on “Restore iPhone”: In iTunes or Finder, click on the “Restore iPhone” button. Confirm your choice and follow the prompts to complete the restoration process.
Updating the iOS software can fix bugs and glitches that may be causing your iPhone to not turn on. Restoring the device to its factory settings can help eliminate any software conflicts or corrupt files. However, it is important to note that restoring the iPhone will erase all data, so it’s crucial to have a backup of your important files beforehand.
If the update or restore process doesn’t resolve the issue, it might be necessary to consider other troubleshooting methods or consult a professional technician for assistance.
Check for Hardware Issues
If your iPhone still won’t turn on after trying the previous troubleshooting steps, there may be a hardware issue that needs to be addressed. Here’s what you can do to check for potential hardware problems:
- Inspect the charging port: Examine the charging port on your iPhone for any dirt, debris, or damage. Sometimes, a build-up of dust or a bent pin can prevent the device from charging properly. Use a soft, dry brush or compressed air to clean the port gently.
- Check the display: Look closely at the iPhone’s display for any signs of physical damage, such as cracks or black spots. If the display is damaged, it may need to be replaced by a certified technician.
- Try a different charging cable and adapter: Test your iPhone with a different cable and charging adapter, preferably ones that are known to work with other devices. This can help determine if the issue is with your current cable or adapter.
- Attempt to power on using different buttons: Depending on the model of your iPhone, try using alternative button combinations to turn it on. For example, on an iPhone with a broken power button, pressing the Home button and connecting it to a power source might initiate the boot-up process.
- Visit an authorized service provider: If none of the above steps work, it is advisable to seek professional help. Contact an authorized Apple service provider or visit an Apple Store to have your iPhone examined by skilled technicians.
Checking for hardware issues is essential when software-related troubleshooting methods fail to turn your iPhone on. It helps identify and address any physical problems that may be causing the device to be unresponsive. Remember to handle the iPhone with care and never attempt to disassemble or repair it yourself if you are not experienced in doing so.
A knowledgeable technician can diagnose and fix hardware issues to get your iPhone back up and running again.
Reset the iPhone to Factory Settings
If all previous troubleshooting steps have failed to fix your iPhone that won’t turn on, performing a factory reset can be a last resort. However, it’s important to note that this will erase all data and settings on your device, so it should only be done as a final option. Here’s how you can reset your iPhone to factory settings:
- Backup your data: Before proceeding with a factory reset, make sure you have a recent backup of all your important data. This will ensure that you can restore your personal information and settings after the reset.
- Open the Settings app: Go to the “Settings” app on your iPhone and tap on your name or profile picture at the top.
- Select “General”: Scroll down and select “General” from the options.
- Tap “Reset”: In the General settings, tap on “Reset” to access the reset options.
- Choose “Erase All Content and Settings”: Select “Erase All Content and Settings” from the reset options. You may be prompted to enter your passcode and Apple ID password.
- Confirm the reset: A warning message will appear, informing you that all data will be erased. Tap on “Erase Now” to initiate the factory reset.
After the factory reset, your iPhone will be restored to its original settings, as if it were brand new. You can then set it up as a new device or restore from your backup to retrieve your data and preferences.
Performing a factory reset can be a drastic step, but it can resolve persistent software issues that may be preventing your iPhone from turning on. It is recommended to seek professional assistance or contact Apple support if the problem persists even after the reset.
Seek Professional Help
If all the previous troubleshooting steps have been unsuccessful in fixing your iPhone that won’t turn on, it may be time to seek professional help. Here are some options to consider:
- Contact Apple Support: Reach out to Apple Support through their website or by phone. They can provide guidance and further troubleshooting steps specific to your iPhone model and software version.
- Visit an Apple Store: Schedule an appointment at an Apple Store and have an Apple Genius examine your iPhone. They have the expertise and resources to diagnose and repair a wide range of hardware and software issues.
- Find an authorized service provider: If there’s no Apple Store nearby, you can locate an authorized service provider in your area. These technicians are trained and certified by Apple to perform repairs and offer support for Apple devices.
- Consider third-party repair services: If your iPhone is no longer covered by warranty, you may opt to seek assistance from third-party repair services. Make sure to research and choose a reputable provider with positive reviews.
- Evaluate repair or replacement options: Depending on the severity and cost of the repair, it may be worth considering if it’s more practical to have your iPhone repaired or to invest in a new device.
Professional help can often provide solutions or insights that may not be available through DIY troubleshooting. They have the necessary tools and knowledge to diagnose and fix complex issues that could be causing your iPhone to not turn on.
When seeking professional help, be prepared to provide details about the troubleshooting steps you’ve already taken and any specific symptoms or error messages you’ve encountered. This will assist technicians in accurately diagnosing and resolving the problem.
Remember, seeking professional assistance ensures that your iPhone receives expert attention, increasing the chances of a successful repair or resolution.