
Restart your iPhone
When your iPhone won’t connect to Wi-Fi, one of the simplest and most effective troubleshooting steps you can take is to restart your device. This can help resolve any temporary glitches or software issues that may be affecting your Wi-Fi connection.
To restart your iPhone, follow these steps:
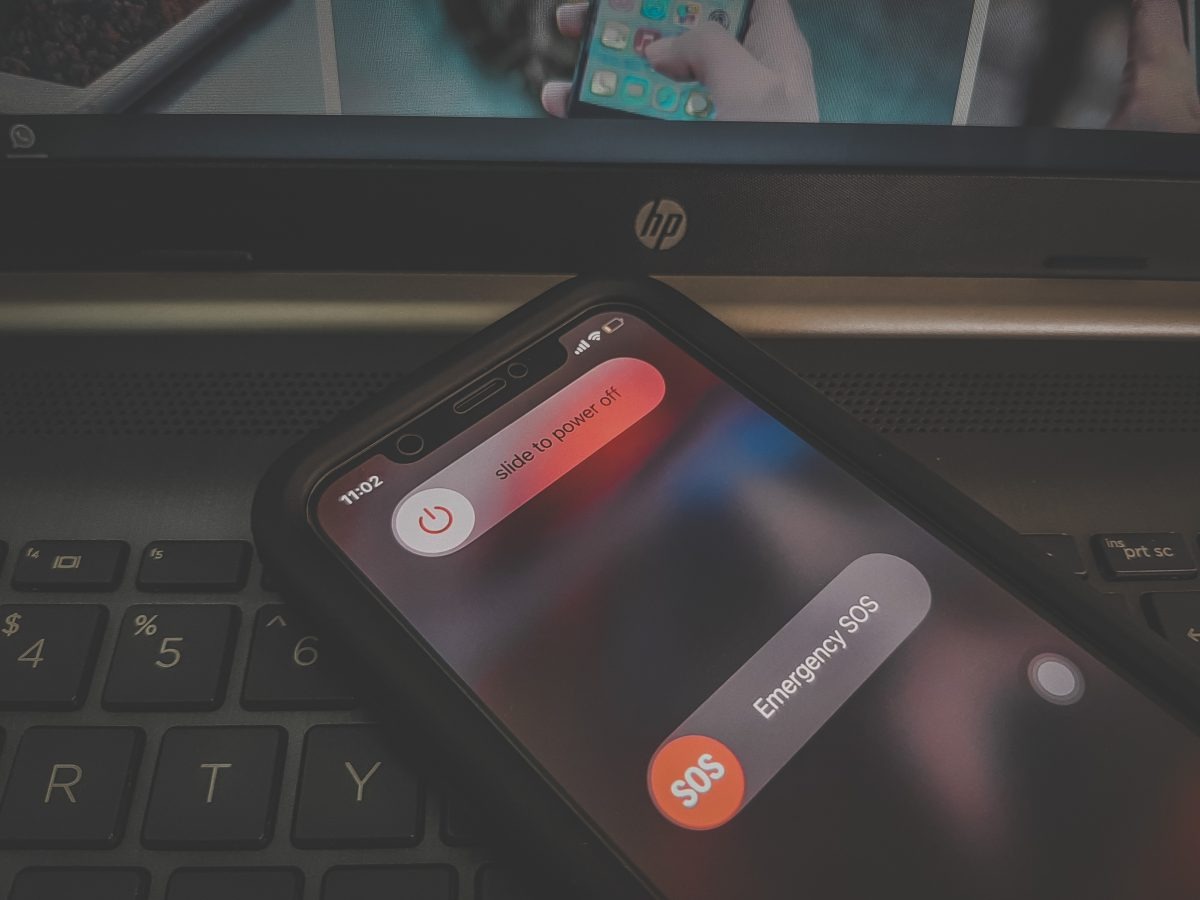
- Press and hold the power button (located on the right or top of your iPhone) until you see the “slide to power off” message on the screen.
- Swipe the power icon from left to right to power off your device.
- After your iPhone is completely turned off, wait for a few seconds.
- Press and hold the power button again until you see the Apple logo appear on the screen. This indicates that your iPhone is restarting.
- Once your iPhone has restarted, try connecting to a Wi-Fi network again to see if the issue has been resolved.
If your iPhone still won’t connect to Wi-Fi after restarting, don’t worry. There are several more troubleshooting steps you can try to get your Wi-Fi connection up and running again.
Check Wi-Fi settings
When your iPhone is having trouble connecting to Wi-Fi, it’s important to check your Wi-Fi settings to ensure everything is configured correctly. Here are a few steps you can take to troubleshoot the issue:
- Open the Settings app on your iPhone and tap on “Wi-Fi.”
- Make sure that Wi-Fi is turned on by toggling the switch next to it.
- Check if your iPhone is connected to the correct Wi-Fi network. If not, tap on the network name and select the correct one.
- If the Wi-Fi network requires a password, double-check that you have entered the correct password.
- Try forgetting the Wi-Fi network and reconnecting to it. To forget a network, tap the (i) icon next to the network name and select “Forget This Network.” Then, go back to the Wi-Fi settings and connect to the network again.
- Ensure that Airplane Mode is turned off. When it’s enabled, it disables Wi-Fi connectivity.
- If your iPhone is still not connecting to Wi-Fi, try resetting the network settings. Go to Settings > General > Reset > Reset Network Settings. Keep in mind that this will remove all saved Wi-Fi passwords, so make sure you have them handy.
By checking and adjusting your Wi-Fi settings, you can often resolve connectivity issues and successfully connect your iPhone to a Wi-Fi network.
Forget and Reconnect to the Wi-Fi Network
If your iPhone is still not connecting to Wi-Fi, one troubleshooting step you can take is to forget and then reconnect to the Wi-Fi network. This can help reset any settings or configurations that may be causing the connectivity issue.
Here’s how you can forget and reconnect to a Wi-Fi network on your iPhone:
- Open the Settings app and tap on “Wi-Fi.”
- Find the Wi-Fi network that you’re having trouble connecting to and tap on the (i) icon next to it.
- Tap on “Forget This Network” and confirm your action.
- Once you’ve forgotten the network, go back to the Wi-Fi settings and select the network again.
- Enter the password, if required, and see if your iPhone successfully connects to the Wi-Fi network.
By forgetting and reconnecting to the Wi-Fi network, you are essentially starting fresh with the network settings, which can help resolve any issues that were preventing your iPhone from connecting.
If you’re still experiencing problems, proceed to the next troubleshooting step to further resolve the issue.
Reset Network Settings
If you’re still encountering difficulties with your iPhone’s Wi-Fi connection, resetting the network settings can be a helpful step to resolve the issue. Resetting the network settings erases all network-related settings on your device and restores them to their default state. Here’s how you can reset the network settings:
- Open the Settings app on your iPhone and navigate to “General.”
- Scroll down and tap on “Reset.”
- Choose “Reset Network Settings” from the list of options.
- You may be prompted to enter your passcode before proceeding.
- Confirm the network settings reset by tapping on the “Reset Network Settings” button.
Once the network settings have been reset, your iPhone will restart. After restarting, try connecting to Wi-Fi again and see if the problem has been resolved.
It’s important to note that resetting network settings will remove any saved Wi-Fi passwords, VPN configurations, and other network-related settings. You may need to reenter passwords and reconfigure any customized network settings after the reset.
If resetting network settings doesn’t fix the Wi-Fi connection issue, you can explore further troubleshooting options to get your iPhone connected to Wi-Fi once again.
Update iOS
Keeping your iPhone’s operating system up to date is crucial for optimal performance, bug fixes, and overall stability, including Wi-Fi connectivity. If your iPhone won’t connect to Wi-Fi, it’s worth checking if there is an available iOS update.
Here’s how you can update your iOS:
- Open the Settings app on your iPhone.
- Tap on “General” and then select “Software Update.”
- If an update is available, you’ll see a notification with details about the update. Tap on “Download and Install” to begin the update process.
- Make sure your iPhone is connected to Wi-Fi or has a stable cellular data connection.
- Follow the on-screen instructions to complete the update. Your iPhone may restart during the installation process.
Updating your iOS to the latest version can often resolve software-related issues and improve overall device performance, including Wi-Fi connectivity. After updating, try connecting to Wi-Fi and see if the problem persists.
If you find that your iPhone still won’t connect to Wi-Fi after updating iOS, there are additional troubleshooting steps you can take to troubleshoot the issue further.
Reset your iPhone’s Network Settings
If the previous steps haven’t resolved the Wi-Fi connectivity issue on your iPhone, you can try resetting your iPhone’s network settings. This step will restore the network settings to their default state, which can help fix any lingering software issues that might be causing the problem.
Here’s how you can reset your iPhone’s network settings:
- Open the Settings app on your iPhone.
- Navigate to “General” and then scroll down to “Reset.”
- Tap on “Reset Network Settings.”
- You may need to enter your passcode for confirmation.
- Tap on the “Reset Network Settings” button to proceed.
After resetting the network settings, your iPhone will restart. Once it has restarted, reconnect to your Wi-Fi network and check if the issue has been resolved.
Note that resetting network settings will remove all saved Wi-Fi passwords, VPN configurations, and other network-related settings. You’ll need to re-enter Wi-Fi passwords and reconfigure any customized network settings after the reset.
If resetting the network settings doesn’t solve the problem, there are more troubleshooting options to explore in order to get your iPhone successfully connected to Wi-Fi again.
Check for Wi-Fi Interference
If your iPhone continues to have difficulties connecting to Wi-Fi, it’s possible that there may be interference from other devices or factors that are affecting the signal strength. By checking for Wi-Fi interference, you can identify and address any issues that may be causing connectivity problems.
Here are a few steps to help you check for Wi-Fi interference:
- Move closer to your Wi-Fi router or access point to see if the connection improves. Sometimes, distance can weaken the Wi-Fi signal.
- Check if there are any large objects (such as walls, furniture, or appliances) between your iPhone and the router that could be blocking or obstructing the signal.
- Switch the Wi-Fi channel on your router. Other electronic devices and neighboring networks may be using the same channel and causing interference. Access your router’s settings through a web browser and try different channels to see if it improves the Wi-Fi connection.
- Turn off or move away from other devices that could be causing interference, such as cordless phones, baby monitors, microwave ovens, or Bluetooth devices.
- Try using your iPhone in different locations to see if the issue is specific to a certain area. This can help determine if there is any environmental interference causing the problem.
By checking for Wi-Fi interference and making adjustments, you can potentially improve the signal strength and enhance your iPhone’s ability to connect to Wi-Fi networks.
If you’ve completed these steps and Wi-Fi connection issues persist, there are more troubleshooting steps to explore to resolve the problem.
Reset Router and Modem
If your iPhone still won’t connect to Wi-Fi, it’s worth attempting to reset your router and modem. This can help refresh the network connection and resolve any temporary issues that may be affecting the Wi-Fi connectivity.
Follow these steps to reset your router and modem:
- Locate your router and modem. They are usually separate devices, but sometimes they are combined into a single unit.
- Unplug the power cables from both the router and modem. Wait for at least 30 seconds.
- Plug in the modem first and wait for the indicator lights to stabilize. This process may take a few minutes.
- Next, plug in the router and wait for its indicator lights to stabilize as well.
Once both the router and modem have been reset and are fully powered on, try connecting your iPhone to the Wi-Fi network again.
If resetting the router and modem doesn’t solve the issue, you can also try updating the firmware of your router. Check the router manufacturer’s website for any available updates and follow their instructions to update the firmware.
It’s important to note that resetting the router and modem may also disrupt the Wi-Fi connection for other devices connected to the network. In such cases, you may need to reconnect those devices to Wi-Fi using the updated credentials.
If the Wi-Fi connection issue persists after resetting the router and modem, there are additional troubleshooting steps you can take to resolve the problem.
Contact your Internet Service Provider
If you have tried all the previous troubleshooting steps and your iPhone still won’t connect to Wi-Fi, it might be time to reach out to your Internet Service Provider (ISP) for assistance. The issue could potentially be related to your internet connection or settings that are outside your control.
Here’s what you can do when contacting your ISP:
- Collect relevant information: Take note of the Wi-Fi network name, any error messages you have encountered, and any specific details about the issue you are facing. This will help your ISP better understand the problem.
- Locate the contact information: Find the contact number or email of your ISP’s customer support. This can usually be found on your ISP’s website or on your monthly bill statement.
- Reach out to customer support: Contact your ISP’s customer support and explain the Wi-Fi connectivity issue you are experiencing. Provide them with the information you collected in step 1.
- Follow their troubleshooting guidance: Your ISP’s customer support will likely guide you through additional troubleshooting steps to determine the cause of the issue. Listen carefully and follow their instructions.
- Ask for technician assistance: If the issue cannot be resolved over the phone or through remote troubleshooting, request a technician visit to investigate and resolve the problem.
Remember to be patient and cooperative when communicating with your ISP’s customer support. Collaboration with them will help expedite the resolution process.
In some cases, the Wi-Fi connectivity issue may be due to an outage or maintenance work in your area. Your ISP will be able to provide you with updates on any known issues or scheduled maintenance activities.
If the issue is determined to be unrelated to your ISP, they may provide additional guidance or refer you to your device manufacturer for further assistance.
By contacting your ISP and seeking their help, you can ensure that all possible avenues have been explored in resolving the Wi-Fi connectivity problem on your iPhone.
Visit an Apple Store or Authorized Service Provider
If you’ve tried all the troubleshooting steps and your iPhone still won’t connect to Wi-Fi, it may be time to seek assistance from an Apple Store or an authorized service provider. These professionals have the expertise to diagnose and resolve more complex hardware or software issues that might be affecting your iPhone’s Wi-Fi connectivity.
Here’s what you can do when visiting an Apple Store or authorized service provider:
- Find the nearest Apple Store or authorized service provider: Use the Apple Store Locator or check Apple’s website to find the closest location.
- Make an appointment: To receive personalized assistance, it’s recommended to schedule an appointment with an Apple Genius or authorized technician. You can do this online or by calling the store directly.
- Prepare your iPhone: Before your appointment, back up your iPhone to iCloud or your computer to ensure that your data is safe. Also, remove any third-party accessories that are not necessary for the appointment.
- Bring necessary documents: When visiting, bring your iPhone, proof of purchase, and any relevant warranty information. This will help the technicians assess your device and provide appropriate assistance.
- Describe the issue: Explain the Wi-Fi connectivity problem you are facing and mention the troubleshooting steps you have already attempted. The technician will use this information to guide their diagnosis and repair process.
- Follow their recommendations: The technician will diagnose your iPhone and propose appropriate solutions. This may include repairing or replacing specific components, performing software updates, or suggesting further diagnostics.
Visiting an Apple Store or authorized service provider ensures that your iPhone is evaluated and attended to by certified professionals who specialize in Apple products. They have access to advanced diagnostics and repair tools that can help resolve complex Wi-Fi connectivity issues.
Keep in mind that if your iPhone is under warranty, you may be eligible for free repairs or replacement. However, if your device is out of warranty, repair costs may apply. The technicians will inform you about any potential fees before proceeding with the repairs.
By seeking assistance from an Apple Store or authorized service provider, you can rest assured that your iPhone’s Wi-Fi connectivity problem will be thoroughly addressed by experts in the field.