
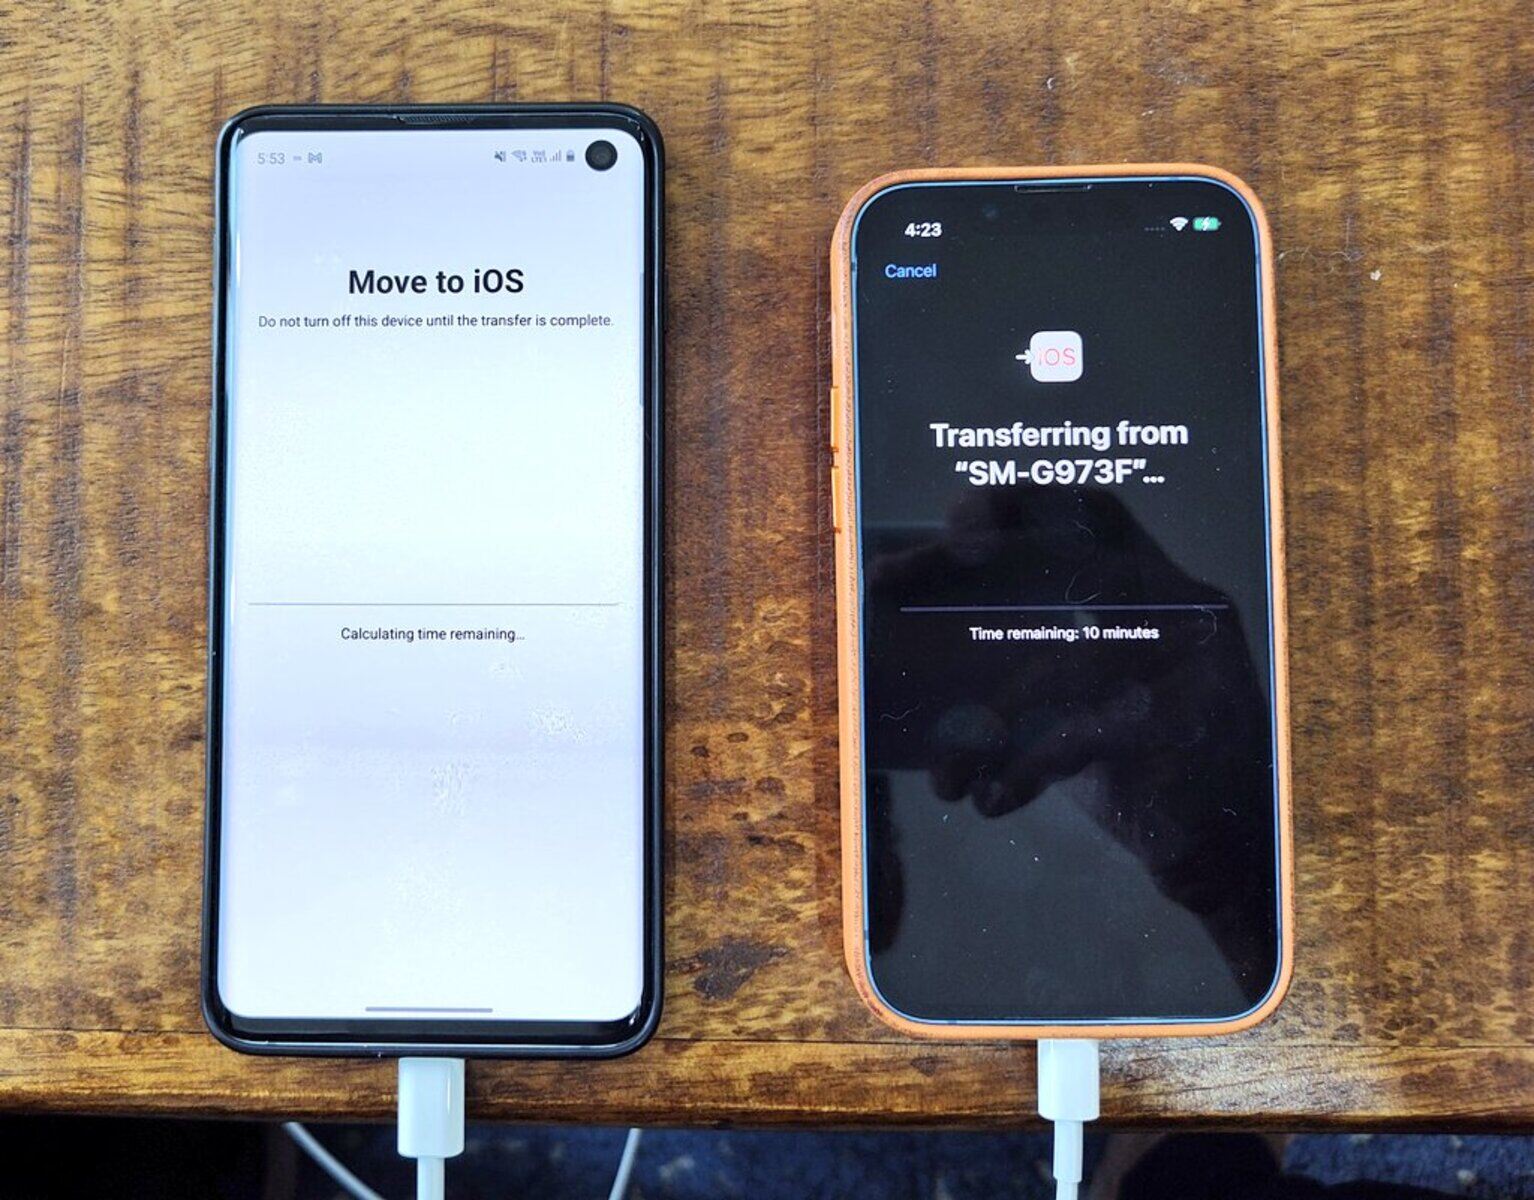
Using Samsung Smart Switch
Transferring photos from a Samsung device to an iPhone 13 can be a seamless process with the help of Samsung Smart Switch. This intuitive tool allows you to effortlessly migrate your precious memories from your Samsung phone to your new iPhone 13. Here's a step-by-step guide to using Samsung Smart Switch for this purpose:
-
Install Samsung Smart Switch: Begin by installing Samsung Smart Switch on your Samsung device. You can download this app from the Google Play Store. Once installed, launch the app to initiate the transfer process.
-
Connect Your Samsung Device: Using a USB cable, connect your Samsung device to your computer. Upon connecting, Samsung Smart Switch will prompt you to select the content you wish to transfer. Choose "Photos" from the list of options.
-
Select Destination: After selecting the photos you want to transfer, choose the destination as "iPhone 13" or "iOS device" from the available options. This will ensure that the selected photos are transferred to your new iPhone 13.
-
Initiate the Transfer: Once the destination is set, initiate the transfer process by clicking on the "Transfer" or "Start Transfer" button within the Samsung Smart Switch app. The app will then begin transferring the selected photos from your Samsung device to your iPhone 13.
-
Wait for Completion: Depending on the number of photos being transferred, the process may take some time. It's important to ensure that both devices remain connected throughout the transfer process to avoid any interruptions.
-
Verify the Transfer: Once the transfer is complete, verify that all the selected photos have been successfully transferred to your iPhone 13. You can do this by accessing the Photos app on your iPhone 13 and checking for the presence of the transferred photos.
Using Samsung Smart Switch simplifies the process of transferring photos from a Samsung device to an iPhone 13, ensuring that your cherished memories seamlessly make the transition to your new device. With its user-friendly interface and efficient transfer capabilities, Samsung Smart Switch offers a convenient solution for migrating photos and other content between devices.
Using Google Photos
Google Photos provides a convenient and versatile platform for transferring photos from a Samsung device to an iPhone 13. This cloud-based service offers seamless integration with both Android and iOS devices, making it an ideal solution for migrating your cherished memories to your new iPhone 13. Here's a comprehensive guide on using Google Photos to facilitate the transfer process:
-
Install Google Photos: If you don't already have the Google Photos app installed on your Samsung device, you can download it from the Google Play Store. Once installed, launch the app and sign in with your Google account credentials.
-
Upload Photos to Google Photos: With the Google Photos app open, navigate to the photos you wish to transfer and select them for upload. Google Photos provides the option to upload individual photos or entire albums, allowing you to customize the transfer based on your preferences.
-
Access Google Photos on iPhone 13: After the photos have been successfully uploaded to Google Photos, you can access them from your iPhone 13 by downloading the Google Photos app from the App Store. Sign in with the same Google account used to upload the photos, and you will be able to view the uploaded photos on your iPhone 13.
-
Download Photos to iPhone 13: Within the Google Photos app on your iPhone 13, you can select the photos you uploaded from your Samsung device and choose the option to download them to your iPhone 13's local storage. This process ensures that the photos are readily accessible from your device's Photos app.
-
Organize and Manage Photos: Google Photos offers robust organizational features, allowing you to create albums, apply labels, and edit metadata for your transferred photos. This enables you to maintain a well-organized collection of memories on your iPhone 13.
By leveraging the capabilities of Google Photos, you can seamlessly transfer photos from your Samsung device to your new iPhone 13 while benefiting from the platform's cloud-based storage and intuitive interface. The flexibility and accessibility offered by Google Photos make it a valuable tool for managing and transferring your photo library across different devices, ensuring that your memories remain easily accessible regardless of the device you are using.
Using a Computer
Transferring photos from a Samsung device to an iPhone 13 using a computer provides a versatile and reliable method for seamlessly migrating your cherished memories. This approach leverages the connectivity and file management capabilities of a computer to facilitate the transfer process. Here's a detailed guide on using a computer to transfer photos from a Samsung device to an iPhone 13:
-
Connect Your Samsung Device: Begin by connecting your Samsung device to the computer using a compatible USB cable. Once connected, ensure that your computer recognizes the Samsung device as a removable storage device. This typically prompts the computer to display the contents of the Samsung device, including the photos stored on it.
-
Copy Photos to Computer: Navigate to the location on your Samsung device where the photos are stored. Select the photos you wish to transfer and copy them to a folder on your computer. This can be achieved by simply dragging and dropping the selected photos from the Samsung device's storage to a designated folder on your computer's hard drive.
-
Connect Your iPhone 13: After copying the photos from your Samsung device to the computer, disconnect the Samsung device and connect your iPhone 13 to the computer using a separate USB cable. Similar to the previous step, ensure that your computer recognizes the iPhone 13 as a removable storage device.
-
Transfer Photos to iPhone 13: Navigate to the folder on your computer where the photos from your Samsung device are stored. Select the photos you wish to transfer to your iPhone 13 and copy them to the appropriate location within the iPhone 13's storage. This process involves dragging and dropping the selected photos from the computer to the designated location on the iPhone 13.
-
Verify the Transfer: Once the transfer is complete, verify that all the selected photos have been successfully transferred to your iPhone 13. You can do this by accessing the Photos app on your iPhone 13 and checking for the presence of the transferred photos.
By utilizing a computer as an intermediary for transferring photos, you can effectively manage the migration process while benefiting from the file management capabilities and flexibility offered by a computer. This method allows for seamless control over the selection and organization of photos, ensuring that your memories transition smoothly from your Samsung device to your new iPhone 13.
Using a Third-Party App
When it comes to transferring photos from a Samsung device to an iPhone 13, utilizing a third-party app can offer a convenient and efficient solution. These apps are specifically designed to streamline the process of transferring data between different devices, providing a user-friendly interface and robust functionality. Here's an in-depth exploration of using a third-party app to facilitate the seamless transfer of photos from a Samsung device to an iPhone 13.
Exploring Third-Party Apps
Numerous third-party apps are available on both the Google Play Store and the App Store, offering specialized features for transferring photos and other data between Android and iOS devices. These apps leverage advanced technology to ensure the secure and swift migration of photos, catering to the diverse needs of users seeking a reliable transfer solution.
Selecting a Suitable App
Before initiating the transfer process, it's essential to research and select a reputable third-party app that is compatible with both Samsung and iPhone 13 devices. Look for apps with positive user reviews, a straightforward interface, and a proven track record of successful data transfers. Additionally, consider the app's transfer speed, security measures, and overall user experience to make an informed decision.
Installing and Configuring the App
Once you've identified a suitable third-party app, proceed to download and install it on both your Samsung device and iPhone 13. After installation, launch the app on both devices and follow the on-screen instructions to configure the transfer settings. These apps often provide customizable options for selecting the specific photos you wish to transfer, ensuring a tailored and efficient migration process.
Initiating the Transfer
With the third-party app configured on both devices, initiate the transfer process by selecting the photos you want to migrate from your Samsung device to your iPhone 13. Depending on the app's features, you may have the flexibility to choose individual photos, entire albums, or specific folders for transfer. Once the selection is made, proceed to trigger the transfer process within the app's interface.
Verifying the Transfer
After the transfer process is complete, take the time to verify that all selected photos have been successfully transferred to your iPhone 13. Access the Photos app on your iPhone 13 and confirm the presence of the transferred photos, ensuring that your cherished memories have seamlessly transitioned to your new device.
By leveraging a reputable third-party app, you can simplify the process of transferring photos from a Samsung device to an iPhone 13, benefiting from advanced features and a user-centric approach to data migration. These apps serve as valuable tools for seamlessly bridging the gap between different operating systems, ensuring that your photo library remains accessible across diverse devices.