
What is a RAW file?
A RAW file is a digital image file format that contains minimally processed or uncompressed data directly from a camera’s image sensor. Unlike other common image formats like JPEG or PNG, which undergo in-camera processing and compression, RAW files preserve all the original information captured by the camera sensor.
When you take a photo in RAW format, your camera stores the unprocessed sensor data, including color information, brightness, and other image parameters. This means that RAW files contain a wealth of data that can be manipulated and adjusted to a much greater extent during post-processing.
RAW files offer photographers greater control and flexibility over their images. Since the files aren’t compressed and don’t have any lossy compression artifacts, they retain the maximum amount of detail and dynamic range. This gives photographers the ability to make more accurate edits, recover highlights and shadows, adjust white balance, and perform other adjustments without sacrificing image quality.
One important thing to note about RAW files is that they are specific to each camera brand and model. This is because different cameras have different sensors and processes for capturing and processing raw data. Therefore, to work with RAW files from a specific camera, you may need specialized software or plugins that support that camera’s RAW format.
While RAW files offer numerous advantages for professional photographers and enthusiasts who want complete control over their images, they also come with some drawbacks. Raw files have larger file sizes compared to compressed image formats, which require more storage space. Additionally, RAW files cannot be directly viewed or shared on most devices or social media platforms without being converted to a more common image format like JPEG or PNG.
Why shoot in RAW?
If you’re serious about photography, shooting in RAW format can greatly enhance your creative control and the final quality of your images. Here are a few reasons why photographers choose to shoot in RAW:
- Greater Image Control: RAW files contain all the raw sensor data captured by your camera, giving you complete control over the editing process. You can adjust exposure, white balance, contrast, and other settings more precisely without degrading the image quality.
- Maximum Dynamic Range: RAW files retain a wider dynamic range than compressed image formats like JPEG. This means you can recover more details from shadows and highlights, resulting in a more balanced and professional-looking image.
- Flexible White Balance: RAW files store the original color temperature and white balance information. This allows you to adjust the white balance settings in post-processing without any loss in image quality, providing greater flexibility and accuracy.
- No Lossy Compression: Unlike JPEG files, which are compressed and may introduce compression artifacts, RAW files do not undergo any lossy compression. This ensures that there is no loss in quality when making edits or adjustments.
- Non-Destructive Editing: RAW file editors like Adobe Lightroom allow for non-destructive editing, meaning you can make changes to your images without permanently altering the original file. This allows for experimentation and the ability to revert back to the original settings if needed.
While shooting in RAW offers many benefits, it is important to note that RAW files require more storage space and often require specialized software to properly open and edit. Additionally, RAW files may require a bit more post-processing compared to JPEG files, as they don’t have the in-camera adjustments applied automatically.
If you’re just starting out in photography or prefer the convenience of smaller file sizes and minimal post-processing, shooting in JPEG may be a more suitable option. However, if you want the ultimate control over your images and are willing to invest time in post-processing, shooting in RAW is well worth considering.
How to open a RAW file on a computer
RAW files are not natively supported by most operating systems, requiring specialized software to open and edit them. Here are several popular tools you can use to open RAW files on your computer:
- Adobe Lightroom: Adobe Lightroom is a professional-grade photo editing software that supports a wide range of RAW formats. It offers powerful editing tools, cataloging capabilities, and a non-destructive workflow. Simply import the RAW files into Lightroom, and you can start making adjustments and edits.
- Adobe Photoshop: Adobe Photoshop also supports opening and editing RAW files. With the Camera Raw plugin, you can open and convert RAW files directly in Photoshop. This gives you access to advanced editing features and the ability to work with multiple layers.
- Capture One Pro: Capture One Pro is a popular alternative to Adobe software for RAW file processing. It offers excellent RAW conversion, powerful editing capabilities, and advanced color grading tools. It supports a wide range of camera models and RAW formats.
- Darktable: Darktable is a free and open-source RAW file editor that provides advanced editing options. It is available for Mac, Windows, and Linux users and supports a variety of popular RAW formats. Darktable offers non-destructive editing and a wide range of editing modules to enhance your RAW files.
- GIMP: GIMP, or GNU Image Manipulation Program, is a free and open-source image editor that also supports RAW files. While GIMP does not have native RAW processing capabilities like Lightroom or Photoshop, you can use the UFRaw plugin to open and convert RAW files within GIMP.
- RawTherapee: RawTherapee is a cross-platform RAW file editor that provides advanced editing tools and a comprehensive set of features. It offers non-destructive editing, supports various RAW formats, and is suitable for photographers seeking a powerful, free RAW editing solution.
- Apple Photos: If you’re using a Mac, the built-in Apple Photos application can open RAW files. Simply import the RAW files into the app, and you can make basic adjustments to exposure, color, and other settings.
- Windows Photos: Windows Photos, the default photo viewer on Windows, can also open RAW files. However, the editing capabilities are limited compared to dedicated RAW file editors.
When working with RAW files, it’s important to ensure that you have the latest versions of the software you’re using, as updates often include improved RAW file support for new camera models and formats. Additionally, make sure to back up your RAW files and keep them in a safe location to avoid any potential data loss.
Using Adobe Lightroom to open RAW files
Adobe Lightroom is a powerful software widely used by photographers for organizing, enhancing, and editing their RAW files. Here’s how to open RAW files in Adobe Lightroom:
- Launch Adobe Lightroom on your computer.
- Click on the “Import” button or go to “File” > “Import Photos and Video…” to select and import your RAW files into Lightroom’s Library module.
- Browse to the location of your RAW files and select the desired images for import.
- In the right-hand panel, you’ll see various import settings. Choose your preferred import options, such as where to store the RAW files, applying develop presets, or adding metadata.
- Click the “Import” button to import the RAW files into Lightroom.
- Once imported, you can select a RAW file from the Library module and start editing in the Develop module.
- In the Develop module, you’ll find a wide range of tools and adjustments to enhance your RAW files. You can make adjustments to exposure, white balance, contrast, saturation, and more.
- Utilize Lightroom’s non-destructive editing capabilities to experiment with different settings and revert back to the original RAW file if needed.
- After making adjustments, you can export the edited RAW file or convert it to a different file format, such as JPEG or TIFF, for sharing or printing.
Adobe Lightroom also provides additional features such as batch editing, keyword tagging, image organization, and syncing edits across multiple images. These features can help streamline your editing workflow and enhance your efficiency.
Lightroom is available as part of the Adobe Creative Cloud subscription, and it offers both a desktop version and a mobile app, allowing you to edit RAW files on your computer or on the go with your smartphone or tablet.
It’s important to note that Lightroom supports a wide range of RAW file formats, but it’s always a good practice to ensure you have the latest version of Lightroom installed to have the best compatibility with your camera’s RAW format.
Using Adobe Photoshop to open RAW files
Adobe Photoshop is a powerful software widely used by photographers and graphic designers for editing and manipulating images. Here’s how to open RAW files in Adobe Photoshop:
- Launch Adobe Photoshop on your computer.
- Go to “File” > “Open…” or use the keyboard shortcut Ctrl+O (Command+O on Mac) to open the file browser.
- Browse to the location of your RAW file and select it. You can also select multiple RAW files to open them simultaneously.
- In the file browser, select “Camera Raw” as the format to open the RAW file(s). This will launch Adobe Camera Raw, which is the RAW file editor integrated into Photoshop.
- Within Adobe Camera Raw, you can make adjustments to your RAW file, such as exposure, white balance, clarity, and more. Use the tools and adjustment sliders on the right-hand side to fine-tune your image.
- Once you are satisfied with the edits, click the “Open Image” button to open the RAW file in Photoshop for further editing or manipulation.
- In Photoshop, you can apply additional adjustments, retouching, or creative effects using the numerous tools and features available.
- After completing your edits, you can save the file in various formats, such as PSD (Photoshop Document), TIFF, or JPEG, depending on your intended use.
Adobe Photoshop offers an extensive range of advanced editing capabilities, layers, blending modes, and filters, making it a preferred choice for photographers who require precise control over their RAW file editing process.
It’s worth noting that Adobe Camera Raw, the integrated RAW file editor in Photoshop, provides a similar interface and functionality as Adobe Lightroom for editing RAW files. If you are familiar with Lightroom, you may find the RAW editing experience in Photoshop to be quite similar.
Adobe Photoshop is available as part of the Adobe Creative Cloud subscription, which offers regular updates and access to new features. Make sure you have the latest version of Photoshop installed to take advantage of the most up-to-date RAW file support.
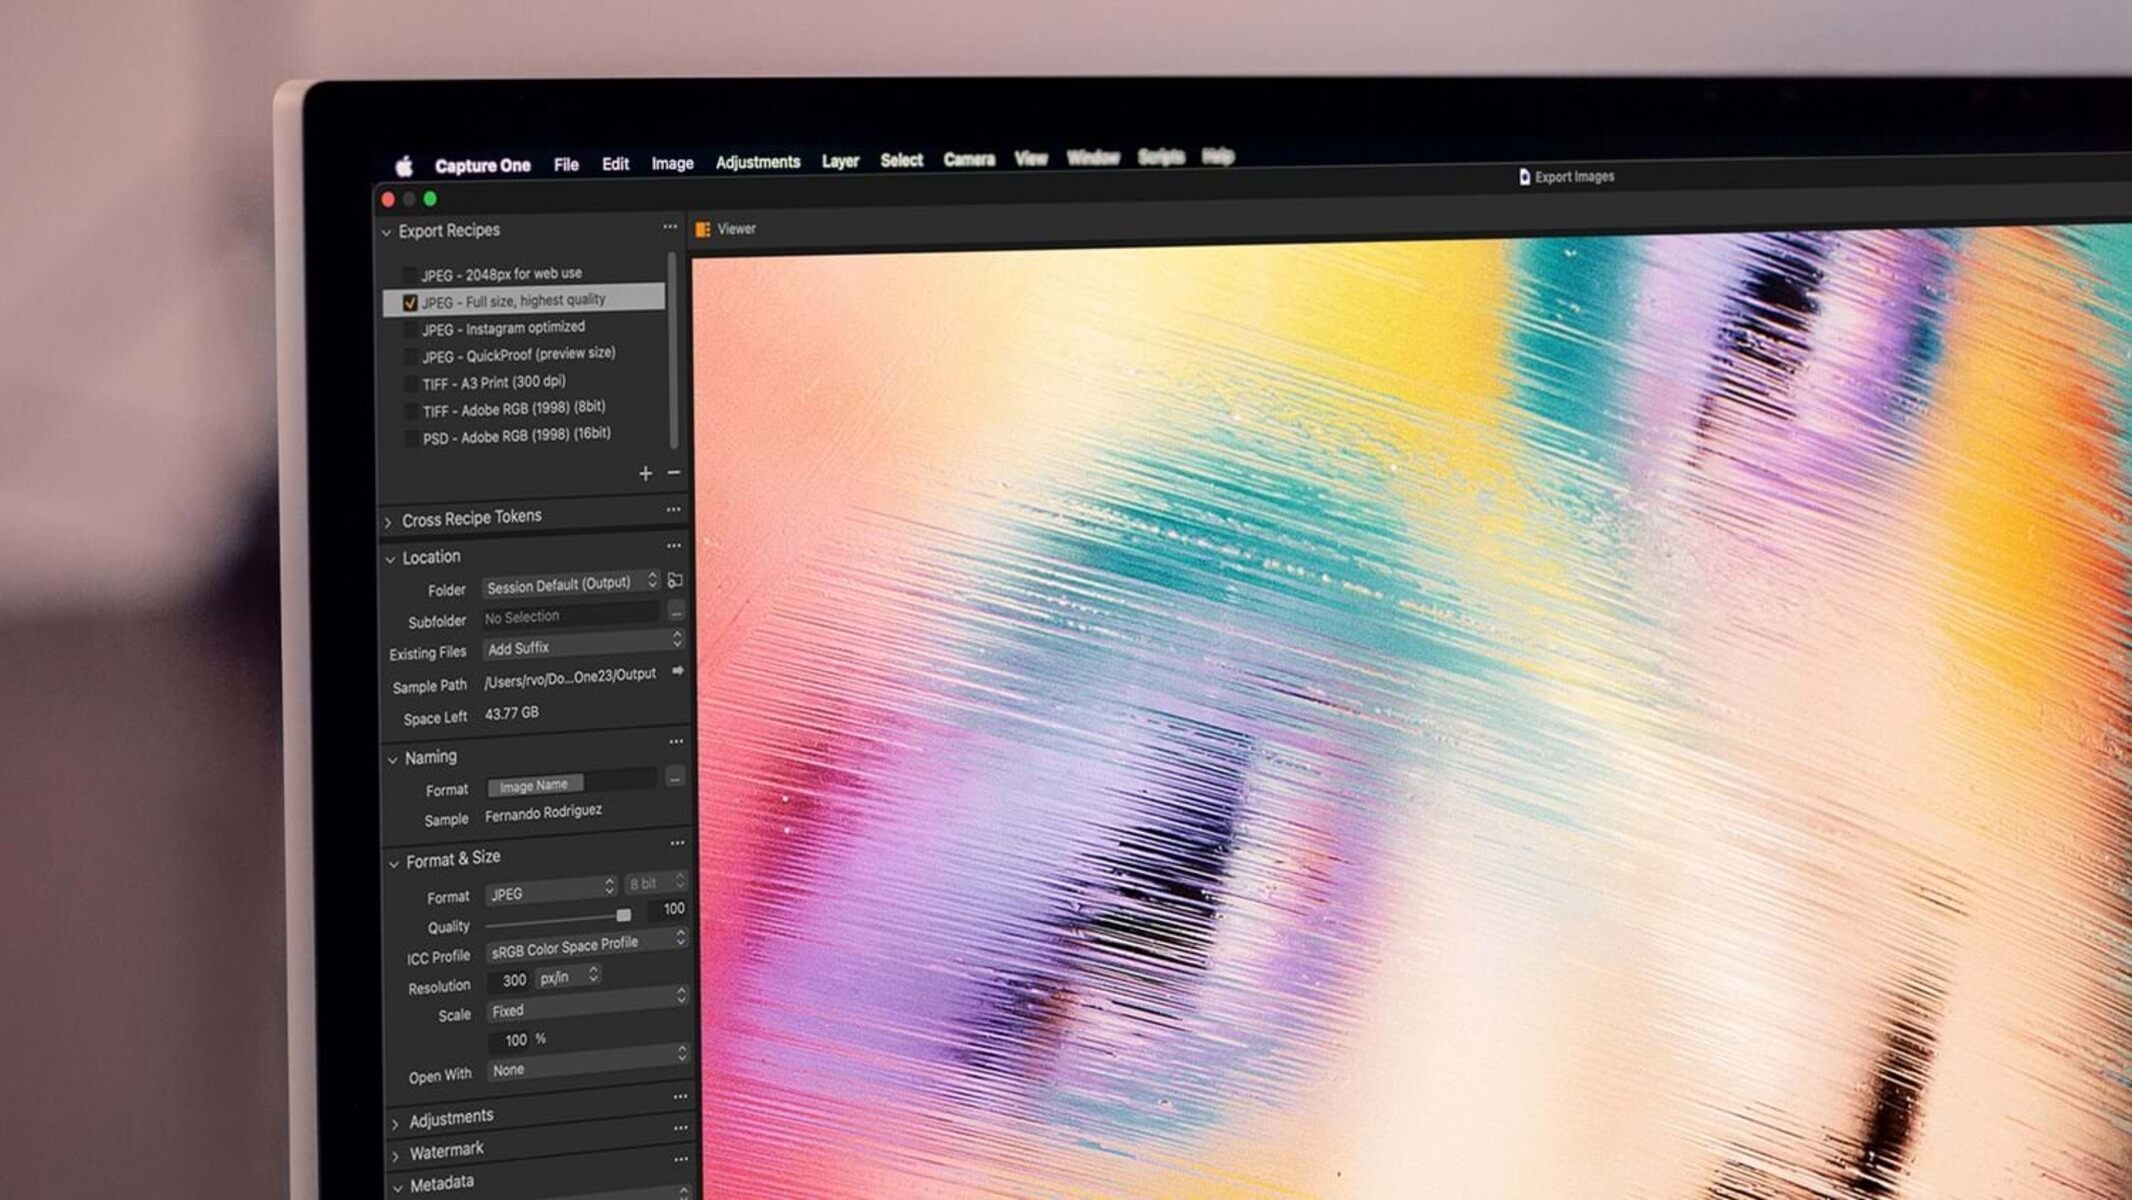
Using Capture One Pro to open RAW files
Capture One Pro is a professional-grade RAW file editor and image management software developed by Phase One. It provides powerful tools and features designed specifically for photographers shooting in RAW format. Here’s how to open RAW files using Capture One Pro:
- Launch Capture One Pro on your computer.
- Click on the “Import” button or go to “File” > “Import Images…” to select and import your RAW files into Capture One Pro’s Library.
- Browse to the location of your RAW files and select the desired images for import.
- In the import dialogue, choose the import settings, such as destination folder, renaming options, metadata settings, and more.
- Click the “Import All” button to import the RAW files into Capture One Pro.
- Once imported, you can select a RAW file or multiple files from the Library to view and edit them in the Viewer and Editor panels.
- Use Capture One Pro’s comprehensive editing tools and features to enhance your RAW files. Adjustments such as exposure, white balance, contrast, color grading, and more can be made using the intuitive sliders and tools available.
- Take advantage of Capture One Pro’s advanced local adjustments, including gradient masks, healing and cloning tools, and noise reduction capabilities to fine-tune your images.
- After making your edits, you can export the files as high-quality JPEGs, TIFFs, or other image formats, or synchronize the edited files with external programs for continued editing.
Capture One Pro is known for its excellent RAW file processing capabilities and the exceptional level of control it provides over image adjustments. It supports a wide range of camera models and RAW formats, ensuring compatibility with photographers using various equipment.
Additionally, Capture One Pro offers advanced organization and cataloging features, allowing you to efficiently manage and sort your RAW files, apply metadata, and create custom collections for convenient reference and organization.
By using Capture One Pro, photographers can leverage the software’s powerful features and precise control to bring out the best in their RAW images, producing stunning and professional-quality results.
Using Darktable to open RAW files
Darktable is a free and open-source RAW file editor and photo management software that provides photographers with a comprehensive set of tools for editing and processing RAW files. Here’s how to open RAW files using Darktable:
- Launch Darktable on your computer.
- Click on the “Import” button or go to “File” > “Import…” to select and import your RAW files into Darktable’s lighttable mode.
- Browse to the location of your RAW files and select the desired images for import.
- In the import dialogue, you can apply metadata tags, add copyright information, and choose the destination folder for your imported RAW files.
- Click the “Import Selected” button to import the RAW files into Darktable.
- In Darktable’s lighttable mode, you can view and organize your RAW files. Click on a RAW file to select it and view its thumbnail and metadata.
- Double-click on the selected RAW file to switch to Darktable’s darkroom mode, where you can make edits and adjustments to your RAW file.
- Use Darktable’s extensive editing tools and modules to enhance your RAW images. Adjustments such as exposure, white balance, tone curves, sharpening, noise reduction, and more can be made using the available sliders and options.
- Darktable also provides advanced retouching tools, such as the healing brush and spot removal, to remove blemishes or unwanted elements from your images.
- Once you’re satisfied with your edits, you can export your RAW files in various formats, including JPEG, TIFF, or PNG, with control over image quality and compression settings.
Darktable’s non-destructive editing workflow ensures that your original RAW files remain untouched, allowing you to experiment freely and revert back to the original settings if needed. It also offers a range of image management features, including tagging, rating, and filtering options, making it easier to organize and find your RAW files within the software.
As an open-source software, Darktable is continually evolving with updates and contributions from the photography community. It supports a wide range of RAW file formats and is available on multiple operating systems, including Windows, macOS, and various Linux distributions.
With its powerful editing capabilities and cost-free nature, Darktable is an excellent choice for photographers seeking a high-quality RAW file editor without the expense of proprietary software.
Using GIMP to open RAW files
GIMP, or GNU Image Manipulation Program, is a free and open-source image editor that, while not specifically designed for RAW file processing, can still open and work with RAW files. Here’s how to open RAW files using GIMP:
- Launch GIMP on your computer.
- Go to “File” > “Open” or use the keyboard shortcut Ctrl+O (Command+O on Mac) to open the file browser.
- Browse to the location of your RAW file and select it.
- In the file browser, choose “Raw Image Data” from the “Files of type” drop-down menu to filter and display only the supported RAW files.
- Select the RAW file you wish to open and click the “Open” button.
- GIMP will then launch the RawTherapee plugin, which provides RAW file processing capabilities within GIMP’s interface.
- Within the RawTherapee interface, you can make various adjustments to your RAW file, including exposure, white balance, saturation, and more.
- Once you’re satisfied with your edits, click the “Save” button in RawTherapee to save the changes and return to GIMP.
- In GIMP, you can further enhance and edit your image using the various tools and features available, such as layers, filters, and brushes.
- After completing your edits, you can save your file in various formats, such as JPEG, PNG, or TIFF, depending on your needs.
While GIMP may not have the native RAW processing capabilities of other dedicated RAW editors, the integration with the RawTherapee plugin provides photographers with a free alternative for working with RAW files within the GIMP environment.
It’s important to note that the level of RAW editing functionality in GIMP may not be as extensive as in dedicated RAW editing software like Adobe Lightroom or Capture One Pro. However, GIMP’s versatility as a comprehensive image editing tool still allows for powerful post-processing and creative manipulation of RAW files.
GIMP is available for Windows, macOS, and Linux operating systems, making it accessible to a wide range of users. It is continually updated and improved by a dedicated community of developers, ensuring ongoing development and support for RAW file processing.
Using RawTherapee to open RAW files
RawTherapee is a free and open-source RAW file editor that provides photographers with a powerful set of tools for processing and enhancing RAW images. Here’s how to open RAW files using RawTherapee:
- Launch RawTherapee on your computer.
- Go to “File” > “Open” or use the keyboard shortcut Ctrl+O (Command+O on Mac) to open the file browser.
- Browse to the location of your RAW file and select it.
- Click the “Open” button to open the RAW file in RawTherapee’s interface.
- In the RawTherapee interface, you’ll find a range of editing tools and options available for adjusting your RAW image.
- Utilize the various modules in RawTherapee to make adjustments to exposure, white balance, tone mapping, color correction, noise reduction, and more.
- Explore the different tabs and panels in RawTherapee to access additional features and fine-tune your edits.
- Preview the changes you make in real-time in the main image view, allowing you to see the impact of your adjustments immediately.
- Once you’re satisfied with your edits, click the “Save” button to export the edited RAW file or choose “Export” from the “File” menu to define the output settings.
- In the export settings, specify the desired file format (such as JPEG or TIFF) and adjust parameters like image quality, resolution, and color space.
- Click the “Export” button to save the edited RAW file to your desired location on your computer.
RawTherapee is known for its advanced RAW processing capabilities and its non-destructive editing workflow, allowing you to experiment with various adjustments without altering the original RAW file. It supports a wide range of RAW formats from different camera models.
In addition to its powerful editing features, RawTherapee offers a high degree of customization, allowing you to create and save your own presets and styles to apply consistent edits to multiple RAW files.
RawTherapee is available for Windows, macOS, and Linux operating systems, making it accessible to photographers with different platforms. As an open-source software, it benefits from regular updates and contributions from a community of developers, ensuring ongoing development and support.
Using Apple Photos to open RAW files
Apple Photos is the default photo management app on macOS and iOS devices, providing a straightforward way to organize, view, and make basic edits to your image collection, including RAW files. Here’s how to open RAW files using Apple Photos:
- Launch Apple Photos on your Mac.
- Go to the “File” menu and select “Import” or use the keyboard shortcut Command+Shift+I to import your RAW files into Apple Photos.
- Browse to the location of your RAW files and select the desired images for import.
- Click the “Review for Import” button to review the selected RAW files and make any adjustments to the import settings, such as applying location information or adjusting file names.
- Click the “Import” button to import the RAW files into Apple Photos.
- Once imported, you can locate and select a RAW file in the Photos library.
- Click the “Edit” button to enter the editing mode for the selected RAW image.
- In the editing mode, you’ll find tools and adjustments available to enhance your RAW file, including exposure, color, sharpness, and more.
- Make the desired adjustments to your RAW file using the available editing tools and sliders.
- After making your edits, click the “Done” button to save your changes.
- You can export the edited RAW file by right-clicking on it and selecting “Export” or by going to the “File” menu and choosing “Export” to save the edited image in a desired format, such as JPEG or TIFF.
Apple Photos provides a user-friendly interface and integrates well with the Apple ecosystem, making it convenient for Mac and iOS users to manage and edit their RAW files. While it may not offer the extensive editing capabilities of professional photo editing software, it can still handle basic adjustments and enhancements to RAW images.
It’s important to note that Apple Photos supports a wide range of RAW formats and is regularly updated to include support for new camera models and formats. Keeping your Apple Photos app up to date ensures optimal compatibility with your RAW files.
Apple Photos is a suitable option for casual photographers or those who prefer a simple and intuitive editing experience for their RAW files within the Apple ecosystem. However, for more advanced editing capabilities and fine-grained control over RAW processing, professional-grade software may be more appropriate.
Using Windows Photos to open RAW files
Windows Photos is the default photo viewer and editor on the Windows operating system, providing a simple and accessible way to manage and edit your image collection, including RAW files. Here’s how to open RAW files using Windows Photos:
- Locate the RAW file on your Windows computer.
- Right-click on the RAW file and select “Open with” from the context menu.
- In the “Open with” submenu, choose “Photos” from the list of available programs. If “Photos” is not listed, click on “Choose another app” and select “Photos” from the list of installed apps.
- Windows Photos will open the RAW file, allowing you to view and edit it.
- In the editing mode, you’ll find basic tools and adjustments available to enhance your RAW file, such as exposure, color, and crop.
- Make the desired adjustments to your RAW file using the available editing tools and sliders.
- After making your edits, click the “Save” button to save your changes.
- You can export the edited RAW file by clicking on the three dots in the top-right corner of the window and selecting “Save a copy” or by pressing Ctrl+S. Choose a desired format, such as JPEG or PNG, and specify the location to save the edited image.
Windows Photos offers a user-friendly interface and integrates seamlessly with the Windows operating system, making it a convenient choice for managing and editing RAW files on Windows devices. While its editing capabilities may not be as extensive as dedicated photo editing software, it provides basic adjustments that allow you to enhance your RAW images.
It’s important to note that Windows Photos supports a variety of RAW formats, including popular camera models. However, the extent of RAW file support may depend on the specific codec packs installed on your computer. Ensure that you have the latest Windows updates and appropriate codec packs to maximize RAW file compatibility.
For more advanced editing and control over RAW processing, professional-grade software like Adobe Lightroom or Capture One Pro may be more suitable. However, Windows Photos offers a convenient and accessible option for basic RAW file editing needs, particularly for casual photographers or those who prefer a straightforward editing experience.