
HDMI Port
The HDMI port is an essential component for connecting your HTC Vive virtual reality headset to your computer or gaming console. HDMI stands for High-Definition Multimedia Interface, and it allows for the transfer of high-quality audio and video signals through a single cable. The HDMI port on your computer or console should be version 1.4 or higher, as older versions may not support the required resolution and refresh rate for the Vive.
To ensure a seamless and immersive virtual reality experience with the HTC Vive, it is necessary to use an HDMI 2.0 or higher cable. This will provide sufficient bandwidth to transmit the high-definition visual content demanded by the Vive headset. It is important to note that not all HDMI cables are the same. Make sure to use a cable that is specifically designed for 4K or VR display to ensure optimal performance and visual fidelity.
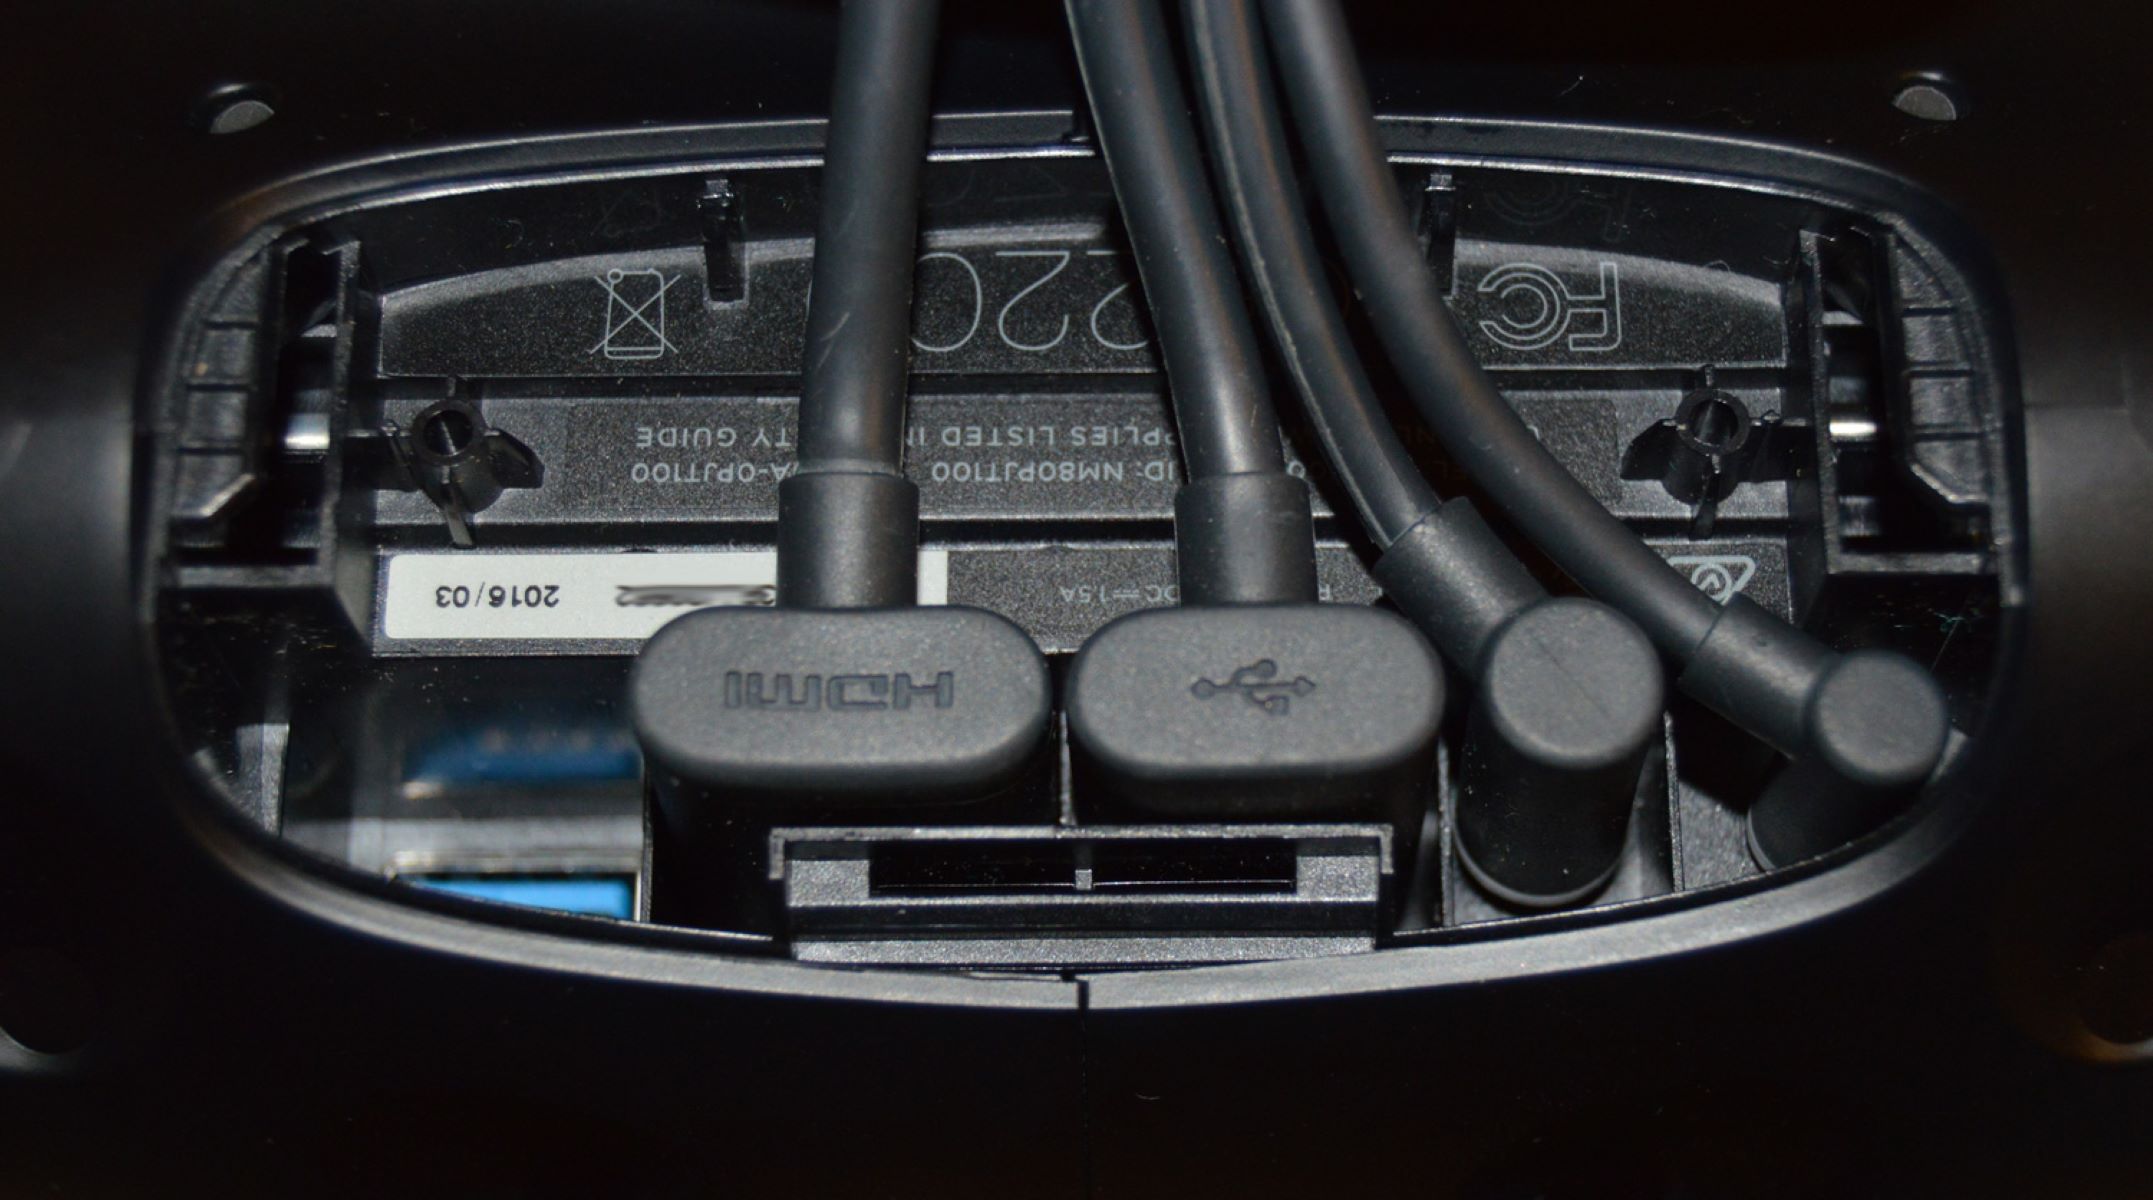
When connecting the HTC Vive to your computer or console, locate the HDMI port on the back panel or side of the device. It is usually labeled with “HDMI” and often has a recognizable trapezoid-shaped connector. Insert one end of the HDMI cable into the port on your computer or console and the other end into the HDMI port on the Link Box or breakout box that came with your HTC Vive.
Once the HDMI connection is established, you can proceed with setting up the Vive headset and configuring it according to the manufacturer’s instructions. Keep in mind that some gaming consoles may require additional settings adjustments to enable VR output through the HDMI port. Refer to the console’s user manual or online support resources for guidance.
In summary, the HDMI port is a crucial link in connecting your HTC Vive headset to your computer or gaming console. It allows for high-definition audio and video signals to be transmitted, ensuring a captivating and immersive virtual reality experience. Remember to use a high-quality HDMI cable that supports the necessary bandwidth for the Vive’s demanding visual requirements.
USB Port
The USB port plays a vital role in connecting the HTC Vive virtual reality headset to your computer. USB, which stands for Universal Serial Bus, is a widely used interface that allows for the transfer of data and power between devices. To ensure a smooth and responsive VR experience, it is crucial to understand the importance of the USB port when setting up your HTC Vive.
When connecting the HTC Vive to your computer, you will typically need to utilize one or more USB ports. The specific USB requirements may vary depending on the version of the Vive you are using, so it’s important to refer to the manufacturer’s guidelines or user manual for accurate information.
The primary USB connection is usually made through the Link Box or breakout box provided with the HTC Vive. This box acts as an intermediary between your computer and the VR headset, allowing for simplified cable management. Locate the USB port on the Link Box and connect one end of a USB cable to it. Then, insert the other end of the cable into an available USB port on your computer.
In some cases, the HTC Vive may require additional USB connections for specific features or peripherals. For example, if you are using the Vive Tracker or other accessories, you may need to connect them to separate USB ports on your computer. It is essential to verify the necessary USB requirements for your specific Vive configuration to ensure proper functionality.
When selecting a USB port for your HTC Vive, it is recommended to use USB 3.0 or higher ports whenever possible. USB 3.0 offers increased data transfer speeds compared to USB 2.0, resulting in better performance and reduced latency. However, if USB 3.0 ports are not available, USB 2.0 ports can still work, although they may not provide optimal performance.
It is worth mentioning that USB compatibility issues can sometimes occur with certain devices or setups. If you encounter any problems, such as disconnected or unrecognized connections, try connecting the Vive to a different USB port to isolate the issue. Additionally, make sure that your computer’s USB drivers and firmware are up to date to avoid potential compatibility issues.
To summarize, the USB port is a crucial component when setting up your HTC Vive. It allows for data transfer and power delivery between your computer and the VR headset, ensuring a responsive and immersive experience. Make sure to refer to the manufacturer’s guidelines for the specific USB requirements of your Vive model and use USB 3.0 or higher ports if available for optimal performance.
DisplayPort
The DisplayPort is an essential port for connecting your HTC Vive virtual reality headset to your computer. It is a digital display interface that allows for the transmission of high-quality audio and video signals from your computer to the Vive headset. The DisplayPort not only delivers stunning visuals but also ensures a smooth and immersive VR experience.
To connect your HTC Vive to your computer via the DisplayPort, you will need a compatible cable. The Vive typically uses a mini DisplayPort connector, so you may need an adapter or cable that converts from mini DisplayPort to full-sized DisplayPort. These cables are widely available and can be purchased from electronics retailers or online.
Once you have the appropriate cable, locate the DisplayPort on the back panel or side of your computer. It is usually labeled with “DP” or “DisplayPort” and has a distinctive rectangular-shaped connector with a notch on one side. Connect one end of the cable to the DisplayPort on your computer and the other end to the mini DisplayPort port on the breakout box provided with your HTC Vive.
It is important to note that the quality of the DisplayPort cable can affect the visual performance of your HTC Vive. To ensure optimal display quality and reduce the chances of signal loss or interference, it is recommended to use a high-quality DisplayPort cable. Look for cables that are certified by reputable manufacturers or organizations, as they undergo stringent testing to ensure they meet industry standards.
When connecting the HTC Vive to your computer using the DisplayPort, it is crucial to verify that your graphics card supports the appropriate DisplayPort version. The Vive typically requires a DisplayPort version 1.2 or higher to deliver the necessary resolution and refresh rate for an immersive VR experience. Refer to your graphics card’s specifications or the Vive user manual for compatibility information.
In summary, the DisplayPort is a vital port when connecting your HTC Vive to your computer. It enables the transmission of high-quality audio and video signals, delivering stunning visuals and ensuring a captivating VR experience. Remember to use a compatible DisplayPort cable and verify the DisplayPort version requirements for your graphics card to achieve optimal performance.
Power Adapter
The power adapter is an essential component when setting up your HTC Vive virtual reality headset. It provides the necessary electrical power to both the VR headset and the associated equipment, ensuring proper functionality and performance during your VR experiences.
The HTC Vive typically comes with a power adapter that is specifically designed for the headset. It may be a separate unit or integrated into the breakout box, depending on the Vive model you have. The power adapter converts the electrical current from your wall outlet into the appropriate voltage and current required by the VR headset and its components.
When setting up your HTC Vive, locate the power adapter and plug it into a standard electrical outlet. Make sure to use a reliable power source and ensure that the voltage matches your region’s standard to prevent any potential damage to the headset or electrical hazards. Also, ensure that the power adapter is securely connected to the breakout box to avoid any interruptions in power supply during your VR sessions.
It’s crucial to note that the power adapter not only powers the VR headset but may also provide power to other devices such as the Link Box or breakout box. These devices act as intermediaries between your computer and the VR headset, and they require a stable power supply to function correctly. Therefore, it is essential to connect all components properly and ensure that they are powered by the adapter to avoid any compatibility or performance issues.
To maintain the longevity of your HTC Vive and its components, it is recommended to use only the provided power adapter or a compatible replacement specified by the manufacturer. Avoid using third-party adapters or chargers as they may not provide the required power output and could potentially damage the headset or void the warranty.
If you encounter any power-related issues with your HTC Vive, such as a headset not turning on or frequent power interruptions during use, it is advisable to check the power adapter connection and ensure that it is functioning correctly. If the problem persists, contact HTC customer support for further assistance.
In summary, the power adapter is a crucial component of the HTC Vive setup, providing the necessary electrical power to ensure proper functionality and performance. Use the provided power adapter or a compatible replacement, and always connect it securely to a reliable power source. This will help ensure a seamless and uninterrupted VR experience with your HTC Vive headset.
Wireless Adapter Port
The wireless adapter port is an exciting feature of the HTC Vive virtual reality headset that allows for a wireless VR experience. It enables you to free yourself from the constraints of cables and enjoy unrestricted movement while immersed in virtual reality.
To utilize the wireless functionality of the HTC Vive, you will need to install the optional wireless adapter accessory. The wireless adapter port, located on the top of the headset, is where you will connect the wireless adapter module. This module communicates with your computer through a wireless connection, eliminating the need for HDMI and USB cables.
Before connecting the wireless adapter module, ensure that your HTC Vive headset is compatible with the wireless adapter accessory and that you have purchased the appropriate adapter for your model. Once you have the wireless adapter module, carefully align the connectors on the module with the wireless adapter port on the top of your headset. Gently push the module into the port until it securely clicks into place.
Once the wireless adapter module is attached, it will establish a wireless connection between your HTC Vive headset and your computer. This connection allows for the transmission of audio, video, and tracking data wirelessly, enabling a truly immersive and cable-free VR experience.
It is important to note that utilizing the wireless adapter may require additional setup steps, such as installing the necessary software and configuring the wireless connection. Refer to the manufacturer’s instructions and follow the provided setup guide to ensure a seamless wireless experience with your HTC Vive.
Keep in mind that while the wireless adapter provides an unparalleled sense of freedom, it also has its limitations. Factors such as distance, obstructions, and interference can affect the quality and stability of the wireless connection. To optimize the wireless performance, make sure to position your computer within a reasonable range and minimize any obstructions between the headset and the wireless adapter.
If you encounter any issues with the wireless connection or experience a degradation in performance, some troubleshooting steps can be helpful. Ensure that the wireless adapter is securely connected to the wireless adapter port, check for any software updates or driver conflicts, and try adjusting the positioning of your computer or the wireless adapter module.
In summary, the wireless adapter port on the top of your HTC Vive headset allows for a wireless VR experience by connecting the optional wireless adapter module. Enjoy the freedom of movement and untethered immersion, but keep in mind the limitations of the wireless connection. Follow the manufacturer’s instructions for setup and optimize your wireless performance for an unforgettable VR experience with your HTC Vive headset.
Audio Jack
The audio jack on the HTC Vive is an important component for a fully immersive virtual reality experience. By connecting your headphones or earphones to the audio jack, you can enjoy high-quality, spatial audio that enhances the realism and immersion of your VR adventures.
The audio jack is conveniently located on the side of the HTC Vive headset. It is a standard 3.5mm jack, also known as a headphone jack, which is compatible with most headphones and earphones available on the market.
To connect your headphones or earphones, simply plug the audio jack into the corresponding port on the side of the headset. Ensure that the connection is secure to prevent any audio disturbances during your VR sessions.
The HTC Vive offers 3D spatial audio technology, which means that sound is accurately simulated in a three-dimensional space. This allows you to hear sounds from different directions, enhancing your sense of presence and making the virtual environment feel more realistic. To fully enjoy this immersive audio experience, it is recommended to use high-quality headphones or earphones that are capable of reproducing the spatial audio effects.
When selecting headphones or earphones for use with the HTC Vive, consider features such as noise isolation, comfort, and audio quality. Noise isolation can help block out external distractions, allowing you to focus solely on the virtual environment. Comfort is crucial, as VR sessions can often be lengthy, and you want to ensure that your headphones or earphones don’t cause discomfort or fatigue. Lastly, audio quality is essential for an immersive experience, so choose headphones or earphones that offer clear and accurate sound reproduction.
It’s worth noting that the HTC Vive also offers built-in speakers that deliver audio directly to your ears without the need for headphones or earphones. However, using headphones or earphones can provide a more personalized and immersive audio experience, as well as privacy if you prefer not to share your virtual experience with others nearby.
In addition to traditional headphones or earphones, the HTC Vive also supports wireless audio options through Bluetooth connectivity. This allows you to connect compatible wireless headphones or earphones to the headset without the need for cables, providing even greater freedom of movement during your VR sessions.
In summary, the audio jack on the HTC Vive headset is a crucial component for immersive virtual reality experiences. Connect high-quality headphones or earphones to enjoy spatial audio and enhance the realism of the virtual environment. Consider noise isolation, comfort, and audio quality when selecting headphones or earphones, or explore wireless audio options for greater freedom of movement.
Base Station Power Cord
The base station power cord is an essential part of the HTC Vive setup as it provides the necessary electrical power to the base stations. These base stations are integral to the Vive’s tracking system, ensuring accurate and reliable tracking of your movements within the virtual reality environment.
The base station power cord typically comes included with the HTC Vive system and is specifically designed for the base stations. It allows you to connect the base stations to a power source, ensuring a constant and uninterrupted power supply.
To set up the base stations, locate the power cord and connect one end to the power input on the back of each base station. The power input is usually labeled and may have a unique shape that matches the connector on the power cord. Make sure to push the connector firmly into place to ensure a secure connection.
The other end of the base station power cord typically has a standard power plug that can be inserted into a wall outlet or surge protector. Before plugging it in, ensure that the power source is easily accessible and can safely handle the power requirements of the base stations. It is recommended to connect the base stations to separate power outlets or use a surge protector to prevent any electrical issues.
When positioning the base stations, it is important to consider the length of the power cords. Make sure they are long enough to reach the desired locations without causing strain or creating a tripping hazard. If necessary, you can use extension cords that are rated for the power requirements of the base stations. However, it is important to use high-quality extension cords and avoid overloading them with other devices to maintain a stable power supply.
Proper positioning and alignment of the base stations are crucial for optimal tracking performance. Remember to place the base stations at an elevated height (around 6.5 to 7.5 feet) and angle them downwards towards the play area. This setup allows the base stations to have a clear view of your VR headset and controllers, ensuring accurate tracking.
In cases where you experience any power-related issues, such as intermittent power or base station malfunctions, it is recommended to check the power cord connections and ensure that they are securely plugged in. If the issues persist, try connecting the base stations to different power outlets or using a different power cord to rule out any potential power-related problems.
In summary, the base station power cord is an essential component of the HTC Vive setup, providing the necessary electrical power to the base stations. Ensure a secure connection between the power cord and the base stations, and choose a reliable power source to maintain a stable power supply. Proper positioning and alignment of the base stations are crucial for optimal tracking performance, so consider the length of the power cords when determining their placement.