
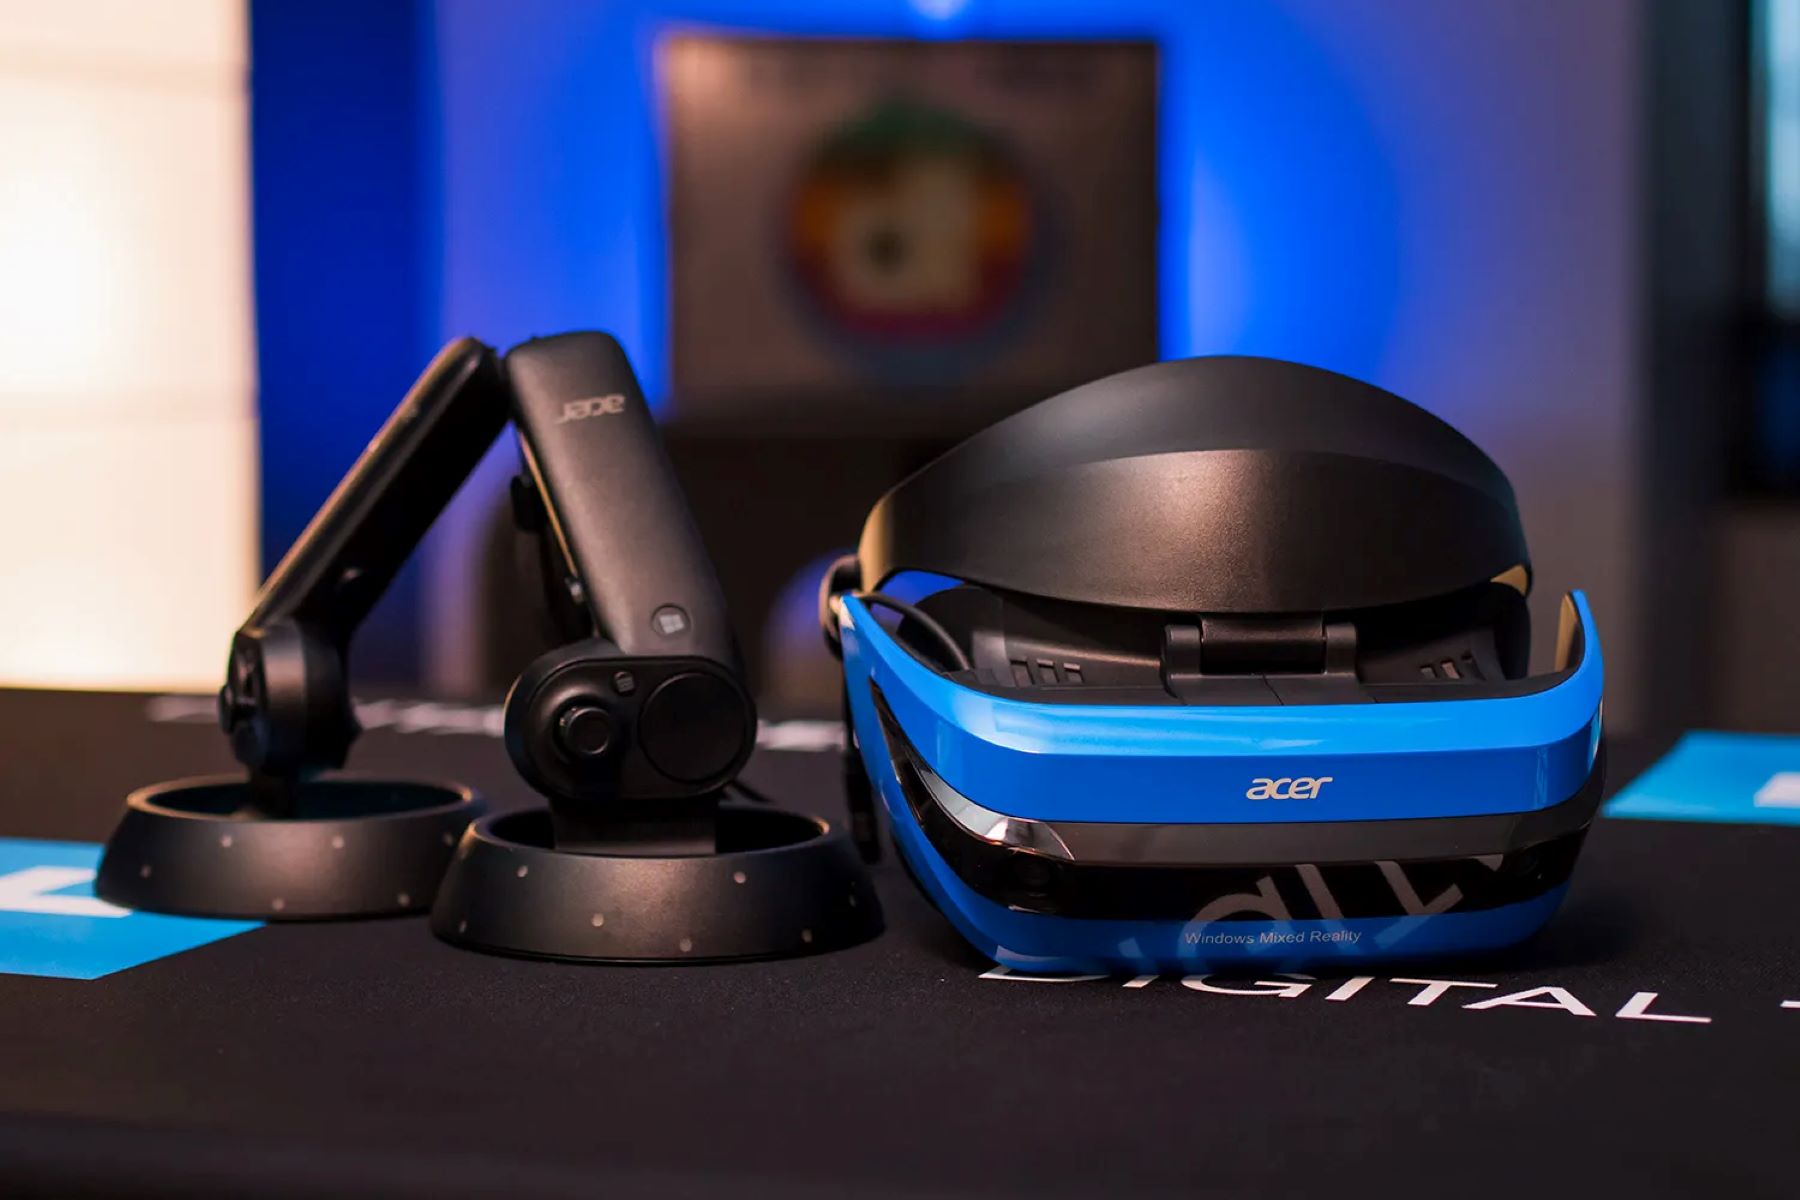
System Requirements
Before diving into the exciting world of Windows Mixed Reality with HTC Vive, it’s crucial to ensure that your PC meets the necessary system requirements. Without the right hardware, your experience may be compromised or even non-functional.
Here are the minimum and recommended system requirements for running Windows Mixed Reality with HTC Vive:
Minimum System Requirements:
- Operating System: Windows 10
- Processor: Intel Core i5 or equivalent
- Memory: 8GB RAM
- Graphics Card: NVIDIA GeForce GTX 970 or AMD Radeon RX 480
- Video Output: HDMI 1.4 or DisplayPort 1.2
- USB Ports: 1x USB 2.0+
Recommended System Requirements:
- Operating System: Windows 10
- Processor: Intel Core i7 or equivalent
- Memory: 16GB RAM
- Graphics Card: NVIDIA GeForce GTX 1070 or AMD Radeon RX Vega 56
- Video Output: HDMI 2.0 or DisplayPort 1.2+
- USB Ports: 1x USB 3.0+
It’s important to note that these requirements are not set in stone and may vary based on the specific VR experiences you intend to run. Some applications or games may have higher demands, so it’s always recommended to check their system requirements as well.
By ensuring that your PC meets these system requirements, you’re setting yourself up for an optimal Windows Mixed Reality experience with HTC Vive. Now that you know which hardware to aim for, it’s time to move on to the next step: setting up Windows Mixed Reality on your PC.
Setting Up Windows Mixed Reality on your PC
Setting up Windows Mixed Reality on your PC is a straightforward process that can be completed in just a few steps. Follow these instructions to ensure a smooth installation:
- Make sure your PC is running on Windows 10, as this is the required operating system for Windows Mixed Reality.
- Connect your HTC Vive headset to your PC using the provided USB and HDMI cables.
- Navigate to the official Windows Mixed Reality website and download the Windows Mixed Reality app.
- Launch the Windows Mixed Reality app and follow the on-screen instructions to set up your headset.
- During the setup process, you may be prompted to update the firmware for your HTC Vive. Follow the instructions provided to complete the firmware update.
- Once the setup is complete, you will be prompted to set up your play area. This step involves mapping out your physical space to ensure a safe and immersive VR experience. Follow the instructions provided by the setup wizard to properly configure your play area.
- After setting up your play area, you will have the option to customize various settings, including audio, input devices, and room lighting. Adjust these settings according to your preferences.
- Once all the settings are configured, you are ready to start using Windows Mixed Reality with your HTC Vive headset.
By following these steps, you can have Windows Mixed Reality up and running in no time. The setup process may vary slightly depending on software updates and hardware configurations, so make sure to refer to the official documentation or support resources for any specific instructions related to your PC or headset.
Now that you have successfully set up Windows Mixed Reality on your PC, the next step is to install SteamVR, which will allow you to access and enjoy a wide range of virtual reality content.
Installing SteamVR
In order to access a vast library of virtual reality content, you’ll need to install SteamVR on your PC. SteamVR is a platform developed by Valve that allows you to discover, download, and play VR games and experiences. Here’s how you can install SteamVR:
- Launch the Steam client on your PC. If you don’t have Steam installed, you can download it from https://store.steampowered.com/about/.
- In the top-right corner of the Steam client, click on “VR” to access the SteamVR page.
- On the SteamVR page, click on the “Download SteamVR” button. This will initiate the installation process.
- Follow the on-screen instructions to complete the installation of SteamVR.
- Once SteamVR is installed, connect your HTC Vive headset to your PC if it’s not already connected.
- Launch SteamVR from your Steam Library or by clicking on the “VR” button in the top-right corner of the Steam client.
- If prompted, follow any additional on-screen instructions to complete the setup process for SteamVR.
- Once the setup is complete, you will be able to access the SteamVR dashboard, where you can explore, download, and launch VR content.
With SteamVR installed and set up, you now have access to an extensive selection of VR games and experiences. Browse through the SteamVR store, read reviews, and discover the immersive worlds waiting to be explored with your HTC Vive headset.
It’s worth noting that some VR content may require additional setup or configuration within SteamVR. Make sure to read the instructions provided by each game or experience you intend to play and follow any specific configuration steps as necessary.
Now that you have SteamVR installed, let’s move on to the next step: connecting your HTC Vive to your PC.
Connecting the HTC Vive to your PC
In order to experience the wonders of virtual reality with your HTC Vive headset, you’ll need to properly connect it to your PC. Here’s a step-by-step guide on how to do it:
- Locate the three-in-one cable that comes with your HTC Vive. This cable consists of an HDMI cable, a USB cable, and a power cable.
- Plug the HDMI end of the three-in-one cable into the HDMI port on your PC’s graphics card or dedicated VR port, if available. This is typically located on the back of your PC tower.
- Connect the USB end of the three-in-one cable to a USB port on your PC. Make sure to use a USB 2.0 or higher port for optimal performance.
- Plug the power end of the three-in-one cable into an available power outlet.
- Next, locate the connectors on the HTC Vive headset. There will be three connectors: one for HDMI, one for USB, and one for power.
- Connect the HDMI connector on the headset to the HDMI end of the three-in-one cable.
- Connect the USB connector on the headset to the USB end of the three-in-one cable.
- Lastly, connect the power connector on the headset to the power end of the three-in-one cable.
- Ensure that all connections are secure and properly plugged in.
Once you’ve completed these steps, your HTC Vive headset should be successfully connected to your PC. It’s important to note that some PCs may have different ports or configurations, so make sure to refer to the user manual or support resources for your specific PC model if you encounter any difficulties during the connection process.
With the HTC Vive connected to your PC, you’re now ready to move on to the next step: setting up the HTC Vive itself.
Setting Up the HTC Vive
Once you’ve successfully connected the HTC Vive to your PC, it’s time to set up the headset itself. Follow these steps to ensure a proper setup:
- Put on the HTC Vive headset and adjust the head strap for a comfortable fit.
- Use the IPD (interpupillary distance) adjustment knob located on the bottom-right side of the headset to align the lenses with the distance between your eyes. This will help optimize the visual experience.
- Locate the base stations that come with the HTC Vive. These sensors track the movement of the headset and controllers in your play area.
- Position the base stations in opposite corners of your play area, preferably mounted high up on walls or mounted on sturdy tripods. Make sure they are facing towards the center of the play area.
- Connect the power cables of the base stations to a power outlet.
- Ensure that both base stations have a clear line of sight to the headset and each other. Avoid obstructions that may interfere with the tracking.
- If the base stations are not automatically detected, you may need to pair them with your headset using the Vive app or instructions provided in the HTC Vive setup guide.
- Once the base stations are set up and paired, you’re ready to calibrate the room. Launch the SteamVR app and follow the on-screen instructions to perform room calibration.
- During room calibration, you’ll be prompted to trace the boundaries of your play area. Use one of the VR controllers to draw the virtual boundary lines by pointing and clicking in the designated areas.
- Once the calibration is complete, you’re ready to start exploring the immersive world of virtual reality!
Make sure to follow all safety precautions and guidelines provided by HTC Vive and SteamVR during setup and usage. It’s also a good idea to periodically check for firmware updates for your HTC Vive headset and base stations to ensure optimal performance.
With the HTC Vive headset and base stations properly set up, you’re now ready to configure Windows Mixed Reality specifically for HTC Vive in order to unlock its full potential.
Configuring Windows Mixed Reality for HTC Vive
In order to maximize the performance and compatibility of your HTC Vive with Windows Mixed Reality, it’s important to configure certain settings. Follow these steps to ensure that your Windows Mixed Reality experience with HTC Vive is optimized:
- Launch the Windows Mixed Reality app on your PC.
- Ensure that your HTC Vive is connected and powered on.
- Click on the “Settings” or “Configuration” option within the Windows Mixed Reality app. This will open the configuration menu.
- Within the configuration menu, locate the “Headset Display” or similar section. Here, you can adjust the display settings according to your preference. You may have options such as display brightness, color balance, and field of view adjustment.
- In the “Control Options” or “Input Configuration” section, you can customize the controls for your HTC Vive controllers. This includes button mapping, sensitivity adjustments, and haptic feedback settings.
- Ensure that the “Tracking” or “Room Setup” section is properly configured. This includes verifying that the base stations are detected and tracking is functioning correctly. If any issues are detected, follow the troubleshooting steps provided by the Windows Mixed Reality app.
- Check for software updates within the Windows Mixed Reality app. Keeping your software up to date can improve performance, fix bugs, and provide new features.
- Consider adjusting the performance settings within the Windows Mixed Reality app to optimize performance on your PC. This may include options for reducing graphics quality, enabling or disabling features, or adjusting refresh rates.
- Take some time to explore additional settings and customization options within the Windows Mixed Reality app. This can include options for audio settings, environment configuration, and user preferences.
- Once you have fine-tuned your settings in the Windows Mixed Reality app, you’re ready to start your virtual reality experience with HTC Vive!
By configuring Windows Mixed Reality specifically for HTC Vive, you can ensure that your VR experience is tailored to your preferences and optimized for performance. If you encounter any issues or have specific questions, refer to the official support resources provided by HTC Vive or Windows Mixed Reality.
Now that you have configured Windows Mixed Reality for HTC Vive, it’s time to launch the application and immerse yourself in a whole new reality!
Launching Windows Mixed Reality
Now that you have completed all the necessary setup steps, it’s time to launch Windows Mixed Reality with your HTC Vive headset. Follow these simple instructions to start your immersive journey:
- Ensure that your HTC Vive is properly connected to your PC and that all cables are securely plugged in.
- Put on your HTC Vive headset and adjust the head strap for a comfortable fit.
- Make sure your base stations are turned on and functioning properly, providing accurate tracking of your movements.
- Launch the SteamVR app on your PC.
- Within the SteamVR interface, navigate to your desired VR experience or game using the controllers or by selecting it from the SteamVR menu.
- Once you’ve chosen your VR experience, click on it to launch it.
- Put on your HTC Vive headset and hold the controllers in your hands.
- Interact with the virtual environment using the controllers as instructed by the VR experience. Feel free to explore, interact, and immerse yourself in the virtual world around you.
- Enjoy the incredible visual and auditory experience that Windows Mixed Reality and your HTC Vive provide.
- When you’re finished with your VR session, exit the VR experience by following the instructions provided in the application.
Remember to take breaks and be mindful of your surroundings while using Windows Mixed Reality. It’s important to use the HTC Vive in a safe and comfortable environment, ensuring that you have enough space to move around freely without any obstructions.
As you embark on your Windows Mixed Reality journey with HTC Vive, be prepared to be amazed by the immersive worlds, interactive experiences, and unlimited possibilities that await you. Whether you’re gaming, exploring virtual environments, or engaging in innovative applications, Windows Mixed Reality with HTC Vive offers a truly extraordinary experience.
Now it’s time to let your imagination run wild and step into the world of virtual reality with Windows Mixed Reality and your HTC Vive headset!
Troubleshooting Common Issues
While setting up and using Windows Mixed Reality with your HTC Vive, you may encounter some common issues. Here are a few troubleshooting steps to help you resolve these problems:
- No display or black screen: If you experience a blank or black screen when using your HTC Vive, double-check all the connections between your headset, PC, and base stations. Ensure that the HDMI and USB cables are securely plugged in. You may also try restarting your PC and relaunching the VR application.
- Poor tracking or loss of tracking: If you are experiencing tracking issues with your HTC Vive, ensure that the base stations have a clear line of sight to the headset and each other. Check for any reflective surfaces or obstructions that may be interfering with the tracking. Also, make sure that the base stations are firmly mounted or positioned and not facing each other directly.
- Controller connectivity issues: If your HTC Vive controllers are not connecting or are having connectivity issues, try replacing the batteries. Make sure that the controllers are charged or have fresh batteries. Additionally, ensure that you are within range of the base stations for optimal connectivity.
- Poor performance or lag: If you experience poor performance or lag while using Windows Mixed Reality, ensure that your PC meets the minimum system requirements. Close any unnecessary applications or background processes that may be consuming system resources. You can also try reducing the graphical settings within the VR application or adjusting the performance settings in the Windows Mixed Reality app.
- Audio not working: If you’re having issues with audio not working on your HTC Vive, check that the audio cable is securely connected to the headset and your PC. You may also need to check your PC’s audio settings and ensure that the correct audio output device is selected for Windows Mixed Reality.
- Application compatibility issues: If you encounter compatibility issues with specific VR applications or games, make sure that they are compatible with Windows Mixed Reality and HTC Vive. Check the respective application’s official documentation or online forums for any known issues or compatibility updates.
If you are still experiencing issues after following these troubleshooting steps, it’s recommended to refer to the official support resources provided by HTC Vive or Windows Mixed Reality. They can provide further assistance and help you resolve any specific issues you may be facing.
Remember to stay patient and persistent while troubleshooting. Technical issues are common and can often be resolved with some troubleshooting and investigating.
Now that you have some troubleshooting strategies in your arsenal, you’re ready to tackle any issues that may come your way and continue enjoying an immersive Windows Mixed Reality experience with your HTC Vive!
Tips and Tricks for a Better Windows Mixed Reality Experience
To enhance your Windows Mixed Reality experience with the HTC Vive, here are some tips and tricks that can help you make the most out of your virtual reality adventures:
- Clear a safe play area: Ensure that you have a designated play area that is free from obstacles, fragile objects, or potential hazards. This will allow you to move around freely and reduce the risk of accidents while immersed in virtual reality.
- Properly adjust the headset: Take the time to adjust the HTC Vive headset properly to ensure a clear and comfortable view. Secure the head strap and make sure the lenses are aligned with your eyes for optimal visual clarity.
- Set up a cable management system: The cables from the HTC Vive can sometimes get in the way during gameplay, affecting your immersion. Consider using a cable management system to keep the cables organized and prevent tripping hazards.
- Experiment with virtual environments: Windows Mixed Reality offers a variety of virtual environments for you to explore. Take the time to experiment with different environments and find the ones that suit your preferences and enhance your immersive experience.
- Utilize the chaperone system: The chaperone system in Windows Mixed Reality helps keep you within the bounds of your play area and prevents you from accidentally colliding with real-world objects. Use the chaperone system as a guide to stay safe while fully immersed in the virtual world.
- Optimize your PC for VR: Make sure your PC is optimized for VR by keeping your graphics drivers up to date, closing unnecessary background programs, and disabling any settings that may cause performance issues. This will help provide a smoother and more immersive experience.
- Take regular breaks: Virtual reality can be an intense experience, both physically and mentally. Remember to take regular breaks to rest your eyes, stretch, and reorient yourself in the real world. This will help prevent fatigue and ensure a comfortable and enjoyable VR session.
- Experiment with different VR experiences: Don’t limit yourself to just one type of VR experience. Try out different games, applications, and experiences to discover the wide range of possibilities that Windows Mixed Reality offers with your HTC Vive. From gaming to educational experiences, there’s something for everyone.
- Engage in multiplayer experiences: Connect with friends or other VR enthusiasts and explore multiplayer VR experiences. Whether it’s participating in cooperative games or engaging in virtual social interactions, multiplayer experiences can bring a whole new level of enjoyment to your Windows Mixed Reality adventures.
- Keep your VR equipment clean: Regularly clean your HTC Vive headset and controllers to maintain optimal performance and hygiene. Follow the manufacturer’s instructions and use gentle cleaning solutions to prevent any damage.
By incorporating these tips and tricks into your Windows Mixed Reality experience with HTC Vive, you can enhance immersion, optimize performance, and ensure a safe and enjoyable virtual reality adventure.
Now that you’re armed with these helpful tips, go ahead and dive into the exciting world of Windows Mixed Reality with your HTC Vive headset!