
What is the HTC Vive?
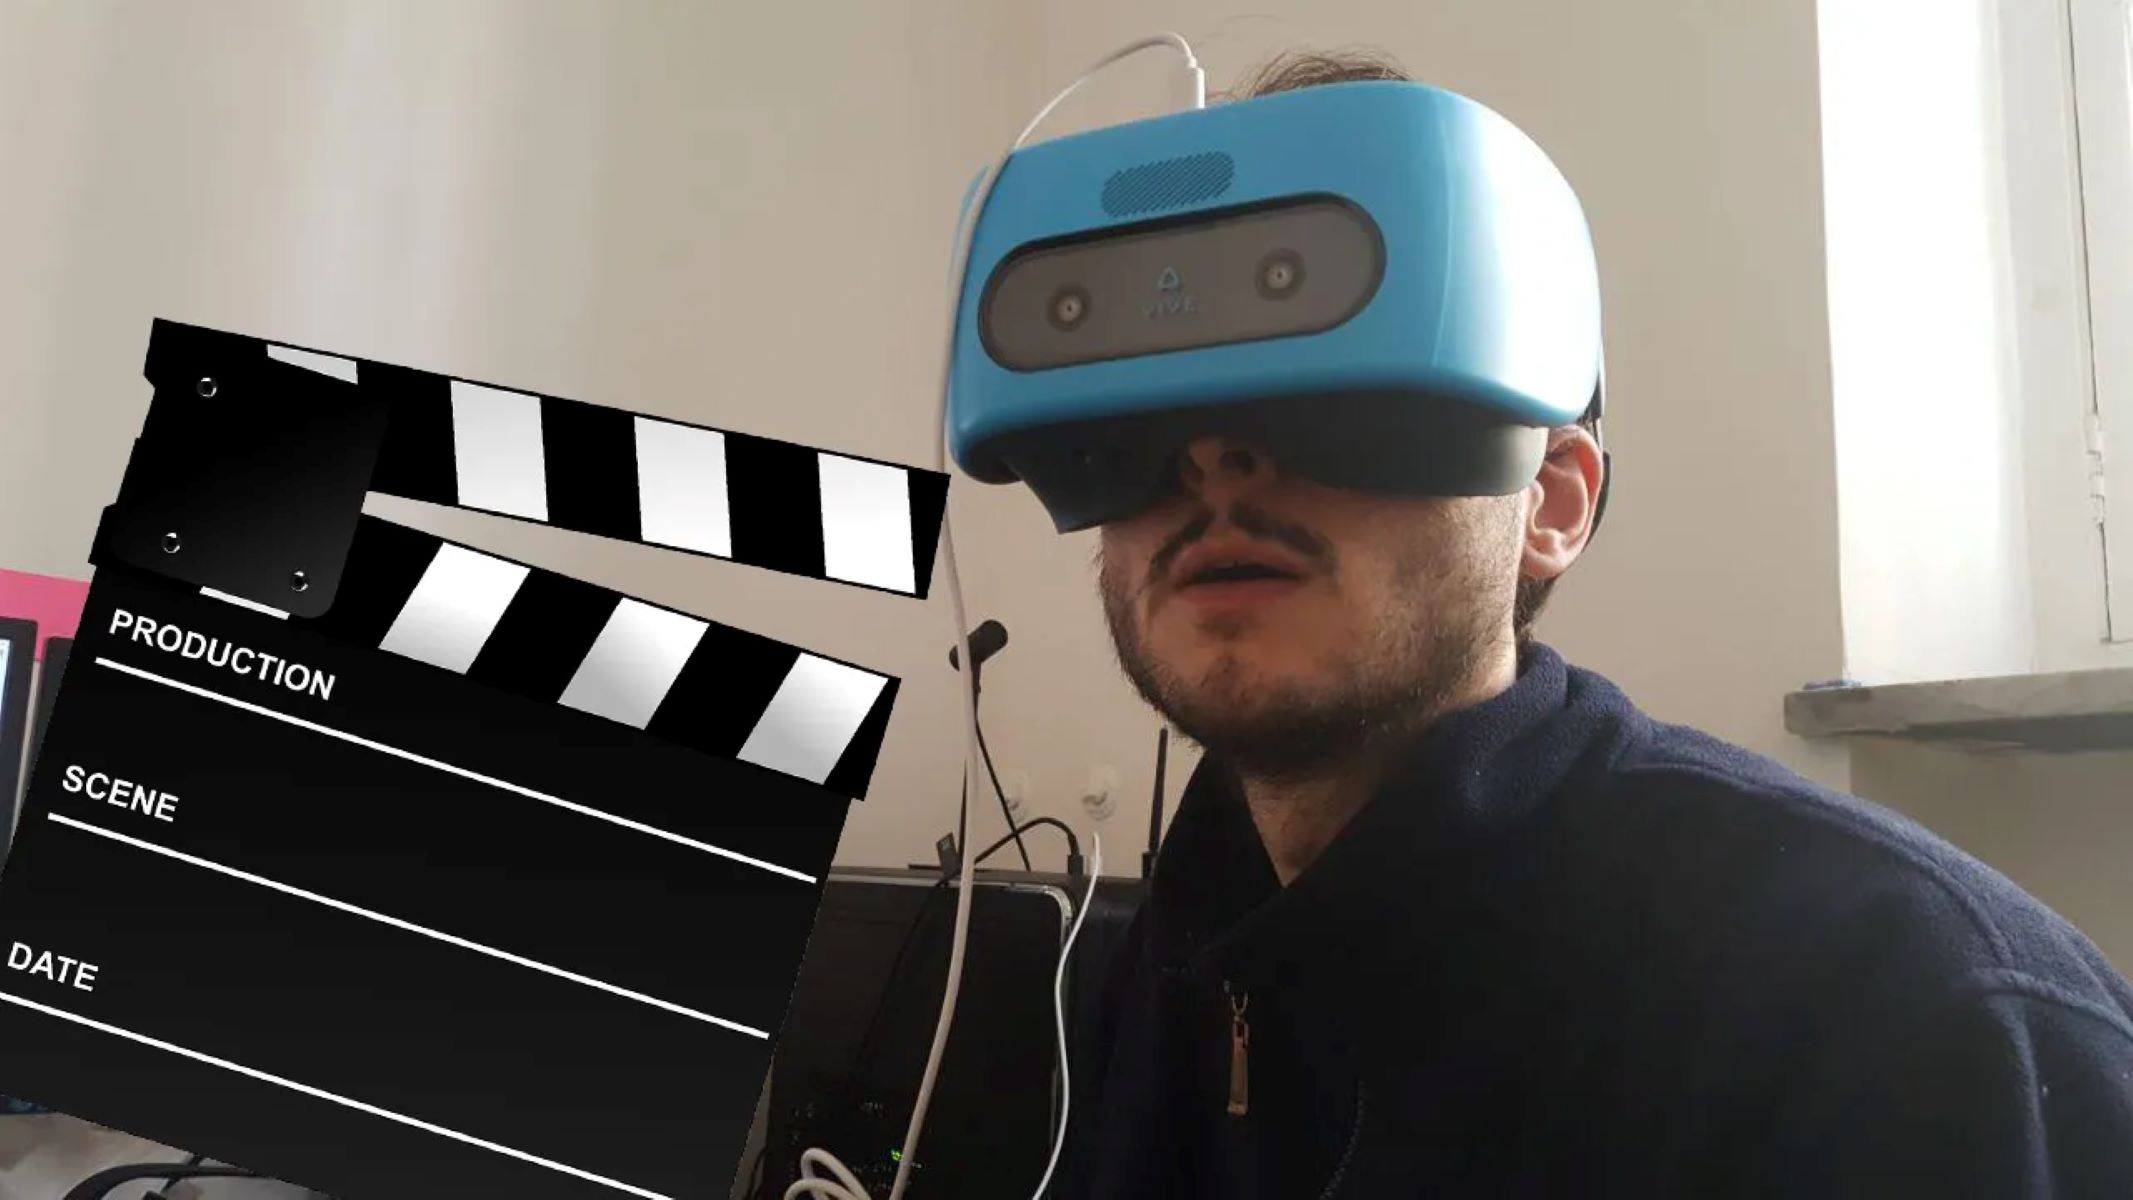
The HTC Vive is a virtual reality headset developed by HTC and Valve Corporation. Designed to provide an immersive and interactive virtual reality experience, the Vive allows users to explore virtual worlds and interact with virtual objects in a fully 3D environment.
The HTC Vive consists of a headset with built-in screens, motion-tracking sensors, and handheld controllers. The headset uses two high-resolution OLED displays, one for each eye, which combine to provide a detailed and realistic view of the virtual environment. The motion-tracking sensors, known as lighthouses, are placed in the room to track the user’s movements and accurately translate them into the virtual space. The handheld controllers enable users to interact with virtual objects and navigate menus and interfaces.
One of the standout features of the HTC Vive is its room-scale tracking capability. This means that users can physically move around and explore the virtual environment, creating a truly immersive experience. The lighthouse sensors track the user’s movements in real-time, allowing them to walk, duck, and reach out and grab objects in the virtual world.
The HTC Vive is compatible with a wide range of virtual reality games and applications available on the Steam platform. From action-packed games and simulations to educational experiences and artistic creations, there is a vast library of content to explore with the Vive.
In addition to gaming, the Vive has found applications in various industries, such as architecture, engineering, training, and healthcare. Its highly accurate tracking and realistic visuals make it a valuable tool for professionals looking to create virtual prototypes, conduct simulations, or provide immersive training experiences.
Overall, the HTC Vive offers an unparalleled virtual reality experience that transports users into a world of limitless possibilities. Whether you’re a gamer looking for an immersive gaming experience or a professional seeking innovation in your field, the HTC Vive is a cutting-edge device that unlocks the full potential of virtual reality.
Why Record HTC Vive with OBS?
Recording your HTC Vive gameplay using OBS (Open Broadcaster Software) can greatly enhance your gaming experience and provide multiple benefits. Whether you’re a content creator, a streamer, or simply want to capture and relive your favorite VR moments, OBS offers a user-friendly and feature-rich solution for recording your HTC Vive gameplay.
One of the main reasons to record HTC Vive gameplay with OBS is to create content for sharing on platforms like YouTube and Twitch. By capturing your gameplay, you can showcase your skills, entertain your audience, and potentially even build a following. OBS allows you to customize your recordings, add overlays, and enhance your footage with graphics and effects, making your content more professional and engaging.
Recording your gameplay with OBS also serves as a valuable tool for self-improvement. By reviewing your gameplay footage, you can analyze your performance, identify areas for improvement, and learn from your mistakes. This can be especially helpful for competitive gamers who aim to enhance their skills and strategies. OBS’s recording features enable you to capture high-quality footage, allowing you to see your gameplay in detail and analyze it more effectively.
In addition to personal growth, recording HTC Vive gameplay with OBS can serve as a means of documenting your virtual reality experiences. Virtual reality provides a unique sense of immersion and presence, and capturing those moments allows you to revisit them in the future. Whether it’s a breathtaking virtual landscape or an intense multiplayer game, recording your HTC Vive gameplay ensures that these memorable experiences are preserved for years to come.
Furthermore, recording HTC Vive gameplay can also facilitate collaboration and education. By sharing your recordings, you can collaborate with others, get feedback from the community, and showcase innovative gameplay techniques or creative solutions to virtual challenges. Additionally, individuals and educational institutions can utilize recorded gameplay as a resource for teaching, research, or creating VR-related content.
Overall, OBS is a powerful and versatile tool that enables you to record, customize, and share your HTC Vive gameplay with ease. Whether it’s for entertainment, self-improvement, documentation, or collaboration, recording your HTC Vive gameplay using OBS expands the possibilities of your virtual reality experiences. So, grab your headset, start recording with OBS, and dive into the amazing world of HTC Vive.
Preparing Your Twitch Account
Before you start streaming your HTC Vive gameplay on Twitch, it’s important to properly prepare your Twitch account. This ensures a smooth streaming experience and allows you to interact with your viewers effectively. Here are the steps to prepare your Twitch account for HTC Vive streaming:
Create a Twitch Account
If you haven’t already, go to the Twitch website and sign up for an account. It’s a straightforward process that requires your basic information and a unique username. Make sure to choose a username that accurately represents your brand or gaming identity.
Enable Two-Factor Authentication
For added security, enable two-factor authentication on your Twitch account. This feature requires you to enter a unique verification code along with your password whenever you log in. It helps protect your account from unauthorized access and ensures that you are the only one with control over your streaming content.
Customize Your Profile
Make your Twitch channel visually appealing and informative by customizing your profile. Upload a profile picture and a header image that reflects your personality or branding. Write an engaging bio that tells viewers about yourself, your gaming style, and the content you provide. Also, consider setting up panels with relevant information, such as your streaming schedule, social media links, and donation options.
Set Up Chat Moderation
To maintain a positive and engaging chat environment, set up chat moderation tools on your Twitch account. You can define banned words, add moderators to help manage the chat, and set auto-moderation rules to filter out certain types of messages. This ensures a welcoming community for your viewers and a more enjoyable streaming experience for everyone.
Test Your Connection
Streaming HTC Vive gameplay requires a stable and reliable internet connection. Perform a test stream on Twitch before your actual stream to check your upload speed and ensure that your viewers will have a smooth viewing experience. It’s best to have a wired Ethernet connection for optimal stability, but if you’re using Wi-Fi, make sure you have a strong signal connection to your router.
Set Up Twitch Alerts
Enhance viewer interaction by setting up Twitch alerts, such as follower notifications, subscriber notifications, and donation alerts. There are various third-party tools and services available, like Streamlabs or StreamElements, that integrate seamlessly with Twitch and provide a wide range of customizable alert options. These alerts make your viewers feel appreciated and encourage them to engage more with your content.
By following these steps, you can ensure that your Twitch account is fully prepared for streaming your HTC Vive gameplay. Building a strong and engaging community on Twitch starts with a well-crafted profile and a smooth streaming experience. So, take the time to prepare your account, and get ready to share your immersive and exciting virtual reality adventures with the world.
Downloading and Installing OBS
To start recording your HTC Vive gameplay, you’ll first need to download and install OBS (Open Broadcaster Software). OBS is a free and open-source streaming and recording software that offers a range of powerful features for capturing and customizing your gameplay footage. Here are the steps to download and install OBS:
Step 1: Visit the OBS Website
Go to the official OBS website at [https://obsproject.com/] in your web browser. OBS is available for Windows, Mac, and Linux, so make sure to choose the appropriate version for your operating system.
Step 2: Download OBS
On the OBS website, click on the “Download” button, and the download process will begin automatically. The file size is relatively small, so it won’t take long to complete the download.
Step 3: Install OBS
Once the download is complete, locate the downloaded file and double-click on it to start the installation process. Follow the on-screen instructions to install OBS on your computer. The installation is usually straightforward and doesn’t require any advanced technical knowledge.
Step 4: Launch OBS
After the installation is complete, launch OBS by finding the program in your computer’s applications or by double-clicking on the desktop shortcut if you opted to create one during installation.
Step 5: Configure OBS
When you launch OBS for the first time, you’ll be prompted to run the auto-configuration wizard. This wizard will analyze your computer’s hardware and network settings to optimize OBS’s performance. Follow the instructions provided to complete the configuration process.
That’s it! You’ve successfully downloaded and installed OBS on your computer. Now you’re ready to start customizing your OBS settings and begin recording your HTC Vive gameplay. OBS offers a variety of features and settings to personalize your recordings, such as choosing the desired video and audio capture devices, configuring output settings, and adding overlays and effects.
Remember to check for software updates regularly to ensure you have the latest version of OBS, as updates often bring new features and performance improvements. Now that your OBS installation is complete, you can move on to the next steps in setting up your HTC Vive and configuring OBS for recording your virtual reality adventures.
Installing the HTC Vive Software
Before you can start recording your HTC Vive gameplay, you need to install the necessary software for your HTC Vive headset. The HTC Vive software enables proper functionality and compatibility with your computer. Here’s a step-by-step guide on how to install the HTC Vive software:
Step 1: Unboxing the HTC Vive
Begin by unboxing your HTC Vive headset and all its components. Make sure you have the headset, motion-tracking sensors (lighthouses), handheld controllers, and all necessary cables.
Step 2: Connect the HTC Vive
Connect the headset to your computer using the provided cables. Make sure all connections are secure, including the HDMI or DisplayPort cable and the USB cable.
Step 3: Download the HTC Vive Software
Visit the official HTC Vive website at [https://www.vive.com/setup/] and navigate to the download section. Choose the appropriate software for your operating system (Windows or Mac) and initiate the download process.
Step 4: Install the HTC Vive Software
Once the download is complete, locate the downloaded file and double-click on it to start the installation process. Follow the on-screen instructions to install the HTC Vive software on your computer. The installation may take a few minutes.
Step 5: Run the HTC Vive Software
After the installation is complete, launch the HTC Vive software. It will guide you through a setup process that involves configuring your HTC Vive headset, calibrating the motion-tracking sensors, and setting up your play area. Follow the prompted instructions carefully to ensure proper setup.
Step 6: Update Firmware (if needed)
Once the setup is complete, check for firmware updates for your HTC Vive headset and motion-tracking sensors. Firmware updates often provide bug fixes, performance improvements, and new features. Follow the instructions provided to update the firmware of your HTC Vive components if necessary.
Congratulations! You have successfully installed the HTC Vive software and set up your headset. Now, you’re ready to start recording your HTC Vive gameplay using OBS. Make sure to properly calibrate your motion-tracking sensors and set up your play area before diving into the virtual reality world. With the HTC Vive software installed, you can now fully enjoy the immersive and interactive experiences that the HTC Vive has to offer.
Configuring OBS for HTC Vive Recording
Now that you have OBS installed and your HTC Vive software set up, it’s time to configure OBS for recording your HTC Vive gameplay. Here’s a step-by-step guide to help you get your OBS settings optimized for capturing your virtual reality adventures:
Step 1: Open OBS
Launch OBS on your computer. It should open to the main dashboard, where you can see different scenes and sources.
Step 2: Create a Scene
In OBS, a scene is a collection of sources that will be included in your recording or stream. Create a new scene by clicking on the “+” button under the Scenes section. Name your scene accordingly.
Step 3: Add Game Capture Source
Click on the “+” button under the Sources section and select “Game Capture”. In the pop-up window, choose the HTC Vive game that you want to record. You will see a preview of the game capture in the window. Make sure it is positioned correctly in the scene.
Step 4: Add Audio Sources
To capture audio from your HTC Vive gameplay, add audio sources to your scene. Click on the “+” button under the Sources section and select “Audio Input Capture” or “Audio Output Capture”. Choose the appropriate audio device to capture game audio or your microphone, depending on your needs. Adjust the audio levels to your preference.
Step 5: Configure Video Settings
Go to the “Settings” menu in OBS and select the “Video” tab. Set the base resolution and output resolution to match your HTC Vive display resolution. This ensures that your recording will have the highest possible quality. You can also adjust the frame rate and video format if needed.
Step 6: Adjust Encoding and Bitrate
In the “Output” tab of the “Settings” menu, configure the encoding settings and bitrate for your recordings. Choose the appropriate encoder (e.g., x264) and adjust the bitrate according to your desired recording quality and the capabilities of your computer.
Step 7: Customize Recording Hotkeys
Under the “Hotkeys” section in the “Settings” menu, set up custom hotkeys for starting, pausing, and stopping your recordings. This allows you to easily control your recordings while wearing the HTC Vive headset.
Step 8: Preview and Adjust
Before you start recording, switch to the Preview mode in OBS to check if everything looks and sounds as expected. Adjust the position, size, and audio levels of your sources as needed, and make sure your HTC Vive gameplay is being captured properly.
That’s it! You have now successfully configured OBS for recording your HTC Vive gameplay. Keep in mind that OBS offers many advanced features and customization options, so feel free to explore and experiment to find the settings that work best for you. With OBS properly configured, you’re now ready to start recording your virtual reality adventures and share them with the world. Happy gaming!
Setting Up Audio Sources
Properly configuring the audio sources in OBS is crucial for recording high-quality HTC Vive gameplay with immersive audio. By following these steps, you’ll ensure that your viewers can hear your in-game audio and any accompanying commentary clearly. Here’s how to set up audio sources in OBS for HTC Vive recording:
Step 1: Open OBS
Launch OBS on your computer and navigate to the main dashboard.
Step 2: Access the Audio Sources
In the lower-left corner of the OBS screen, click on the “+” button under the “Sources” section to add a new source.
Step 3: Add Game Audio Source
When the add source window appears, select “Audio Output Capture”. Give the source a name, such as “Game Audio”, and click “OK”.
Step 4: Choose the Correct Audio Device
In the next window, select the desired audio device from the drop-down menu. This will typically be your speakers or headphones that you use to hear the HTC Vive gameplay audio. Make sure the audio levels are set appropriately.
Step 5: Add Microphone Audio Source (Optional)
If you want to include your own commentary or narration during gameplay, add a separate audio source for your microphone. Click on the “+” button under the “Sources” section again and choose “Audio Input Capture”. Give it a name, such as “Microphone”, and click “OK”. Select your microphone from the drop-down menu and adjust the audio levels as needed.
Step 6: Adjust Audio Levels
To ensure a balanced audio mix, click on the gear icon next to each audio source in the “Sources” section. From the menu, select “Filters”. In the filters window, you can adjust the audio levels, apply filters like audio compression or noise suppression, and make other audio enhancements.
Step 7: Test the Audio Setup
Before you start recording, it’s crucial to test your audio setup. Launch your HTC Vive game and verify that the game audio is being captured by OBS. Speak into your microphone if you’re using one, and confirm that your commentary or narration is being recorded at the appropriate volume level.
Step 8: Preview and Adjust
To double-check your audio setup, switch to the Preview mode in OBS. Make sure that both the game audio and microphone audio, if applicable, are coming through clearly and at the desired levels. Adjust the audio sources, filters, and levels as necessary to achieve a balanced and immersive audio experience.
By properly setting up your audio sources in OBS, you’ll ensure that your HTC Vive gameplay recordings have excellent sound quality and provide an engaging experience for your viewers. Take the time to test and adjust your audio setup to achieve the best results, and don’t forget to monitor your audio levels during each recording session. With crystal-clear audio, you’ll enhance the overall quality of your HTC Vive recordings and create a truly immersive viewing experience.
Adjusting Video Settings for HTC Vive Recording
To ensure optimal video quality and smooth playback for your HTC Vive recordings, it’s important to adjust the video settings in OBS (Open Broadcaster Software). By following these steps, you’ll be able to configure OBS to capture your HTC Vive gameplay in the highest possible resolution and frame rate. Here’s how to adjust your video settings for HTC Vive recording:
Step 1: Open OBS
Launch OBS on your computer and navigate to the main dashboard.
Step 2: Access the Video Settings
In the top menu of OBS, click on “Settings” and then select the “Video” tab.
Step 3: Set the Base (Canvas) Resolution
The base resolution determines the size of your scene and affects the quality of your recordings. Set the base resolution to match your HTC Vive display resolution. If your HTC Vive has a resolution of 2160 x 1200, enter these values in the “Base (Canvas) Resolution” fields.
Step 4: Set the Output (Scaled) Resolution
The output resolution is the resolution at which your final recording will be saved. To maintain the highest quality, set the output resolution to match your HTC Vive display resolution, which is typically 2160 x 1200. Enter these values in the “Output (Scaled) Resolution” fields.
Step 5: Adjust the Frame Rate
The frame rate determines how many frames per second will be captured in your recordings. For smooth and fluid gameplay footage, set the frame rate to 60 or higher, if your computer’s hardware can handle it. Enter the desired frame rate in the “Common FPS Values” dropdown menu.
Step 6: Configure Advanced Video Settings (Optional)
If you have a high-performance computer and want to push the video quality further, you can explore the advanced video settings in OBS. These settings allow you to adjust the x264 encoder settings, the process priority class, and other parameters. However, be cautious when modifying these settings, as improper configurations can affect performance or cause compatibility issues.
Step 7: Apply and Save the Settings
After adjusting the video settings to your preference, click on the “Apply” button to save the changes. Then, click on the “OK” button to close the settings window.
Step 8: Test and Preview
To ensure that your video settings are properly configured, switch to the Preview mode in OBS and launch your HTC Vive game. Check that the game footage appears clear, smooth, and matches the desired resolution and frame rate.
By adjusting the video settings in OBS, you’ll capture your HTC Vive gameplay with the best possible video quality. Ensuring that the base resolution, output resolution, and frame rate are correctly set will result in visually appealing recordings that faithfully represent your virtual reality experiences. Take the time to test and preview your settings before recording to ensure consistent and high-quality video output. With properly adjusted video settings, you’ll showcase your HTC Vive gameplay in all its immersive glory.
Recording HTC Vive Gameplay
Now that you have configured OBS and adjusted the necessary settings, you are ready to start recording your HTC Vive gameplay. OBS makes it easy to capture your virtual reality adventures with just a few simple steps. Here’s how to record HTC Vive gameplay using OBS:
Step 1: Launch OBS
Open OBS on your computer and ensure that your HTC Vive headset is connected and properly set up.
Step 2: Select the Scene to Record
In OBS, choose the scene that you created for your HTC Vive gameplay by clicking on it in the Scenes section. This scene should contain all the necessary sources you want to include in your recording, such as game capture and audio sources.
Step 3: Start Recording
To begin recording, click on the “Start Recording” button located at the bottom right of the OBS window. You can also use the assigned hotkey that you configured earlier to start recording without needing to click the button manually.
Step 4: Play HTC Vive Game
Launch the HTC Vive game that you want to record and start playing. OBS will capture the game footage and audio in real-time.
Step 5: Pause or Stop Recording
During your gameplay session, you have the option to pause the recording temporarily or stop it completely. You can do this by either clicking the respective buttons in OBS or using assigned hotkeys that you configured earlier.
Step 6: Review and Save the Recording
Once you have finished recording, OBS will automatically save the recording to your specified output folder on your computer. You can then review the recorded video to ensure its quality and make any necessary edits or adjustments.
Step 7: Repeat as Desired
You can record as many HTC Vive gameplay sessions as you want by following the same steps. Each recording will be saved as a separate video file in your chosen output folder.
Remember to monitor your recording levels and check the video and audio quality periodically. If necessary, make adjustments to your OBS settings to ensure optimal results. Once you’re satisfied with your recording, you can edit it, add effects or overlays, and share it with your audience on platforms like YouTube or Twitch.
Recording your HTC Vive gameplay using OBS allows you to capture the immersive and exciting virtual reality experiences you have while playing. It’s a great way to share your adventures, entertain your audience, and showcase your skills. So, set up your HTC Vive, launch OBS, and start recording your epic virtual reality gameplay today!
Streaming HTC Vive Gameplay
Streaming your HTC Vive gameplay live to platforms like Twitch allows you to engage with your audience in real-time and share your virtual reality experiences as they happen. With OBS (Open Broadcaster Software), you can easily set up and start streaming your HTC Vive gameplay. Here’s a step-by-step guide on how to stream HTC Vive gameplay using OBS:
Step 1: Launch OBS
Open OBS on your computer and make sure your HTC Vive headset is connected and properly set up.
Step 2: Set Up Your Twitch Account
Before you can start streaming, ensure that your Twitch account is set up and linked to OBS. Enter your Twitch account credentials in OBS by going to “Settings”, selecting “Stream” in the left sidebar, and entering your Twitch Stream Key. This unique key is available in your Twitch account settings.
Step 3: Create a Scene
In OBS, create a scene that includes all the desired sources for your HTC Vive gameplay. This can include game capture, audio sources, overlays, and any other elements you want to display on your stream.
Step 4: Start the Stream
To begin streaming, click on the “Start Streaming” button at the bottom right of the OBS window. OBS will connect to your Twitch account and start streaming your HTC Vive gameplay live.
Step 5: Interact with Your Audience
As you stream your HTC Vive gameplay, engage with your audience by monitoring the chat window on your Twitch channel. Respond to viewer comments and questions, and create an interactive and engaging experience for your viewers.
Step 6: Monitor Stream Quality
Keep an eye on the stream quality by regularly checking the OBS status and monitoring your network and hardware resource usage. This will help ensure that your stream is running smoothly and that your viewers are getting the best possible experience.
Step 7: End the Stream
When you’re ready to end the stream, click on the “Stop Streaming” button in OBS. OBS will disconnect from Twitch, and your stream will be completed.
Streaming your HTC Vive gameplay lets you share the excitement of virtual reality gaming with a live audience. Make sure to promote your stream in advance to attract viewers and engage with them during your stream to keep them entertained. Customize your stream with overlays and alerts to make it visually appealing and interactive.
Remember to follow community guidelines and be respectful to your viewers. Consistent streaming, engaging content, and interaction with your audience can help you grow your Twitch channel and build a dedicated fanbase.
So, hop into your HTC Vive, start OBS, and let the world join you in your virtual reality adventures as you stream your HTC Vive gameplay live on Twitch.
Troubleshooting Common Issues
While recording or streaming HTC Vive gameplay using OBS, you may encounter certain issues that can affect your experience. Here are some common issues that users may face and potential troubleshooting steps to help resolve them:
No Audio in the Recording/Stream
If you are not getting any audio in your recordings or stream, first check if you have selected the correct audio sources in OBS. Ensure that your HTC Vive game audio is being captured by selecting the appropriate audio output source. Additionally, make sure that the volume levels for your audio sources are properly adjusted in OBS. If you still don’t have audio, try restarting OBS and checking your computer’s audio settings.
Poor Video Quality
If your recorded or streamed video appears blurry or pixelated, it may be due to low video settings in OBS. Make sure that you have set the base and output resolution in OBS to match your HTC Vive display resolution. If you have a slow internet connection, consider adjusting the bitrate settings to a lower value that is more suitable for your bandwidth. Additionally, ensure that your computer meets the minimum system requirements for recording or streaming HTC Vive gameplay.
Recording/Stream Lag or Frame Drops
If you experience lag or frame drops in your recordings or stream, it could be due to performance issues on your computer. Check if your computer meets the minimum system requirements for running OBS and HTC Vive games. Close any unnecessary background programs or processes that may be consuming system resources. Lowering the video settings or reducing the number of active sources in OBS can also help improve performance. Additionally, ensure that you have a stable and reliable internet connection to prevent stream buffering or interruptions.
Black Screen or Failed Game Capture
If you encounter a black screen or are unable to capture your HTC Vive gameplay in OBS, first make sure that you have properly set up the game capture source in OBS and selected the correct game. Check if any other programs or overlays are interfering with the game capture. Sometimes, restarting both OBS and the game can resolve the issue. If the problem persists, try running OBS as an administrator or consider reinstalling OBS and updating your graphics drivers.
Stream Disconnects or Connection Issues
If your stream frequently disconnects or you experience connection issues, it could be due to network-related problems. Check your internet connection and ensure that you have a stable and reliable bandwidth. Avoid using Wi-Fi if possible and connect your computer directly to the router via Ethernet. If you are experiencing high latency or packet loss, contact your internet service provider for assistance. You may also consider reducing the bitrate settings in OBS to prevent stream buffering and improve stability.
These are just a few troubleshooting steps for common issues that may arise when recording or streaming HTC Vive gameplay using OBS. If you encounter other specific problems, consult the OBS support documentation or seek assistance from the OBS community. Remember, patience and persistence are key when troubleshooting, and with some troubleshooting and fine-tuning, you’ll be able to capture and share your immersive HTC Vive experiences with ease.