
Why Take a Screenshot on HTC Vive
As a proud owner of an HTC Vive virtual reality headset, you may have wondered why you would want to take screenshots while immersed in your virtual world. Well, there are several reasons why capturing screenshots on the HTC Vive can be beneficial.
First and foremost, taking screenshots allows you to preserve and share your virtual reality experiences with others. Whether you want to showcase an incredible in-game moment, share a stunning virtual environment, or simply document your progress in a game, screenshots can be a fantastic way to capture these moments and share them with friends, family, or the gaming community.
Furthermore, screenshots can serve as a valuable tool for troubleshooting technical issues. If you encounter a glitch, bug, or any other problem while playing a VR game, capturing a screenshot can provide visual evidence that can help you explain the issue to support forums, developers, or other players who may be able to assist you in finding a solution.
In addition, taking screenshots can be a creative outlet. Just like photographers strive to capture captivating images, VR enthusiasts can use screenshots to express their unique perspectives and artistic visions. Whether it’s for personal enjoyment or to contribute to the VR community, screenshots can be a way to showcase the beauty and immersion of virtual reality.
Lastly, capturing screenshots can help you keep track of in-game achievements or memorable moments. Whether it’s conquering a difficult level, completing a challenging quest, or meeting a virtual celebrity, having a screenshot as a memento can evoke a sense of accomplishment and nostalgia whenever you look back at it.
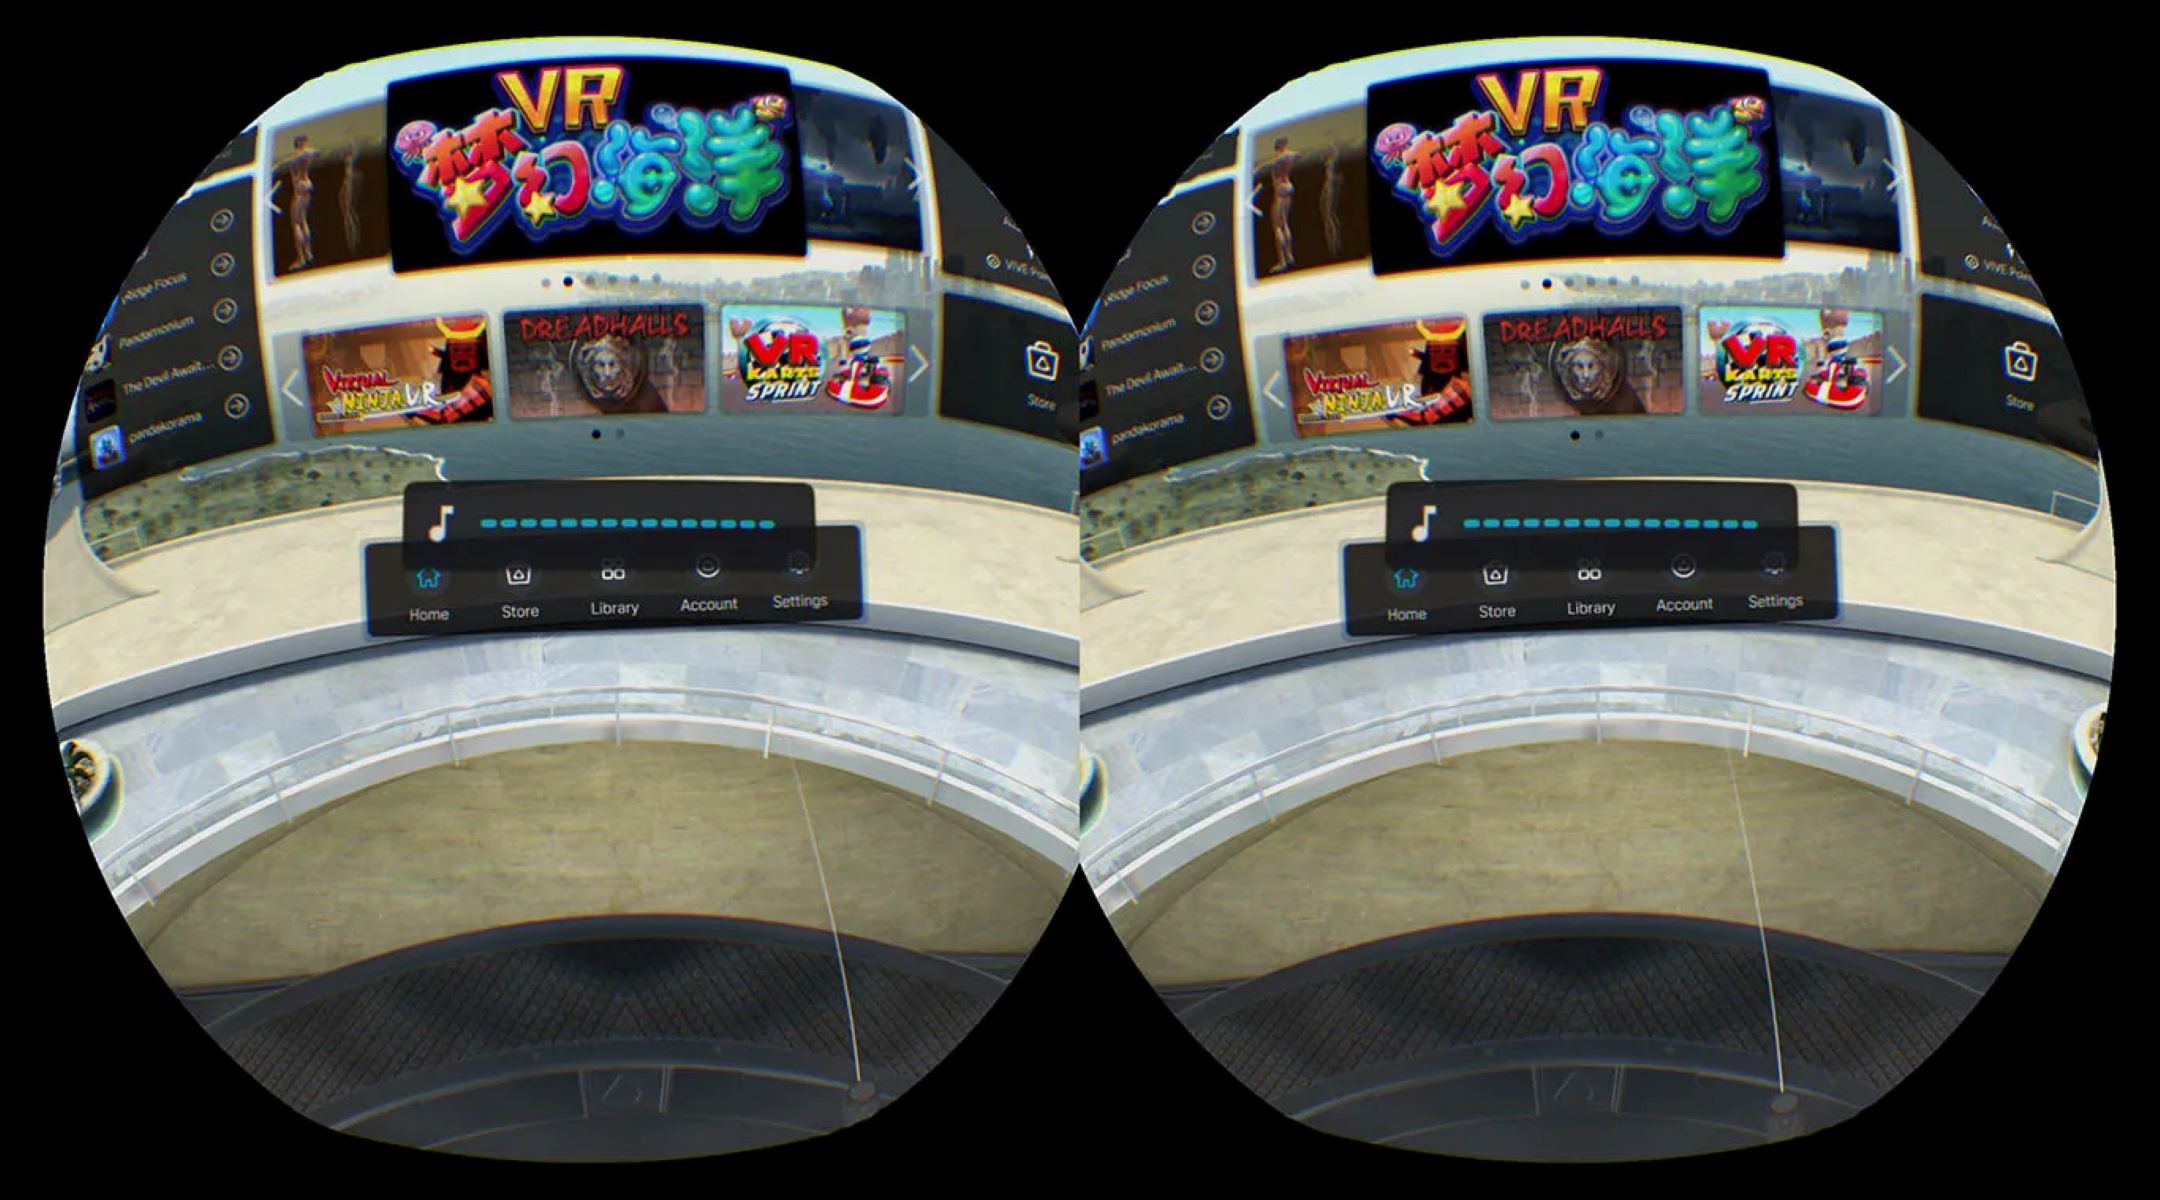
Method 1: Using the Built-in Screenshot Function
Fortunately, the HTC Vive comes equipped with a built-in screenshot function that allows you to easily capture your VR experiences without the need for any additional software or hardware.
To take a screenshot using the built-in function, follow these simple steps:
- While wearing your HTC Vive headset, navigate to the desired scene or moment you want to capture.
- Hold the Vive controller in one hand and using your other hand, press and hold the System Button located above the trackpad.
- While still holding the System Button, press the Trigger button on the Vive controller to capture the screenshot.
- As soon as the screenshot is taken, a notification will appear in your VR headset confirming the capture.
The captured screenshot is automatically saved to your computer’s storage, usually in the Pictures folder or a designated VR screenshot folder. You can easily access these screenshots later by using your computer’s file explorer.
The built-in screenshot function on the HTC Vive allows you to capture the full virtual environment, providing an immersive snapshot of your VR experience. Whether you want to share the stunning landscapes of a game, showcase a detailed virtual artwork, or document your progress in a VR application, this method allows for quick and convenient screenshot capture.
Please note that this built-in function may vary slightly depending on the specific HTC Vive model or software version you are using. It is always advisable to consult the official HTC Vive documentation or support resources for any model-specific instructions or troubleshooting tips.
Method 2: Using Third-Party Software
In addition to the built-in screenshot function, you also have the option to use third-party software to take screenshots on your HTC Vive. These software solutions offer more advanced features and customization options, allowing you to further enhance your screenshot-taking capabilities.
Here are a few popular third-party software options that you can consider:
- SteamVR Screenshot: SteamVR, the platform that powers many VR games and applications, provides its own screenshot feature. To use it, simply navigate to the SteamVR dashboard, go to the VR game or application you want to capture, and press the designated screenshot button.
- OBS Studio: OBS Studio is a versatile and powerful software widely used for streaming and recording purposes. It also offers the ability to capture screenshots. You can set up hotkeys to capture screenshots, adjust image quality, and even customize the output format.
- VR Toolbox: VR Toolbox is a dedicated virtual reality screenshot tool that offers various capture options. It allows you to take screenshots of individual eyes, apply filters and effects, and customize the output resolution and format.
When using third-party software, it’s important to ensure compatibility with your specific HTC Vive model and software version. Most VR software developers provide detailed instructions and support resources to help you with the installation, setup, and usage of their software.
Using third-party software can offer additional benefits such as capturing higher quality screenshots, applying post-processing effects, and easily sharing screenshots across social media platforms or VR communities. However, keep in mind that using external software may require more system resources and may have a learning curve associated with it.
Be sure to explore different third-party options and choose the one that best suits your specific needs and preferences when it comes to capturing screenshots on your HTC Vive.
Capture Full Screen Screenshot
If you want to capture the entire virtual reality scene and take a full-screen screenshot on your HTC Vive, there are a few methods you can utilize. Here are two common approaches:
- Method 1: Using the System Button and Trigger:
- While in your HTC Vive headset, navigate to the scene or moment you wish to capture.
- Hold down the System Button located above the trackpad on the Vive controller.
- Press the Trigger button on the controller to capture the full-screen screenshot.
- You will receive a notification in your headset confirming that the screenshot has been successfully captured.
- Method 2: Using a Third-Party Software:
- Install a third-party software tool such as SteamVR Screenshot, OBS Studio, or VR Toolbox that allows you to capture screenshots in virtual reality.
- Follow the instructions provided by the software developer for capturing a full-screen screenshot. Each software may have its own designated shortcut or button to initiate the screenshot capture process.
- After capturing the screenshot, the software will usually provide an interface or notification that allows you to view, save, or share the captured image.
Whether you choose the built-in method or opt for third-party software, capturing a full-screen screenshot on your HTC Vive allows you to encapsulate the complete virtual reality experience, including the surroundings, game environment, and any avatars or objects present.
Remember to explore the available software options and experiment with different methods to find the one that suits your preferences and requirements for capturing full-screen screenshots on your HTC Vive.
Capture a Specific Area Screenshot
If you want to capture a specific area or object within your virtual reality scene on the HTC Vive, there are methods available to take screenshots of just the desired region. Here are a couple of approaches you can use:
- Method 1: Using the Chaperone Bounds:
- First, ensure that the Chaperone Bounds are enabled in your HTC Vive settings. The Chaperone Bounds is a virtual barrier that appears when you are close to the edge of your play area.
- While in your VR experience, position yourself within the desired area that you want to capture.
- Extend one of your arms outside of the Chaperone Bounds to display the virtual boundary.
- Using the other hand, hold down the System Button located above the trackpad on the Vive controller.
- Press the Trigger button to capture the screenshot of the specific area within the Chaperone Bounds.
- A notification will appear in your headset confirming that the screenshot has been successfully captured.
- Method 2: Using Third-Party Software:
- Install a third-party software tool like OBS Studio or VR Toolbox that offers the capability to capture screenshots within a specific area.
- Follow the software’s instructions to set up a designated capture area or use the cropping tool to select the specific region you want to capture.
- Press the software’s screenshot shortcut or button to capture the screenshot of the defined area.
- The software will generally provide options to view, save, or share the captured image after the screenshot has been taken.
Using these methods, you can precisely capture a specific area or object within the virtual reality scene on your HTC Vive. It enables you to highlight and share particular details, elements, or moments that you find interesting or want to showcase.
Remember to refer to the instructions provided by the third-party software developers to fully utilize their specific tools for capturing screenshots of specific areas on your HTC Vive.
Capture a Screenshot in VR Game
When playing a VR game on your HTC Vive, capturing in-game screenshots allows you to preserve and share your favorite moments, showcase your accomplishments, or document any bugs or issues you encounter. Depending on the game and your preferences, there are a few methods you can employ to capture screenshots within VR games:
- Method 1: In-Game Screenshot Function:
- Some VR games come equipped with a built-in screenshot function. Check the game’s options or settings menu for any screenshot-related features.
- Refer to the game’s documentation or online resources to learn the specific buttons or commands to capture screenshots within the game.
- Once activated, the game will typically display a notification or save the screenshot to a designated folder within the game’s installation directory.
- Method 2: SteamVR Screenshot:
- If the game is launched through the SteamVR platform, you can utilize the SteamVR screenshot feature.
- Open the SteamVR Dashboard by pressing the System Button on your Vive controller.
- Locate the game you want to capture a screenshot of within the Dashboard and click on it.
- Within the game’s menu, select the appropriate option to capture a screenshot. This can usually be done by using the in-game pointer or by pressing a specific button on the Vive controller.
- The screenshot will be saved to the designated Steam screenshot folder, and you can access it from your Steam Library or the SteamVR screenshot gallery.
- Method 3: Third-Party Software:
- Install third-party software such as OBS Studio or VR Toolbox that offer screenshot capturing capabilities.
- Configure the software according to the game and your preferences, following the provided instructions by the software developer.
- Use the designated screenshot shortcut or button within the software to capture screenshots while playing the VR game.
- The captured screenshots can be saved and accessed through the software’s interface or designated folder.
By utilizing these methods, you can easily capture screenshots of the exciting and memorable moments you experience while playing VR games on your HTC Vive. Experiment with different methods and find the one that best suits your preferences and the capabilities of both the game and your VR hardware.
Customize Screenshot Settings
When taking screenshots on your HTC Vive, you may have the option to customize various settings to enhance the quality and presentation of your captured images. The ability to customize these settings can help you personalize the screenshots to your liking. Here are some common options that you might be able to adjust:
- Resolution: Depending on the software or game you are using to capture screenshots, you may have the ability to choose the resolution of the captured image. Higher resolutions result in sharper and more detailed screenshots, but they may also increase the file size.
- File Format: Some screenshot tools allow you to select the file format for your screenshots. Common formats include JPEG, PNG, or BMP. JPEG offers good compression for smaller file sizes, while PNG provides lossless image quality.
- Image Quality: Certain software or games provide options to adjust the image quality of the screenshots. This can include settings like color saturation, contrast, brightness, or sharpness. Adjusting these settings can enhance the visual appeal of the captured screenshots.
- Metadata: Many screenshot tools allow you to add metadata or text information to your screenshots. This can include the game title, date and time of capture, your username, or even custom notes or tags. Adding metadata can help you organize and categorize your screenshots for future reference.
- Keybindings: If you are using third-party screenshot software, you may have the option to customize the keybindings or shortcuts used to capture screenshots. This enables you to set up shortcuts that are convenient for you to access while immersed in your VR experience.
- Watermarks: In some cases, screenshot tools may offer the ability to add watermarks to your captured images. Watermarks can be used to protect your screenshots from unauthorized use or to include branding elements, such as your username or website logo.
Customizing these settings allows you to tailor your screenshots to meet your specific preferences and requirements. Experiment with different options to find the desired balance between image quality, file size, and customization options.
Keep in mind that the availability of these customization settings may vary depending on the software or game you are using. Refer to the respective documentation or settings menu for instructions on how to customize screenshot settings within your chosen application or tool.
Where to Find the Screenshots on HTC Vive
After capturing screenshots on your HTC Vive, you may wonder where you can find them on your computer. By default, the screenshots are saved to a specific folder, allowing you to easily locate and manage your captured images. Here are the common locations where you can find your screenshots:
- Pictures Folder: The most common location for storing screenshots on both Windows and Mac operating systems is the “Pictures” folder. Within the “Pictures” folder, you may find a subfolder specifically for VR screenshots, or the screenshots may be saved directly in the “Pictures” folder.
- Steam Screenshot Gallery: If you use Steam as your VR platform, captured screenshots may also be accessible through the Steam Screenshot Gallery. To access this gallery, open the Steam application, go to your Steam Library, and select the “Screenshots” tab. From there, you can find and manage your HTC Vive screenshots.
- Specific Game Folders: Some VR games may save screenshots within their own installation folders. To find these screenshots, navigate to the directory where the game is installed and look for a subfolder named “Screenshots” or a similar designation. Within this folder, you should find the screenshots taken while playing that specific game.
- Third-Party Software Folders: If you have used third-party software, such as OBS Studio or VR Toolbox, to capture screenshots on your HTC Vive, the software may have its own designated folder for storing the screenshots. Consult the software’s settings or documentation to determine the default folder location or how to customize the save location.
It’s important to note that the specific location of your screenshots may vary depending on the settings you have chosen during the setup process or any customization you have made to the default save location. If you are unable to locate your screenshots in the standard locations mentioned above, try searching your computer using keywords specific to your VR headset or screenshot software.
Remember to organize and manage your screenshots to avoid clutter and make it easier to find and share them in the future. Renaming the screenshots or sorting them into categorized folders can be beneficial for better organization and accessibility.
Troubleshooting: Common Issues with Taking Screenshots on HTC Vive
While capturing screenshots on your HTC Vive is usually a straightforward process, you may encounter some common issues that can hinder your ability to take screenshots. Here are a few troubleshooting tips to help address these issues:
- Missing or Distorted Screenshots: If your screenshots appear to be missing or distorted, ensure that you have sufficient storage space on your computer. Low disk space can often lead to incomplete or corrupted screenshots.
- Incompatible or Outdated Software: Ensure that you are using software or games that are compatible with the HTC Vive and its screenshot functions. Verify that you have the latest version of the VR software, game, or screenshot tool installed, as outdated software may not offer proper screenshot functionality.
- Conflicting Keybindings: If you are using third-party software to capture screenshots, ensure that there are no conflicting keybindings with the HTC Vive or other software. Conflicting keybindings can prevent the trigger or system buttons from functioning as intended. Adjust the keybindings within the software or game settings to avoid conflicts.
- Screenshot Notifications Not Appearing: If you are not receiving any notification confirming the capture of a screenshot, ensure that the notifications are enabled in your VR settings. Venues for enabling notifications can vary depending on the specific HTC Vive model and software version you are using. Consult the HTC Vive documentation or support resources for instructions on enabling notifications.
- Hardware Interference: Ensure that there are no physical obstructions or interference that may affect the tracking capabilities of your HTC Vive sensors. Physical interference can cause tracking issues, resulting in inaccurate or failed screenshots. Clear the play area from any objects that may obstruct the sensors or affect the performance of the headset.
- Insufficient System Resources: Taking screenshots, especially high-resolution ones, can be resource-intensive. Ensure that your computer meets the minimum system requirements for the HTC Vive and that you are not running any other programs or applications that may excessively use your system resources.
- Restarting the HTC Vive and PC: If you are experiencing persistent issues with capturing screenshots, try restarting both the HTC Vive headset and your computer. Restarting can help in resolving temporary software or driver glitches that may be affecting the screenshot functionality.
If the troubleshooting steps mentioned above do not resolve your issues, it is recommended to consult the official HTC Vive support resources, such as forums or contact their customer support team directly. They can provide you with specific guidance tailored to your individual circumstances and help you diagnose and resolve any underlying problems.