
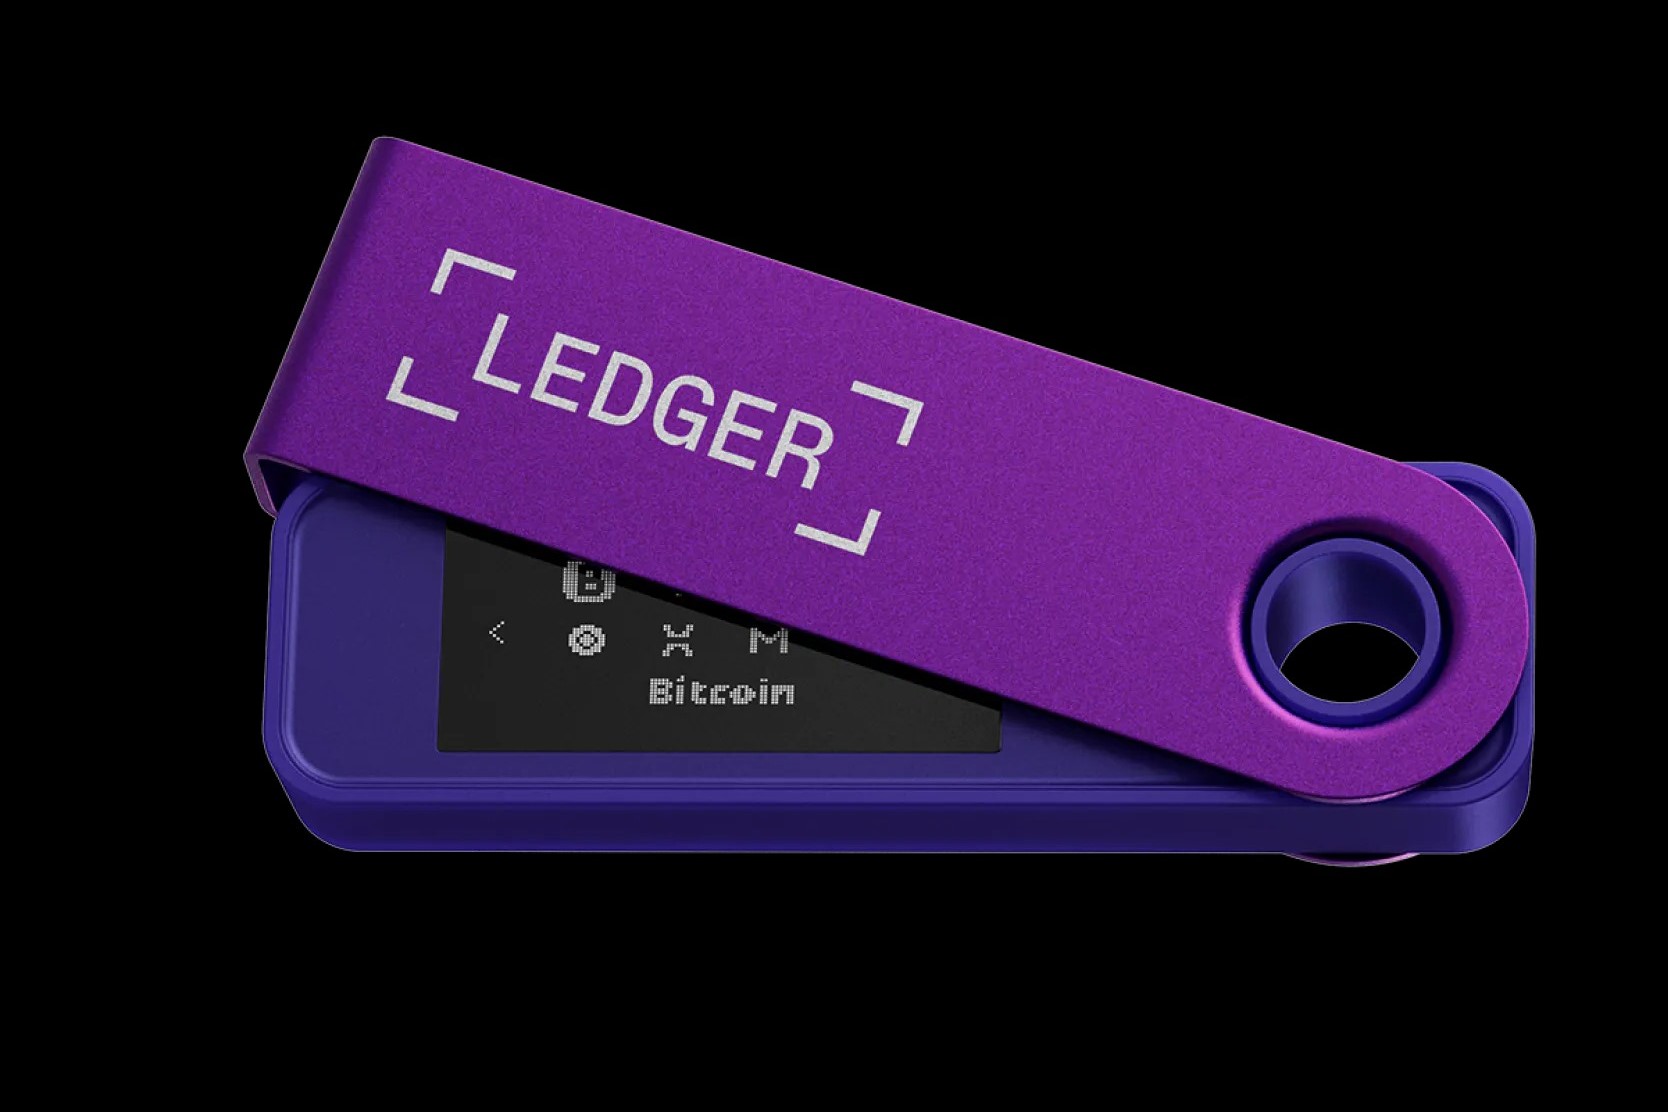
Setting Up Ledger Nano S
If you’ve recently acquired a Ledger Nano S and want to start viewing your Bitcoin balance, you’ll need to go through a simple setup process. Follow these steps to get started:
- Unbox your Ledger Nano S and connect it to your computer using the provided USB cable.
- Press both buttons on the device to power it on.
- Use the buttons to navigate through the menu and select “Set up as new device” option when prompted.
- Choose a PIN code to secure your device. Make sure it’s a combination you can easily remember but difficult for others to guess.
- Confirm your PIN code and write it down somewhere safe. Take note that entering an incorrect PIN three times will wipe the device.
- Once your PIN code is secured, the device will generate a 24-word recovery seed. Write down these words in the order they are provided and store them in a secure location. This seed can help you recover your Bitcoin in case your device is lost or damaged.
- Follow the on-screen instructions to confirm your recovery seed by selecting each word in the correct order.
- Once your recovery seed is confirmed, your Ledger Nano S will be ready to use.
With your Ledger Nano S properly set up, you can now proceed to install the Bitcoin app and begin viewing your Bitcoin balance!
Installing the Bitcoin App
To view your Bitcoin balance on your Ledger Nano S, you’ll need to install the Bitcoin app. Follow these steps to install the app:
- Open the Ledger Live application on your computer.
- Connect your Ledger Nano S to your computer using the USB cable.
- In the Ledger Live application, click on the “Manager” tab on the left sidebar.
- Search for “Bitcoin” in the app catalog and click on it.
- Click on the “Install” button to initiate the installation process.
- Follow the on-screen instructions and confirm the installation on your Ledger Nano S by pressing the right button when prompted.
- Once the installation is complete, you’ll see the Bitcoin app icon on your Ledger Nano S.
Now that you have successfully installed the Bitcoin app on your Ledger Nano S, it’s time to connect your device to your computer and open the app to start viewing your Bitcoin balance.
Connecting Ledger Nano S to My Computer
In order to view your Bitcoin balance on your Ledger Nano S, you’ll need to connect it to your computer. Follow these steps to establish the connection:
- Plug one end of the provided USB cable into your Ledger Nano S and the other end into an available USB port on your computer.
- Press both buttons on your Ledger Nano S to power it on.
- Unlock your Ledger Nano S by entering your PIN code using the device’s buttons.
- Once your PIN code is accepted, your computer will recognize the Ledger Nano S as a connected device.
- If prompted on your computer, choose the option to “Open Ledger Live” or launch the Ledger Live application manually.
- In the Ledger Live application, you should see a prompt asking you to ‘Connect and unlock your Ledger device’.
- Follow the on-screen instructions and make sure the displayed information on your computer matches what is shown on your Ledger Nano S.
- Confirm the connection and unlock your Ledger Nano S by pressing the right button when prompted.
Once your Ledger Nano S is successfully connected to your computer, you can proceed to open the Bitcoin app and view your Bitcoin balance.
Opening the Bitcoin App on Ledger Nano S
After connecting your Ledger Nano S to your computer, you can now proceed to open the Bitcoin app and access your Bitcoin balance. Follow these steps to open the Bitcoin app:
- Ensure that your Ledger Nano S is still connected to your computer through the USB cable.
- On your computer, locate and open the Ledger Live application if it is not already open.
- In the Ledger Live application, click on the “Portfolio” tab located in the left sidebar.
- Under the “Accounts” section, you will see a list of supported cryptocurrencies including Bitcoin.
- Scroll down until you find “Bitcoin” and click on it.
- A screen will prompt you to unlock your Ledger Nano S by entering your PIN code on the device.
- Enter your PIN code using the buttons on your Ledger Nano S.
- Once your PIN code is correctly entered, the Bitcoin app will open and display your Bitcoin balance.
You have now successfully opened the Bitcoin app on your Ledger Nano S and can view your Bitcoin balance. This app also provides access to various features such as transaction history, address verification, and account management. Continue reading to learn more about these functionalities.
Viewing Bitcoin Balance
Once you have successfully opened the Bitcoin app on your Ledger Nano S, you can easily view your Bitcoin balance. Follow these steps:
- Make sure your Ledger Nano S is connected to your computer.
- Open the Ledger Live application on your computer if it is not already open.
- In the Ledger Live application, navigate to the “Portfolio” tab in the left sidebar.
- Under the “Accounts” section, locate and click on the “Bitcoin” account.
- Your Bitcoin balance will be displayed on the screen, along with any other relevant information such as the value in fiat currency and the percentage change in balance.
By following these simple steps, you can easily keep track of your Bitcoin balance using the Ledger Live application. Remember to keep your Ledger Nano S connected to your computer whenever you want to view your balance or perform any Bitcoin-related operations.
Having a clear view of your Bitcoin balance is essential for monitoring your investments and making informed decisions. With your Ledger Nano S, you can easily access this information in a secure and reliable manner.
Viewing Transaction History
Keeping track of your Bitcoin transactions is crucial for managing your finances and ensuring the security of your funds. With the Ledger Nano S, you can easily view your transaction history. Here’s how:
- Connect your Ledger Nano S to your computer and open the Ledger Live application.
- Navigate to the “Portfolio” tab in the left sidebar.
- Under the “Accounts” section, click on the “Bitcoin” account to view its details.
- In the account overview, you will find a section called “Transactions”. Click on it to access your transaction history.
- You will see a list of your most recent Bitcoin transactions, including the date, time, transaction ID, and the amount sent or received.
- Scroll through the list to review your transaction history. You can also search for specific transactions using the search bar at the top of the screen.
- If you want more detailed information about a specific transaction, click on it to view additional details such as the recipient’s address and confirmations.
By regularly checking your transaction history, you can ensure the accuracy and integrity of your Bitcoin activity. This allows you to identify any unauthorized transactions and take appropriate action to secure your funds.
The Ledger Live application provides a user-friendly interface for viewing and managing your Bitcoin transaction history. With the Ledger Nano S, you can maintain a clear record of your financial transactions and stay in control of your Bitcoin holdings.
Checking Bitcoin Addresses
Verifying Bitcoin addresses is essential for ensuring the accuracy of transactions and minimizing the risk of errors or fraud. With the Ledger Nano S, you can easily check your Bitcoin addresses to confirm that they are correct. Here’s how:
- Connect your Ledger Nano S to your computer and open the Ledger Live application.
- Navigate to the “Accounts” tab in the left sidebar.
- Click on the “Bitcoin” account that contains the address you want to check.
- In the account overview, you will find a list of your Bitcoin addresses.
- Select the address you want to verify by clicking on it.
- A screen will display the selected address along with a QR code and the option to copy the address to the clipboard.
- To further validate the address, you can compare it with the address on the Ledger Nano S display. The address should match exactly.
- If you want to receive funds to this address, you can share the address with the sender by providing them with the address or QR code.
By checking your Bitcoin addresses, you can ensure that you are sending funds to the correct recipient and avoid any potential loss or mishap. Double-checking the address is especially crucial when dealing with significant amounts of Bitcoin or unknown parties.
The Ledger Live application and Ledger Nano S provide a secure and reliable method for verifying your Bitcoin addresses, helping you maintain the integrity of your transactions and protect your funds.
Verifying Bitcoin Transactions
Verifying Bitcoin transactions is an essential step to ensure the integrity and accuracy of your financial activities. With the Ledger Nano S, you can easily verify the authenticity of Bitcoin transactions. Here’s how:
- Connect your Ledger Nano S to your computer and open the Ledger Live application.
- Navigate to the “Accounts” tab in the left sidebar.
- Click on the “Bitcoin” account that contains the transaction you want to verify.
- In the account overview, locate the transaction you want to verify.
- Click on the transaction to view its details and confirmations.
- Verify the sender’s address to ensure it matches the expected address.
- Check the date and time of the transaction to ensure it aligns with your activities.
- Review the transaction ID (TXID) and compare it with the blockchain explorer or relevant sources to confirm its validity.
- Confirm the transaction’s status, including the number of confirmations it has received on the Bitcoin network.
By conducting these verification steps, you can ensure that your Bitcoin transactions are legitimate and accurate. This is crucial for maintaining the security of your funds and avoiding potential scams or errors.
The Ledger Live application, in conjunction with the Ledger Nano S, provides a reliable platform to verify your Bitcoin transactions. By performing this verification process, you can have peace of mind knowing that your Bitcoin transactions are secure and trustworthy.
Managing Bitcoin Accounts
Managing your Bitcoin accounts is crucial for staying organized and keeping track of your funds. With the Ledger Nano S, you can efficiently manage your Bitcoin accounts. Here’s how:
- Connect your Ledger Nano S to your computer and open the Ledger Live application.
- Navigate to the “Accounts” tab in the left sidebar.
- In the account overview, you will see a list of your Bitcoin accounts.
- To add a new Bitcoin account, click on the “+” icon located at the top right corner of the screen.
- Follow the on-screen instructions to set up a new account, including generating a new address and confirming it on your Ledger Nano S.
- You can also customize the account name to make it easier for you to identify.
- If you want to remove an account, click on the settings icon (three dots) next to the account and select “Hide account”. This will remove the account from your account overview.
- To access hidden accounts, click on the “Settings” tab in the left sidebar and select “Accounts”. From there, you can choose to show or hide specific accounts.
- You can also organize your accounts by creating folders. Click on the “+” icon next to “All accounts” and select “New folder”. Give the folder a name and drag and drop the desired accounts into the folder.
By efficiently managing your Bitcoin accounts, you can easily keep track of your funds and have a clear overview of your financial activity. This allows you to stay organized and make informed decisions regarding your Bitcoin holdings.
The Ledger Live application, in conjunction with the Ledger Nano S, provides a user-friendly interface to manage your Bitcoin accounts effectively. Take advantage of these features to streamline your Bitcoin management process and maintain control over your funds.
Advanced Features and Settings
In addition to the basic functionalities, the Ledger Nano S offers several advanced features and settings that allow for a more customized and secure Bitcoin experience. Let’s explore some of these advanced features:
- Multiple Cryptocurrencies: The Ledger Nano S supports various cryptocurrencies, not just Bitcoin. You can manage multiple cryptocurrencies using the Ledger Live application. Simply add the desired cryptocurrency accounts and access them on your Ledger Nano S.
- Segregated Witness (SegWit) Support: The Ledger Nano S is compatible with SegWit addresses, a Bitcoin improvement proposal that enhances transaction efficiency. By enabling SegWit support in the Ledger Live settings, you can take advantage of reduced transaction fees and faster confirmation times.
- Custom Transaction Fees: To increase the speed of your Bitcoin transactions, you have the option to set custom transaction fees. By adjusting the fee rate, you can prioritize your transactions based on your desired confirmation time and current network conditions.
- Passphrase Feature: The Ledger Nano S allows you to set up an additional layer of security by enabling a passphrase feature. This feature adds an extra password to your device, making it even more challenging for unauthorized access. Ensure you remember your passphrase as recovering it can be challenging if forgotten.
- Offline Storage and Backup: The Ledger Nano S is designed for offline storage of your private keys, providing an added layer of security. It also generates a 24-word recovery seed during the initial setup. Make sure to securely backup your recovery seed in case you need to restore your wallet or access your funds in the future.
- Firmware Updates: Ledger regularly releases firmware updates for the Nano S to enhance security and add new features. It is recommended to keep your device firmware up to date by utilizing the Ledger Live application and following the instructions provided.
These advanced features and settings empower you with greater control and flexibility over your Bitcoin management. By exploring and utilizing these features, you can personalize your Ledger Nano S experience and maximize the security of your Bitcoin transactions.
Remember, always exercise caution and ensure you understand the implications of any changes or settings you make to avoid any unintended consequences.
Troubleshooting Common Issues
While the Ledger Nano S is a reliable and secure hardware wallet, there may be times when you encounter common issues. Here are some troubleshooting steps to help resolve these issues:
- Connection Issues: If your Ledger Nano S is not connecting to your computer, try using a different USB cable or port. Restart both your computer and the device, and ensure you have the latest version of the Ledger Live application installed.
- Device Not Recognized: If your Ledger Nano S is not recognized by the Ledger Live application, try disconnecting and reconnecting the device. Ensure that you select the correct device when prompted and enter your PIN code correctly.
- App Installation Issues: If you’re having trouble installing the Bitcoin app or any other app on your Ledger Nano S, check for firmware updates in the Ledger Live application. Make sure your device has sufficient storage space and follow the instructions carefully.
- Balance Discrepancies: If you notice discrepancies in your Bitcoin balance, ensure that you are viewing the correct account and that all transactions are properly confirmed on the blockchain. Refresh the account data in the Ledger Live application or try syncing the blockchain data again.
- Forgotten PIN or Passphrase: If you forget your PIN code or passphrase, there is no way to recover them. However, if you have your recovery seed, you can restore your wallet on a new Ledger device and set up a new PIN and passphrase.
- Transaction Delays: If your Bitcoin transactions are taking longer than expected to confirm, check the fee rate you set. If the fee is too low, the transaction may take longer to be included in a block. Consider adjusting the fee rate or using a transaction accelerator service if available.
If you encounter persistent issues with your Ledger Nano S, it is recommended to consult the official Ledger support documentation or reach out to their customer support for further assistance. They have a dedicated support team to help you with any technical issues you may experience.
Remember to always exercise caution and securely store your recovery seed and other sensitive information to prevent any unauthorized access to your Bitcoin.