
What is Ledger Nano S?
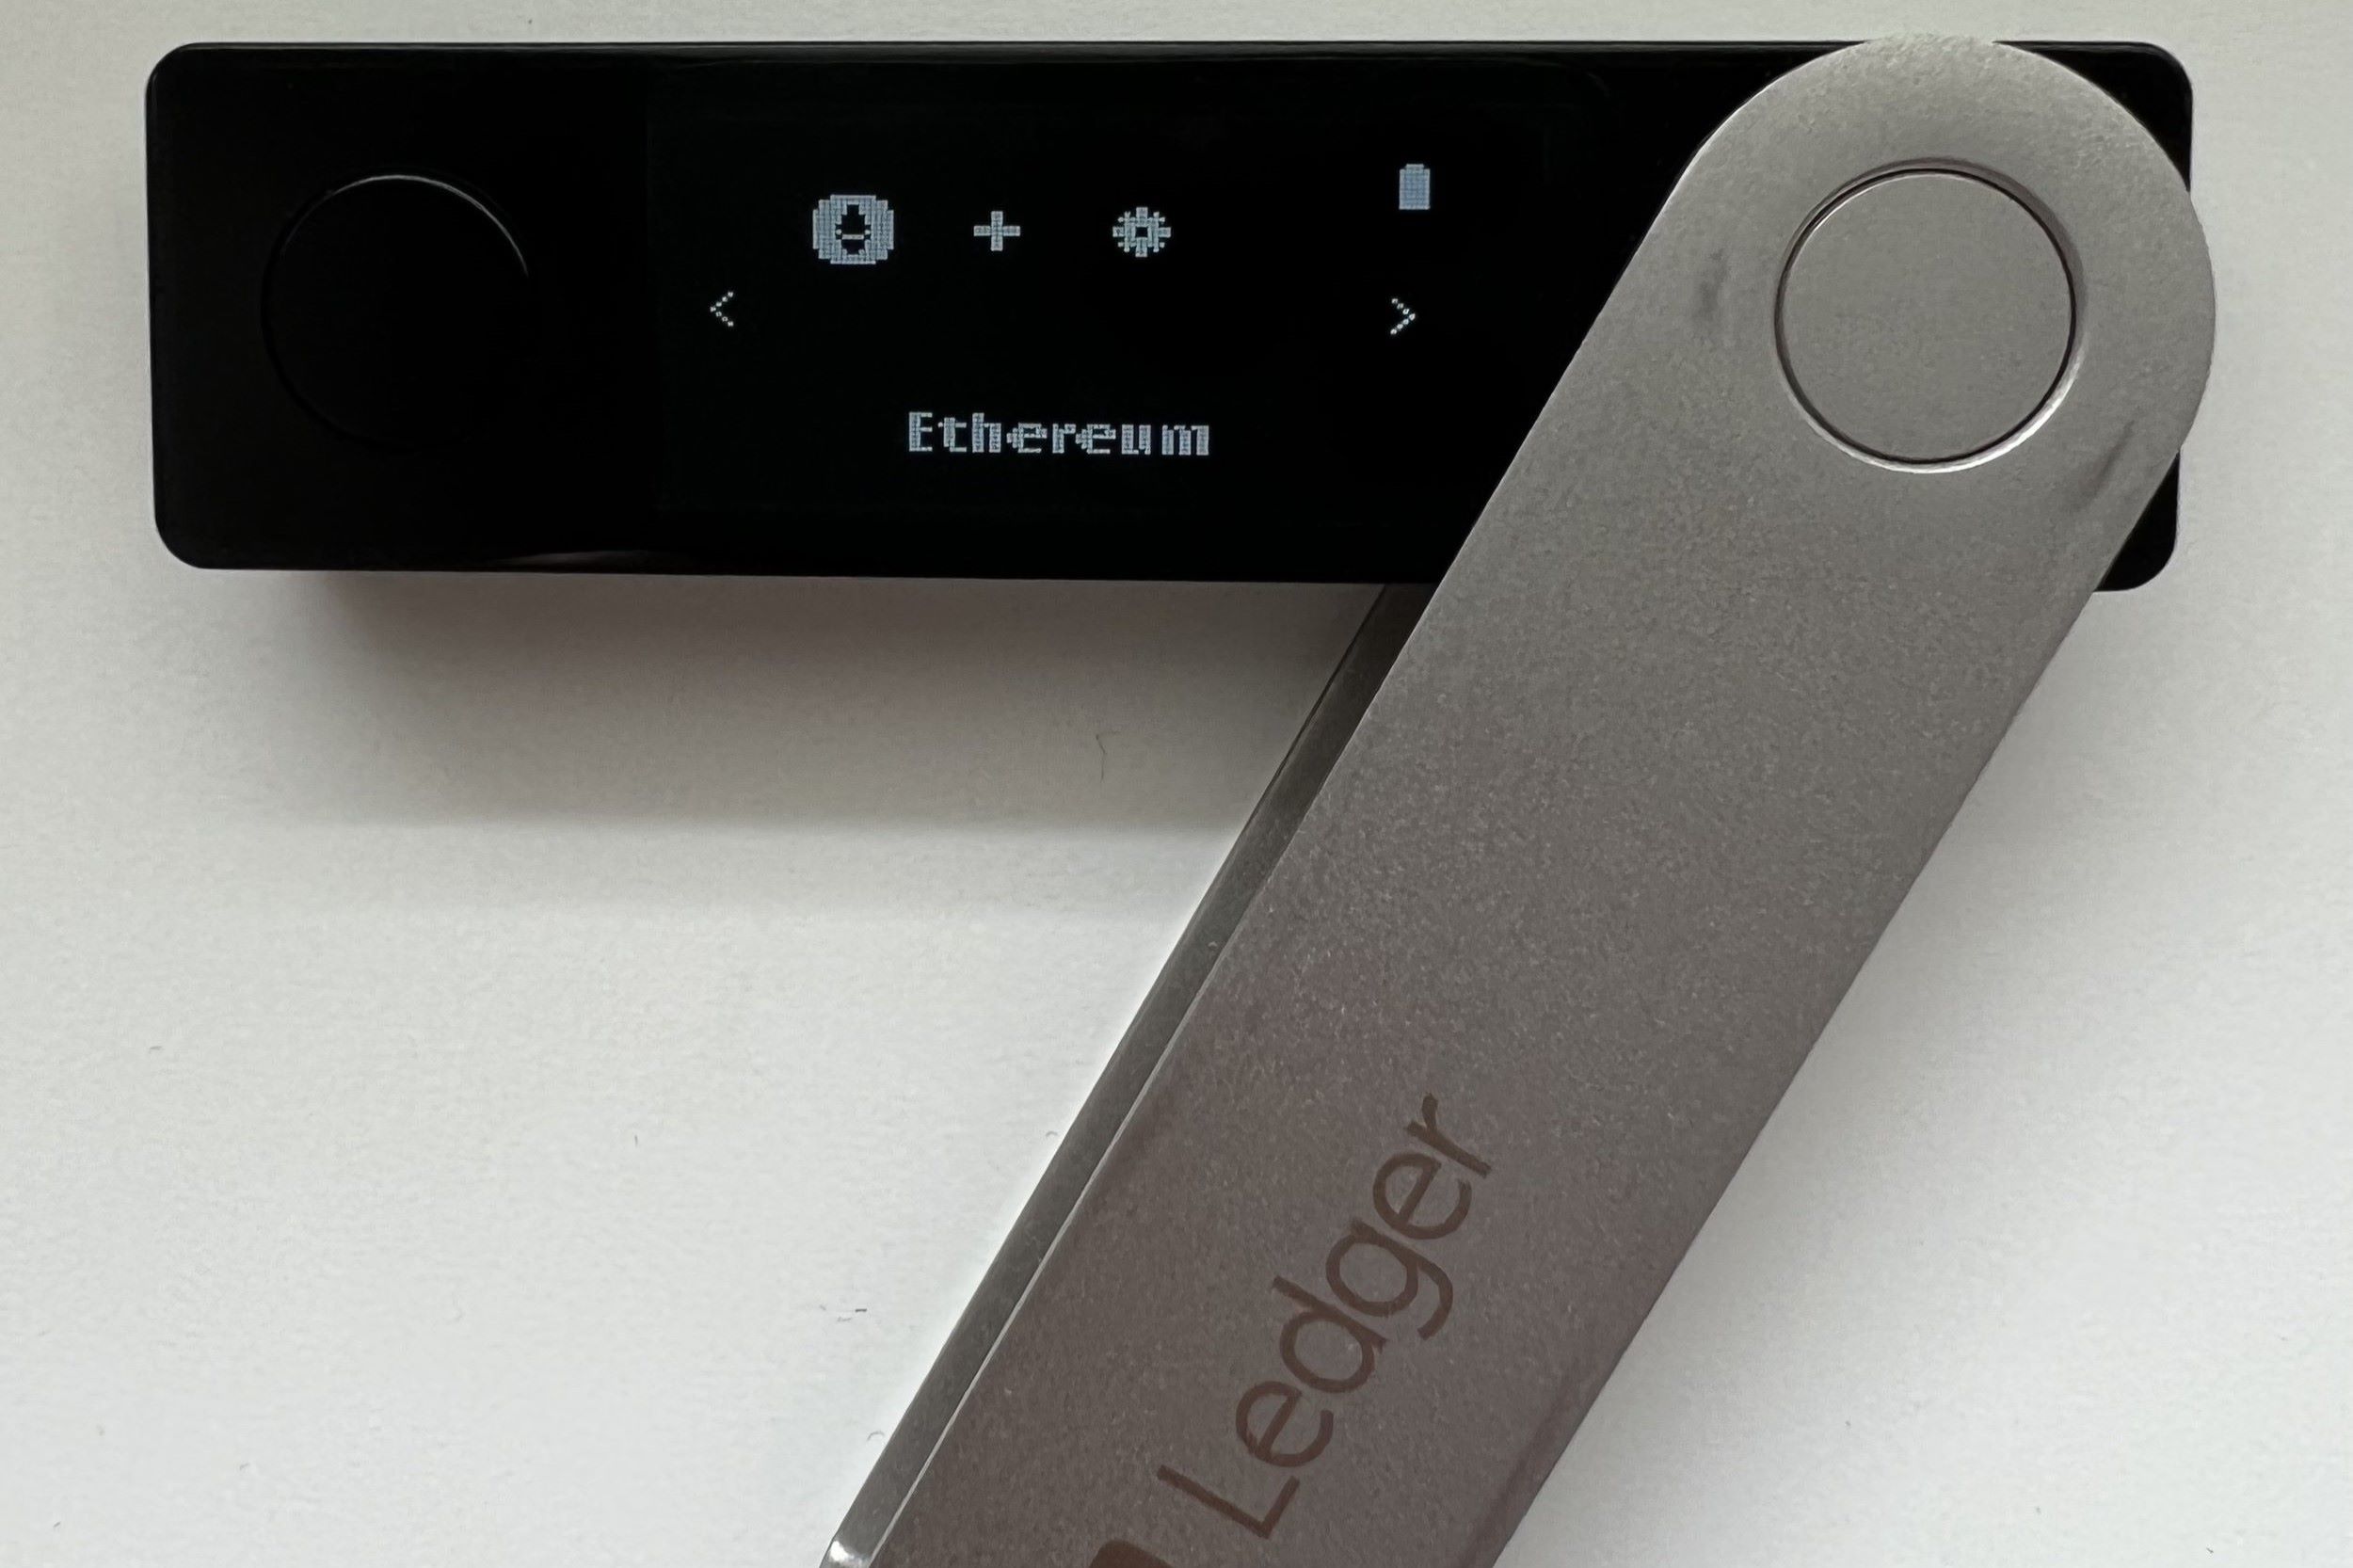
The Ledger Nano S is a hardware wallet designed to provide secure storage for cryptocurrencies, including Ethereum. It is a compact device that resembles a USB stick and offers a high level of security to protect your digital assets.
One of the main benefits of using the Ledger Nano S for Ethereum storage is its offline capabilities. The device stores your private keys offline, meaning they are never exposed to the internet, making it highly resistant to hacking attempts and malware attacks.
The Ledger Nano S utilizes a certified secure chip, which implements advanced cryptographic algorithms to safeguard your Ethereum funds. This chip is tamper-proof, ensuring that your private keys remain secure even if the device is compromised physically.
In addition to its security features, the Ledger Nano S offers a user-friendly interface that makes it easy to manage your Ethereum accounts. The device is compatible with Ledger Live, a desktop application that allows you to access and interact with your Ethereum funds.
With Ledger Live, you can view your Ethereum account balances, create new accounts, and send or receive Ethereum transactions. The platform also provides a convenient way to manage and track your Ethereum portfolio, as well as to add custom tokens.
Overall, the Ledger Nano S provides a reliable and secure solution for storing and managing your Ethereum holdings. Its offline storage capabilities and advanced security measures make it an ideal choice for individuals looking to protect their digital assets from potential threats.
Setting Up Your Ledger Nano S
Setting up your Ledger Nano S is a straightforward process that ensures the security and proper functioning of the device. Here are the steps to get started:
- Unboxing: Begin by unboxing your Ledger Nano S and make sure all the components are included. These typically include the device itself, a USB cable, a keychain, and a recovery sheet.
- Connecting to a computer: Use the provided USB cable to connect your Ledger Nano S to your computer. The device will power on automatically.
- Initializing the device: You will need to set up a new device or restore from an existing recovery phrase. If it’s a new device, select “Initialize as new device.” If you are restoring, choose “Recover as existing device” and follow the prompts.
- Creating a PIN: Set a secure PIN code on your Ledger Nano S. Make sure to choose a PIN that is unique and not easily guessable. Use the device’s buttons to navigate and confirm your selection.
- Writing down the recovery phrase: After setting up the PIN, the device will display a 24-word recovery phrase. Write it down carefully on the provided recovery sheet. This phrase is crucial for recovering your funds in case your device gets lost or damaged.
- Confirming the recovery phrase: Once you have written down the recovery phrase, the device will prompt you to confirm a few of the words. This ensures that you have noted the recovery phrase correctly.
- Installing Ethereum app: To use your Ledger Nano S with Ethereum, you need to install the Ethereum app on the device. Open the Ledger Live application on your computer and follow the on-screen instructions to install the Ethereum app on your Ledger Nano S.
- Verifying the installation: Once the Ethereum app is installed, verify that it is properly installed on your device. You should see the Ethereum app icon on your Ledger Nano S.
- Updating the firmware (optional): It is recommended to keep your device’s firmware up to date. If there is a firmware update available, follow the instructions provided by the Ledger Live application to update your device’s firmware.
By following these steps, you can successfully set up your Ledger Nano S and ensure its secure usage for managing your Ethereum funds.
Installing Ethereum App on Your Ledger Nano S
Installing the Ethereum app on your Ledger Nano S is necessary to securely store and manage your Ethereum funds. Here’s a step-by-step guide to help you install the Ethereum app:
- Connect your Ledger Nano S: Use the provided USB cable to connect your Ledger Nano S to your computer. Enter your PIN on the device to unlock it.
- Open Ledger Live: Launch the Ledger Live application on your computer. If you haven’t installed it yet, visit the official Ledger website and download the latest version.
- Navigate to Manager: In the Ledger Live application, click on the “Manager” tab located at the bottom of the left-hand menu.
- Connect your Ledger Nano S: If the application doesn’t automatically detect your device, click on the “Connect and unlock your device” button. Follow the on-screen instructions to establish the connection.
- Find the Ethereum app: In the Manager tab, scroll down the list of available apps or use the search function to find the Ethereum app.
- Install the Ethereum app: Once you’ve located the Ethereum app, click on the “Install” button next to it. Ledger Live will initiate the installation process on your Ledger Nano S.
- Verify installation: After the installation is complete, Ledger Live will confirm that the Ethereum app has been successfully installed on your device.
- Finalize the installation: Disconnect your Ledger Nano S from the computer and close the Ledger Live application. Your Ethereum app is now installed and ready to use.
By following these steps, you can easily install the Ethereum app on your Ledger Nano S and gain secure access to your Ethereum funds. Make sure to keep your device and Ledger Live application up to date for the latest security features and improvements.
Accessing Ledger Live
Once you have installed the Ethereum app on your Ledger Nano S, you can access and manage your Ethereum funds using the Ledger Live application. Here’s how you can access Ledger Live:
- Launch Ledger Live: Open the Ledger Live application on your computer. If you haven’t installed it yet, visit the official Ledger website and download the latest version.
- Connect your Ledger Nano S: Use the provided USB cable to connect your Ledger Nano S to your computer. Enter your PIN on the device to unlock it.
- Unlock your Ethereum account: After connecting your Ledger Nano S, you’ll be prompted to unlock your Ethereum account. Follow the instructions on the Ledger Live application to unlock your account by confirming it on your device.
- View your Ethereum accounts: Once your Ethereum account is unlocked, Ledger Live will display a list of your Ethereum accounts. You can see their respective balances and transaction history.
- Choose an account: Select the Ethereum account you want to manage from the list. You can switch between different accounts if you have multiple ones.
- Manage your Ethereum funds: Ledger Live offers several features for managing your Ethereum funds. You can send Ethereum to other addresses, receive Ethereum into your account, or view your transaction history.
- Add custom tokens: If you have any ERC-20 tokens or other custom Ethereum tokens, you can add them to your Ledger Live account. This allows you to manage these tokens alongside your Ethereum balance.
- Explore additional features: Ledger Live provides additional features, such as portfolio management and portfolio analytics. You can explore these features to gain insights into your Ethereum holdings.
- Disconnect your Ledger Nano S: Once you have completed your desired actions, safely disconnect your Ledger Nano S from the computer by removing the USB cable.
By following these steps, you can access Ledger Live and utilize its features to manage your Ethereum accounts and transactions securely. Remember to always disconnect your Ledger Nano S when not in use to keep your funds safe.
Connecting Ledger Nano S to Your Computer
In order to access and manage your Ethereum funds using your Ledger Nano S, you need to connect it to your computer. Here are the steps to connect your Ledger Nano S:
- Locate the USB cable: Find the USB cable that came with your Ledger Nano S. Plug one end of the cable into the USB port on your computer.
- Connect your Ledger Nano S: Take the other end of the USB cable and connect it to the USB port on your Ledger Nano S device. You will see the device turn on automatically.
- Enter your PIN: On the screen of your Ledger Nano S, you will be prompted to enter your PIN. Use the device’s buttons to enter your PIN and confirm your selection.
- Unlock your device: After entering the correct PIN, your Ledger Nano S will be unlocked and ready to use.
- Launch Ledger Live: Open the Ledger Live application on your computer. If you haven’t installed it yet, you can download it from the official Ledger website.
- Connect your Ledger Nano S to Ledger Live: In the Ledger Live application, click on the “Manager” tab located at the bottom of the left-hand menu. If your Ledger Nano S is not automatically detected, click on the “Connect and unlock your device” button and follow the on-screen instructions.
- Confirm connection on your Ledger Nano S: Your Ledger Nano S will display a prompt asking you to confirm the connection. Use the device’s buttons to confirm and establish the connection.
- Access your Ethereum accounts: Once your Ledger Nano S is successfully connected to your computer, you can access and manage your Ethereum accounts using the Ledger Live application.
- Disconnect your Ledger Nano S: When you are done using your Ledger Nano S, safely disconnect it from your computer by removing the USB cable. This helps protect your device and ensures the security of your Ethereum funds.
By following these steps, you can easily connect your Ledger Nano S to your computer and begin managing your Ethereum funds securely using the Ledger Live application.
Managing Ethereum Accounts on Ledger Live
Once your Ledger Nano S is connected to Ledger Live, you can easily manage your Ethereum accounts and perform various actions. Here’s how you can efficiently manage your Ethereum accounts on Ledger Live:
- Viewing account balances: Ledger Live provides an overview of your Ethereum account balances. Simply select the desired account, and you will see the current balance displayed.
- Creating new accounts: If you need to create additional Ethereum accounts, Ledger Live allows you to generate new accounts effortlessly. Click on the “Add account” option and follow the prompts to create a new Ethereum account.
- Sending Ethereum: To send Ethereum to another wallet or address, select the account from which you want to send, click on the “Send” button, and provide the recipient’s address along with the desired amount of Ethereum to be sent. Confirm the transaction on your Ledger Nano S.
- Receiving Ethereum: To receive Ethereum into your Ledger Nano S, select the account to which you want to receive, click on the “Receive” button, and Ledger Live will generate a unique Ethereum address. Share this address with the sender to receive Ethereum.
- Managing transaction history: Ledger Live keeps a record of all your Ethereum transactions. You can easily view the transaction history for each account, providing insights into past interactions.
- Verifying transactions: Ledger Live allows you to verify the details of your Ethereum transactions directly on the device. When prompted, review the transaction details, confirm the transaction on your Ledger Nano S, and ensure everything is accurate before proceeding.
- Adding custom tokens: If you hold custom Ethereum tokens, such as ERC-20 tokens, you can add them to Ledger Live. Click on the “Add account” button, select the token type, and Ledger Live will automatically import and display your tokens.
- Managing multiple accounts: Ledger Live enables you to conveniently manage multiple Ethereum accounts. You can switch between different accounts and perform actions specific to each account.
- Keeping track of balances: Ledger Live allows you to monitor the value of your Ethereum holdings by providing a portfolio view that displays the total balance in your accounts.
- Accessing advanced features: Ledger Live offers advanced features, including portfolio analytics and the ability to delegate and stake Ethereum. Explore these options to optimize your Ethereum management experience.
By utilizing the features and functionalities of Ledger Live, you can easily manage your Ethereum accounts, view balances, send and receive Ethereum, track transactions, and perform various other actions securely using your Ledger Nano S.
Sending Ethereum using Ledger Nano S
With your Ledger Nano S and the Ledger Live application, you can securely send Ethereum to other wallets or addresses. Here’s a step-by-step guide on how to send Ethereum using Ledger Nano S:
- Connect your Ledger Nano S: Use the provided USB cable to connect your Ledger Nano S to your computer. Enter your PIN on the device to unlock it.
- Launch Ledger Live: Open the Ledger Live application on your computer. If you haven’t installed it yet, visit the official Ledger website and download the latest version.
- Access your Ethereum account: After connecting your Ledger Nano S, you will see a list of your Ethereum accounts in Ledger Live. Select the account from which you want to send Ethereum.
- Click on “Send”: In Ledger Live, click on the “Send” button located under your Ethereum account details.
- Enter recipient address: Provide the recipient’s Ethereum address in the designated field. Make sure to double-check the address to avoid any errors.
- Specify the amount: Enter the amount of Ethereum you want to send to the recipient. You can choose to enter the amount in either ETH or a fiat currency equivalent.
- Review transaction details: Ledger Live will display a summary of the transaction, including the recipient address, the amount to be sent, and the transaction fee. Take a moment to review the details carefully.
- Confirm on your Ledger Nano S: Once you have reviewed the transaction details, confirm the transaction on your Ledger Nano S by pressing the appropriate button(s) on the device.
- Wait for confirmation: Ledger Live will initiate the transaction and broadcast it to the Ethereum network. Wait for the transaction to be confirmed on the blockchain.
- Transaction completion: Once the transaction is confirmed, Ledger Live will display a confirmation message. You can also view the transaction details on a block explorer by clicking on the provided transaction ID.
- Disconnect your Ledger Nano S: After completing the transaction, safely disconnect your Ledger Nano S from your computer by removing the USB cable.
By following these steps, you can securely send Ethereum using your Ledger Nano S and the Ledger Live application. Always verify the transaction details before confirming to ensure your Ethereum is sent to the intended recipient.
Receiving Ethereum using Ledger Nano S
With your Ledger Nano S and the Ledger Live application, you can easily receive Ethereum into your Ethereum accounts. Here’s a step-by-step guide on how to receive Ethereum using Ledger Nano S:
- Connect your Ledger Nano S: Use the provided USB cable to connect your Ledger Nano S to your computer. Enter your PIN on the device to unlock it.
- Launch Ledger Live: Open the Ledger Live application on your computer. If you haven’t installed it yet, visit the official Ledger website and download the latest version.
- Access your Ethereum account: After connecting your Ledger Nano S, you will see a list of your Ethereum accounts in Ledger Live. Select the account to which you want to receive Ethereum.
- Click on “Receive”: In Ledger Live, click on the “Receive” button located under your Ethereum account details.
- Generate a receiving address: Ledger Live will generate a unique Ethereum address for you to receive the funds. The address will be displayed on the screen, along with a QR code representation.
- Share the address: Copy the generated Ethereum address or use the provided QR code to share it with the sender. Make sure to provide the correct address to avoid losing the funds.
- Verify the address: Before sharing the address, verify it on your Ledger Nano S screen to ensure it matches the one displayed in Ledger Live. This step ensures that you are providing the correct address to receive Ethereum.
- Wait for the transaction: Once the sender initiates the transaction to your Ethereum address, wait for it to be confirmed on the blockchain. The transaction will appear in your account’s transaction history in Ledger Live.
- Check your account balance: After the transaction is confirmed, Ledger Live will update your account balance to reflect the received Ethereum. You can view the new balance in your Ethereum account details.
- Disconnect your Ledger Nano S: After receiving Ethereum, safely disconnect your Ledger Nano S from your computer by removing the USB cable.
By following these steps, you can easily receive Ethereum into your Ledger Nano S using the Ledger Live application. Make sure to verify the receiving address to ensure the funds are sent to the correct account.
Checking Ethereum Balance on Ledger Live
Keeping track of your Ethereum balance is an essential part of managing your cryptocurrencies. With Ledger Live, you can easily check your Ethereum balance for your Ledger Nano S accounts. Here’s how:
- Launch Ledger Live: Open the Ledger Live application on your computer. Ensure that your Ledger Nano S is connected to your computer using the provided USB cable.
- Access your Ethereum account: After connecting your Ledger Nano S, you will see a list of your Ethereum accounts in Ledger Live. Select the account for which you want to check the balance.
- View your Ethereum balance: Ledger Live displays the current balance of the selected Ethereum account. The balance will be shown in both the Ethereum cryptocurrency (ETH) and its corresponding fiat currency value (if available).
- Track account activity: Ledger Live also provides a transaction history for your Ethereum account. You can view incoming and outgoing transactions, along with their respective values and timestamps.
- Switch between accounts: If you have multiple Ethereum accounts linked to your Ledger Nano S, you can easily switch between them in Ledger Live to check their individual balances.
- Update account balance: Ledger Live automatically updates the account balance periodically or when you manually refresh the data. This ensures that you are always viewing the most up-to-date balance information.
- Check portfolio balance: Ledger Live’s portfolio view allows you to see the combined balance of all your Ethereum accounts, giving you an overall snapshot of your Ethereum holdings.
- Monitor value fluctuations: Ledger Live also provides real-time price information for Ethereum, allowing you to track the value of your holdings and see how they are affected by market movements.
- Export balance records: If you need to keep a record of your Ethereum balance, you can export your account balance data from Ledger Live for record-keeping or tax purposes.
- Disconnect your Ledger Nano S: After checking your Ethereum balance, safely disconnect your Ledger Nano S from your computer by removing the USB cable.
By following these steps, you can easily check the balance of your Ethereum accounts on Ledger Live and stay informed about your cryptocurrency holdings.
Verifying Ethereum Transactions on Ledger Live
Verifying your Ethereum transactions is an important step to ensure the accuracy and security of your cryptocurrency transfers. With Ledger Live, you can easily confirm and verify your Ethereum transactions. Here’s how:
- Launch Ledger Live: Open the Ledger Live application on your computer and ensure that your Ledger Nano S is connected via the provided USB cable.
- Access your Ethereum account: After connecting your Ledger Nano S, select the Ethereum account for which you want to verify the transaction in Ledger Live.
- View transaction history: Ledger Live displays the transaction history for the selected Ethereum account. Look for the specific transaction you want to verify.
- Check transaction details: Click on the transaction to view its detailed information. You can find important details like the transaction hash, sender address, recipient address, date, and transaction fee.
- Verify on the blockchain: To independently verify the transaction, click on the transaction hash. Ledger Live will redirect you to a block explorer website where you can see the transaction details on the Ethereum blockchain.
- Review transaction information: On the block explorer page, review the transaction details to ensure the accuracy of the sender and recipient addresses, the transaction amount, and any additional data included in the transaction.
- Confirmations and status: The block explorer will also display the number of confirmations the transaction has received, indicating its progress in the Ethereum network. Confirmations provide additional security assurance.
- Ensure transaction completeness: Verify that the transaction has been included in a confirmed block. A higher number of confirmations increases the level of trust and finality of the transaction.
- Verify recipient’s account balance: If you sent the Ethereum to someone else, you can also check their account balance on the block explorer to validate that the funds have been successfully received.
- Disconnect your Ledger Nano S: After confirming and verifying the Ethereum transaction, safely disconnect your Ledger Nano S from your computer by removing the USB cable.
By following these steps, you can easily verify your Ethereum transactions on Ledger Live and ensure the accuracy and security of your cryptocurrency transfers. Independent verification on the Ethereum blockchain provides an added layer of transparency and trust.
Adding Custom Ethereum Tokens on Ledger Live
Ledger Live allows users to manage not only Ethereum but also various custom Ethereum tokens, such as ERC-20 tokens, on their Ledger Nano S. Adding custom Ethereum tokens to Ledger Live enables you to conveniently monitor and manage all your tokens in one place. Here’s how to add custom Ethereum tokens on Ledger Live:
- Launch Ledger Live: Open the Ledger Live application on your computer and ensure that your Ledger Nano S is connected via the provided USB cable.
- Click on “Add account”: In Ledger Live, click on the “Add account” button located at the top right corner of the application.
- Search for the token: In the search bar, type the name or ticker symbol of the custom Ethereum token you want to add. Ledger Live will display a list of available tokens.
- Select the token: Choose the desired custom Ethereum token from the list provided by Ledger Live. Ensure that you select the correct token to add to your account.
- Confirm the account addition: Ledger Live will ask you to confirm the addition of the token to your Ethereum account. Click on the “Add account” button to proceed.
- Account synchronization: Ledger Live will synchronize your account and fetch your token balances from the Ethereum blockchain. This may take a few moments, depending on network congestion.
- Verify added token: Once the synchronization is complete, verify that the custom Ethereum token has been successfully added to your Ledger Live account. You will see the token listed among your other accounts.
- Manage custom tokens: Ledger Live allows you to manage your custom Ethereum tokens just like any other account. You can view their balances, transaction history, and perform token-specific actions.
- Track token performance: Ledger Live provides real-time token price information, allowing you to track the value and performance of your custom Ethereum tokens.
- Disconnect your Ledger Nano S: After adding the custom Ethereum token, safely disconnect your Ledger Nano S from your computer by removing the USB cable.
By following these steps, you can easily add custom Ethereum tokens to your Ledger Live account and efficiently manage all your tokens alongside your Ethereum balance. This feature provides a streamlined experience for tracking and interacting with your diverse range of Ethereum-based assets.
Security Tips for Using Ledger Nano S Ethereum
When using your Ledger Nano S to manage Ethereum, it is crucial to prioritize the security of your funds. Here are some important security tips to keep in mind:
- Buy from the official source: Only purchase your Ledger Nano S from the official Ledger website or authorized resellers to ensure you receive a genuine device.
- Protect your recovery phrase: The recovery phrase is the key to accessing your funds in case of loss or damage to your Ledger Nano S. Store it in a safe and offline location, away from prying eyes and potential threats.
- Verify firmware updates: Before installing any firmware updates, verify their authenticity by visiting the official Ledger website. Scammers may attempt to trick users into installing malicious software.
- Double-check addresses: Always verify the recipient address before confirming any Ethereum transactions. Malware or hackers may attempt to modify the address on your computer, leading to loss of funds.
- Enable additional security features: Take advantage of the additional security features offered by Ledger Nano S, such as setting a PIN code and enabling the passphrase option for enhanced protection.
- Keep your device firmware updated: Regularly update your Ledger Nano S firmware through the Ledger Live application. Firmware updates often include security patches and improvements.
- Use a secure computer: Ensure that the computer you use with your Ledger Nano S is free from malware and viruses. Avoid accessing your Ethereum accounts on public or untrusted devices.
- Be cautious of phishing attempts: Beware of phishing emails, websites, or messages that may try to trick you into revealing your sensitive information. Always double-check the legitimacy of the source.
- Verify the transaction details: Review the transaction details on your Ledger Nano S before confirming any Ethereum transactions. Check the address, amount, and transaction fee to ensure they are correct.
- Backup your device: Create a backup of your Ledger Nano S. If the device malfunctions or gets lost, you can restore your accounts using the recovery phrase on another Ledger device.
By following these security tips, you can enhance the protection of your Ethereum funds stored on your Ledger Nano S. Remember, maintaining good security practices is essential to safeguarding your digital assets and ensuring a worry-free crypto experience.