
Step 1: Update Ledger Nano S Firmware
In order to successfully use the Ethereum app on your Ledger Nano S, it’s important to ensure that your device’s firmware is up to date. Ledger regularly releases firmware updates to enhance functionality, improve security, and add support for new cryptocurrencies.
Updating the firmware on your Ledger Nano S is a fairly straightforward process. Simply follow the steps below:
- Connect your Ledger Nano S to your computer using the provided USB cable.
- Open the Ledger Live application on your computer.
- If prompted, enter your PIN code on the Ledger Nano S to unlock it.
- In the Ledger Live application, click on the ‘Manager’ tab located at the top.
- After a moment, Ledger Live will automatically detect your connected Ledger Nano S.
- If a firmware update is available, you will see a notification indicating this. Click on ‘Update’ to begin the update process.
- Follow the on-screen instructions in Ledger Live to complete the firmware update. Ensure that your Ledger Nano S remains connected throughout the process.
- Once the update is complete, your Ledger Nano S will restart.
- After the restart, ensure that your Ledger Nano S is still connected to your computer and re-enter your PIN code if prompted.
Updating the firmware on your Ledger Nano S is an essential step to ensure the smooth operation of your device and the security of your Ethereum transactions. By keeping your device’s firmware up to date, you can take advantage of the latest features and optimizations for a seamless user experience.
Step 2: Download and Install Ledger Live
In order to manage your Ledger Nano S and interact with the Ethereum app, you’ll need to download and install the Ledger Live application on your computer. Ledger Live is Ledger’s official software that provides a user-friendly interface for managing your cryptocurrencies and updating the apps on your device.
Follow the steps below to download and install Ledger Live:
- Visit the official Ledger website (www.ledger.com) using your web browser.
- Click on the ‘Download’ button located at the top-right corner of the page.
- Select your operating system (Windows, macOS, or Linux) from the options provided.
- Once you’ve selected your operating system, the Ledger Live installation file will begin downloading.
- Once the download is complete, locate the installation file on your computer and double-click on it to start the installation process.
- Follow the on-screen instructions to complete the installation of Ledger Live. Make sure to read and accept the terms and conditions.
- Once the installation is complete, launch Ledger Live by double-clicking on the application icon.
With Ledger Live installed, you’re now ready to manage your Ledger Nano S and interact with the Ethereum app. Ledger Live provides a seamless and secure way to view your account balances, manage transactions, and update your apps with just a few clicks. It’s recommended to always use the latest version of Ledger Live to ensure compatibility and take advantage of the latest features and improvements.
Step 3: Unlock Ledger Nano S
Before you can access the Ethereum app and perform any operations on your Ledger Nano S, you need to unlock the device. This adds an additional layer of security by requiring you to provide your unique PIN code.
Follow the steps below to unlock your Ledger Nano S:
- Connect your Ledger Nano S to your computer using the provided USB cable.
- Press the two buttons on the Ledger Nano S simultaneously to power it on.
- A lock icon will be displayed on the screen of your Ledger Nano S, indicating that it is locked.
- Enter your PIN code on the Ledger Nano S by using the corresponding buttons to navigate through the digits.
- Make sure to enter the correct PIN code to unlock your device.
- Once the correct PIN code is entered, the lock icon will disappear, and your Ledger Nano S will be unlocked.
It’s important to note that if an incorrect PIN code is entered three times, your Ledger Nano S will be reset, and all data will be wiped. So, it’s crucial to remember your PIN code and keep it secure.
By unlocking your Ledger Nano S, you gain access to all the apps installed on the device, including the Ethereum app, allowing you to manage your Ethereum account and perform various operations securely.
Step 4: Enable ‘Browser Support’ on Ledger Nano S
In order to use the Ethereum app on your Ledger Nano S, you need to enable “Browser Support” on your device. Enabling this feature allows your Ledger Nano S to interact with web-based applications, such as Wallets and decentralized exchanges.
Here’s a step-by-step guide on how to enable “Browser Support” on your Ledger Nano S:
- Make sure your Ledger Nano S is connected to your computer using the provided USB cable.
- Enter your PIN code on the device to unlock it.
- Use the buttons on the device to navigate to the Ethereum app and select it.
- Once the Ethereum app is open, you will see a message on the device’s screen asking you to “Enable Contract Data” and “Browser Support.”
- Press the right button on your Ledger Nano S to navigate to “Browser Support.”
- Press both buttons simultaneously to enable “Browser Support.”
- A confirmation message will appear on the device’s screen.
- Press both buttons again to confirm and enable “Browser Support.”
Enabling “Browser Support” on your Ledger Nano S is a crucial step to ensure that you can interact with the Ethereum app successfully. It allows you to securely send and receive Ether, interact with smart contracts, and access various decentralized applications directly from your Ledger device.
Once you’ve enabled “Browser Support,” you’re ready to download and install the Ethereum app on your Ledger Nano S, which we’ll cover in the next step.
Step 5: Download and Install Ethereum App on Ledger Nano S
In order to manage your Ethereum account on your Ledger Nano S, you’ll need to download and install the Ethereum app onto the device. The Ethereum app allows you to securely store and transact with Ether, as well as interact with decentralized applications built on the Ethereum blockchain.
Follow the steps below to download and install the Ethereum app on your Ledger Nano S:
- Make sure your Ledger Nano S is connected to your computer using the provided USB cable.
- Launch the Ledger Live application on your computer.
- If needed, enter your PIN code on the Ledger Nano S to unlock it.
- In the Ledger Live application, click on the ‘Manager’ tab located at the top.
- After a moment, Ledger Live will detect your connected Ledger Nano S.
- In the app catalog, search for ‘Ethereum’ or scroll down to find it.
- Click on the ‘Install’ button next to the Ethereum app.
- Follow the on-screen instructions in Ledger Live to complete the installation.
- Once the installation is complete, Ledger Live will notify you.
By downloading and installing the Ethereum app on your Ledger Nano S, you gain the ability to securely manage your Ether and interact with the Ethereum network using your Ledger device. This ensures that your private keys remain secure within the hardware wallet, protecting your assets from potential hacks or unauthorized access.
With the Ethereum app successfully downloaded and installed on your Ledger Nano S, you’re now ready to launch the app and begin managing your Ethereum account. This will be covered in the next step.
Step 6: Launch Ethereum App on Ledger Nano S
After downloading and installing the Ethereum app on your Ledger Nano S, the next step is to launch the app. Launching the Ethereum app allows you to access and manage your Ethereum account directly from your Ledger device.
Follow the steps below to launch the Ethereum app on your Ledger Nano S:
- Ensure that your Ledger Nano S is connected to your computer using the provided USB cable.
- Enter your PIN code on the device to unlock it.
- Navigate to the Ethereum app on your Ledger Nano S by using the device’s buttons to scroll through the apps.
- Once the Ethereum app is selected, press both buttons simultaneously to launch it.
After launching the Ethereum app, your Ledger Nano S will be ready to interact with the Ethereum network. You can use the app to view your Ethereum account balance, send and receive Ether, interact with decentralized applications (dApps), and sign transactions securely using the device’s private keys.
It’s important to keep your Ledger Nano S connected to your computer for the duration of your Ethereum transactions or dApp interactions. The device acts as a hardware wallet that securely stores your private keys, ensuring the utmost protection for your funds.
With the Ethereum app successfully launched on your Ledger Nano S, you can proceed to the next step, which is connecting your Ledger device to the Ledger Live application to manage your Ethereum account.
Step 7: Connect Ledger Nano S to Ledger Live
Connecting your Ledger Nano S to the Ledger Live application is essential for managing your Ethereum account and performing various operations, such as checking your balance, making transactions, and reviewing account history.
Follow the steps below to connect your Ledger Nano S to Ledger Live:
- Ensure that your Ledger Nano S is connected to your computer using the provided USB cable.
- Launch the Ledger Live application on your computer.
- If prompted, enter your PIN code on the Ledger Nano S to unlock it.
- In the Ledger Live application, click on the ‘Manager’ tab at the top.
- After a moment, Ledger Live will detect your connected Ledger Nano S.
- A message will appear on the Ledger Nano S screen asking if you want to “Export Public Key.” Press the right button to confirm.
- On the Ledger Live application, click on the ‘Continue’ button to proceed.
- Verify that the public key displayed on Ledger Live matches the one shown on the Ledger Nano S.
- Press the right button on the Ledger Nano S to confirm the connection.
Once you have connected your Ledger Nano S to Ledger Live, you gain access to a user-friendly interface for managing your Ethereum account and performing various operations. Ledger Live provides real-time updates on your account balance, transaction history, and offers additional features like portfolio tracking and account synchronization across multiple devices.
Remember to keep your Ledger Nano S connected to your computer when using Ledger Live to access your Ethereum account. This ensures that the connection between the two devices remains established, allowing for a seamless and secure user experience.
With your Ledger Nano S successfully connected to Ledger Live, you can proceed to verify the Ethereum app on Ledger Live, which will be covered in the next step.
Step 8: Verify Ethereum App on Ledger Live
Verifying the Ethereum app on Ledger Live ensures that the app is genuine, up to date, and has not been tampered with. This step is crucial for maintaining the security and integrity of your Ethereum transactions and interactions with decentralized applications.
Follow the steps below to verify the Ethereum app on Ledger Live:
- Ensure that your Ledger Nano S is connected to your computer using the provided USB cable.
- Launch the Ledger Live application on your computer.
- If prompted, enter your PIN code on the Ledger Nano S to unlock it.
- In the Ledger Live application, click on the ‘Manager’ tab located at the top.
- After a moment, Ledger Live will detect your connected Ledger Nano S.
- In the app catalog, find and click on the Ethereum app.
- Verify that the app details, such as the name and version, match the official Ethereum app provided by Ledger.
- If a warning or update notification appears for the Ethereum app, follow the on-screen instructions to ensure that you have the latest version.
- Once you have verified the details and updated the app (if necessary), you can proceed to access your Ethereum account and perform various operations.
Verifying the Ethereum app on Ledger Live is an essential step in maintaining the security and trustworthiness of your Ledger Nano S device. It ensures that you are running the official Ethereum app and reduces the risk of interacting with a compromised or malicious app.
Remember to periodically check for updates to the Ethereum app and other apps on your Ledger Nano S to ensure that you are benefiting from the latest security enhancements and features.
With the Ethereum app verified on Ledger Live, you can proceed to select your Ethereum account and begin managing your transactions, interacting with decentralized applications, and securely storing your Ether.
Step 9: Select Ethereum Account in Ledger Live
Now that your Ledger Nano S is connected to Ledger Live and the Ethereum app has been verified, it’s time to select your Ethereum account within the application. This will allow you to view your Ethereum balance and perform transactions with ease.
Follow the steps below to select your Ethereum account in Ledger Live:
- Make sure your Ledger Nano S is still connected to your computer.
- Launch the Ledger Live application on your computer.
- If prompted, enter your PIN code on the Ledger Nano S to unlock it.
- In the Ledger Live application, click on the ‘Accounts’ tab located at the top.
- After a moment, Ledger Live will display a list of accounts associated with your Ledger Nano S.
- Locate and select your Ethereum account from the list.
By selecting your Ethereum account in Ledger Live, you gain access to a comprehensive overview of your account balance, transaction history, and other account details. Ledger Live provides a user-friendly interface that allows you to view and manage your Ethereum holdings conveniently.
Additionally, within Ledger Live, you can initiate Ethereum transactions, including sending Ether to other addresses, interacting with decentralized applications (dApps), and managing ERC-20 tokens associated with your Ethereum account.
Remember to keep your Ledger Nano S connected to your computer when accessing your Ethereum account through Ledger Live. This ensures a secure connection and allows you to sign transactions securely using the private keys stored on your device.
With your Ethereum account selected in Ledger Live, you are ready to actively manage your Ether and engage with the Ethereum ecosystem securely and conveniently.
Step 10: Check if the Ethereum App is Showing up on Ledger Nano S
After completing the previous steps, it’s important to verify that the Ethereum app is correctly installed and showing up on your Ledger Nano S. This ensures that you can conveniently access and use the app to manage your Ethereum account.
Follow the steps below to check if the Ethereum app is showing up on your Ledger Nano S:
- Ensure that your Ledger Nano S is connected to your computer using the provided USB cable.
- Enter your PIN code on the device to unlock it.
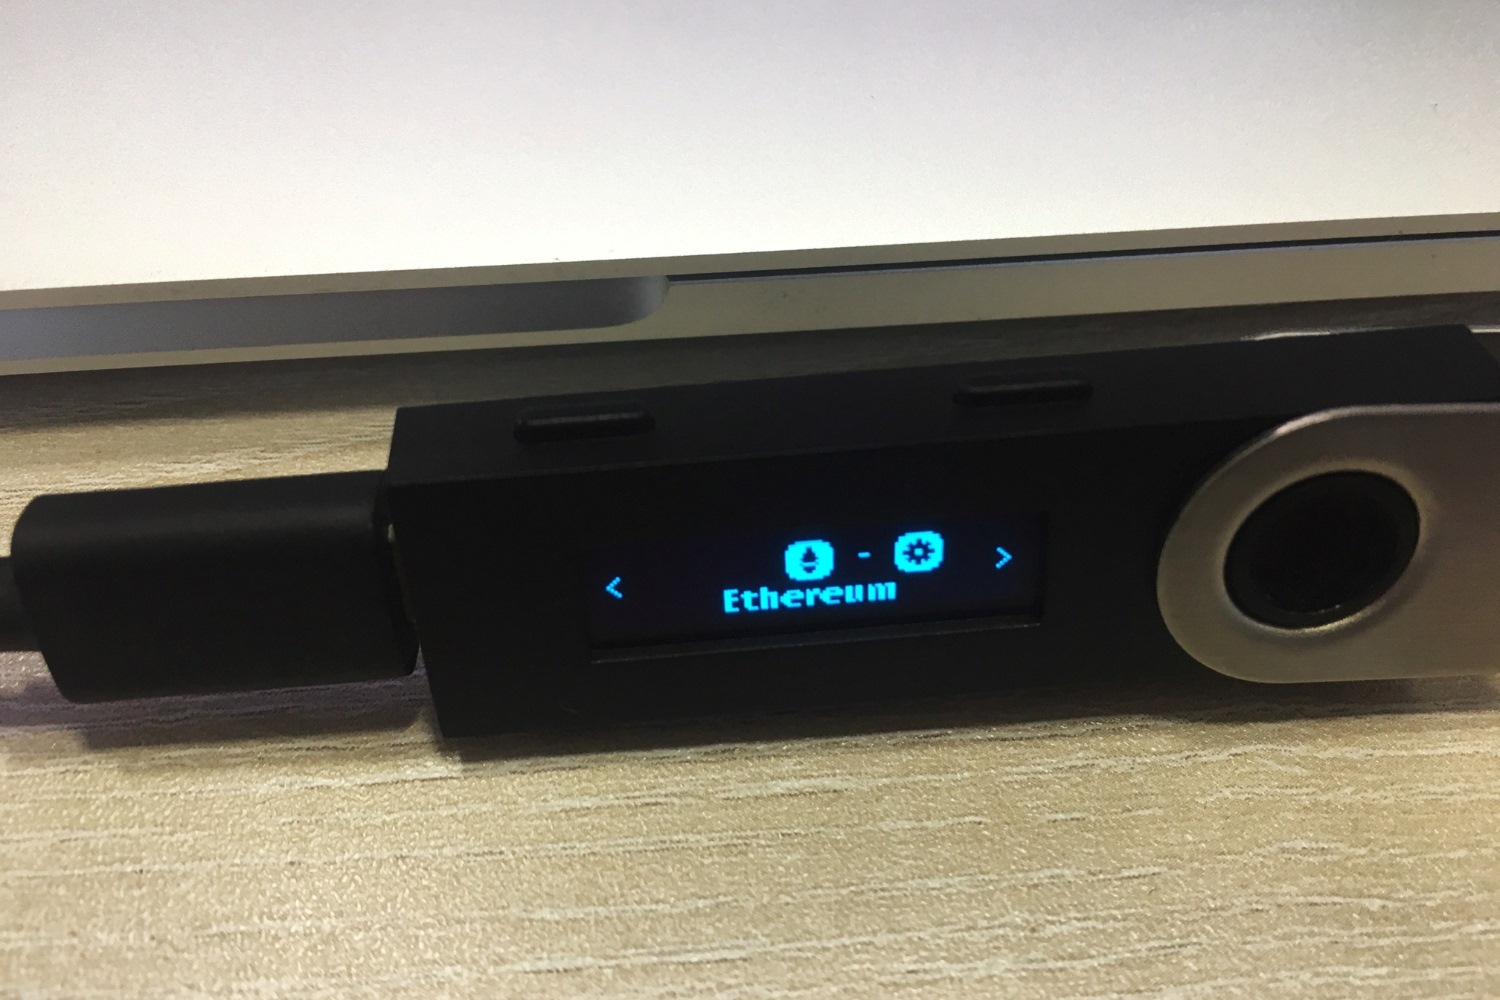
- Navigate through the various apps on your Ledger Nano S by using the device’s buttons.
- Look for the Ethereum app icon among the listed apps.
- If you can find and select the Ethereum app on your Ledger Nano S, it means that the app is correctly installed on the device.
Once you have confirmed that the Ethereum app is showing up on your Ledger Nano S, you can be confident that you have successfully set up your device to manage your Ethereum account. This allows you to securely store and transact with Ether and interact with decentralized applications on the Ethereum blockchain.
If you encounter any issues where the Ethereum app is not showing up on your Ledger Nano S, ensure that you have followed all the previous steps correctly. If necessary, repeat the installation process or refer to the Ledger support documentation or community forums for further assistance.
By having the Ethereum app correctly installed and showing up on your Ledger Nano S, you can easily and securely manage your Ethereum account, making transactions and exploring the world of decentralized finance.