
Enable the Bcc field in Windows Mail
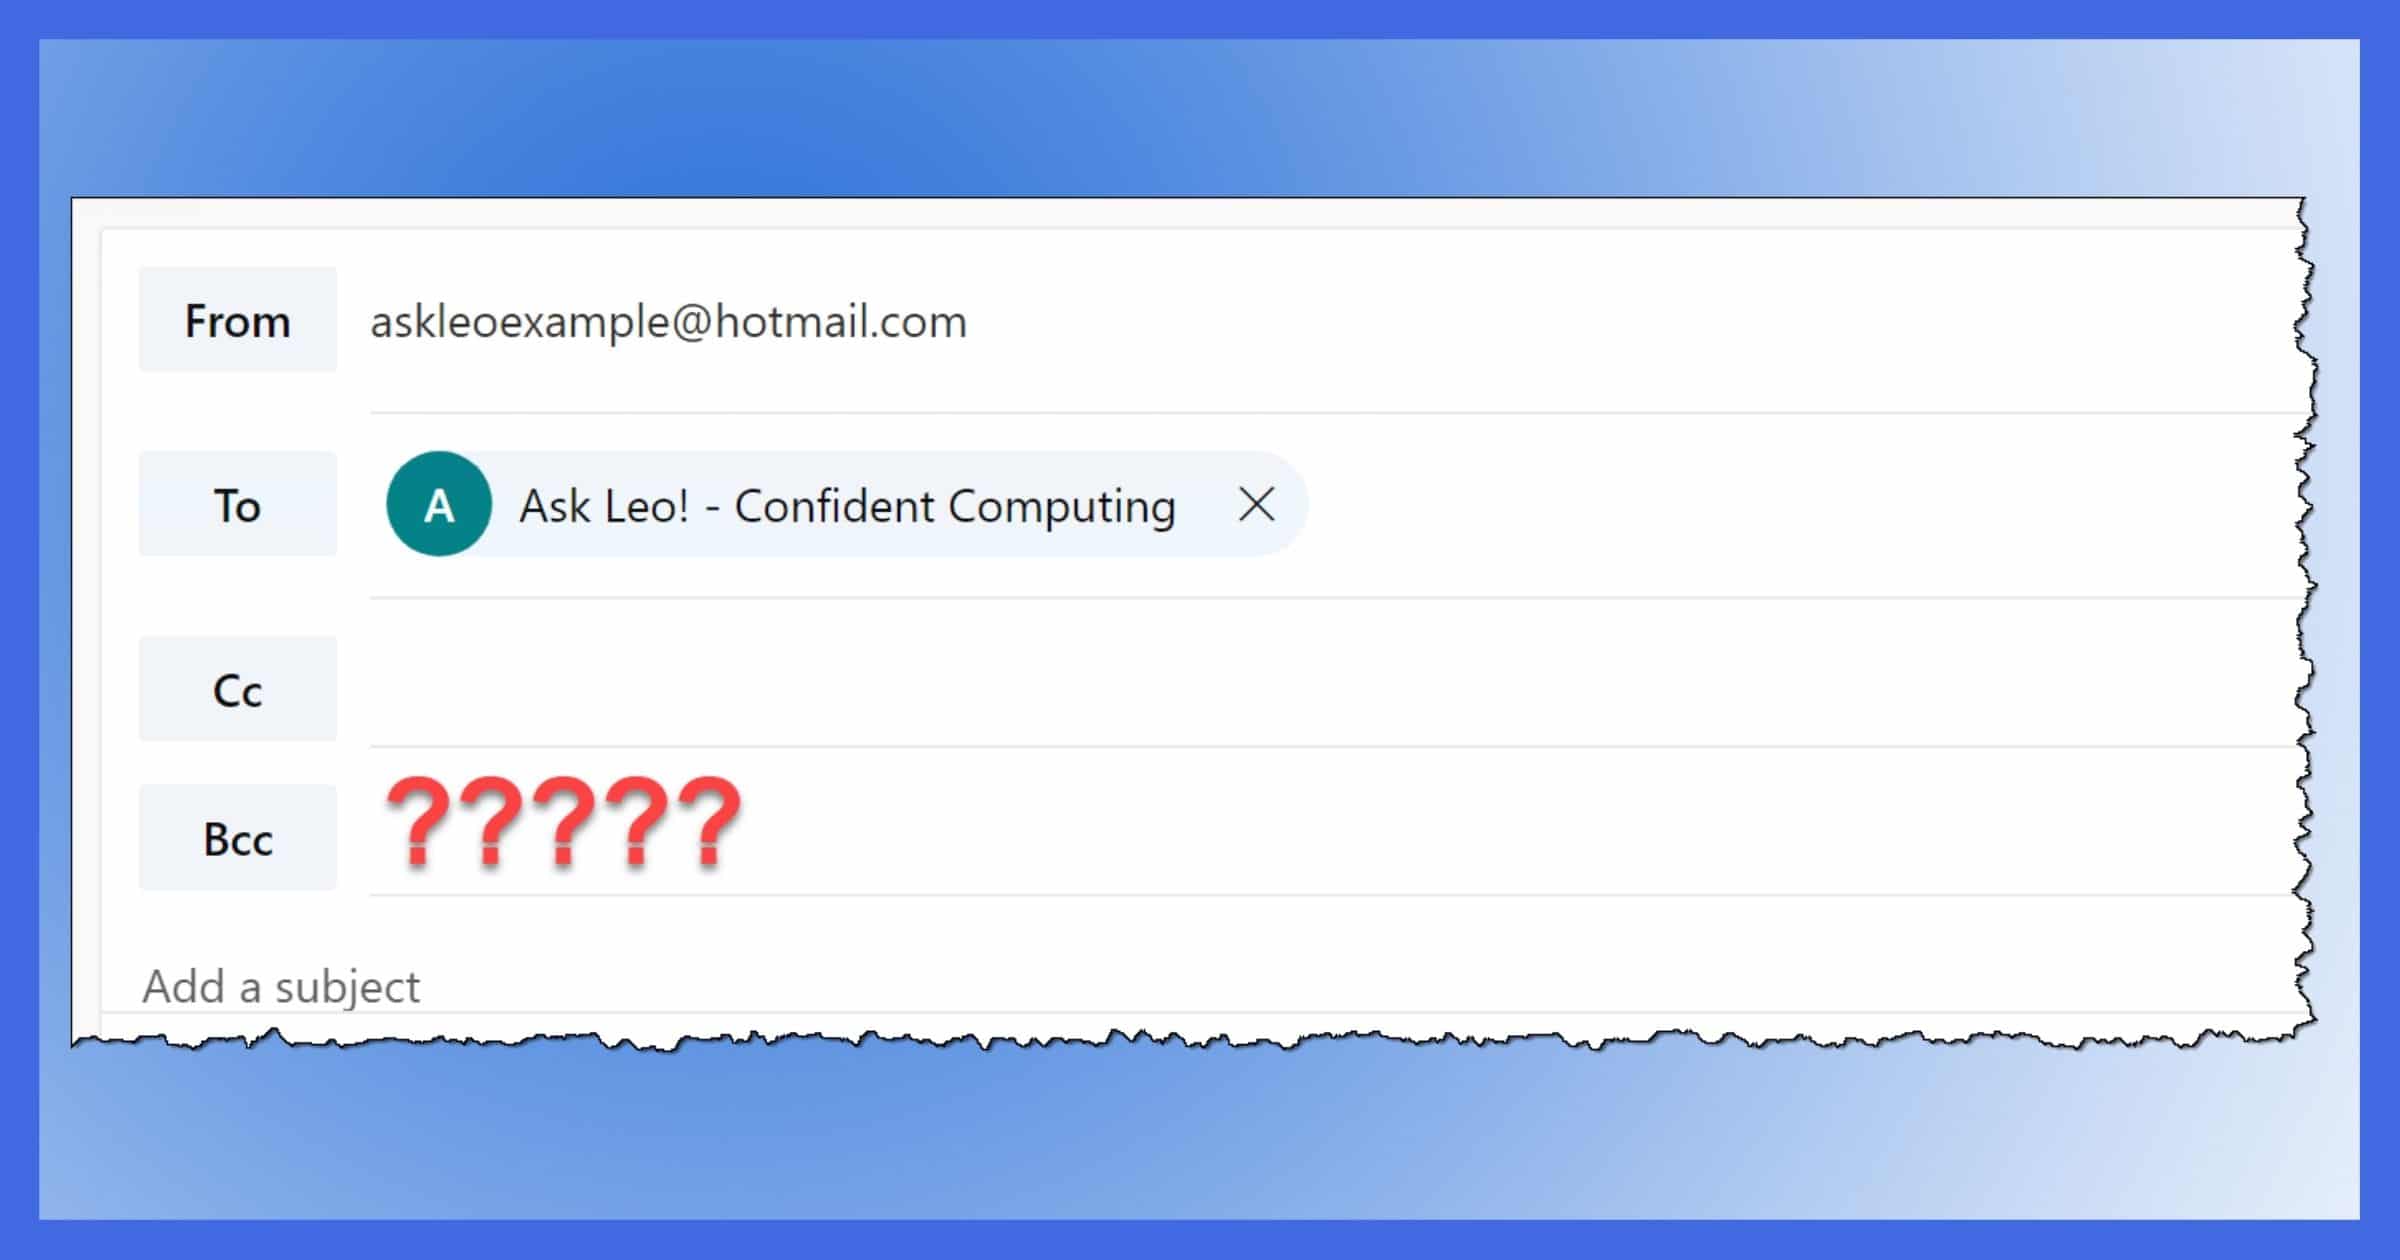
Windows Mail is a popular email client that allows you to send and receive emails on your computer. By default, the ‘Bcc’ (Blind Carbon Copy) field is not visible in the Windows Mail interface. However, you can enable this field to keep the recipients in the Bcc list hidden from other recipients.
To enable the ‘Bcc’ field in Windows Mail, follow these steps:
- Open the Windows Mail application on your computer.
- Click on the ‘Settings’ icon located at the bottom left corner of the window. It resembles a gear symbol.
- In the settings menu, click on ‘Accounts’.
- Select your email account from the list of accounts.
- Under the ‘Mail’ section, click on ‘Compose and reply’.
- In the ‘Compose’ section, locate the ‘Show Bcc’ option and toggle the switch to enable it. This will make the ‘Bcc’ field visible when composing new emails.
- Close the settings menu once you have enabled the ‘Bcc’ field.
Once you have enabled the ‘Bcc’ field in Windows Mail, you can start using it while composing new emails. The ‘Bcc’ field allows you to send a copy of your email to recipients without revealing their email addresses to other recipients. It is a useful feature when you want to send a mass email or maintain privacy among recipients.
By utilizing the ‘Bcc’ field, you can ensure that each recipient receives an individual email without being aware of the other recipients’ identities. This can help in maintaining confidentiality and preventing the disclosure of sensitive information.
Now that you have enabled the ‘Bcc’ field in Windows Mail, you are ready to compose emails and utilize the blind carbon copy feature. Remember to always respect the privacy of your recipients by using the ‘Bcc’ field when necessary.
Compose a new email in Windows Mail
Windows Mail makes it easy to compose and send emails to your contacts. To compose a new email, follow the steps below:
- Open the Windows Mail application on your computer.
- Click on the ‘New mail’ icon located at the top left corner of the window. It resembles a pen and paper.
- In the ‘To’ field, enter the email address of the recipient(s) you want to send the email to. You can add multiple recipients by separating their email addresses with a comma.
- If you want to send a copy of the email to additional recipients without revealing their email addresses to other recipients, click on the ‘Bcc’ link at the top of the window. This will reveal the ‘Bcc’ field where you can enter the email addresses of the recipients you want to add in the Bcc list.
- Enter a subject for your email in the ‘Subject’ field. This will give the recipient a brief overview of the email content.
- In the main body section, type your message. You can format text, add attachments, and customize the appearance of your email using the available formatting options.
- If necessary, you can also add additional recipients in the ‘Cc’ field. These recipients will be visible to other recipients, unlike the Bcc recipients.
- Once you have composed your email, you can click on the ‘Send’ button located at the top left corner of the window to send it.
When composing a new email in Windows Mail, remember to review your email for any spelling or grammatical errors before sending. You can use the built-in spell check feature to ensure your email is error-free.
Additionally, it’s good practice to be concise and clear in your email communication. Keep in mind the purpose of your email and provide relevant information in a professional manner.
Now that you know how to compose a new email in Windows Mail, you can start sending messages to your contacts with ease. Whether it’s a personal email or a business correspondence, Windows Mail has the tools you need to effectively communicate through email.
View a sent message in the Sent folder
In Windows Mail, all the emails you send are automatically saved in the ‘Sent’ folder. This allows you to easily access and view the emails you have sent in the past. To view a sent message in the ‘Sent’ folder, follow these steps:
- Open the Windows Mail application on your computer.
- Locate and click on the ‘Sent’ folder in the left-hand sidebar. The ‘Sent’ folder stores all the emails you have sent.
- In the ‘Sent’ folder, you will see a list of your recently sent emails. Scroll through the list to find the specific email you want to view.
- Click on the email you want to view to open it. The email will appear in the main viewing pane of the Windows Mail window.
- The opened email will display the recipient(s), subject, date and time sent, and the content of the message. You can now read the email and review any attachments or formatting that was included.
The ‘Sent’ folder in Windows Mail acts as a record of your sent emails, making it convenient to refer back to previous correspondence. This can be particularly useful when you need to retrieve information or refer to past conversations with recipients.
You can also perform additional actions with a sent message from the ‘Sent’ folder. For example, you can forward the email to another recipient, reply to the email, or delete it if no longer needed.
By regularly checking your ‘Sent’ folder, you can keep track of your email activity and ensure that messages have been sent successfully to the intended recipients.
Now that you know how to view a sent message in the ‘Sent’ folder of Windows Mail, you can easily access and review the emails you have sent in the past. This feature provides a convenient way to monitor your email communication and refer to previous exchanges whenever needed.
Open the sent message and click on the “Bcc” link at the top
Windows Mail allows you to easily view the Bcc (Blind Carbon Copy) recipients of a sent message. By clicking on the “Bcc” link at the top of the sent message, you can reveal the list of recipients who were included in the Bcc field. Here’s how you can do it:
- Open the Windows Mail application on your computer.
- Navigate to the ‘Sent’ folder by clicking on it in the left-hand sidebar. This folder contains all the emails you have sent.
- In the ‘Sent’ folder, locate the specific email for which you want to view the Bcc recipients. Click on the email to open it.
- Once the sent email is open, you will notice a set of options at the top of the message. Look for the “Bcc” link among these options.
- Click on the “Bcc” link. This will display the Bcc field along with the recipients who were included in the Bcc list when you sent the email.
By clicking on the “Bcc” link, you can quickly access the list of recipients who received a copy of the email without other recipients knowing. It’s an effective way to ensure privacy and discretion in your email communication.
It’s important to note that the “Bcc” link will only appear in the sent message if you included recipients in the Bcc field when composing and sending the email.
Now you know how to open a sent message in Windows Mail and view the Bcc recipients by clicking on the “Bcc” link at the top. This feature provides you with transparency and control over who receives a copy of your emails without compromising the privacy of other recipients.
See the list of Bcc recipients in the “Bcc” field
Windows Mail allows you to easily access and view the list of Blind Carbon Copy (Bcc) recipients in the “Bcc” field of a sent message. The “Bcc” field is where you can add recipients without other recipients knowing their email addresses. To see the list of Bcc recipients in the “Bcc” field, follow these steps:
- Open the Windows Mail application on your computer.
- Navigate to the ‘Sent’ folder by clicking on it in the left-hand sidebar. This folder contains all the emails you have sent.
- Locate the specific sent email for which you want to see the list of Bcc recipients. Click on the email to open it.
- Once the sent email is open, find the “Bcc” field. It is typically located below the “To” and “Cc” fields.
- In the “Bcc” field, you will see the email addresses of the recipients you added in the Bcc list when you sent the email. These recipients are hidden from other recipients and are not visible in the “To” or “Cc” fields.
By viewing the list of Bcc recipients in the “Bcc” field, you can ensure that the intended recipients have received a copy of the email without their email addresses being revealed to others. This is particularly useful when you want to maintain the privacy of certain recipients or when sending mass emails to a large group of people.
Remember that the visibility of the “Bcc” field and the list of Bcc recipients depends on whether or not you included recipients in the Bcc field when composing and sending the email.
Now that you know how to see the list of Bcc recipients in the “Bcc” field in Windows Mail, you can easily verify who was included in the Bcc list of your sent emails. This feature enhances your ability to maintain confidentiality and control over your email communication.