
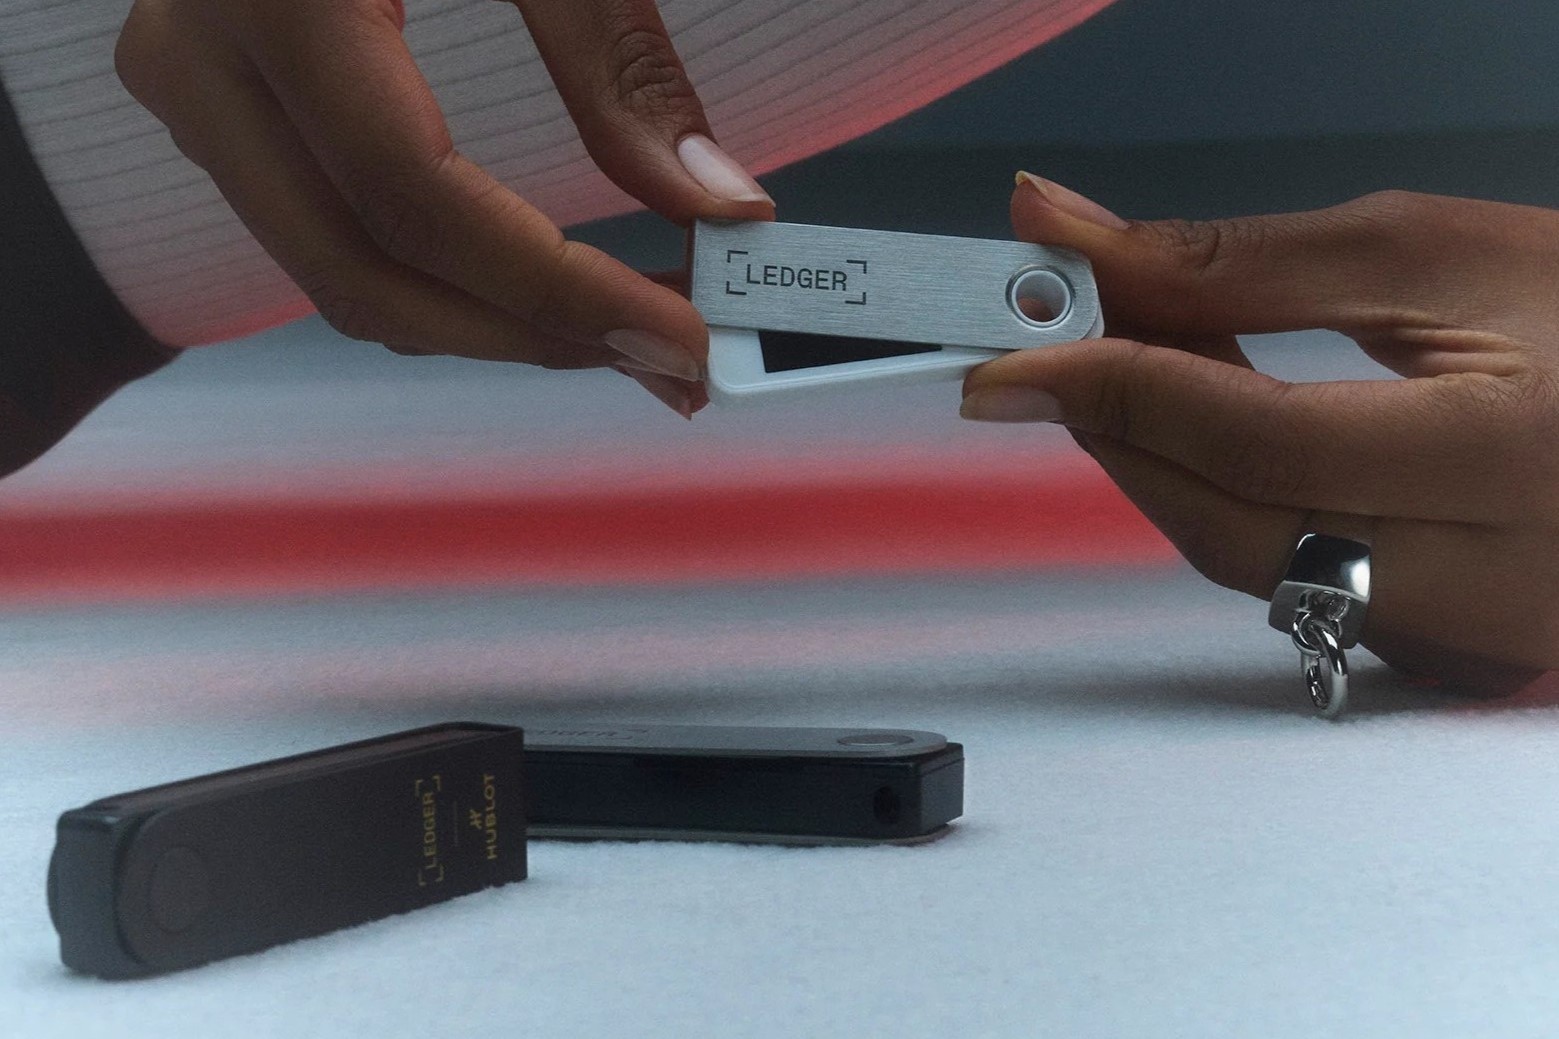
What Is a Ledger Nano S Plus?
The Ledger Nano S Plus is a hardware wallet designed to securely store and manage your cryptocurrencies. It is a compact device that resembles a USB stick and offers advanced security features to protect your digital assets.
One of the main benefits of using a Ledger Nano S Plus is that it keeps your private keys offline, ensuring they are never exposed to potential hacks or online vulnerabilities. This offline storage, also known as “cold storage,” provides an extra layer of protection against unauthorized access.
With the Ledger Nano S Plus, you can store a wide range of cryptocurrencies, including Bitcoin, Ethereum, and many others. It supports over 1,500 different cryptocurrencies, making it a versatile choice for crypto enthusiasts.
In addition to storing your cryptocurrencies, the Ledger Nano S Plus allows you to securely manage your digital assets. You can send and receive cryptocurrencies, view your transaction history, and check your account balances through its user-friendly interface.
Another advantage of the Ledger Nano S Plus is its compatibility with various desktop and mobile applications. Ledger Live, the official companion app, enables you to easily manage your crypto assets and keep track of your portfolio. It provides real-time price updates, customizable alerts, and a seamless integration with the Ledger Nano S Plus.
The Ledger Nano S Plus is renowned for its robust security features. It utilizes a tamper-proof chip and a PIN code system to protect your wallet and prevent unauthorized access. Furthermore, it incorporates a second-factor authentication (2FA) method, requiring you to verify your transactions directly on the device.
Overall, the Ledger Nano S Plus offers a reliable and user-friendly solution for storing and managing your cryptocurrencies. Its offline storage, wide range of supported cryptocurrencies, and comprehensive security features make it a trusted choice for individuals seeking a secure and convenient way to handle their digital assets.
Setting Up Your Ledger Nano S Plus
Setting up your Ledger Nano S Plus is a straightforward process that ensures the security of your digital assets. Here’s a step-by-step guide to help you get started:
- Unbox your Ledger Nano S Plus and connect it to your computer using the provided USB cable.
- Power on your device by pressing the left or right button.
- Follow the on-screen instructions to choose your preferred language and create a new PIN code. Make sure to choose a PIN that is strong and unique, and remember it carefully.
- Once your PIN is set, you will be given a recovery phrase. This 24-word seed phrase is crucial for recovering your wallet in case of loss, theft, or damage. Write down the recovery phrase on the provided recovery sheet and store it in a safe and secure location.
- Confirm the recovery phrase by entering the words one by one using the buttons on your Ledger Nano S Plus. This step ensures that you have accurately recorded your seed phrase.
- After confirming your seed phrase, your Ledger Nano S Plus is ready to use.
- Proceed to install the Ledger Live app on your computer or mobile device by visiting the official Ledger website. Download and install the appropriate version for your operating system.
- Launch the Ledger Live app and follow the instructions to set up a new device. Connect your Ledger Nano S Plus to your computer and select “Set up as new device” in the app.
- Choose a secure password for your Ledger Live app and create an account.
- Once your Ledger Live account is set up, you can start managing your cryptocurrencies.
By following these steps, you can ensure a smooth and secure setup process for your Ledger Nano S Plus. Remember to keep your PIN code, recovery phrase, and Ledger Live password safe and confidential. Regularly update your device’s firmware and Ledger Live app to benefit from the latest security features and optimizations.
Installing the Ledger Live App
The Ledger Live app is a crucial component for managing your cryptocurrencies with the Ledger Nano S Plus. Here’s a step-by-step guide on how to install the Ledger Live app:
- Visit the official Ledger website at www.ledger.com and navigate to the “Downloads” section.
- Select the appropriate version of the Ledger Live app for your operating system (Windows, macOS, or Linux).
- Click on the download link to start downloading the installation file.
- Once the download is complete, open the installation file and follow the on-screen instructions to install the Ledger Live app on your computer.
- Launch the Ledger Live app after the installation is complete.
- Connect your Ledger Nano S Plus to your computer using the provided USB cable.
- On your Ledger Nano S Plus, navigate to the “Settings” menu by using the buttons on the device.
- Scroll down and select “General” and then “Device Management.”
- Enable the “Allow Ledger Manager” and “Allow Contract Data” options on your Ledger Nano S Plus.
- Return to the Ledger Live app on your computer.
- Click on the “Manager” tab in the Ledger Live app.
- Follow the instructions in the app to install the necessary apps for the cryptocurrencies you want to manage on your Ledger Nano S Plus.
- Once the app installations are complete, you can start managing your crypto assets using the Ledger Live app.
By following these steps, you will successfully install the Ledger Live app and establish a connection between your Ledger Nano S Plus and your computer. Remember to only download the Ledger Live app from the official Ledger website and avoid third-party sources to ensure the integrity and security of your setup.
Creating a New Wallet
To start managing your cryptocurrencies with the Ledger Nano S Plus, you need to create a new wallet. Follow these steps to create a new wallet using the Ledger Live app:
- Open the Ledger Live app on your computer and ensure your Ledger Nano S Plus is connected.
- In the Ledger Live app, click on the “Add an Account” button or the “+” icon.
- Choose the cryptocurrency you want to create a wallet for from the list of supported assets.
- Click on “Continue” to proceed with the wallet creation process.
- On your Ledger Nano S Plus, navigate to the corresponding cryptocurrency app using the buttons on the device.
- Make sure the “Contract Data” setting on your Ledger Nano S Plus is set to “Allowed.”
- Confirm the wallet creation request on your Ledger Nano S Plus by pressing the right button.
- Once confirmed, the Ledger Live app will detect the newly created wallet, and your account will be added.
- Repeat these steps for each additional cryptocurrency wallet you want to create.
By following these steps, you can easily create new wallets for different cryptocurrencies and manage them securely using the Ledger Nano S Plus and Ledger Live app. Remember to keep track of the different wallet addresses generated by the Ledger Nano S Plus for each cryptocurrency, as you will need them to receive funds or initiate transactions.
Backing Up Your Seed Phrase
Backing up your seed phrase is a crucial step to ensure the security of your cryptocurrencies stored on the Ledger Nano S Plus. The seed phrase acts as a backup of your private keys and allows you to recover your wallet in case of loss, theft, or damage to your device.
Follow these steps to back up your seed phrase:
- Ensure your Ledger Nano S Plus is powered on and connected to your computer.
- Launch the Ledger Live app on your computer.
- In the Ledger Live app, click on the profile icon or the menu options and select “Manager” from the dropdown menu.
- Under the “Devices” section, select your Ledger Nano S Plus.
- Click on the “Backup” button located next to your device details.
- Read and understand the instructions on the screen, then click on the “Start” button to proceed.
- Verify that your Ledger Nano S Plus is genuine and not tampered with by comparing the first characters of your device’s serial number shown on the app with the ones displayed on your Ledger Nano S Plus screen.
- Follow the instructions on the app to write down your 24-word seed phrase on the provided recovery sheet. Write each word in the exact order as displayed on the app.
- Double-check the written seed phrase for accuracy and ensure it matches the one displayed on your Ledger Nano S Plus screen.
It is essential to keep your seed phrase secure and protected. Here are some best practices for storing your seed phrase:
- Never store your seed phrase digitally or on an online platform.
- Store multiple copies of your seed phrase in secure and separate physical locations.
- Consider using a metal backup solution, such as a Cryptosteel or a similar product, to protect your recovery phrase from fire, water damage, and other disasters.
- Keep your seed phrase confidential and avoid sharing it with anyone.
By following these steps and best practices, you can securely back up your seed phrase and ensure the safety of your cryptocurrencies stored on the Ledger Nano S Plus.
Managing Your Crypto Assets
Once you have set up your Ledger Nano S Plus and created wallets for your cryptocurrencies, you can start managing your crypto assets with ease. The Ledger Live app provides a user-friendly interface to help you track, send, and receive your digital currencies. Here’s a guide on how to effectively manage your crypto assets:
Viewing Your Account Balances and Transaction History:
Open the Ledger Live app on your computer or mobile device and connect your Ledger Nano S Plus. In the app, you will see an overview of your account balances and transaction history for each cryptocurrency wallet you have created. This allows you to keep track of your portfolio and monitor your transaction activities.
Sending Cryptocurrencies:
If you want to send cryptocurrencies to another wallet or exchange, follow these steps:
- Open the Ledger Live app and connect your Ledger Nano S Plus.
- Click on the wallet for the specific cryptocurrency you want to send.
- Click on the “Send” button in the app.
- Enter the recipient’s wallet address and the amount of cryptocurrency you want to send.
- Confirm the transaction details on your Ledger Nano S Plus and authorize the transaction by pressing the right button.
Receiving Cryptocurrencies:
To receive cryptocurrencies into your Ledger Nano S Plus wallet, follow these steps:
- Open the Ledger Live app and connect your Ledger Nano S Plus.
- Click on the wallet for the specific cryptocurrency you want to receive.
- Click on the “Receive” button in the app.
- Copy or scan the provided QR code, or copy the wallet address to share with the sender.
- Wait for the sender to initiate the transaction to your wallet address.
Checking App Updates:
Regularly check for updates to the Ledger Live app and your Ledger Nano S Plus firmware. Firmware updates often include important security enhancements and bug fixes, ensuring the optimal performance and protection of your crypto assets. You can check for updates in the “Manager” section of the Ledger Live app.
Adding and Removing Apps:
If you want to manage additional cryptocurrencies, you can add corresponding apps to your Ledger Nano S Plus through the Ledger Live app. Likewise, if you want to reduce the number of apps installed on your device, you can safely remove unnecessary apps without affecting your existing wallets.
By following these steps, you can efficiently manage your crypto assets using the Ledger Nano S Plus and the Ledger Live app. This ensures the security and convenience of handling your digital currencies, allowing you to stay in control of your financial future.
Sending Cryptocurrencies
Sending cryptocurrencies from your Ledger Nano S Plus is a straightforward process that allows you to transfer your digital assets to other wallets or exchanges. Here’s a step-by-step guide on how to send cryptocurrencies:
- Open the Ledger Live app on your computer and ensure your Ledger Nano S Plus is connected.
- Select the wallet of the cryptocurrency you want to send from the list of available wallets.
- Click on the “Send” button in the app to initiate a transaction.
- Enter the recipient’s wallet address in the provided field. Make sure to double-check the address to avoid any mistakes.
- Specify the amount of cryptocurrency you want to send in the appropriate field.
- Review the transaction details, including the amount, transaction fee, and recipient’s address, to ensure the accuracy of the information.
- On your Ledger Nano S Plus, verify the transaction details displayed on the device screen.
- If the details are correct, press the right button on your Ledger Nano S Plus to confirm the transaction.
- Wait for the transaction to be processed and confirmed on the blockchain. The time required for confirmation may vary depending on the specific cryptocurrency and network congestion.
- Once the transaction is confirmed, the recipient will receive the transferred cryptocurrency in their wallet.
It is important to exercise caution when sending cryptocurrencies. Here are some additional tips to keep in mind:
- Double-check the recipient’s wallet address to ensure it is correct and corresponds to the intended recipient.
- Consider using a QR code scanner to scan the recipient’s wallet address, as it reduces the risk of manual input errors.
- Be aware of the transaction fees associated with sending cryptocurrencies. These fees may vary depending on the network congestion and the specific cryptocurrency being sent.
- Using the Ledger Nano S Plus adds an extra layer of security to your transactions, as you have to physically verify the details on the device.
By following these steps and taking precautionary measures, you can securely send cryptocurrencies from your Ledger Nano S Plus and ensure that your digital assets reach their intended recipients without any issues.
Receiving Cryptocurrencies
Receiving cryptocurrencies with your Ledger Nano S Plus is a simple and secure process that allows you to receive digital assets into your wallet. Here’s a step-by-step guide on how to receive cryptocurrencies:
- Open the Ledger Live app on your computer and ensure your Ledger Nano S Plus is connected.
- Select the wallet of the cryptocurrency you want to receive from the list of available wallets.
- Click on the “Receive” button in the app to generate a receiving address.
- On the Ledger Live app, you will see a QR code and a wallet address for the selected cryptocurrency.
- If you want to receive funds by sharing the QR code, ask the sender to scan the QR code with their cryptocurrency wallet app.
- If you prefer to share the wallet address, copy it from the Ledger Live app and provide it to the sender.
- Wait for the sender to initiate the transaction to the provided receiving address.
- Once the transaction is sent, it will be recorded on the blockchain and credited to your Ledger Nano S Plus wallet.
- You can view the transaction history and check your updated balance in the Ledger Live app.
It is important to note that each cryptocurrency has its own specific receiving address. Make sure to generate and provide the correct address that corresponds to the cryptocurrency you want to receive. Using an incorrect address may result in the loss of funds.
Here are some additional tips to enhance the security of receiving cryptocurrencies:
- Double-check the accuracy of the receiving address before providing it to the sender.
- Consider using a QR code scanner to scan the sender’s address to avoid any manual input errors.
- Keep in mind that the transaction time may vary depending on the specific blockchain and network congestion.
- Regularly check your transaction history and balances to ensure that all incoming transactions have been successfully received.
By following these steps and implementing the necessary precautions, you can efficiently and securely receive cryptocurrencies with your Ledger Nano S Plus. This allows you to have full control over your digital assets and ensures their safe storage in your hardware wallet.
Updating Your Ledger Nano S Plus
Regularly updating your Ledger Nano S Plus firmware is crucial to ensure the security, performance, and compatibility of your hardware wallet. Ledger frequently releases firmware updates that include bug fixes, new features, security enhancements, and support for additional cryptocurrencies. Here’s a step-by-step guide on how to update your Ledger Nano S Plus:
- Connect your Ledger Nano S Plus to your computer using the provided USB cable.
- Open the Ledger Live app on your computer and make sure your Ledger Nano S Plus is connected and recognized.
- In the Ledger Live app, click on the profile icon or the menu options and select “Manager” from the dropdown menu.
- Under the “Devices” section, select your Ledger Nano S Plus.
- If an update is available for your device, you will see the available firmware version displayed on the app.
- Click on the “Update” button next to the available firmware version.
- Follow the on-screen instructions to begin the firmware update process.
- During the update, follow the prompts displayed on the Ledger Live app and your Ledger Nano S Plus screen.
- Do not disconnect your Ledger Nano S Plus from your computer during the update process.
- Wait for the update to complete, which may take a few minutes.
- Once the update is finished, your Ledger Nano S Plus will restart, and you will be notified that the firmware update was successful.
- Verify that your Ledger Nano S Plus is running the updated firmware by checking the firmware version displayed in the Ledger Live app.
It is important to note that updating the firmware of your Ledger Nano S Plus requires careful attention and following the instructions provided. Make sure to only download and install firmware updates from the official Ledger website or the Ledger Live app to ensure the integrity and security of your device.
Regularly checking for firmware updates and keeping your Ledger Nano S Plus up to date is essential in maintaining the highest level of security and ensuring compatibility with the latest features and cryptocurrencies. By staying up to date with firmware updates, you can enjoy improved performance and enhanced protection for your crypto assets.
Adding and Removing Apps
One of the advantages of the Ledger Nano S Plus is its ability to support multiple cryptocurrencies through the installation of dedicated apps. Adding and removing apps on your Ledger Nano S Plus allows you to manage a diverse range of digital assets securely. Here’s a step-by-step guide on how to add and remove apps:
Adding Apps:
- Connect your Ledger Nano S Plus to your computer using the provided USB cable.
- Open the Ledger Live app on your computer and ensure that your device is connected and recognized.
- In the Ledger Live app, click on the profile icon or the menu options and select “Manager” from the dropdown menu.
- Under the “Apps” section, you will see a list of available cryptocurrencies.
- Select the app for the cryptocurrency you want to add to your Ledger Nano S Plus.
- Click on the “Install” button next to the selected app.
- Follow the on-screen prompts to confirm the installation on your Ledger Nano S Plus.
- Wait for the installation process to complete, which may take a few moments.
- Once the app is successfully installed, it will appear on your Ledger Nano S Plus screen and will be ready to use.
Removing Apps:
- Connect your Ledger Nano S Plus to your computer using the provided USB cable.
- Open the Ledger Live app on your computer and ensure that your device is connected and recognized.
- In the Ledger Live app, click on the profile icon or the menu options and select “Manager” from the dropdown menu.
- Under the “Apps” section, you will see a list of installed apps on your Ledger Nano S Plus.
- Select the app you want to remove.
- Click on the “Uninstall” button next to the selected app.
- Follow the on-screen prompts to confirm the uninstallation on your Ledger Nano S Plus.
- Wait for the uninstallation process to complete, which may take a few moments.
- Once the app is successfully uninstalled, it will be removed from your Ledger Nano S Plus.
Adding and removing apps on your Ledger Nano S Plus allows you to efficiently manage and secure a wide range of cryptocurrencies. By installing only the necessary apps, you can optimize the storage space on your device without compromising security.
Remember to regularly check for app updates in the Ledger Live app to benefit from the latest features, bug fixes, and compatibility improvements for your installed apps. Keeping your Ledger Nano S Plus apps up to date ensures the best user experience and security for your digital assets.
Restoring Your Ledger Nano S Plus
In the event of losing, damaging, or replacing your Ledger Nano S Plus, you can restore your wallet and access your cryptocurrencies by following the restoration process. Here’s a step-by-step guide on how to restore your Ledger Nano S Plus:
- Open the Ledger Live app on your computer and ensure that your Ledger Nano S Plus is not connected.
- Click on the profile icon or the menu options in the Ledger Live app, and select “Manager” from the dropdown menu.
- Under the “Devices” section, click on the “Add a new device” button.
- Follow the on-screen instructions in the Ledger Live app to select the appropriate device type. Choose “Ledger Nano S” if you are restoring a Ledger Nano S Plus.
- Connect your replacement or newly purchased Ledger Nano S Plus to your computer using the provided USB cable.
- Choose the restoration option by verifying that you want to restore your wallet on the new device.
- Enter your previously recorded 24-word seed phrase using the Ledger Live app. Make sure to enter each word accurately and in the correct order.
- Follow the on-screen prompts to complete the restoration process.
- Once the restoration process is finished, your newly connected Ledger Nano S Plus will be synchronized with your existing wallets and account balances.
- You can now access and manage your cryptocurrencies as you did before with your previous Ledger Nano S Plus.
It is crucial to ensure the confidentiality and security of your seed phrase during the restoration process. Keep your seed phrase in a safe and secure location, preferably offline, to protect it from unauthorized access or potential breaches.
If you have lost your seed phrase and cannot perform a restoration, it is unlikely that you will be able to recover your wallet and access your cryptocurrencies. This highlights the importance of regularly backing up and securely storing your seed phrase.
By following these steps, you can effectively restore your wallet and regain access to your cryptocurrencies using the Ledger Live app and your new or replacement Ledger Nano S Plus.
Troubleshooting Common Issues
While using the Ledger Nano S Plus, you may encounter certain issues or errors that can be easily resolved with some basic troubleshooting steps. Here are some common issues you might encounter and their respective solutions:
Device Not Recognized:
- Ensure that you are using the official USB cable provided with your Ledger Nano S Plus.
- Try connecting your device to a different USB port on your computer.
- Restart your computer and try connecting the device again.
- If the issue persists, update the Ledger Live app to the latest version and try reconnecting.
App Installation Failure:
- Make sure that your Ledger Nano S Plus is properly connected to your computer.
- Ensure that you have a stable internet connection during the app installation process.
- If you encounter an error during the app installation, try uninstalling and reinstalling the Ledger Live app.
- Ensure that your Ledger Nano S Plus firmware is up to date by checking for any available firmware updates in the Ledger Live app.
Transaction Verification Issues:
- Double-check that the transaction details shown on your Ledger Nano S Plus match the information displayed on the Ledger Live app.
- Ensure that you are interacting with genuine and official wallet interfaces or applications.
- If you are experiencing difficulty verifying transactions, try using a different computer or device to authenticate the transactions.
- Contact customer support if you suspect any unauthorized or fraudulent activity.
Firmware Update Failure:
- Verify that your Ledger Nano S Plus is properly connected to your computer.
- Ensure that your device has sufficient battery power during the firmware update process.
- Try using a different USB cable or USB port to ensure a stable connection.
- If you encounter a firmware update failure, restart your computer and attempt the update again.
- Contact Ledger support if the issue persists or if you are unable to update the firmware.
If you continue to experience issues or encounter problems that cannot be resolved through basic troubleshooting, it is recommended to reach out to the official Ledger support team for further assistance. They can provide targeted solutions and guidance tailored to your specific situation.
Remember to regularly check for firmware and app updates, follow security best practices, and maintain backups of your seed phrase to minimize the risk of encountering issues with your Ledger Nano S Plus.
Best Practices for Using Your Ledger Nano S Plus
To ensure the optimal security and performance of your Ledger Nano S Plus, it is important to follow these best practices:
1. Purchase from Authorized Sources:
Only purchase your Ledger Nano S Plus from authorized and trustworthy sources. Avoid buying from third-party sellers, as counterfeit or compromised devices may put your digital assets at risk.
2. Protect Your Seed Phrase:
Keep your 24-word seed phrase in a secure and offline location. Protect it from physical damage, loss, and unauthorized access. Never share your seed phrase with anyone and avoid storing it digitally or online.
3. Regularly Update Firmware and Apps:
Keep your Ledger Nano S Plus firmware up to date by installing the latest version available. Additionally, regularly check for and install updates for the Ledger Live app and any supported cryptocurrency apps. This ensures you have the latest security patches and features.
4. Enable PIN Code and Additional Security Features:
Activate the PIN code feature on your Ledger Nano S Plus. Additionally, consider enabling additional security features such as the passphrase option or using a 25th word, if available. These features add an extra layer of protection to your wallet.
5. Verify Addresses on the Device:
Always verify wallet addresses and transaction details directly on your Ledger Nano S Plus screen. This prevents potential phishing attacks that may attempt to manipulate addresses shown on your computer or mobile device.
6. Use Official Software:
Only use the official Ledger Live app and trusted wallet interfaces when interacting with your Ledger Nano S Plus. Avoid using third-party apps or software that cannot be verified for authenticity.
7. Keep Your Device Safe:
Ensure the physical safety of your Ledger Nano S Plus by keeping it in a secure location. Protect it from potential damage, loss, theft, or tampering.
8. Test Your Backup and Recovery Process:
Regularly practice restoring your wallet using your seed phrase to ensure that your backup and recovery processes are functioning correctly. This allows you to verify that you can regain access to your cryptocurrencies if needed.
9. Stay Informed and Educated:
Keep yourself informed about the latest security practices, news, and developments in the cryptocurrency space. Stay up to date with any relevant changes or recommendations from the Ledger team and the wider crypto community.
10. Contact Official Support in Case of Issues:
If you encounter any issues, have questions, or need assistance, contact the official Ledger support team. They can provide the necessary guidance and support to address your concerns effectively.
By following these best practices, you can maximize the security and usability of your Ledger Nano S Plus and ensure the protection of your valuable cryptocurrencies.
Staying Safe and Secure
Ensuring the safety and security of your cryptocurrencies stored on the Ledger Nano S Plus is of utmost importance. Here are some essential tips to help you stay safe and secure:
1. Use Strong Security Measures:
Create a strong and unique PIN code for your Ledger Nano S Plus. Avoid using easily guessable or commonly used PIN codes. Enable additional security features such as passphrase encryption if available to add an extra layer of protection.
2. Protect Your Seed Phrase:
Your 24-word seed phrase is the key to access your wallet. Keep it offline, in a secure location, away from the prying eyes and potential hacks. Avoid storing your seed phrase digitally or online to prevent exposure to cyber threats.
3. Beware of Phishing Attempts:
Be vigilant when interacting with your Ledger Nano S Plus. Be cautious of phishing attempts that may try to trick you into revealing your seed phrase or other sensitive information. Always verify addresses and double-check the legitimacy of the websites or apps you use.
4. Keep Software Up to Date:
Regularly update your Ledger Nano S Plus firmware and the Ledger Live app to benefit from the latest security patches and features. Stay informed about any announced software updates or security recommendations from the Ledger team.
5. Avoid Using Untrusted Apps:
Only download and use apps from official sources, such as the Ledger Live app or verified cryptocurrency wallets. Avoid accessing your Ledger Nano S Plus through suspicious or unauthorized applications, as they may compromise the security of your device and private keys.
6. Stay Informed about Security Practices:
Stay up to date with the latest security practices and recommendations for crypto storage. Follow trusted sources, participate in relevant online communities, and educate yourself about potential threats and how to mitigate them.
7. Keep Your Device Physically Safe:
Protect your Ledger Nano S Plus from physical damage, loss, or theft. Store it in a secure location and avoid exposing it to extreme temperatures or liquids that may damage the device.
8. Use Hardware Wallets for Large Holdings:
If you hold a significant amount of cryptocurrencies, consider using a hardware wallet like the Ledger Nano S Plus for added security. Hardware wallets provide an offline storage solution that protects your assets from online vulnerabilities.
9. Be Mindful of Public Wi-Fi:
Avoid conducting transactions or accessing your Ledger Nano S Plus using public Wi-Fi networks. Public networks may be susceptible to potential attacks, making your sensitive information vulnerable to interception.
10. Regularly Back Up Your Wallet:
Regularly back up your wallet by noting down your seed phrase and storing it in multiple secure locations. Additionally, consider using a metal backup solution, such as a Cryptosteel, to protect your seed phrase from physical damage.
By following these safety and security measures, you can mitigate risks and protect your cryptocurrencies stored on the Ledger Nano S Plus. Always prioritize the security of your assets and stay vigilant to ensure a safe and secure crypto experience.