
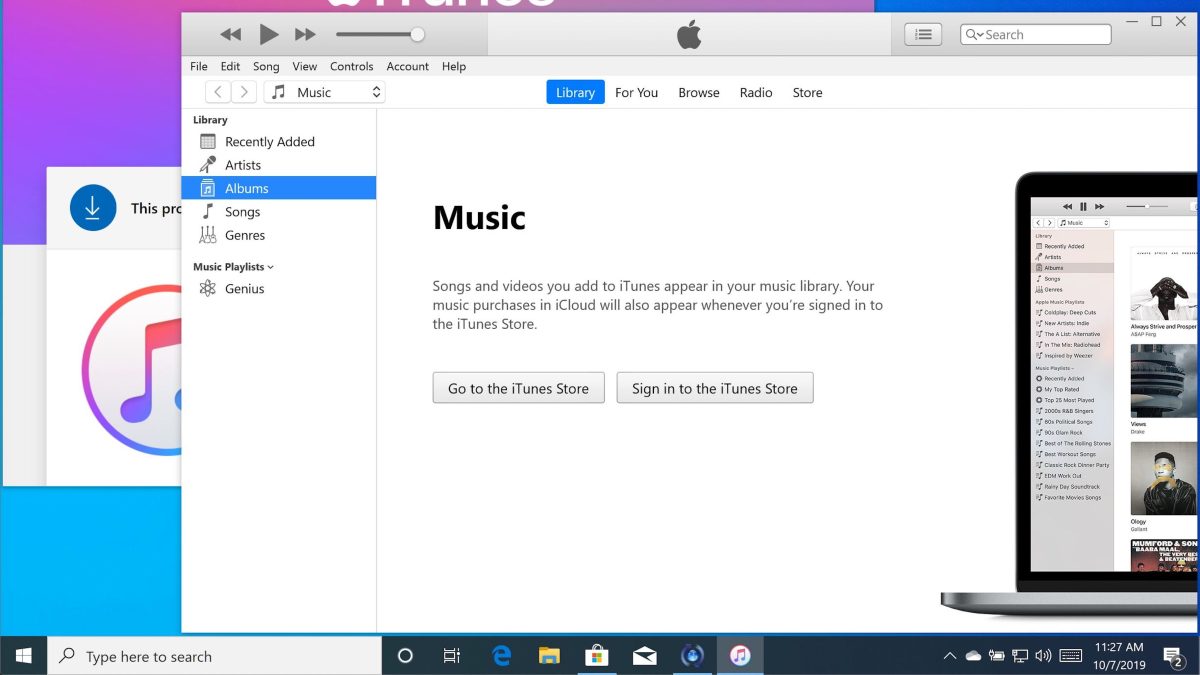
Why Uninstall iTunes?
Over the years, iTunes has been a popular media management software for Apple users. It has served as the go-to platform for organizing music, movies, and podcasts. However, as technology advances and users’ preferences change, many people are finding alternatives to iTunes that better suit their needs.
One of the main reasons why you might want to uninstall iTunes is its heavyweight nature. The software has become bloated over time, consuming large amounts of system resources and slowing down your computer. This can be particularly frustrating for users with older machines or those who prioritize performance efficiency.
Another reason to consider uninstalling iTunes is its limited compatibility. While it is a staple for Apple devices, using it on non-Apple devices can be a hassle. Moreover, its integration with other media players is limited, making it less versatile for users who prefer a multi-platform approach.
Additionally, iTunes’ focus on music can be a drawback for users who are more interested in managing other types of media, such as videos or podcasts. If you primarily consume other forms of media or prefer to use specialized software for their management, uninstalling iTunes can free up space on your computer and simplify your media management workflow.
Lastly, uninstalling iTunes can be beneficial for users who find the user interface cluttered or confusing. The software has undergone multiple updates and changes over the years, making it less intuitive for some users. By exploring alternative media management software, you can find a solution that aligns better with your preferences and offers a more streamlined and user-friendly experience.
In essence, there are various reasons why you might want to uninstall iTunes. Whether it’s due to its resource-intensive nature, limited compatibility, a focus on music only, or a cluttered interface, exploring alternatives can help you find a media management solution that better suits your needs and enhances your overall user experience.
Back Up Your iTunes Library
Before you proceed with uninstalling iTunes, it is crucial to back up your iTunes library to ensure that you don’t lose any of your precious music, movies, or other media files. Having a backup will provide you with peace of mind and allow for a seamless transition to a new media management solution.
There are a few different ways to back up your iTunes library, depending on your preferences and the amount of data you have. Here are a couple of options:
- External Hard Drive: One of the most reliable and straightforward methods is to use an external hard drive to copy your entire iTunes library. Simply connect the external hard drive to your computer, locate your iTunes library folder, and drag and drop it onto the external hard drive. This will create a complete backup of your library, which you can easily access and restore if needed.
- iCloud Music Library: If you are subscribed to Apple Music or iTunes Match, you can utilize iCloud to back up your iTunes library. This option allows you to store your music, playlists, and other media files in the cloud, making them accessible on any Apple device. To enable iCloud Music Library, go to your iTunes settings, select the “Music” tab, and check the box next to “iCloud Music Library.”
- Third-Party Software: There are numerous third-party software options available that specialize in iTunes library backup. These tools offer additional features such as selective backup, synchronization with multiple devices, and easier migration to new media management software. Some popular options include iMazing, AnyTrans, and Syncios.
Regardless of the method you choose, it is essential to perform a regular backup of your iTunes library to ensure your media remains safe and easily retrievable. This not only protects your valuable files from accidental loss but also allows you to seamlessly transfer your library to a new media management software without any hassle.
Deauthorize Your Computer
Before uninstalling iTunes, it is important to deauthorize your computer from your iTunes account to prevent any access or authorization issues in the future. This step is particularly crucial if you plan to reinstall iTunes on the same computer or if you have reached the maximum limit of authorized devices.
To deauthorize your computer, follow these steps:
- Open iTunes: Launch the iTunes application on your computer.
- Sign In: Click on the “Account” option located in the top menu bar and select “Sign In” from the dropdown menu. Enter your Apple ID and password to sign in.
- Authorization Options: Once you are signed in, click on the “Account” option again and select “Authorizations” from the dropdown menu. In the submenu, choose the “Deauthorize This Computer” option.
- Confirm Deauthorization: A pop-up window will appear asking you to confirm the deauthorization. Click on the “Deauthorize” button to proceed.
- Account Status: You will receive a notification confirming that your computer has been successfully deauthorized.
It is important to note that deauthorizing your computer will remove its access to any purchased content tied to your iTunes account. However, your media files and library will remain intact on your computer’s hard drive.
If you no longer have access to your previously authorized computer or have reached the limit of authorized devices, you can still deauthorize your account from all devices through the iTunes website. Simply log in to your Apple ID account, navigate to the “Account” section, and locate the “Manage Devices” option. From there, you can manually deauthorize all devices or selectively remove specific ones.
By deauthorizing your computer, you can ensure that you have a seamless experience when reinstalling iTunes or transitioning to a new media management software. It protects the security of your iTunes account and allows you to manage your authorized devices more efficiently.
Export Your iTunes Library
If you have decided to uninstall iTunes and switch to a different media management software, it is essential to export your iTunes library beforehand. This will ensure that you can easily import your music, playlists, and other media files into the new software without losing any data or organization.
Here’s how you can export your iTunes library:
- Open iTunes: Launch the iTunes application on your computer.
- Preferences: Click on the “Edit” option located in the top menu bar and select “Preferences” from the dropdown menu.
- Advanced Settings: In the Preferences window, click on the “Advanced” tab to access the advanced settings.
- Change iTunes Media Folder Location: Make sure the checkbox next to “Copy files to iTunes Media folder when adding to library” is checked. This will ensure that all your media files are stored in a single location and easily transferable.
- Consolidate Library: Click on the “File” option in the top menu bar, hover over “Library,” and select “Organize Library” from the dropdown menu. Check the box next to “Consolidate files” and click “OK” to consolidate your library.
- Export Playlist: If you have created playlists in iTunes that you want to transfer to the new software, go to the “File” option in the top menu bar, hover over “Library,” and select “Export Playlist” from the dropdown menu. Choose the desired location to save the playlist file (.m3u format) and click “Save.”
- Save Library XML File: To export your iTunes library metadata, click on the “File” option in the top menu bar, select “Library,” and then choose “Export Library” from the dropdown menu. Save the library XML file to the desired location on your computer.
By exporting your iTunes library and playlists, you can ensure a smooth transition to a new media management software. When you install the new software, you will be able to import these files and retain all your music and playlist organization.
Remember to locate the exported files on your computer and keep them in a safe place during the uninstallation process. It is always a good practice to have a backup of your exported library files in case of any unexpected issues during the transition.
Find and Delete iTunes Files and Folders
After backing up your iTunes library and exporting your media files, it’s time to find and delete the iTunes files and folders from your computer. Removing these files ensures a clean uninstallation of iTunes and frees up valuable disk space on your computer.
Here’s a step-by-step guide on how to find and delete iTunes files and folders:
- Quit iTunes: Close the iTunes application on your computer if it is open.
- Windows
- iTunes Media Folder: Open File Explorer and navigate to “This PC” or “My Computer.” Look for the “iTunes Media” folder, usually located in the “Music” or “My Music” directory. Delete this folder, as it contains all your imported media files.
- iTunes Library Files: In the File Explorer search bar, type “%appdata%” and press Enter. Locate the “Apple Computer” folder and delete the “iTunes” folder within it. This folder contains iTunes library files such as “iTunes Library.itl” and “iTunes Library.xml.”
- Mac
- iTunes Media Folder: Open Finder and navigate to your “Music” folder. Look for the “iTunes” folder and delete it, as it contains your iTunes library and media files.
- iTunes Library Files: In Finder, press Command + Shift + G and enter “~/Library/Application Support/”. Look for the “iTunes” folder and delete it.
- Empty Trash/Recycle Bin: Once you have deleted the iTunes files and folders, make sure to empty your Trash (on Mac) or Recycle Bin (on Windows) to permanently delete the files from your computer.
It is important to note that deleting these files will remove your iTunes library and media files from your computer. Therefore, ensure that you have successfully backed up and exported your library before proceeding with deletion.
Deleting the iTunes files and folders completes the uninstallation process and frees up space on your computer. You are now ready to install a new media management software of your choice or explore alternative options for managing your music, movies, and other media files.
Uninstall iTunes on Windows
If you are using a Windows computer and have decided to move on from iTunes, you can follow these steps to uninstall the application:
- Close iTunes: Make sure that iTunes is not running on your computer. If it is, close the application before proceeding with the uninstallation.
- Open Start Menu: Click on the “Start” button located in the bottom-left corner of your screen.
- Control Panel: In the search bar, type “Control Panel” and select it from the search results. This will open the Control Panel window.
- Uninstall a Program: In the Control Panel, navigate to the “Programs” section and click on the “Uninstall a program” option.
- Select iTunes: Scroll through the list of installed programs and locate “iTunes.” Click on it to select it.
- Uninstall iTunes: In the top menu bar, click on the “Uninstall” button to start the uninstallation process.
- Confirm Uninstallation: A pop-up window will appear, asking you to confirm the uninstallation of iTunes. Click on the “Yes” button to proceed.
- Uninstall Additional Components: If you have other Apple software installed, such as Bonjour or Apple Mobile Device Support, you may be prompted to uninstall those as well. Follow the prompts to continue with their uninstallation.
- Restart Your Computer: Once the uninstallation process is complete, it is recommended to restart your computer to ensure that all changes are applied.
After following these steps, iTunes should be successfully uninstalled from your Windows computer. You can now explore alternative media management software or use other methods to manage your music and media files.
Keep in mind that uninstalling iTunes will not affect your iTunes library or media files, as long as you have properly backed them up and exported them to a safe location.
Uninstall iTunes on Mac
If you are using a Mac computer and have decided to uninstall iTunes, you can easily do so by following these steps:
- Quit iTunes: Make sure that iTunes is not running on your Mac. If it is, close the application before proceeding with the uninstallation.
- Open Finder: Click on the Finder icon located in your Dock or press Command + Space and type “Finder” in the Spotlight search bar.
- Applications Folder: In Finder, navigate to the “Applications” folder. You can do this by clicking on “Applications” in the sidebar.
- Find iTunes: Scroll through the list of applications and locate the iTunes icon. Click on it to select it.
- Move to Trash: Drag and drop the iTunes application icon to the Trash folder located in your Dock. Alternatively, you can right-click on the iTunes icon and select “Move to Trash” from the context menu.
- Empty Trash: Once you have moved iTunes to the Trash, right-click on the Trash folder in your Dock and select “Empty Trash” to permanently delete iTunes from your Mac.
- Remove Related Files: While the main iTunes application has been uninstalled, there may still be some related files and folders remaining on your Mac. Use Finder to navigate to the following directories and delete any iTunes-related files:
- ~/Music/iTunes: This folder contains your iTunes library and media files. If you want to completely remove them, you can delete this folder.
- ~/Library/Application Support: Look for any iTunes-related files or folders in this directory and delete them.
- Restart Your Mac: After deleting iTunes and related files, it is recommended to restart your Mac to ensure that all changes are applied.
Following these steps will successfully uninstall iTunes from your Mac. You can now explore alternative media management software or use other methods to manage your music and media files.
Remember to properly back up and export your iTunes library and media files before uninstalling iTunes to ensure that you don’t lose any of your valuable data.
Reinstall iTunes (Optional)
If you have decided to reinstall iTunes after uninstalling it, you can follow these steps to get the application back on your computer:
- Open your web browser: Launch your preferred web browser on your computer and go to the official Apple website.
- iTunes Download Page: Navigate to the iTunes download page on the Apple website. This page provides the latest version of iTunes for your computer.
- Select Your Operating System: Choose the correct version of iTunes for your operating system. There will be options available for both Mac and Windows computers.
- Download iTunes: Click on the “Download” button to start the download process. Follow the prompts to save and install the software on your computer.
- Install iTunes: Once the download is complete, locate the downloaded file and double-click on it to start the installation process. Follow the on-screen instructions to install iTunes on your computer.
- Launch iTunes: After the installation is complete, you can launch iTunes by locating the application in your Applications folder (Mac) or in your Start menu (Windows).
- Sign In or Set Up: When you launch iTunes, you may be prompted to sign in using your Apple ID, or if you don’t have an Apple ID, you can create one to access iTunes.
- Import Your Library: If you previously exported your iTunes library, you can now import it into the newly installed iTunes. Go to the “File” menu and select “Library,” then choose “Import Playlist” or “Import Library” to import your saved iTunes library file.
By following these steps, you can successfully reinstall iTunes on your computer. This allows you to continue using iTunes as your media management software and access your previously organized library and media files.
Keep in mind that reinstalling iTunes is optional, and there are other media management software options available if you decide to explore different alternatives.
Import Your iTunes Library
If you have switched to a new media management software or reinstalled iTunes after uninstalling it, you can import your previously exported iTunes library to regain access to your music, playlists, and other media files.
Follow these steps to import your iTunes library:
- Open the New Software or iTunes: Launch the media management software or iTunes on your computer.
- Locate the Import Option: Look for the “Import” or “Import Library” option in the menu bar or settings of the software. It may be located under the “File” or “Library” tab.
- Select the Library File: Navigate to the location where you saved your iTunes library file (.xml or .itl) during the export process.
- Open the Library File: Once you have located the iTunes library file, select it and click on the “Open” or “Import” button to proceed.
- Wait for Import to Complete: The software will now start importing your iTunes library. This process may take a few moments, depending on the size of your library.
- Verify Imported Library: After the import is complete, you should see your iTunes library, including your music, playlists, and other media files, available within the new software or iTunes.
By importing your iTunes library, you can maintain the organization and playlists you had previously created. This allows for a seamless transition to the new media management software or the reinstalled iTunes.
It’s important to note that depending on the media management software you choose, the process and options for importing your iTunes library may vary. Refer to the software’s documentation or support resources for specific instructions on how to import your iTunes library into their platform.