
Why Turn Off Your Philips Hue Lights?
Turning off your Philips Hue lights when not in use offers several benefits that go beyond just saving energy. Here are a few reasons why you should consider turning off your Philips Hue lights:
- Energy Efficiency: Keeping your lights on unnecessarily can waste electricity and drive up your energy bills. By turning off your Philips Hue lights when you’re not using them, you contribute to a more eco-friendly lifestyle and reduce your energy consumption.
- Extended Lifespan: Allowing your lights to remain on for extended periods can lead to premature burnout. By turning them off when not needed, you can prolong the lifespan of your Philips Hue lights, saving you money on replacements.
- Improved Sleep Quality: Exposure to bright lights before bed can disrupt your sleep-wake cycle. By turning off your Philips Hue lights in the evening or using dimmed warm lighting, you create a more conducive environment for a restful night’s sleep.
- Enhanced Relaxation: In a world filled with constant stimulation, turning off your lights can create a calm and serene ambiance, helping you unwind and relax. Whether you’re enjoying a quiet evening alone or spending quality time with loved ones, a dimly lit environment can enhance the soothing atmosphere.
- Security: When you’re away from home, leaving your lights on may give the impression that someone is present. However, keeping them on all the time can appear suspicious and attract unwanted attention. By using automated schedules or smart home integration, you can simulate occupancy by periodically turning your lights on and off, enhancing security.
Now that you understand the advantages of turning off your Philips Hue lights, let’s explore different methods that you can use to achieve this.
Using the Philips Hue App
The Philips Hue app is the primary way to control your Philips Hue lights, offering a range of features to customize and manage your lighting preferences. Here’s how you can turn off your Philips Hue lights using the app:
- Open the Philips Hue App: Launch the Philips Hue app on your smartphone or tablet.
- Select the Lights: From the home screen, tap on the room or individual lights that you want to turn off.
- Tap the Power Button: Look for the power button icon and tap it to turn off the selected lights. You can also use the power button at the top-right corner of the screen to turn off all lights in the room at once.
- Adjust Brightness: If desired, you can also use the app to adjust the brightness of the lights before turning them off. Slide the brightness control to your desired level.
- Save Changes: Once you have turned off the lights and adjusted the brightness, tap on the save or confirm button to apply the changes.
By using the Philips Hue app, you have the flexibility to control your lights individually or by room, enabling you to customize your lighting experience according to your needs or preferences. Additionally, the app allows you to create schedules, set up routines, and explore a wide range of lighting effects, giving you complete control over your Philips Hue lights.
Next, let’s explore another convenient method for turning off your Philips Hue lights – using voice commands.
Turning Off Philips Hue Lights with Voice Commands
Controlling your Philips Hue lights with voice commands offers a hands-free and convenient way to turn them off. Here’s how you can use voice commands to turn off your Philips Hue lights:
- Set Up Voice Assistant: Start by setting up a compatible voice assistant, such as Amazon Alexa or Google Assistant, on your device.
- Enable Philips Hue Skill or Action: Connect your Philips Hue lights to your voice assistant by enabling the corresponding skill for Alexa or action for Google Assistant.
- Link Your Account: Follow the prompts to link your Philips Hue account to your voice assistant. This will allow the voice assistant to discover and control your Philips Hue lights.
- Issue Voice Command: Once the setup is complete, you can now use voice commands to turn off your Philips Hue lights. Simply say the wake word followed by a command like, “Turn off the lights,” or “Switch off the [room name] lights.”
- Specify Lights or Rooms: If you have multiple lights or rooms set up, you can be more specific in your voice command. For example, you can say, “Turn off the bedroom lights,” or “Switch off the kitchen light.”
- Confirm Action: Your voice assistant will respond to your command and confirm that the lights have been turned off. You can also ask for the status of specific lights to ensure they have been switched off.
With the power of voice commands, you can effortlessly control your Philips Hue lights without needing to reach for your phone or switch. Whether you’re busy cooking in the kitchen or relaxing in the living room, using voice commands provides a convenient way to turn off your lights with a simple phrase.
Next, let’s explore another method to turn off your Philips Hue lights using Philips Hue smart buttons or dimmer switches.
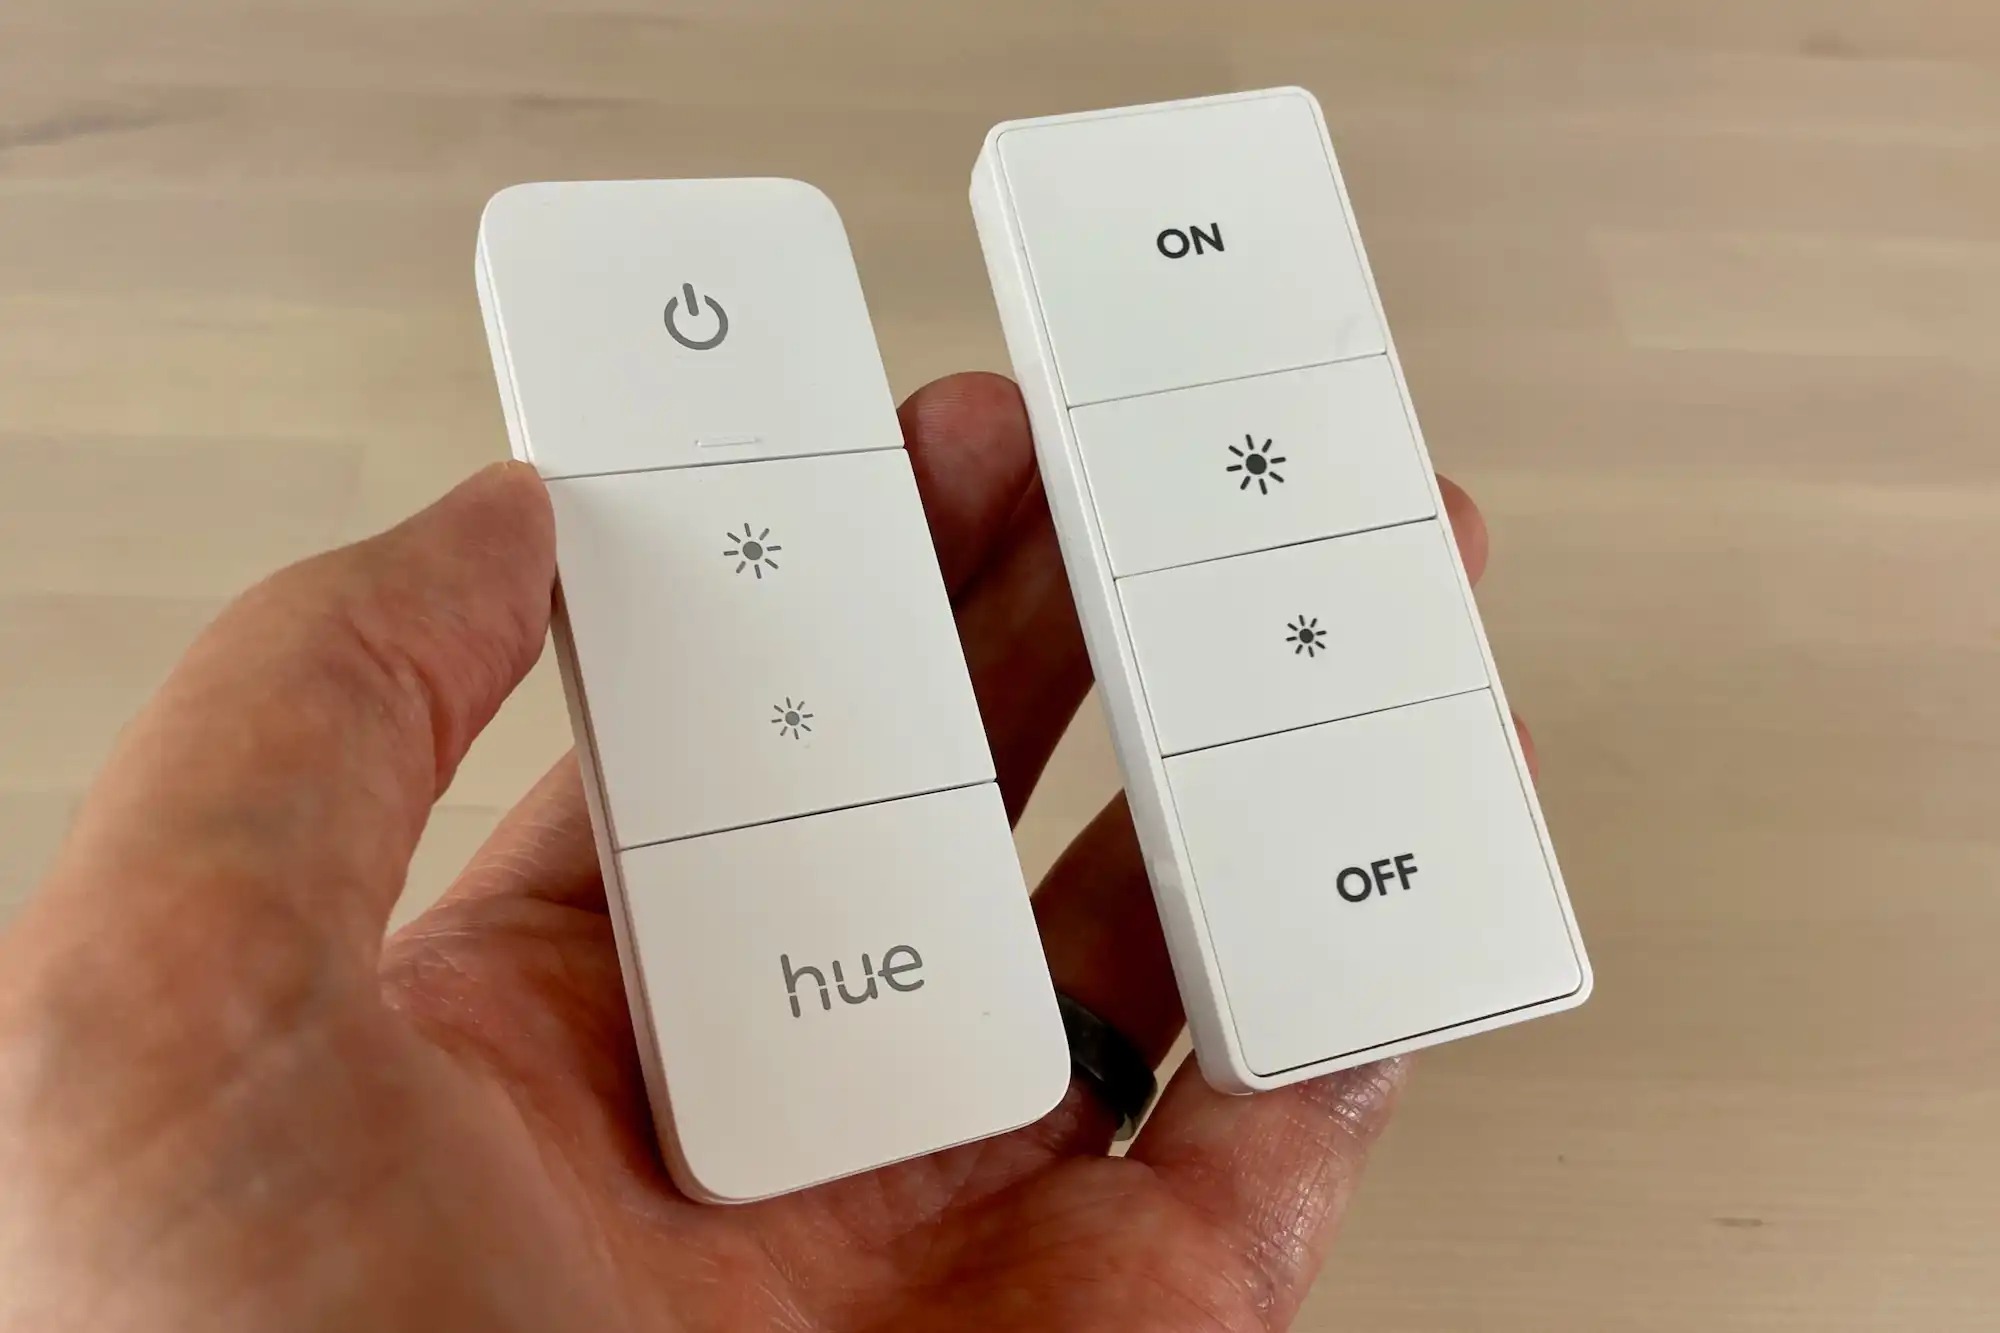
Using Philips Hue Smart Buttons or Dimmer Switches
Philips Hue offers smart buttons and dimmer switches that provide a physical and tactile way to control your lights. Here’s how you can use them to turn off your Philips Hue lights:
- Install the Button or Switch: Begin by installing and setting up the Philips Hue smart button or dimmer switch in the desired location. Follow the provided instructions to pair it with your Philips Hue Bridge.
- Assign Lights to the Button or Switch: Use the Philips Hue app to assign the lights or rooms that you want to control with the button or switch. You can choose to control individual lights or create a setup to control multiple lights at once.
- Press the Off Button: To turn off the lights, simply press the designated “off” button on your Philips Hue smart button or dimmer switch. This will send a signal to the Philips Hue Bridge, instructing it to turn off the assigned lights.
- Dim the Lights: If your dimmer switch supports dimming functionality, you can also press and hold the dimmer buttons to gradually reduce the brightness before turning off the lights completely.
- Mount or Carry the Smart Button: Depending on the model, you can mount the Philips Hue smart button on a wall or carry it with you as a portable remote control. This gives you the flexibility to control your lights from various locations within your home.
Using Philips Hue smart buttons or dimmer switches provides a tactile and user-friendly way to control your lights without relying solely on an app or voice commands. Their simplicity and convenience make them ideal for quick and effortless control of your Philips Hue lights.
Next, let’s explore how you can schedule your lights to automatically turn off.
Scheduling Lights to Automatically Turn Off
One of the convenient features of Philips Hue lights is the ability to schedule them to automatically turn off at specific times. This allows you to create a consistent lighting routine and ensures that your lights are never left on when not needed. Here’s how you can schedule your Philips Hue lights to automatically turn off:
- Open the Philips Hue App: Launch the Philips Hue app on your smartphone or tablet.
- Select the Lights: Choose the room or individual lights that you want to include in the schedule.
- Navigate to the Schedule Section: Look for the scheduling option in the app. This is typically found in the settings or routines section.
- Create a New Schedule: Tap on the “Create New Schedule” or similar button to start configuring the schedule.
- Set the Turn Off Time: Specify the time when you want the lights to turn off. Use the time picker or enter the desired time manually.
- Choose the Days: Select the days of the week when you want the schedule to be active. You can choose specific days or create a recurring schedule for weekdays, weekends, or every day.
- Save the Schedule: Once you have set the turn off time and days, save the schedule to apply the changes.
- Modify or Delete Schedules: If you need to make changes to an existing schedule or delete it altogether, navigate to the schedule section and edit or delete the respective schedule.
By scheduling your Philips Hue lights to automatically turn off, you eliminate the need to manually control them and ensure that your lights are not left on accidentally. This saves energy, extends the lifespan of your lights, and adds convenience to your daily routine.
Next, let’s explore how motion sensors can be utilized to turn off your Philips Hue lights.
Using Motion Sensors to Turn Off Philips Hue Lights
Motion sensors can add an extra layer of convenience to your Philips Hue lighting system by automatically turning off the lights when no motion is detected. Here’s how you can use motion sensors to turn off your Philips Hue lights:
- Install the Motion Sensor: Begin by installing the Philips Hue motion sensor in the desired location. This can be on a wall, ceiling, or placed on a flat surface using the provided mounting hardware.
- Pair the Motion Sensor: Follow the instructions to pair the motion sensor with your Philips Hue Bridge using the Philips Hue app. This will enable the sensor to communicate with your lights.
- Configure the Motion Sensor: Open the Philips Hue app and navigate to the settings or devices section. Select the motion sensor and configure the desired settings, such as sensitivity, duration, and light levels.
- Set the Turn Off Action: Within the motion sensor settings, specify the action you want to occur when no motion is detected. In this case, select the option to turn off the lights.
- Adjust the Delay Time: Depending on your preferences, you can set a delay time before the lights are turned off after motion is no longer detected. This allows for a grace period in case you briefly leave the room.
- Save the Changes: Once you have configured the desired settings, save the changes to apply them to your motion sensor.
- Test the Motion Sensor: Test the motion sensor by moving within its detection range. The lights should turn on automatically, and when no motion is detected, they will eventually turn off based on your specified settings.
Using motion sensors with your Philips Hue lights ensures that the lights are only active when they are needed. This saves energy, enhances convenience, and provides a hands-free lighting experience. Whether you are walking into a room or leaving it, the motion sensor takes care of turning off the lights for you.
Next, let’s explore how you can leverage third-party apps to turn off your Philips Hue lights.
Turning Off Philips Hue Lights with Third-Party Apps
In addition to the official Philips Hue app, there are several third-party apps available that offer advanced functionalities and features for controlling your Philips Hue lights. Many of these apps provide convenient options for turning off your lights. Here’s how you can use third-party apps to turn off your Philips Hue lights:
- Download and Install a Third-Party App: Find and download a trusted third-party app from your device’s app store that is compatible with Philips Hue lights.
- Connect the App to Your Philips Hue Bridge: Open the app and follow the instructions to connect it to your Philips Hue Bridge. This usually involves pairing the app with your bridge using the provided steps.
- Explore the App’s Features: Once connected, explore the various features offered by the third-party app. Look for options or buttons that allow you to turn off your Philips Hue lights.
- Select the Lights: Choose the specific lights or rooms that you want to turn off within the app’s interface. This allows you to have control over individual lights or groups of lights.
- Tap the Off Button: Look for the designated “off” button or toggle within the app and tap it to turn off the selected lights. Some apps may offer additional options, such as dimming the lights before turning them off.
- Adjust Settings and Save: If desired, you can adjust other settings within the app, such as brightness levels, color temperatures, or scheduling options. Once you have made the necessary changes, save the settings or confirm the changes within the app.
Using third-party apps with your Philips Hue lights expands your options and allows for a more personalized lighting experience. These apps often provide additional features and customization beyond what the official Philips Hue app offers, including convenient ways to turn off your lights with just a few taps.
Next, let’s explore the option of using smart plugs to control your Philips Hue lights.
Using Smart Plugs to Control Philips Hue Lights
Smart plugs offer a versatile solution for controlling your Philips Hue lights by turning the power supply on or off. Here’s how you can use smart plugs to control your Philips Hue lights:
- Choose a Compatible Smart Plug: Select a smart plug that is compatible with your Philips Hue lights. Ensure that the smart plug supports the necessary connectivity protocols, such as Wi-Fi.
- Plug in the Smart Plug: Plug the smart plug into an electrical outlet that is within range of your Philips Hue lights.
- Connect the Smart Plug: Follow the manufacturer’s instructions to connect the smart plug to your home network using the provided app or manual setup process. Make sure that the smart plug is properly connected to your Wi-Fi network.
- Pair the Smart Plug with the Philips Hue Bridge: Open the Philips Hue app and navigate to the settings section. Select the option to pair accessories and follow the instructions to pair the smart plug with your Philips Hue Bridge.
- Name the Smart Plug: Once the smart plug is successfully paired, give it a descriptive name within the Philips Hue app, such as “Living Room Plug” or “Bedroom Plug.”
- Control the Smart Plug: Use the Philips Hue app or compatible third-party apps to control the smart plug. You will be able to turn the power on or off remotely, effectively turning your Philips Hue lights on or off.
- Create Schedules or Routines: Take advantage of the scheduling or routine features in the app to automate the on and off times for the smart plug, allowing you to control your lights even when you are not at home.
- Utilize Voice Control: If your smart plug is compatible with voice assistants such as Amazon Alexa or Google Assistant, you can also control it using voice commands. Simply ask your smart assistant to turn on or off the respective smart plug.
Using smart plugs in combination with your Philips Hue lights provides an additional layer of control and convenience. By turning the power supply on or off, you can effectively control the lighting without needing direct access to individual bulbs or fixtures.
Next, let’s explore other methods you can use to turn off your Philips Hue lights.
Other Methods to Turn Off Philips Hue Lights
In addition to the methods mentioned above, there are a few other ways you can turn off your Philips Hue lights. Let’s explore these alternative methods:
- Using Wall Switches: If your Philips Hue lights are connected to traditional wall switches, you can easily turn them off by flipping the switch. However, keep in mind that doing so will cut off the power supply to the lights, and they will not be able to be controlled via app or voice commands until the switch is turned back on.
- Using Home Automation Systems: If you have a home automation system like Apple HomeKit, Samsung SmartThings, or others, you can integrate your Philips Hue lights with the system. This enables you to turn off the lights using the automation features of your home automation system, such as creating scenes, setting up routines, or using geofencing.
- Grouping Lights: Within the Philips Hue app, you can create groups of lights and control them collectively. By creating a group containing the lights you want to turn off, you can easily turn them off all at once by tapping the group’s off button. This is particularly useful when you have multiple lights in a room or area.
- Using Wearable Devices: If you have a wearable device, such as a smartwatch or fitness tracker, and it is compatible with the Philips Hue app, you can use it to control your lights. Simply navigate to the app on your wearable device and turn off the lights directly from your wrist.
- Using Geolocation: Some third-party apps or home automation systems offer geolocation features that can automatically turn off your Philips Hue lights when you leave a certain location. By defining a geofence around your home, the app or system can detect when you’ve left the area and send a command to turn off the lights.
Exploring these alternative methods can provide you with additional options for turning off your Philips Hue lights. Whether it’s using traditional wall switches, integrating with a home automation system, grouping lights, using wearable devices, or utilizing geolocation features, you can find the method that best suits your needs and lifestyle.
Now that you are familiar with various methods to turn off your Philips Hue lights, you can choose the method that works best for you and enjoy the convenience, energy savings, and enhanced lighting control that comes with it.