
Creating a Group in Gmail
Gmail groups, also known as mailing lists or distribution lists, allow you to send emails to multiple contacts simultaneously. Creating a group in Gmail can save you time and effort when you need to communicate with a specific set of people frequently. Here’s how you can create a group in Gmail.
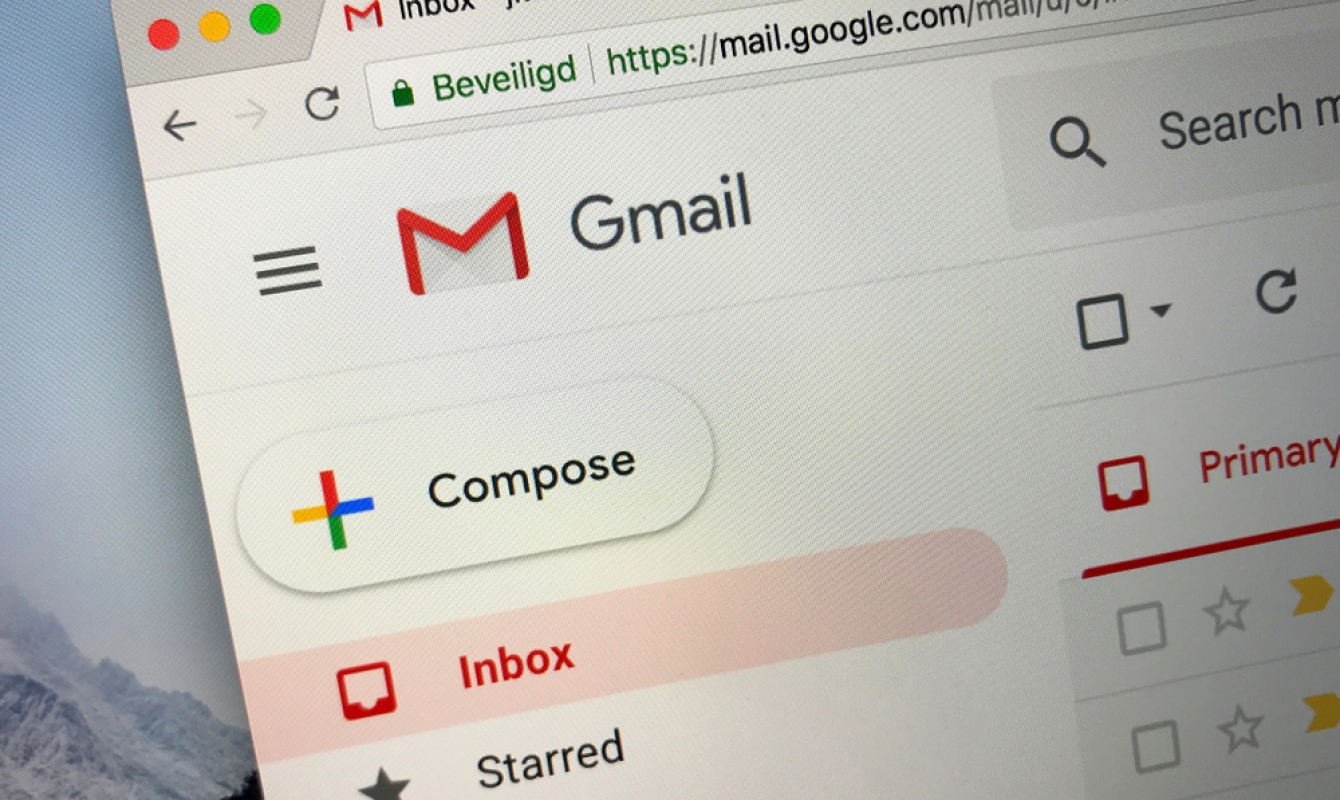
1. Open Gmail and sign in to your account.
2. Click on the “Google Apps” icon on the top-right corner of the Gmail screen. From the dropdown menu, select “Contacts.”
3. In the Contacts screen, click on the “Create label” button on the left sidebar. A pop-up window will appear.
4. Enter a name for your group in the “Label name” field. Choose a name that is descriptive and easily recognizable. For example, you can create a group called “Friends,” “Colleagues,” or “Family.”
5. Optional: You can add a group description in the “Add description” field. This can help you remember the purpose or characteristics of the group.
6. Once you have entered the required information, click on the “Save” button. Your group will now appear in the left sidebar under the “Labels” section.
7. To add contacts to your newly created group, select the contacts by checking the box next to their names. Then, click on the “Manage labels” button on the top toolbar. From the dropdown menu, select the label you just created. The selected contacts will be added to the group.
That’s it! You have successfully created a group in Gmail. Now you can easily send emails to the entire group without having to add each individual contact manually every time.
Creating groups in Gmail can be a valuable organizational tool, allowing you to streamline your email communication and improve productivity. Whether you need to send updates to your team members, coordinate with your study group, or plan events with your friends, Gmail groups will simplify the process and save you precious time.
Adding Contacts to a Group
Once you have created a group in Gmail, the next step is to add contacts to the group. Adding contacts to a group allows you to easily send emails to multiple recipients with just a few clicks. Here’s how you can add contacts to a group in Gmail.
1. Open Gmail and sign in to your account.
2. Click on the “Google Apps” icon on the top-right corner of the Gmail screen. From the dropdown menu, select “Contacts.”
3. In the Contacts screen, locate the group to which you want to add contacts in the left sidebar under the “Labels” section. Click on the group name to open it.
4. Click on the “Add to” button at the top-right corner of the contacts list. A dropdown menu will appear.
5. From the dropdown menu, select “All Contacts” to display all your contacts. Alternatively, you can select a specific category, such as “Frequently contacted” or “Starred,” to narrow down the list.
6. To add contacts individually, click on the checkbox next to their names in the contact list. To add multiple contacts at once, hold down the “Ctrl” (Cmd on macOS) key and click on the individual contact names.
7. Once you have selected the contacts you want to add, click on the “Apply” button. The selected contacts will be added to the group.
That’s it! You have successfully added contacts to a group in Gmail. Now you can easily send emails to the entire group by simply selecting the group name when composing a new email.
Adding contacts to a group in Gmail makes it convenient to send messages to specific sets of people. Whether you have a business group, a sports team, or a social club, adding contacts to a group will simplify your email communication and ensure that important updates reach the right recipients effortlessly.
Sending an Email to a Group
Sending an email to a group in Gmail is a time-saving feature that allows you to communicate with multiple contacts simultaneously. Once you have created a group in Gmail and added contacts to it, you can easily send an email to the entire group with just a few steps. Here’s how you can send an email to a group in Gmail.
1. Open Gmail and sign in to your account.
2. Click on the “Compose” button to start a new email.
3. In the “To” field, start typing the name of the group you want to send the email to. Gmail will automatically suggest the group name based on your contacts and labels. Click on the group name when it appears in the suggestions.
4. Alternatively, you can manually enter the group email address by typing the label name followed by “@googlegroups.com.” For example, if your group label is “Friends,” you would enter “friends@googlegroups.com” in the “To” field.
5. Enter a subject for your email in the “Subject” field.
6. Compose your email message in the body section. You can format the text, add attachments, and include images, just like in any regular email.
7. Once you have finished composing your email, click on the “Send” button to send the email to the entire group.
That’s it! You have successfully sent an email to a group in Gmail. All the members of the group will receive your email in their respective inboxes.
Sending emails to groups in Gmail can be a convenient way to communicate with a specific set of people. Whether you need to send updates, announcements, or invitations, using Gmail groups ensures that your message reaches everyone in the group with ease. Plus, it saves you the hassle of manually adding each contact to the email recipient list every time you want to send a group email.
Using Group Labels in Gmail
Group labels in Gmail provide a convenient way to organize and manage your contacts. Labels act as categories or tags that can be assigned to individual contacts, making it easier to group and find specific contacts when sending emails. Here’s how you can use group labels in Gmail.
1. Open Gmail and sign in to your account.
2. Click on the “Google Apps” icon on the top-right corner of the Gmail screen. From the dropdown menu, select “Contacts.”
3. In the Contacts screen, select the contact or contacts you want to assign to a group label by checking the box next to their names.
4. Click on the “Manage labels” button on the top toolbar. A dropdown menu will appear.
5. In the dropdown menu, click on “Create new label” to create a new label for the selected contacts.
6. Enter a name for the new label in the pop-up window that appears. Choose a descriptive name that accurately represents the group of contacts you are assigning the label to.
7. Click on the “Save” button to create the new label.
8. To assign the label to the selected contacts, click on the checkbox next to the label name in the dropdown menu. You can assign multiple labels to a single contact or select different labels for different contacts.
9. Once you have assigned the label(s), click on the “Apply” button to save the changes. The assigned labels will now appear next to the contact names in the Contacts screen.
Using group labels in Gmail makes it easier to filter, search, and manage your contacts based on specific categories or groups. When composing an email, you can simply start typing the label name in the recipient field, and Gmail will automatically suggest contacts assigned to that label. This streamlines the process of selecting contacts and ensures that the right recipients are included in your email.
Additionally, you can easily edit or delete group labels in Gmail if you need to make any changes to your contact categorization. Simply navigate to the “Contacts” screen, locate the label you want to modify, and make the necessary edits or delete the label altogether.
By utilizing group labels in Gmail, you can stay organized and efficiently manage your contacts, saving time and effort when composing emails to specific groups or categories of people.
Managing Group Email Replies
When sending emails to a group in Gmail, managing the replies can sometimes become overwhelming. However, Gmail provides several options to help you effectively handle group email replies and keep your inbox organized. Here’s how you can manage group email replies in Gmail.
1. Conversation view: By default, Gmail groups email replies into conversations, making it easier to follow the thread of the discussion. This feature keeps all related emails in a single thread, minimizing clutter in your inbox. You can enable or disable this feature in the Gmail settings under the “General” tab.
2. Unsubscribe from the conversation: If you don’t want to receive further replies in a group email thread, you can unsubscribe from the conversation. Open the email thread and click on the “More” button (three vertical dots) at the top-right corner of the email. From the dropdown menu, select “Mute.” Gmail will automatically archive future replies related to that conversation.
3. Mark emails as read or unread: To keep track of the emails you have read or need to come back to later, you can mark group email replies as read or unread. Open the email in question and click on the “Mark as read” or “Mark as unread” button at the top of the email.
4. Filter emails: You can create filters in Gmail to automatically categorize and sort group email replies. For example, you can create a filter to automatically label all emails from a specific group or apply a certain label to emails containing certain keywords. To create a filter, go to the Gmail settings, click on the “Filters and Blocked Addresses” tab, and follow the instructions to set up your filters.
5. Create folders or labels: Another way to manage group email replies is by organizing them into folders or labels. You can create folders or labels to categorize and store group email replies based on different criteria. For example, you can create a folder for work-related group emails and another for personal group emails. To create folders or labels, go to the Gmail settings, click on the “Labels” tab, and follow the instructions to create your customized labels.
Gmail’s features for managing group email replies allow you to stay organized and maintain control over your inbox. By utilizing conversation view, unsubscribing from unnecessary threads, marking emails as read or unread, filtering emails, and creating folders or labels, you can effectively manage the flow of group email conversations and ensure that important messages don’t get lost in the noise.
BCCing a Group in Gmail
When you want to send an email to a group of recipients without revealing their email addresses to each other, BCC (Blind Carbon Copy) is the way to go. By using BCC in Gmail, you can protect the privacy of your contacts and prevent any potential misuse of their email addresses. Here’s how you can BCC a group in Gmail.
1. Open Gmail and sign in to your account.
2. Click on the “Compose” button to start a new email.
3. In the “To” field, enter your own email address or any other email address that you have access to. This will be the primary recipient of the email.
4. Click on the “BCC” field (located below the “To” field) to reveal the BCC section.
5. In the BCC field, enter the email addresses of the contacts or the group you want to send the email to. Make sure to separate each email address with a comma.
6. If you have already created a group in Gmail, you can simply enter the label name in the BCC field, and Gmail will automatically add all the contacts from that group to the BCC section.
7. Enter a subject for your email in the “Subject” field.
8. Compose your email message in the body section, just like in any regular email.
9. Once you have finished composing your email, click on the “Send” button to send the email to the recipients in the BCC field.
With BCC, the recipients in the BCC field will receive the email without seeing the email addresses of other recipients. It helps maintain privacy and prevents any potential email address harvesting or spamming. However, keep in mind that the recipients in the BCC field won’t be able to see who else received the email, so it’s essential to provide clear information in the email itself.
BCCing a group in Gmail can be a useful feature when you want to send a message to multiple recipients while protecting their privacy. Whether you’re organizing an event, sending a newsletter, or sharing important information, using BCC ensures that the recipients remain anonymous to each other while receiving your message.
Editing or Deleting a Group in Gmail
Creating a group in Gmail can help you manage your contacts and streamline your email communication. However, there may come a time when you need to make changes to a group or remove it altogether. Fortunately, Gmail provides options to easily edit or delete groups. Here’s how you can edit or delete a group in Gmail.
Editing a Group:
1. Open Gmail and sign in to your account.
2. Click on the “Google Apps” icon on the top-right corner of the Gmail screen. From the dropdown menu, select “Contacts.”
3. In the Contacts screen, locate the group you want to edit in the left sidebar under the “Labels” section. Click on the group name to open it.
4. To edit the group name, simply click on it and update the name as desired. You can also edit the group description, if necessary.
5. To add or remove contacts from the group, select the contacts by checking the box next to their names. Then, click on the “Manage labels” button on the top toolbar. From the dropdown menu, select the new or existing label to update the group membership accordingly.
6. Once you have made the necessary changes, click on the “Save” button to save the edits to the group.
Deleting a Group:
1. Open Gmail and sign in to your account.
2. Click on the “Google Apps” icon on the top-right corner of the Gmail screen. From the dropdown menu, select “Contacts.”
3. In the Contacts screen, locate the group you want to delete in the left sidebar under the “Labels” section. Right-click on the group name to open the context menu.
4. From the context menu, click on the “Delete label” option. A confirmation message will appear.
5. Read the confirmation message carefully, as deleting a group will also remove it from any contacts associated with it. If you’re sure you want to delete the group, click on the “Delete” button. Otherwise, click on the “Cancel” button to retain the group.
By editing or deleting a group in Gmail, you can ensure that your contact list remains organized and up to date. Whether you need to update the group name, modify the membership, or remove a group entirely, Gmail provides a user-friendly interface to make these changes effortlessly.
Using Special Characters in Group Names
When creating a group in Gmail, you have the flexibility to use special characters in the group names, making them more distinctive and personalized. Special characters can include symbols, numbers, and non-alphabetic characters that add uniqueness and creativity to your group names. Here’s how you can use special characters in group names in Gmail.
1. Open Gmail and sign in to your account.
2. Click on the “Google Apps” icon on the top-right corner of the Gmail screen. From the dropdown menu, select “Contacts.”
3. In the Contacts screen, click on the “Create label” button on the left sidebar or select an existing group that you want to rename with special characters.
4. In the label name field, you can enter special characters like “%” or “$” by simply typing them using your keyboard. You can also copy and paste special characters from other sources, such as character maps or Unicode tables.
5. Ensure that the special characters you choose are supported and recognized by Gmail. Some characters may not be allowed or may not display correctly in certain contexts. It’s best to stick to commonly used special characters and avoid excessive or repetitive use.
6. You can combine special characters with alphanumeric characters to create unique group names. For example, you can use the “@” symbol to represent a group of email addresses or the “#” symbol to signify a particular topic or category.
7. Once you have entered the desired group name with special characters, click on the “Save” button to create or rename the group.
Using special characters in group names can help you easily identify and differentiate between different groups in your Gmail contacts. It enables you to add a personal touch and express your creativity when organizing and managing your contacts.
However, it’s important to note that some special characters may not be universally recognized or compatible across all email clients and platforms. Therefore, it’s advisable to test the group names with special characters to ensure that they display correctly and are accessible to all recipients when sending emails.
By incorporating special characters in group names, you can make your Gmail contacts organization more fun, personalized, and visually distinctive. Just remember to keep it balanced and avoid using excessive special characters that may make the group name difficult to understand or confusing for others.
Troubleshooting Email Delivery Issues
While Gmail generally provides reliable email delivery, there may be instances when you encounter issues with sending or receiving emails. Understanding and troubleshooting these email delivery issues can help ensure that your messages reach their intended recipients without any problems. Here are some common email delivery issues and how to troubleshoot them in Gmail.
1. Check the recipient’s email address: Ensure that you have entered the correct email address for the recipient. Double-check for any spelling errors or missing characters that could cause the email to go undelivered.
2. Check the spam or junk folder: Ask the recipient to check their spam or junk folder, as sometimes legitimate emails can end up there due to overactive spam filters. If found, they can mark the email as “not spam” to prevent future delivery issues.
3. Verify sender reputation: In some cases, emails may not be delivered if the sender’s domain or IP address has a poor reputation. Ensure that your email address and domain are not flagged for spamming or blacklisted by using reputable email service providers and following best practices for email marketing.
4. Check email size and attachments: Some email providers impose size limitations on incoming and outgoing emails. If you’re sending large attachments or exceeding the size limit, the email may bounce back, fail to send, or not be delivered. Consider using file-sharing services or compressing attachments to reduce the email size.
5. Review email content and formatting: Certain content and formatting, such as excessive use of symbols, excessive capitalization, or suspicious links, can trigger spam filters and prevent email delivery. Ensure that your email content is well-formatted, professional, and complies with email etiquette guidelines.
6. Check DNS settings: Incorrect or misconfigured DNS settings can lead to email delivery issues. Ensure that your domain’s DNS records, including SPF, DKIM, and DMARC, are properly set up to authenticate and validate your email messages.
7. Contact the email provider’s support: If the issue persists, consider reaching out to the recipient’s email provider’s support for assistance. They can provide insights into any specific issues or limitations on their end that may be affecting email delivery.
By taking these troubleshooting steps, you can address and resolve common email delivery issues when using Gmail. It’s important to stay vigilant, regularly monitor your email deliverability, and act promptly to ensure successful communication with your recipients.
However, keep in mind that email delivery issues can sometimes be caused by factors beyond your control. Factors such as server downtime, network issues, or recipient email server problems can impact email delivery. Continuous monitoring and proactive troubleshooting are key to resolving email delivery issues effectively and ensuring smooth communication.
Tips and Best Practices for Emailing Groups in Gmail
Emailing groups in Gmail can be a powerful tool for efficient communication. To make the most of this feature, consider the following tips and best practices when sending emails to groups in Gmail.
1. Verify recipients: Ensure that the recipients in your group are up-to-date and relevant to the email’s content. Regularly review and manage your groups to keep them current and avoid sending emails to the wrong audience.
2. Use a descriptive subject line: Craft a clear and concise subject line that accurately reflects the purpose or topic of the email. This helps recipients quickly understand the email’s importance and relevance.
3. BCC group emails: When sending emails to a large group, use the BCC (Blind Carbon Copy) field to protect recipients’ privacy and prevent their email addresses from being exposed to everyone. This also helps minimize the chances of your email being marked as spam.
4. Personalize your message: While emailing a group, try to add a personal touch by addressing recipients by their names and tailoring the content to be meaningful and relevant to them. Personalization can enhance engagement and make recipients feel valued.
5. Keep the email concise: Respect recipients’ time and keep your email concise and to the point. Use bullet points, short paragraphs, and headings where appropriate to improve readability and allow for easy scanning of the content.
6. Avoid excessive formatting: While formatting can enhance the visual appeal of your email, avoid excessive use of fancy fonts, colors, or images. Stick to a simple and professional format to ensure compatibility across various devices and email clients.
7. Test before sending: Before sending the email to the entire group, do a test send to yourself or a few trusted recipients to verify the formatting, links, and attachments. This helps ensure that the email is properly structured and error-free.
8. Proofread before sending: Always proofread your email for grammar, spelling, and punctuation errors before clicking the send button. This helps maintain a professional image and avoids misunderstandings or miscommunications.
9. Monitor email replies: Stay proactive and monitor email replies from the group. Respond promptly to any inquiries or feedback to maintain open lines of communication and foster engagement.
10. Respect privacy and unsubscribe requests: If recipients request to be removed from the group or unsubscribe from future emails, promptly honor their requests. Respecting privacy preferences ensures a positive email experience for everyone involved.
By following these tips and best practices, you can effectively leverage Gmail’s group email feature, enhance communication, and create a positive experience for both yourself and your recipients. Remember that clear and concise communication, personalization, and respectful email practices are key to successful group emailing in Gmail.