
Prerequisites
Before you proceed to open Disk Management from the Command Prompt, there are a few prerequisites you need to ensure are in place. These prerequisites will help ensure a smooth and successful process.
1. Administrative Privileges: To open Disk Management from the Command Prompt, you need administrative privileges on your Windows computer. This is necessary as Disk Management involves modifying system settings and managing disk partitions, which require elevated access.
2. Windows Operating System: You should have a Windows operating system installed on your computer. Disk Management is a built-in tool in Windows, and the steps may vary slightly depending on the version of Windows you are using.
3. Basic Knowledge of Command Prompt: While this guide will walk you through the steps, having a basic understanding of Command Prompt commands will be helpful. It will allow you to follow the instructions more effectively and troubleshoot any issues that may arise during the process.
4. Disk Management Importance: Understanding why you want to open Disk Management can also be beneficial. Disk Management is a powerful tool that allows you to manage disk partitions, format drives, create new partitions, and more. Being aware of what you intend to do with Disk Management will ensure you can make the most out of its capabilities.
5. Data Backup: It is always a good practice to have a backup of your important data before making any changes to disk partitions or formatting drives. While Disk Management is a safe tool to use, accidents can sometimes happen, and having a backup will protect your valuable data.
Option 1: Opening Disk Management with Administrative Privileges
To open Disk Management with administrative privileges, follow these steps:
1. Right-click on the Start Button: In the bottom-left corner of your screen, right-click on the Start button to open the context menu.
2. Select “Disk Management”: From the context menu, click on the “Disk Management” option. This will launch the Disk Management tool with administrative privileges.
3. Grant Administrative Access: If prompted by the User Account Control (UAC), click on “Yes” to grant administrative access to the Disk Management tool.
4. Disk Management Window: After granting administrative access, the Disk Management window will open. Here, you can see a graphical representation of your disk partitions and various disk-related information.
With administrative privileges, you have the ability to modify disk partitions, format drives, assign drive letters, and perform other advanced disk management tasks.
It is important to exercise caution when making any changes to disk partitions, as incorrect actions can lead to data loss. Always double-check your actions and ensure you have backups of important data before proceeding.
Note: If you are using Windows 10, you can also access Disk Management by right-clicking on the Start button and selecting “Disk Management” from the Power User Menu.
Option 2: Opening Disk Management Without Administrative Privileges
If you do not have administrative privileges on your Windows computer but still need to access Disk Management, you can follow these alternative methods:
Method 1: Using the Run Command
1. Press the Windows key + R: This will open the Run dialog box on your screen.
2. Type diskmgmt.msc: In the Run dialog box, type “diskmgmt.msc” (without the quotes) and press Enter or click on “OK.”
3. Disk Management Window: The Disk Management window will launch, allowing you to view and manage your disk partitions.
Please note that while this method allows you to open Disk Management without administrative privileges, some specific actions may require elevated access. In such cases, you may encounter restrictions while performing certain tasks.
Method 2: Using Windows PowerShell
1. Right-click on the Start Button: Right-click on the Start button in the bottom-left corner of your screen.
2. Select “Windows PowerShell (Admin)”: From the context menu, choose the “Windows PowerShell (Admin)” option. This will open the PowerShell window with administrative privileges.
3. Type diskmgmt.msc: In the PowerShell window, type “diskmgmt.msc” (without the quotes) and press Enter.
4. Disk Management Window: The Disk Management tool will open, allowing you to manage your disk partitions and perform various disk-related tasks.
Using Windows PowerShell with administrative privileges provides you with extensive control over Disk Management and its functionalities.
Method 3: Using Command Prompt
1. Right-click on the Start Button: Right-click on the Start button, and from the context menu, select “Command Prompt (Admin)” to open the Command Prompt with administrative privileges.
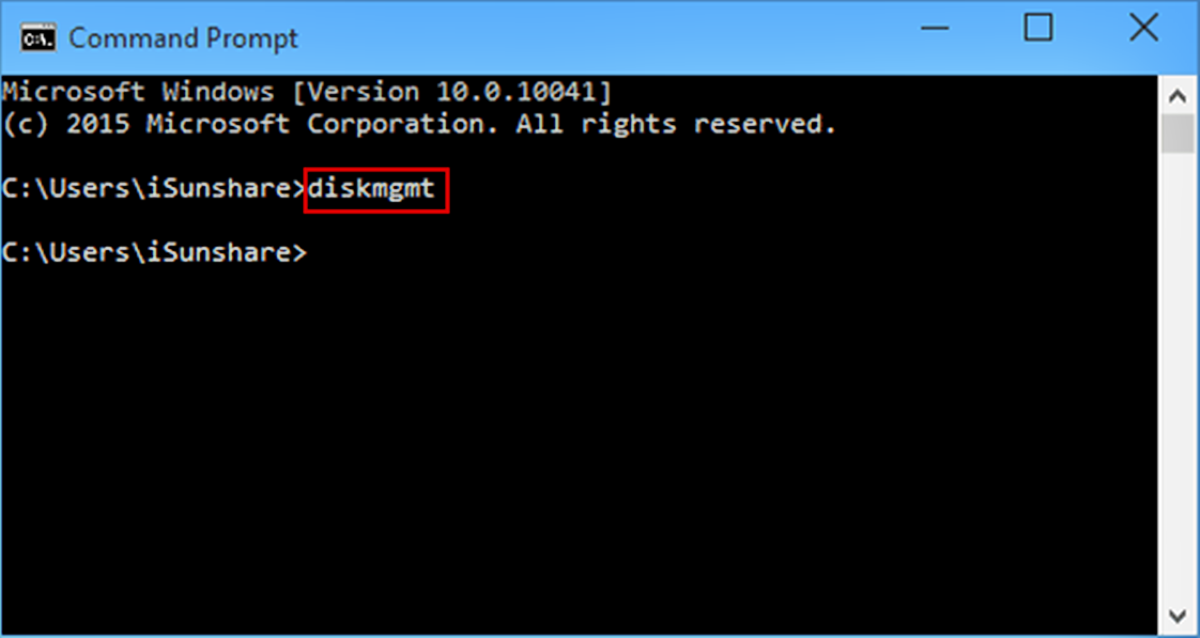
2. Type diskmgmt.msc: In the Command Prompt window, type “diskmgmt.msc” (without the quotes) and press Enter.
3. Disk Management Window: The Disk Management tool will open, allowing you to manage your disk partitions and perform various disk-related tasks.
Even without administrative privileges, these methods provide you with access to Disk Management and its functionalities. However, keep in mind that certain actions might be restricted, requiring elevated access in order to make changes to disk partitions or perform other advanced tasks.
Method 1: Using the Run Command
The Run command is a quick and convenient way to open Disk Management on your Windows computer. Follow these steps to use the Run command:
1. Press the Windows key + R: This key combination will open the Run dialog box on your screen.
2. Type diskmgmt.msc: In the Run dialog box, type “diskmgmt.msc” (without the quotes) and press Enter or click on “OK.”
3. Disk Management Window: The Disk Management window will open, providing you with a visual representation of your disk partitions and related information.
Using the Run command is an efficient way to launch Disk Management, allowing you to easily manage your disk partitions, format drives, and perform other disk-related tasks.
Additional Tip: If you frequently need to access Disk Management, you can create a shortcut on your desktop or taskbar. Simply right-click on your desktop or taskbar, select “New,” and choose “Shortcut.” In the location field, enter “diskmgmt.msc” and click on “Finish.” This will create a shortcut that opens Disk Management directly.
Method 2: Using Windows PowerShell
Windows PowerShell is a powerful command-line tool that can be used to open Disk Management on your Windows computer. Follow these steps to use Windows PowerShell:
1. Right-click on the Start Button: Right-click on the Start button located in the bottom-left corner of your screen.
2. Select “Windows PowerShell (Admin)”: From the context menu that appears, choose the “Windows PowerShell (Admin)” option. This will open the PowerShell window with administrative privileges.
3. Type diskmgmt.msc: In the PowerShell window, simply type “diskmgmt.msc” (without the quotes) and press Enter.
4. Disk Management Window: The Disk Management tool will open, displaying a graphical representation of your disk partitions and additional disk-related information.
Using Windows PowerShell to open Disk Management allows you to have more control and flexibility in managing your disk partitions and performing various disk-related tasks. The administrative privileges provided by PowerShell enable you to make advanced changes to your disk configurations.
Windows PowerShell also offers the advantage of scripting and automation capabilities. You can build scripts to automate disk management tasks, making it convenient and efficient to manage your disks.
Please note that if you do not have administrative privileges, you may encounter limitations when attempting to perform certain actions in Disk Management. In such cases, it is recommended to switch to an administrative account or seek assistance from a system administrator.
Method 3: Using Command Prompt
Command Prompt is a command-line interface in Windows that allows you to perform various tasks, including opening Disk Management. Follow these steps to use Command Prompt:
1. Right-click on the Start Button: Right-click on the Start button located in the bottom-left corner of your screen.
2. Select “Command Prompt (Admin)”: From the context menu that appears, choose the “Command Prompt (Admin)” option. This will open the Command Prompt window with administrative privileges.
3. Type diskmgmt.msc: In the Command Prompt window, type “diskmgmt.msc” (without the quotes) and press Enter.
4. Disk Management Window: The Disk Management tool will open, providing you with an overview of your disk partitions and related information.
Using Command Prompt to open Disk Management gives you direct access to the tool’s functionality and allows you to manage disk partitions, format drives, and perform other tasks with ease.
Command Prompt provides a text-based interface to interact with your system, enabling you to execute specific commands for disk management. This method is particularly useful for users who are comfortable working with commands and prefer a command-line approach for system interactions.
Please note that administrative privileges are required to open Disk Management using Command Prompt. If you do not have administrative privileges, it is recommended to switch to an account with administrative access or seek assistance from a system administrator.
Additional Tip: You can also combine Command Prompt with other commands to perform advanced disk management tasks. The command-line interface provides various options to manage disk partitions and perform operations like creating, deleting, and resizing partitions. Take time to explore the available commands and options to utilize the full potential of Command Prompt for disk management tasks.
Troubleshooting Tips
While opening Disk Management from the Command Prompt is usually a straightforward process, you may encounter some common issues. Here are a few troubleshooting tips to help you overcome any obstacles:
1. Administrative Privileges: Make sure you have administrative privileges on your Windows computer. Without administrative access, you may encounter restrictions when attempting to open Disk Management or perform certain actions.
2. Command Prompt or PowerShell Errors: If you encounter errors while using Command Prompt or PowerShell, ensure that you have entered the commands correctly. Double-check for any typos or missing characters in the commands.
3. Corrupted System Files: Sometimes, Disk Management may not open due to corrupted system files. To resolve this issue, you can try running the System File Checker (SFC) scan. Open Command Prompt or PowerShell with administrative privileges and type “sfc /scannow” (without the quotes), then press Enter. This will scan and repair any corrupted system files that may be affecting Disk Management.
4. Disk Management Unavailable: In some cases, Disk Management may be unavailable due to certain system settings or third-party software conflicts. To troubleshoot this, you can try restarting your computer or disabling any conflicting software temporarily. You can also check if the necessary services for Disk Management are running. Open the Services application by typing “services.msc” in the Run dialog box or the Start menu search bar. Ensure that the “Virtual Disk” and “Logical Disk Manager” services are running.
5. Disk Management Hangs or Freezes: If Disk Management hangs or freezes while opening, it could be due to hardware issues or problems with the disks themselves. Try disconnecting any external devices or additional hard drives and then open Disk Management again. If the issue persists, you may need to check your hardware or seek assistance from a professional.
6. Seek Additional Resources: If you are facing specific errors or complex issues, it is always helpful to search for solutions in online forums, Microsoft official support resources, or community-driven knowledge bases. These resources often provide insights and solutions to various Disk Management-related problems.
Remember, if you are unsure or uncomfortable troubleshooting on your own, it is recommended to seek assistance from a technical expert or your computer manufacturer’s support team. They can provide guidance tailored to your specific situation and help resolve any issues you encounter.