
Method 1: Open Disk Management through the Run Dialog Box
Opening the Disk Management tool through the Run dialog box is a quick and straightforward method. The Run dialog box is a built-in feature in Windows that allows users to open various programs and tools with a simple command. To access Disk Management using this method, follow the steps below:
- Press the Windows key + R simultaneously on your keyboard. The Run dialog box will appear.
- Type “diskmgmt.msc” (without the quotation marks) in the text field of the Run dialog box.
- Click the “OK” button or press Enter.
By following these steps, the Disk Management tool will swiftly open, displaying a graphical representation of the hard disk drives and partitions connected to your computer. You can now manage your disks and perform various operations such as creating, formatting, and deleting partitions.
The Run dialog box method is particularly useful if you’re familiar with keyboard shortcuts and prefer a quick way to access Disk Management without navigating through multiple menus or system settings. However, if you aren’t comfortable using keyboard shortcuts, there are alternative methods to open Disk Management that may suit your preferences better.
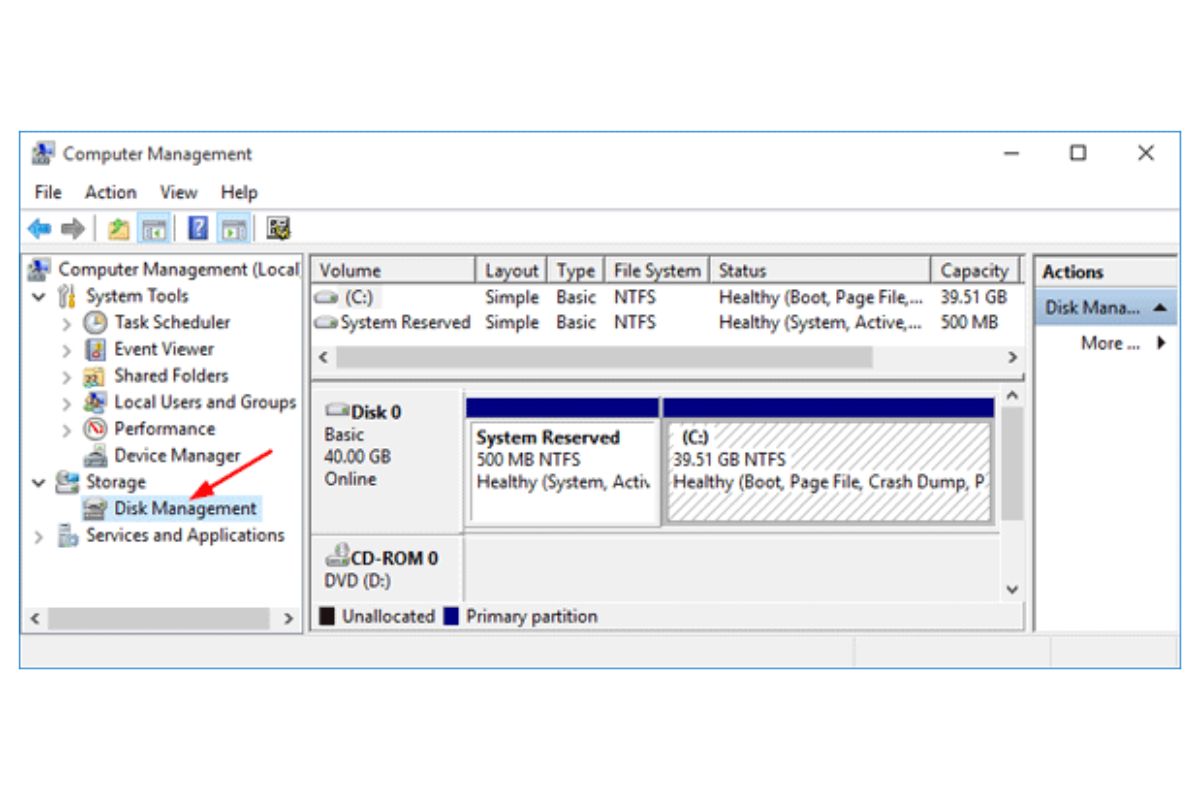
Method 2: Access Disk Management via the Start Menu
Another convenient way to open Disk Management is through the Start Menu. This method is ideal for users who prefer a graphical interface and are more comfortable navigating through menus. To access Disk Management using this method, follow these steps:
- Click on the “Start” button located at the bottom-left corner of your desktop.
- Scroll through the list of programs until you find the “Windows Administrative Tools” folder. Click on it to expand.
- Locate and click on the “Computer Management” folder.
- In the “Computer Management” window, find and click on “Disk Management” under the “Storage” category.
Following these steps will open the Disk Management tool, providing you with a comprehensive view of your disk drives and partitions. From there, you can perform various actions like creating new partitions, extending or shrinking existing ones, and assigning drive letters.
Accessing Disk Management through the Start Menu is an easy-to-navigate method suitable for users who prefer a visual interface. It allows you to locate the necessary tools without the need for memorizing specific keyboard shortcuts or entering commands. Whether you’re a novice or experienced user, this method provides a user-friendly way to manage your disks effectively.
Method 3: Open Disk Management through the Control Panel
If you prefer using the Control Panel to access system settings and tools, you can open Disk Management through this method. The Control Panel provides a centralized location where you can manage various aspects of your computer. To open Disk Management via the Control Panel, follow the steps below:
- Click on the “Start” button and type “Control Panel” in the search bar.
- From the search results, click on the “Control Panel” app to open it.
- In the Control Panel window, locate and click on the “Administrative Tools” option.
- Within the “Administrative Tools” menu, find and double-click on “Computer Management.”
- Once the “Computer Management” window appears, expand the “Storage” category by clicking on the arrow next to it.
- Select “Disk Management.”
Following these steps will open Disk Management, allowing you to view and manage your disk drives and partitions. From here, you can perform a variety of tasks such as creating new volumes, formatting drives, and changing drive letters.
Accessing Disk Management through the Control Panel is a traditional and reliable method. It provides users with a familiar interface and is especially useful for those who are accustomed to using the Control Panel to access system settings. Whether you’re a beginner or an advanced user, this method ensures easy navigation and efficient management of your disks.
Method 4: Open Disk Management using Command Prompt
For users who prefer using command-line tools, opening Disk Management through the Command Prompt provides a convenient and efficient method. Command Prompt is a powerful utility in Windows that allows you to perform various tasks by entering commands. To open Disk Management using this method, follow the steps below:
- Press the Windows key + R simultaneously on your keyboard to open the Run dialog box.
- Type “cmd” (without the quotation marks) in the text field and press Enter.
- In the Command Prompt window, type “diskmgmt.msc” (without the quotation marks) and press Enter.
Executing these steps will open the Disk Management tool, showing you a comprehensive view of your disk drives and partitions. From here, you can perform various operations such as creating, deleting, and resizing partitions, as well as modifying drive letters.
Opening Disk Management through the Command Prompt is an efficient method for users who are comfortable with the command-line interface. It allows for quick access without the need to navigate through menus or system settings. Whether you’re a command-line enthusiast or simply prefer the efficiency of this method, using the Command Prompt to open Disk Management provides a seamless experience.
Method 5: Access Disk Management through Windows PowerShell
Windows PowerShell is a powerful command-line shell and scripting language that provides advanced management capabilities in Windows. If you are familiar with PowerShell and prefer using it over the Command Prompt, you can open Disk Management through this method. To access Disk Management using Windows PowerShell, follow the steps below:
- Open the Start Menu, type “PowerShell” in the search bar, and click on the “Windows PowerShell” app to open it.
- In the PowerShell window, type “diskmgmt” and press Enter.
By following these steps, the Disk Management tool will open, displaying a comprehensive view of your disk drives and partitions. From here, you can perform various operations like creating, deleting, and formatting partitions, as well as resizing and assigning drive letters.
Accessing Disk Management through Windows PowerShell provides an advanced and flexible method for users who are comfortable with PowerShell scripting. It allows you to leverage the power of PowerShell to automate tasks and perform advanced disk management functions. If you prefer a command-line interface with advanced scripting capabilities, opening Disk Management through Windows PowerShell is a great option.
Method 6: Open Disk Management with Administrative Privileges
In certain cases, accessing Disk Management may require administrative privileges, especially when performing advanced disk management tasks or accessing system disks. Opening Disk Management with administrative privileges ensures that you have sufficient permissions to make changes to your disks and partitions. To open Disk Management with administrative privileges, follow the steps below:
- Right-click on the “Start” button to open the power user menu.
- From the menu, select “Disk Management (Admin).” This option will launch the Disk Management tool with administrative privileges.
- If prompted by User Account Control (UAC), click “Yes” to grant administrative access.
Following these steps will open the Disk Management tool with administrative privileges, allowing you to perform various advanced operations on your disks and partitions. It ensures that you have the necessary permissions to make changes that may impact system configurations.
Opening Disk Management with administrative privileges is recommended when you need to perform more advanced disk management tasks such as initializing new disks, converting disk formats, or managing system partitions. By having the necessary administrative access, you can ensure smooth execution of disk management operations without any limitations.