
Method 1: Using the Eject Button
One of the simplest and quickest ways to open the disk tray on your Windows 10 computer is by using the Eject button on the CD/DVD drive itself. This method works well if your computer has a physical eject button, which is typically located next to the disk tray.
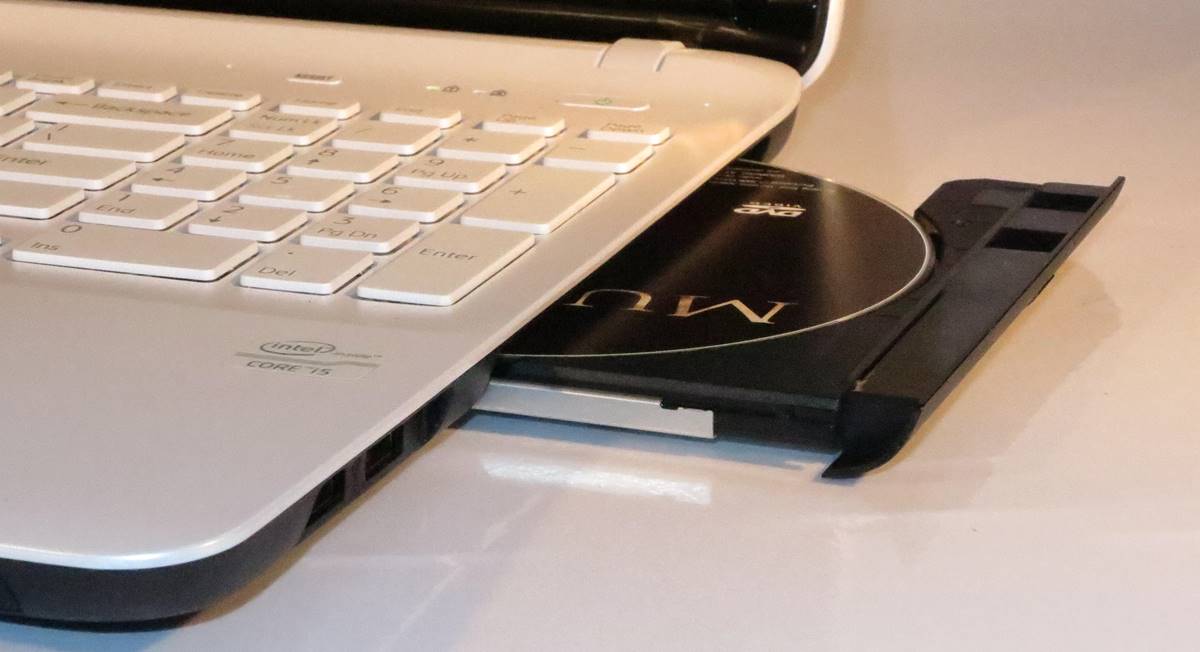
To use this method, begin by locating the eject button on your CD/DVD drive. It is usually a small button labeled “Eject” or a similar symbol, such as an upward-facing arrow or a line with a vertical dash at the end. Once you’ve found the button, simply press it to open the disk tray.
If the disk tray does not open after pressing the eject button, it is possible that the drive is not receiving power or there is a mechanical issue. In such cases, try the following steps to troubleshoot the problem:
- Check if the CD/DVD drive is properly connected to the computer. Ensure that the power and data cables are securely plugged in.
- Confirm that the CD/DVD drive is recognized by your computer. Open the Device Manager and look under the “DVD/CD-ROM drives” category. If you see your CD/DVD drive listed, it indicates that it is recognized by the system.
- Restart your computer. Sometimes a simple reboot can resolve minor hardware or software conflicts that may be preventing the disk tray from opening.
- If none of the above steps work, consider contacting technical support or a computer repair professional for further assistance.
Using the Eject button is a handy way to open the disk tray when it’s functioning properly. However, if you encounter persistent issues that prevent the disk tray from opening, you may need to explore alternative methods to eject your CDs or DVDs from the computer.
Method 2: Using File Explorer
Another convenient method to open the disk tray on your Windows 10 computer is by using File Explorer. This method is especially useful if you prefer a software-based approach or if your computer lacks a physical eject button.
Here’s how you can use File Explorer to open the disk tray:
- Open File Explorer by right-clicking on the Start menu and selecting “File Explorer” or by pressing the Windows key + E on your keyboard.
- In the left-hand sidebar of File Explorer, locate and click on “This PC” or “Computer”.
- Look for the CD/DVD drive icon among the listed drives. It is usually denoted by a drive letter (such as D: or E:) followed by the drive label or name.
- Right-click on the CD/DVD drive icon and select “Eject” from the context menu. This action will send a command to the drive, instructing it to open the disk tray.
If the disk tray fails to open using this method, ensure that your CD/DVD drive is functioning correctly by following these steps:
- Ensure that the CD/DVD drive is powered on and properly connected to your computer. Check that both the power and data cables are securely plugged in.
- Update or reinstall the CD/DVD drive driver. You can do this by right-clicking on the CD/DVD drive icon in Device Manager and selecting “Update Driver” or “Uninstall Device”. Then, restart your computer to allow Windows to automatically reinstall the driver.
- If the drive still does not respond, consider testing it on another computer or replacing it if necessary.
Using File Explorer is a convenient way to open the disk tray, especially when the physical eject button is not available or not functioning. However, if problems persist, it may be necessary to explore alternative methods or seek professional assistance to resolve the issue.
Method 3: Using the Windows PowerShell
If you are comfortable with using command-line tools, you can use the Windows PowerShell to open the disk tray on your Windows 10 computer. The PowerShell provides a powerful and flexible way to interact with your system and perform various tasks, including opening the disk tray.
Here’s how you can use the Windows PowerShell to open the disk tray:
- Open the Windows PowerShell by pressing the Windows key + X on your keyboard and selecting “Windows PowerShell” from the menu that appears. Alternatively, you can search for “PowerShell” in the Start menu and click on the “Windows PowerShell” app.
-
Once the PowerShell window opens, type the following command and press Enter:
eject
The eject command instructs the PowerShell to send a command to the CD/DVD drive to open the disk tray. If successful, the tray should open, allowing you to insert or remove discs.
If the disk tray fails to open using this method, ensure that your CD/DVD drive and PowerShell are functioning correctly by following these steps:
- Check that the CD/DVD drive is properly connected to your computer and receiving power. Make sure the cables are securely plugged in and that the drive is recognized by your system.
- Confirm that your Windows PowerShell is up-to-date. You can do this by running Windows Update and installing any available updates for your system.
- If the issue persists, consider seeking assistance from technical support or computer repair professionals.
Using the Windows PowerShell is a convenient option for tech-savvy users who prefer working with command-line tools. However, if you encounter any difficulties, it may be necessary to explore alternative methods or seek technical assistance to resolve the issue.
Method 4: Using the Windows Settings App
Another simple and straightforward method to open the disk tray on your Windows 10 computer is by using the Windows Settings app. This method allows you to access various system settings, including the option to eject the disk tray.
To use the Windows Settings app to open the disk tray, follow these steps:
- Open the Start menu by clicking on the Start button or pressing the Windows key on your keyboard.
- In the Start menu, click on the “Settings” gear icon to open the Windows Settings app.
- In the Windows Settings app, click on the “Devices” category.
- On the left-hand side of the Devices settings, click on the “DVD & CD-ROM” option.
- In the DVD & CD-ROM settings, you should see your CD/DVD drive listed. Click on it to expand the options.
- Look for the “Eject” button or link next to the CD/DVD drive listing. Click on it to open the disk tray.
If the disk tray fails to open using this method, ensure that your CD/DVD drive and Windows settings are functioning correctly by following these steps:
- Check that the CD/DVD drive is properly connected to your computer and receiving power. Make sure the cables are securely plugged in and that the drive is recognized by your system.
- Confirm that your Windows operating system is up-to-date. Run Windows Update and install any available updates for your computer.
- If the issue persists, consider seeking assistance from technical support or computer repair professionals.
Using the Windows Settings app to open the disk tray provides a user-friendly interface for managing various system settings, including ejecting the disk tray. If you encounter any difficulties, make sure to check the hardware connections and update your Windows software before seeking further assistance.
Method 5: Using the Keyboard Shortcut
If you prefer quick and convenient shortcuts, you can use a keyboard shortcut to open the disk tray on your Windows 10 computer. This method allows you to avoid navigating through menus or using external tools, providing a simple and efficient way to eject the tray.
To use the keyboard shortcut to open the disk tray, follow these steps:
- Locate the “Eject” key or button on your keyboard. This key is typically found on multimedia keyboards or laptops with built-in CD/DVD drives. It is often represented by a triangle shape pointing upwards with a horizontal line underneath.
- Press the “Eject” key or button to send a command to the CD/DVD drive and open the disk tray. Some keyboards may require you to hold down the “Fn” or “Function” key in combination with the “Eject” key.
If your keyboard does not have a dedicated “Eject” key, you can try using the combination of the “Ctrl” and “E” keys, which is a common shortcut for opening the disk tray.
If the disk tray fails to open using this method, ensure that your keyboard is functioning correctly and that the CD/DVD drive is properly connected to your computer and recognized by your system. Here are a few troubleshooting steps you can try:
- Check that the keyboard is correctly connected to your computer. If using a wireless keyboard, ensure that the batteries are not drained.
- Confirm that the CD/DVD drive is receiving power and that the cables are securely plugged in.
- Restart your computer and try the keyboard shortcut again. Sometimes a simple reboot can resolve minor software issues.
- If the issue persists, consider seeking assistance from technical support or computer repair professionals.
Using a keyboard shortcut to open the disk tray offers a convenient and efficient way to access the CD/DVD drive on your Windows 10 computer. Make sure to check your keyboard connections and verify that the CD/DVD drive is correctly connected before seeking further assistance for any persistent issues.
Method 6: Using the Disk Management Tool
If the previous methods have not been successful in opening the disk tray on your Windows 10 computer, you can try using the Disk Management tool. This tool allows you to manage the disks and volumes connected to your computer, including the option to eject the disk tray.
Here’s how you can use the Disk Management tool to open the disk tray:
- Press the Windows key + X on your keyboard to open the Power User menu.
- From the menu, select “Disk Management” to open the Disk Management tool.
- In the Disk Management window, locate the CD/DVD drive that you want to eject the tray for. It will be listed under the “Volumes” section.
- Right-click on the CD/DVD drive and select “Eject” from the context menu. This action will send a command to the drive, instructing it to open the disk tray.
If the disk tray fails to open using this method, ensure that your CD/DVD drive and Disk Management tool are functioning correctly by following these steps:
- Check that the CD/DVD drive is properly connected to your computer and receiving power. Make sure the cables are securely plugged in and that the drive is recognized by your system.
- Confirm that your Disk Management tool is functioning correctly. If you are using a third-party disk management tool, consider using the built-in Disk Management tool in Windows.
- If the issue persists, consider seeking assistance from technical support or computer repair professionals.
Using the Disk Management tool to open the disk tray provides an additional option for managing your CD/DVD drive. If you encounter any difficulties, ensure that the hardware connections are secure and that the Disk Management tool is functioning properly before seeking further assistance.
Method 7: Using Third-Party Software
If the built-in methods for opening the disk tray on your Windows 10 computer are not working, you can explore the option of using third-party software. There are various utilities available online that offer additional features and functionalities for managing your CD/DVD drive, including the ability to open the disk tray.
Here’s how you can use third-party software to open the disk tray:
- Search for reputable third-party software options that specifically mention the ability to open the disk tray. Ensure that you download the software from a trusted source to avoid any potential security risks.
- Install the software following the provided instructions. Make sure to read any prompts or warnings during the installation process.
- Launch the third-party software after installation. Look for an option to open the disk tray or eject the CD/DVD drive.
- Click on the appropriate button or select the corresponding menu option to trigger the software to send a command to the drive and open the disk tray.
If the third-party software fails to open the disk tray or encounters any issues, consider the following troubleshooting steps:
- Ensure that the CD/DVD drive is properly connected to your computer and receiving power. Check that the cables are securely plugged in and that the drive is recognized by your system.
- Verify that the third-party software is compatible with your operating system and the specific CD/DVD drive you are using. Check for any updates or patches that may be available.
- If the problem persists, consult the user manual or documentation of the third-party software or seek technical support from the software provider.
Using third-party software can provide additional options and functionality for managing your CD/DVD drive, including the ability to open the disk tray. However, proceed with caution and ensure that you choose reputable software from trusted sources to avoid any potential risks to your computer’s security and stability.
Method 8: Using the Command Prompt
For advanced users who are comfortable working with the command line interface, using the Command Prompt provides another method to open the disk tray on your Windows 10 computer. This method utilizes specific commands to communicate with the CD/DVD drive and trigger the opening of the disk tray.
To use the Command Prompt to open the disk tray, follow these steps:
- Open the Command Prompt by pressing the Windows key + X on your keyboard and selecting “Command Prompt” from the Power User menu. Alternatively, you can search for “Command Prompt” in the Start menu and click on the app.
-
Once the Command Prompt window opens, type the following command and press Enter:
eject D:
Replace “D:” with the drive letter assigned to your CD/DVD drive if it is different.
The eject command along with the drive letter will send a command to the CD/DVD drive, instructing it to open the disk tray. If successful, the tray should open, allowing you to insert or remove discs.
If the disk tray fails to open using this method, ensure that your CD/DVD drive and Command Prompt are functioning correctly by following these steps:
- Check that the CD/DVD drive is properly connected to your computer and receiving power. Make sure the cables are securely plugged in and that the drive is recognized by your system.
- Verify that the Command Prompt has the necessary permissions to access the CD/DVD drive. You may need to run the Command Prompt as an administrator by right-clicking on the app and selecting “Run as administrator”.
- If the issue persists, consider seeking assistance from technical support or computer repair professionals.
Using the Command Prompt to open the disk tray provides a command-line interface for sending specific commands to the CD/DVD drive. If you encounter any difficulties, make sure that the hardware connections are secure and that the Command Prompt has the necessary permissions before seeking further assistance to resolve the issue.