
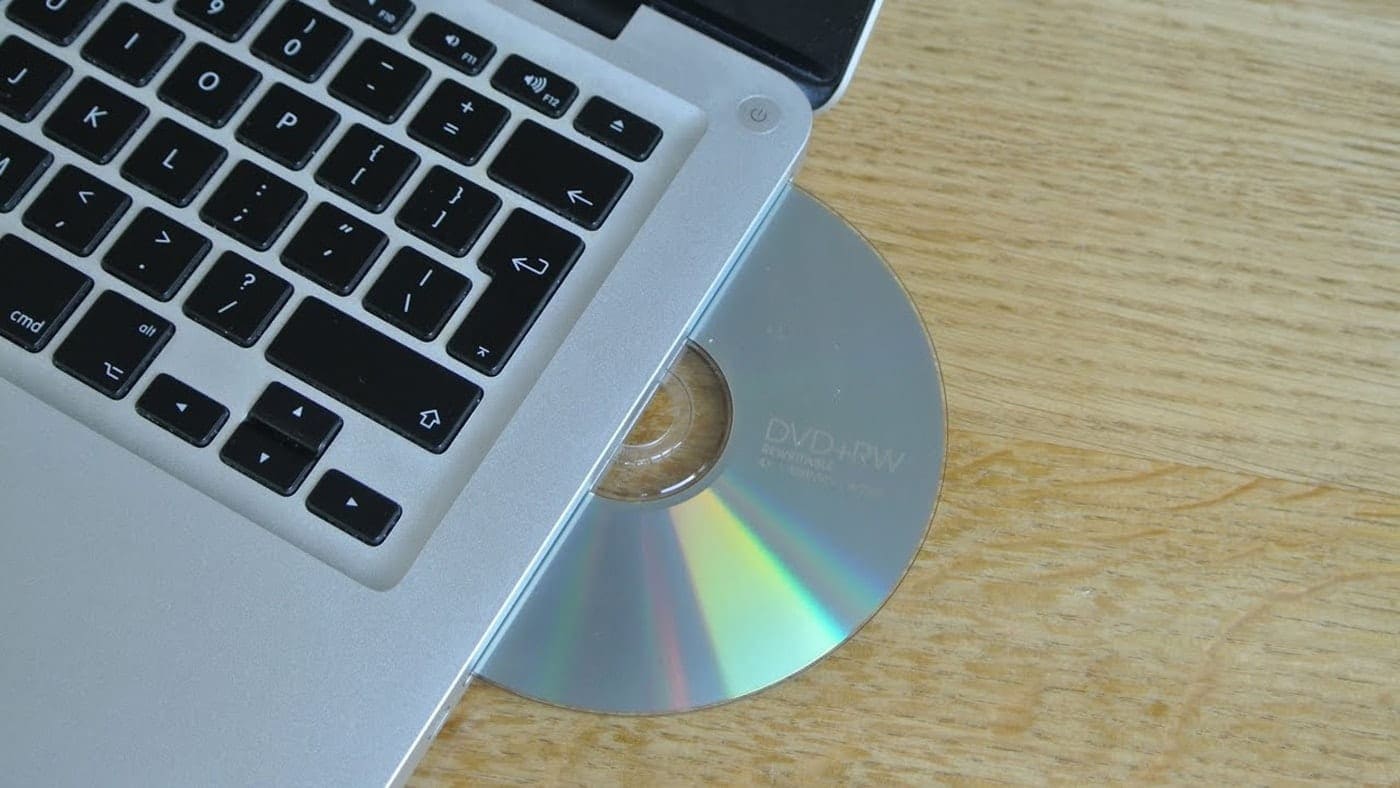
Using the Eject Button
One of the simplest ways to eject a CD or DVD from your Mac is by using the physical eject button on your computer. Most Mac models have a built-in eject button on the keyboard, typically located in the top-right corner. To eject a disc, follow these steps:
- Press and hold the eject button for a few seconds until you hear the disc being ejected.
- If the disc does not eject, try pressing the eject button multiple times or gently push the disc towards the opening while pressing the eject button simultaneously.
This method is straightforward and convenient, as it requires no additional software or steps. However, in some cases, the eject button may not respond or the disc may not eject due to various reasons. In such situations, you can try alternative methods to eject the disc.
Note: If your Mac doesn’t have a physical eject button, you can skip this method and proceed to the next one.
The Eject Option in Finder
If you prefer using software to eject a CD or DVD from your Mac, you can utilize the eject option in Finder. This method provides an easy and convenient way to eject discs without relying on physical buttons. Here’s how you can do it:
- Open Finder by clicking on the blue face icon in your Dock or pressing Command + Space and typing “Finder”.
- In the Finder window, locate the disc you want to eject in the sidebar under the Devices section.
- Once you’ve located the disc, either right-click on it and select “Eject” from the drop-down menu or simply click on the eject button (an upward facing arrow) next to the disc’s name.
After performing the above steps, your Mac will attempt to eject the disc. If the disc does not eject, you can try using the physical eject button or explore the other methods mentioned in this article.
The eject option in Finder is useful because it allows you to manage the ejecting process from one centralized location. Additionally, it provides an alternative when the physical eject button is not functioning or not available on your Mac model.
Ejecting from the Desktop
If you prefer a visual approach to ejecting discs from your Mac, you can use the eject option available on the desktop. This method is convenient and requires just a few simple steps:
- Go to your desktop on your Mac by minimizing or closing any open windows or applications.
- Locate the CD or DVD icon that represents the disc you want to eject.
- Once you’ve found the disc icon, either right-click on it and select “Eject” from the drop-down menu or simply drag the disc icon to the Trash bin on your Mac’s Dock.
Upon performing these steps, your Mac will initiate the ejecting process and attempt to remove the disc. If the disc doesn’t eject, you can try using the physical eject button or explore other methods discussed in this article.
The desktop eject option offers a visual and intuitive way to eject discs. It is particularly useful when you have multiple discs inserted and want to eject a specific one without accessing Finder or using the physical eject button.
Keyboard Shortcuts
Another efficient way to eject a CD or DVD from your Mac is by utilizing keyboard shortcuts. These shortcuts provide quick and convenient access to the eject function. Here are the most commonly used keyboard shortcuts for ejecting discs:
- Command + E: Pressing the Command and E keys simultaneously will trigger the eject command, forcing the disc to be ejected from your Mac.
- Fn + F12: If your Mac has a compact keyboard without a dedicated eject key, you can press the Function (Fn) key and the F12 key together to perform the eject function.
By using these keyboard shortcuts, you can avoid the need to locate physical buttons or navigate through menus. They provide a quick and efficient way to eject discs from your Mac, especially if you frequently work with CDs or DVDs.
If the keyboard shortcuts do not work, it’s possible that they may be disabled or overridden by other software or settings on your Mac. In such cases, consider using alternative methods mentioned in this article to eject the disc.
Overall, keyboard shortcuts offer a convenient solution for ejecting discs on your Mac, allowing you to save time and effort while working with physical media.
Using the Disk Utility
If you’re encountering difficulties ejecting a CD or DVD using the previous methods, you can try using the Disk Utility application on your Mac. Disk Utility is a built-in tool that allows you to manage and troubleshoot various disk-related tasks, including ejecting stuck discs. Follow these steps to eject a disc using Disk Utility:
- Open Finder by clicking on the blue face icon in your Dock or pressing Command + Space and typing “Finder”.
- In the Finder menu, click on “Go” and then select “Utilities”.
- Locate and open the Disk Utility application from the Utilities folder.
- In the Disk Utility window, you will see a list of available disks and volumes. Locate the CD or DVD that you want to eject.
- Select the disc, and then click on the “Eject” button in the toolbar. Alternatively, you can right-click on the disc and choose “Eject” from the contextual menu.
If the disc is successfully ejected, you can close the Disk Utility application. If the disc remains stuck, you may need to explore other troubleshooting options.
Note: The Disk Utility method is typically used when dealing with stuck or unresponsive discs. It provides a more advanced approach to ejecting discs, but it may not be necessary in all situations.
Using Terminal Commands
For advanced users comfortable with using command-line interfaces, the Terminal application on macOS provides a method to eject discs using specific commands. Here’s how you can eject a CD or DVD using Terminal:
- Open Finder by clicking on the blue face icon in your Dock or pressing Command + Space and typing “Finder”.
- In the Finder menu, click on “Go” and select “Utilities”.
- Open the Terminal application from the Utilities folder.
- In the Terminal window, type the following command:
drutil eject - Press Enter to execute the command.
When you enter the drutil eject command, the Terminal will send a command to the disc drive to eject the disc. If successful, the disc will be ejected from your Mac.
It’s important to note that the Terminal method requires familiarity with command-line interfaces and proper execution of commands. If you are uncomfortable using Terminal or unfamiliar with command-line operations, it’s recommended to try alternative methods discussed in this article.
The Terminal command offers a powerful and direct way to eject discs without relying on graphical interfaces. It can come in handy when other methods fail or when you prefer a command-line approach to perform disk management tasks.
Using the Terminal Eject Command
When encountering stubborn or unresponsive discs, using the Terminal Eject command can provide a forceful way to eject CDs or DVDs from your Mac. This method bypasses any software or hardware issues and directly sends a command to the disc drive. Here’s how you can use the Terminal Eject command:
- Open Finder by clicking on the blue face icon in your Dock or pressing Command + Space and typing “Finder”.
- In the Finder menu, click on “Go” and select “Utilities”.
- Launch the Terminal application from the Utilities folder on your Mac.
- In the Terminal window, type the following command:
drutil tray eject - Press Enter to execute the command.
By typing drutil tray eject in Terminal, you are instructing your Mac to forcefully eject the disc tray. Even if the disc is stuck or unresponsive, this command can help in ejecting it.
However, keep in mind that using the Terminal Eject command forcefully stops any active reading or writing processes related to the disc. It is recommended to use this method as a last resort when other methods fail to eject the disc.
It’s important to note that using Terminal commands requires caution, and incorrect usage can potentially cause unintended consequences. If you are unfamiliar with Terminal or uncomfortable with command-line operations, it’s best to explore alternative methods discussed in this article.
The Terminal Eject command provides a direct and forceful approach to eject stubborn discs from your Mac. Use it with caution and only when necessary to avoid any potential data loss or damage to hardware.
Emergency Eject Methods
In rare cases where the usual methods fail to eject a CD or DVD from your Mac, you can resort to emergency eject methods. These methods involve using mechanical or manual procedures to safely remove the disc. Here are a few emergency eject methods you can try:
- Restart Your Mac: Sometimes, a simple reboot can help in ejecting a stubborn disc. Restart your Mac by clicking on the Apple menu and selecting “Restart”, or by pressing the Control + Command + Eject/Power button simultaneously.
- Sticky Note Method: This method involves using a sticky note or a similar adhesive strip. Create a small, flat strip from a sticky note or adhesive tape and insert it into the disc slot, gently pressing down. This can help release the disc latch mechanism, allowing you to manually pull out the disc.
- Use a Credit Card or Business Card: Insert a credit card or business card into the disc slot, applying slight pressure on the disc. While doing this, try to use the card as a lever to lift or nudge the stuck disc. Be cautious not to damage the card or the disc drive.
- Seek Professional Assistance: If all else fails, and you are unable to safely eject the disc on your own, it is advisable to seek assistance from an authorized technician or Apple Support. They have the expertise to handle such situations and can help safely remove the disc without causing any further damage to your Mac.
Remember, emergency eject methods should only be utilized as a last resort when other methods have failed. Exercise caution and gentle force to avoid causing any damage to your Mac or the disc itself.
It’s worth noting that emergency eject methods may not be applicable to all Mac models, especially those with slot-loading disc drives. In such cases, it is best to consult professional assistance for safe and proper disc ejection.
Troubleshooting
If you’re experiencing persistent issues with ejecting CDs or DVDs from your Mac, there are a few troubleshooting steps you can take to resolve the problem. Here are some common troubleshooting techniques to try:
- Restart Your Mac: Sometimes, a simple restart can resolve temporary glitches or software conflicts that may be preventing the disc from ejecting properly.
- Check for Software Conflicts: Certain software or background processes may interfere with the disc ejection process. Temporarily quit any applications that may be using the disc or affecting the system, and then attempt to eject the disc again.
- Force Quit Applications: If you’re unable to quit applications that may be utilizing the disc, you can force quit them using the Activity Monitor. Open the “Utilities” folder in Finder, launch the Activity Monitor application, select the relevant applications, and click on the “Quit Process” button.
- Try Different Methods: Experiment with different ejection methods discussed in this article, including using the eject button, Finder, desktop eject option, keyboard shortcuts, Disk Utility, and Terminal commands. It’s possible that one method may work better than others for your specific situation.
- Reset the System Management Controller (SMC): The SMC controls various hardware aspects on your Mac, including the disc drive. Resetting the SMC can sometimes resolve issues with disc ejection. The process varies depending on the Mac model, so refer to Apple’s support documentation for instructions specific to your device.
If you have tried these troubleshooting techniques and are still unable to eject the disc, it is recommended to seek assistance from Apple Support or an authorized technician. They can provide further guidance and potentially diagnose any underlying hardware issues.
Remember to exercise caution when troubleshooting and always handle discs and your Mac with care to avoid causing any damage.