
Step 1: Connect your iPod or iPhone to your computer
Connecting your iPod or iPhone to your computer is the first step to copy CDs using iTunes. This process allows you to transfer the music from the CD directly onto your device, so you can listen to your favorite songs on the go. Follow the steps below to connect your iPod or iPhone to your computer:
- Start by ensuring that your iPod or iPhone is charged and turned on. Connect one end of the USB cable that came with your device to the USB port on your computer.
- Next, connect the other end of the USB cable to the charging port on your iPod or iPhone. Your device should now be connected to your computer.
- Once the connection is established, your computer should recognize your iPod or iPhone as a new device. It may prompt you to install any necessary drivers or updates. Follow the on-screen instructions to complete the installation process.
- If your device asks for permission to trust the connected computer, click “Trust” to proceed.
- You can verify that your device is connected by looking for its icon in the iTunes window. If you see the icon, it means your iPod or iPhone is successfully connected to your computer.
- If you don’t find the device icon in iTunes, try disconnecting and reconnecting the USB cable. You may also need to restart your device and reopen iTunes.
Once your iPod or iPhone is successfully connected to your computer, you can proceed to the next step to start importing the CD into iTunes.
Step 2: Open iTunes on your computer
After connecting your iPod or iPhone to your computer, the next step is to open iTunes. iTunes is a media player and library management software developed by Apple that allows you to organize, play, and sync your music collection across your devices. To open iTunes on your computer, follow the steps below:
- If you are using a Mac computer, click on the iTunes icon located in the Dock at the bottom of your screen. If you are using a Windows computer, click on the Start button, then select “iTunes” from the list of installed applications.
- Alternatively, you can double-click on the iTunes shortcut icon on your desktop if you have one.
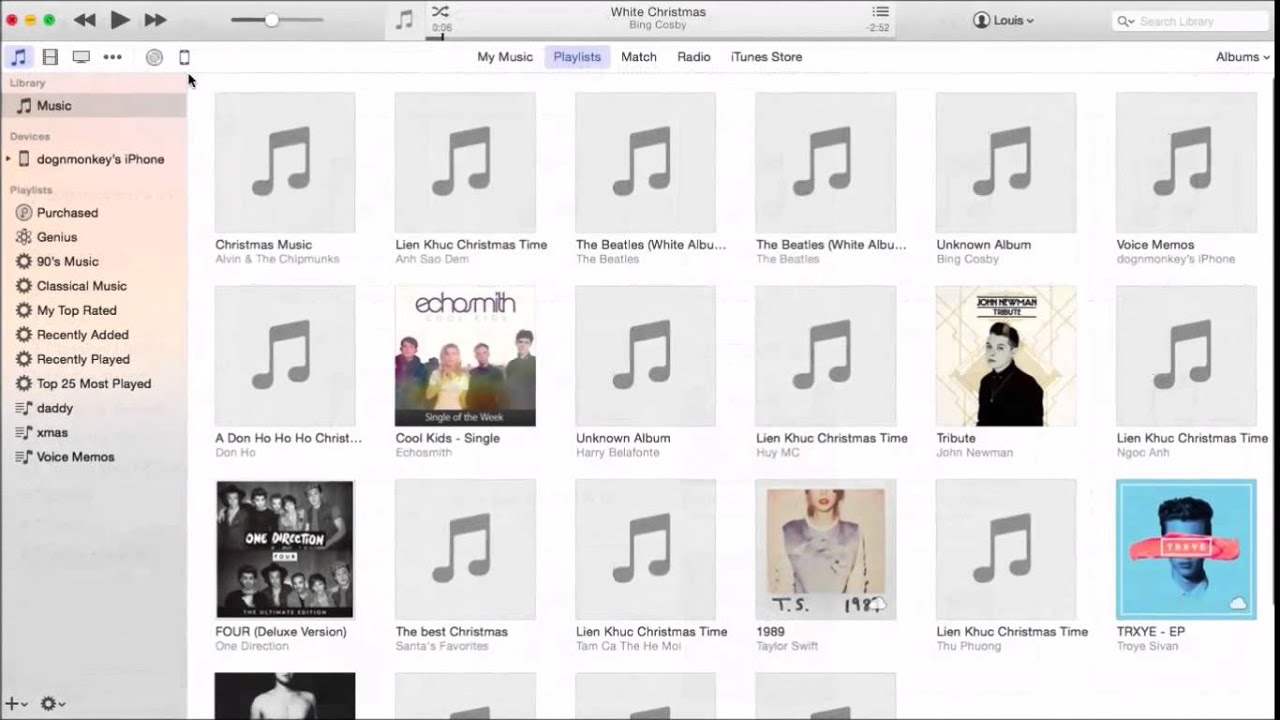
- Once you have opened iTunes, you will see the iTunes interface on your computer screen. The main window consists of different sections, including the Menu bar at the top, the sidebar on the left, and the main content area in the center.
- If you don’t see the sidebar, you can enable it by going to the “View” menu and selecting “Show Sidebar”. The sidebar displays your library categories such as Music, Movies, TV Shows, and more.
- If this is your first time using iTunes, you may be prompted to sign in with your Apple ID or create a new account. Follow the on-screen instructions to sign in or create an account.
- Once you are signed in, you are ready to proceed with importing the CD into iTunes.
Opening iTunes is an essential step in the process of copying CDs to your iPod or iPhone. It allows you to access your music library, manage your playlists, and sync your devices. With iTunes open, you can now move on to the next step of inserting the CD into your computer’s CD/DVD drive.
Step 3: Insert the CD you want to copy into your computer’s CD/DVD drive
Now that iTunes is open on your computer, the next step is to insert the CD that you want to copy into your computer’s CD/DVD drive. This will allow iTunes to recognize the CD and begin the import process. Follow the steps below to insert the CD:
- Locate the CD you wish to copy and remove it from its case or sleeve.
- Identify the CD/DVD drive on your computer. This is usually located on the front or side of the computer tower, or on the side of a laptop. The drive will have a small rectangular opening.
- Hold the CD by its edges and insert it gently into the CD/DVD drive, with the shiny side facing downwards. Push the CD in until it is fully inserted into the drive.
- If the CD tray doesn’t automatically close, gently press the “Close” button on the CD/DVD drive to close it. Alternatively, you can gently push the CD tray until it clicks back into place.
- Wait a few moments for your computer to recognize the CD. You may hear the drive spinning as it reads the CD, and the CD’s name or content may appear on your computer screen.
- If your computer does not automatically open iTunes or prompt you to open it, open iTunes manually by clicking on its icon in the Dock or Start menu.
Once the CD is inserted and recognized by your computer, you are ready to proceed with importing the CD into iTunes. This will allow you to transfer the songs from the CD to your iTunes library, preparing them for the next step of copying them to your iPod or iPhone.
Step 4: Import the CD into iTunes
After inserting the CD into your computer’s CD/DVD drive, the next step is to import the CD into iTunes. This process allows you to transfer the songs from the CD to your iTunes library, making them accessible for copying to your iPod or iPhone. Follow the steps below to import the CD:
- If iTunes doesn’t open automatically when you insert the CD, manually open iTunes by clicking on its icon in the Dock (on Mac) or Start menu (on Windows).
- In the top left corner of the iTunes window, click on the “CD” icon that represents the inserted disc. This will take you to the CD view in iTunes.
- On the top right corner of the iTunes window, click on the “Import CD” button. This will initiate the import process and transfer the songs from the CD to your iTunes library.
- Wait for iTunes to finish importing the CD. The progress of the import will be displayed at the top of the iTunes window, showing the number of songs imported and the remaining time.
- Once the import is complete, the songs from the CD will appear in your iTunes library. You can confirm this by clicking on the “Music” category in the sidebar, where all your imported songs will be listed.
- If you want to change the import settings before importing the CD, go to the “iTunes” menu (on Mac) or “Edit” menu (on Windows) and select “Preferences”. In the preferences window, navigate to the “General” or “Advanced” tab and click on the “Import Settings” button. Here, you can choose the import format, audio quality, and other options. Once you have made your desired changes, click “OK” to save the settings.
Importing the CD into iTunes is an important step in the process of copying the songs to your iPod or iPhone. It ensures that the songs are stored in your iTunes library and ready for syncing with your device. Now that the CD has been imported, you can proceed with creating a playlist for the songs you want to copy.
Step 5: Create a playlist on iTunes for the songs you want to copy to your iPod or iPhone
Once you have imported the CD into iTunes, the next step is to create a playlist for the songs you want to copy to your iPod or iPhone. A playlist is a selection of songs grouped together, allowing you to organize your music and easily sync it with your device. Follow the steps below to create a playlist on iTunes:
- In the iTunes sidebar, click on the “Music” category to view your music library.
- Click on the “Add Playlist” button located at the bottom left corner of the iTunes window. Alternatively, you can right-click on any empty space in the sidebar and select “New Playlist” from the context menu.
- A new playlist will be created with a default name. Double-click on the playlist’s name to rename it as desired.
- Now, with the playlist selected, you can start adding songs to it. You can either manually drag and drop songs from your music library onto the playlist, or you can right-click on a song and select “Add to Playlist” followed by the name of your newly created playlist.
- Continue adding songs to the playlist until you have included all the songs you want to copy to your iPod or iPhone. You can reorder the songs in the playlist by dragging them to your desired position.
- Feel free to create multiple playlists if you wish to separate your music based on different genres, moods, or preferences. Simply repeat the above steps to create additional playlists.
Creating a playlist on iTunes allows you to curate a personalized selection of songs tailored to your preferences. Once you have created the playlist and added the desired songs, you are now ready to select and copy them to your iPod or iPhone in the next step.
Step 6: Select the songs you want to copy to your iPod or iPhone
After creating a playlist for the songs you want to copy, the next step is to select the specific songs within the playlist that you want to copy to your iPod or iPhone. This allows you to customize your device’s music library to your preferences. Follow the steps below to select the songs:
- In the iTunes sidebar, locate and click on the playlist that contains the songs you want to copy.
- The selected playlist will appear in the main content area of iTunes, displaying all the songs within it.
- To select a single song, simply click on it. A highlight or checkmark will indicate that the song has been selected.
- If you want to select multiple consecutive songs, hold down the Shift key on your keyboard and click the first and last songs in the sequence. All songs between the two selected songs will also be highlighted or checked.
- If you prefer to select multiple non-consecutive songs, hold down the Command (Mac) or Control (Windows) key on your keyboard while clicking each desired song. Each selected song will be highlighted or checked individually.
- You can also select all the songs in the playlist by going to the “Edit” menu (on Mac) or “Ctrl + A” (Windows) and selecting “Select All”. This will highlight or check all the songs in the playlist.
By selecting the songs within the playlist, you can be specific and intentional about which songs to copy to your iPod or iPhone. Take your time to curate the perfect selection, ensuring that you have chosen all the songs that you want to have on your device. Once you have made your selections, you can proceed to the next step of dragging the songs to your iPod or iPhone in iTunes.
Step 7: Drag the selected songs to your iPod or iPhone in the Devices section of iTunes
After selecting the songs you want to copy to your iPod or iPhone, the next step is to drag these selected songs to your device in the Devices section of iTunes. This will initiate the copying process and transfer the songs from your computer’s iTunes library to your iPod or iPhone. Follow the steps below to drag the selected songs:
- In the iTunes sidebar, under the Devices section, you will find your iPod or iPhone listed. Click on its name to select it as the destination for the selected songs.
- The selected device will appear in the main content area of iTunes, displaying its settings and options.
- Now, go back to the playlist containing the selected songs. Click and hold on any one of the selected songs.
- While holding down the mouse or trackpad button, drag the selected songs over to the name of your iPod or iPhone in the Devices section.
- As you drag the songs over the device, the device’s name will highlight or display a visual indicator to show that it is ready to receive the songs.
- Once you see the indication that the songs can be dropped onto the device, release the mouse or trackpad button to initiate the copying process.
- iTunes will start copying the selected songs to your iPod or iPhone. The progress of the copying process will be displayed at the top of the iTunes window, showing the number of songs copied and the remaining time.
- Ensure that you do not disconnect your device from the computer or close iTunes until the copying process is complete.
Dragging the selected songs to your iPod or iPhone in the Devices section of iTunes is the final step before syncing your device with the chosen songs. The process will transfer the songs from your computer’s iTunes library directly onto your device, making them available for you to listen to on the go. Once the copying process is complete, you can proceed to the next step of waiting for iTunes to sync your iPod or iPhone.
Step 8: Wait for iTunes to sync your iPod or iPhone
After dragging the selected songs to your iPod or iPhone in iTunes, the next step is to wait for iTunes to sync your device. Syncing ensures that the songs, along with any other changes you have made in iTunes, are transferred to your iPod or iPhone. During this process, iTunes will update your device’s library to match your iTunes library on the computer. Follow the steps below to wait for iTunes to sync your iPod or iPhone:
- Ensure that your iPod or iPhone remains connected to the computer via the USB cable.
- Wait for iTunes to recognize your device and display the syncing process. This process may take a few moments depending on the number of songs and the speed of your computer.
- During the sync, iTunes will show the progress on the top of the iTunes window, indicating the number of items being synced and the remaining time.
- Avoid disconnecting your device or closing iTunes while it is syncing. Doing so may interrupt the sync process and result in incomplete transfer of the selected songs.
- Once the sync is complete, you will see a message confirming the successful sync. You can then safely disconnect your iPod or iPhone from the computer.
- Verify that the selected songs have been successfully copied to your iPod or iPhone by navigating to the appropriate section (such as the Music app) on your device and checking if the songs are present.
Waiting for iTunes to sync your iPod or iPhone is an important step to ensure that your selected songs are successfully transferred to your device. The syncing process ensures that your music library on the iPod or iPhone matches the library in iTunes, allowing you to enjoy your favorite songs wherever you go. Once the sync is complete, you can proceed to the final step of ejecting your iPod or iPhone from your computer.
Step 9: Eject your iPod or iPhone from your computer
After iTunes has finished syncing your iPod or iPhone with the selected songs, the next step is to safely eject your device from your computer. Ejecting ensures that all data has been written and transferred properly, minimizing the risk of data corruption. Follow the steps below to eject your iPod or iPhone from your computer:
- In iTunes, locate your iPod or iPhone under the Devices section in the sidebar.
- Hover your mouse over the device’s name until a small eject icon (⏏) appears to the right of the name.
- Click on the eject icon to safely disconnect your device from the computer.
- Wait for a message to appear in iTunes, indicating that it is safe to disconnect your iPod or iPhone.
- On your iPod or iPhone, navigate to the settings and look for the “Eject” or “Safely Remove” option. Select it to safely remove your device from the computer.
- You can now unplug the USB cable from your iPod or iPhone and the computer.
- Once your device is successfully disconnected, you can double-check that the selected songs are accessible on your iPod or iPhone.
Ejecting your iPod or iPhone from your computer is a crucial step to ensure that the syncing process has been completed and that no data loss occurs. By ejecting your device properly, you minimize the risk of any potential issues and ensure that the copied songs are ready for you to enjoy on your iPod or iPhone. With the device safely ejected, you can proceed to the final step of enjoying your music on your iPod or iPhone!
Step 10: Enjoy your music on your iPod or iPhone!
Congratulations! You have successfully copied your favorite songs from a CD to your iPod or iPhone using iTunes. Now it’s time to sit back, relax, and enjoy your music wherever you go. Follow the steps below to experience the joy of listening to your favorite tunes on your iPod or iPhone:
- Disconnect your iPod or iPhone from the computer if you haven’t done so already. You can enjoy your music on the go without needing to be connected to your computer.
- On your iPod or iPhone’s home screen, locate the Music app. Tap on the app to open it and access your music library.
- Navigate through your music library to find the playlist you created in Step 5 or browse through individual songs. Tap on a song to start playing it.
- Use the on-screen controls within the Music app to play, pause, skip, or adjust the volume of the music. You can also create playlists, shuffle songs, and explore additional features offered by the app.
- Connect your headphones or earphones to your iPod or iPhone for a more immersive listening experience or connect to a Bluetooth speaker to share your music with friends and family.
- Take your iPod or iPhone with you wherever you go, whether it’s during your daily commute, workout sessions, or leisure time. Your music library is now at your fingertips wherever you are!
- Feel free to explore more music options, discover new artists, and add more songs to your library over time to keep your music collection fresh and exciting.
By following these steps, you can fully enjoy the convenience of having your favorite songs on your iPod or iPhone. Whether you’re enjoying your music during a peaceful moment alone or sharing it with others, let the rhythm and melodies bring a smile to your face and enhance your overall listening experience. So go ahead, press play, and lose yourself in the music!