
Importing Contacts from Another Email Account
If you’re transitioning from another email account to Gmail, you don’t have to manually input all your contacts one by one. Gmail provides a convenient way to import your contacts in a few simple steps.
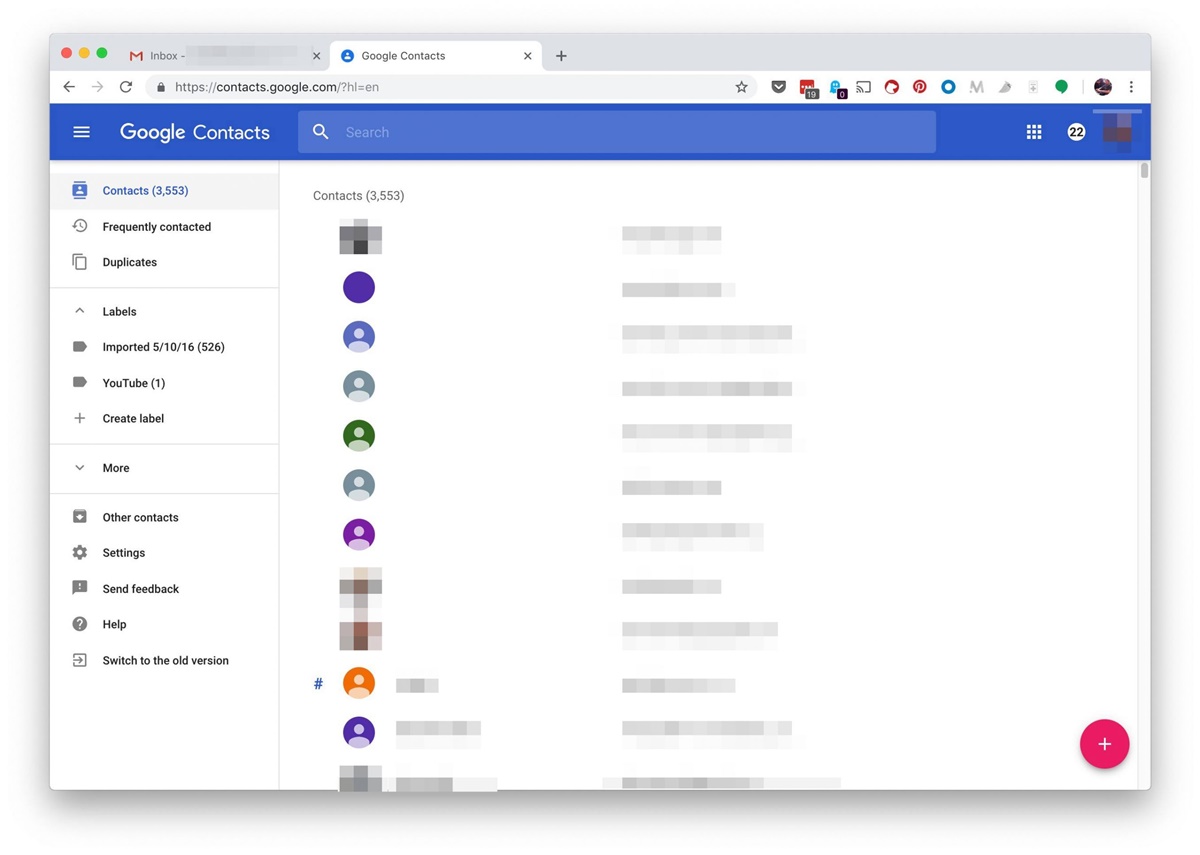
First, log in to your Gmail account and click on the “Mail” dropdown menu on the left-hand side. From the options that appear, select “Contacts.” This will take you to the Google Contacts page.
Next, click on the “More” button at the top and choose “Import” from the dropdown menu. A new window will open, giving you several options for importing contacts.
If you have your contacts stored in a CSV or vCard file, select the appropriate option and click “Choose File” to locate the file on your computer. Once you’ve selected the file, click “Import” to start the import process.
If your contacts are stored in another email account, such as Yahoo or Outlook, click on the corresponding option and follow the prompts to grant Gmail access to your contacts. This will allow Gmail to import your contacts directly from the other email account.
Gmail also provides the option to import contacts from popular social media platforms such as Facebook and LinkedIn. Simply click on the respective icons and follow the instructions to authorize Gmail to access your contacts on those platforms.
After the import process is complete, Gmail will display a confirmation message, and your contacts will now be available in your Google Contacts list. You can access and manage your imported contacts by clicking on the “Contacts” option in the Gmail dropdown menu.
Importing contacts from another email account can save you time and effort, ensuring that all your important contacts are readily available in Gmail. Whether you are switching email providers or consolidating your contacts in one place, Gmail’s import feature makes the process simple and efficient.
Exporting Gmail Contacts
Gmail offers a convenient way to export your contacts, allowing you to create a backup or transfer them to another email service or device. Follow these steps to export your Gmail contacts:
First, log in to your Gmail account and go to the Google Contacts page by clicking on the “Mail” dropdown menu and selecting “Contacts.”
Once you’re on the Contacts page, click on the “More” button at the top and choose “Export” from the dropdown menu. A new window will open, providing you with various export options.
Gmail allows you to export your contacts in different formats, including Google CSV, Outlook CSV, and vCard. The Google CSV format is suitable for importing into another Google account, while the Outlook CSV format can be used with Microsoft Outlook. If you’re exporting contacts to be used in other applications or devices, the vCard format is recommended.
Select the export format of your choice and click on the “Export” button. Depending on the size of your contacts list, it may take a few moments to generate the export file.
Once the export process is complete, a download prompt will appear. Choose a location on your computer where you want to save the export file and click “Save.”
Congratulations! You have successfully exported your Gmail contacts. The exported file can now be used to import your contacts into another email service, address book, or device.
It’s important to note that exporting your contacts from Gmail does not delete or remove them from your Gmail account. The exported file is simply a copy of your contacts, allowing you to have a backup or transfer them to another platform.
Exporting your Gmail contacts gives you the flexibility to manage and use your contacts in different ways. Whether you’re changing email providers or want to create a backup for safekeeping, Gmail’s export feature makes it easy to take control of your contact list.
Adding a New Contact
Adding a new contact to your Gmail account is straightforward and allows you to keep all your important contacts organized in one place. Follow these steps to add a new contact:
First, log in to your Gmail account and navigate to the Google Contacts page. You can do this by clicking on the “Mail” dropdown menu and selecting “Contacts.”
Once you’re on the Contacts page, click on the red “Create Contact” button located on the left-hand side. This will bring up a contact form where you can enter the details of the new contact.
Start by filling in the person’s name in the appropriate fields. You can enter their first name, last name, and any other relevant information, such as a job title or nickname.
Next, provide the contact’s email address in the designated field. If the person has multiple email addresses, you can click on the “+” icon to add more email fields.
If you have the contact’s phone number, enter it in the “Phone” field. Again, you can click on the “+” icon to include additional phone numbers.
Additionally, you can add other details like the contact’s birthday, physical address, and notes. These optional fields can be useful for adding extra information or reminders related to the contact.
Once you’ve filled in all the necessary information and any optional details, click on the “Save” button to add the contact to your Gmail contacts list.
The newly added contact will now be available in your Google Contacts list. You can easily access and manage the contact by navigating to the “Contacts” option in the Gmail dropdown menu.
Adding a new contact in Gmail streamlines your communication process and helps you stay connected. Whether it’s a friend, colleague, or business associate, adding contacts to Gmail ensures that their information is just a click away when you need it.
Editing Contact Information
Keeping your contact information up to date is essential for effective communication. Gmail provides an easy-to-use interface that allows you to edit and modify contact details whenever needed. Follow these steps to edit contact information:
Start by logging in to your Gmail account and accessing the Google Contacts page. You can do this by clicking on the “Mail” dropdown menu and selecting “Contacts.”
Once you’re on the Contacts page, locate the contact you wish to edit by scrolling through your contacts list or using the search bar at the top. Click on the contact’s name to open their contact details.
Inside the contact details page, you’ll see all the information associated with that contact, such as their name, email address, phone number, and any additional details you may have previously entered.
To edit any of the contact information, simply click on the relevant field and make the necessary changes. For example, if you need to update the contact’s phone number, click on the phone number field and enter the new number.
If you want to add additional information, such as an alternate email or another phone number, click on the “+” icon next to the respective field to add a new entry.
In addition to contact details, you can also edit other information, such as the contact’s birthday, physical address, and any notes you may have added. To make changes to these fields, click on the respective fields and update the information as needed.
Remember to save your changes after making edits. You can do this by clicking on the “Save” button located at the top of the contact details page.
Once saved, the contact’s information will be updated in your Gmail contacts list. These changes will also reflect across all Google applications and services connected to your Gmail account.
Regularly reviewing and updating your contact information ensures that you have the most accurate and relevant details for effective communication. By utilizing Gmail’s editing features, you can easily keep your contacts up to date and stay connected with ease.
Grouping and Managing Contacts
Gmail allows you to organize and manage your contacts by grouping them together based on specific criteria. Grouping contacts enables you to easily find and communicate with specific sets of individuals. Here’s how you can group and manage your contacts in Gmail:
To get started, log in to your Gmail account and go to the Google Contacts page. You can do this by clicking on the “Mail” dropdown menu and selecting “Contacts.”
Once on the Contacts page, you’ll see a list of your contacts. To create a new group, click on the “Labels” button on the left-hand side of the page. Then, click on the “Create label” option.
A pop-up window will appear, prompting you to enter a name for the new group. Type in a descriptive name for the group and click “Save.” The new group will now appear under the “Labels” section on the left-hand side of the Contacts page.
To add contacts to your newly created group, select the desired contacts by clicking on their names. Once selected, click on the “Manage labels” button at the top of the page. From the dropdown menu, choose the name of the group you created. The selected contacts will now be added to that group.
You can also add contacts to a group directly from the contact details page. Open the contact’s details, click on the “Manage labels” button, and select the appropriate group name.
Managing your contact groups is also easy. To view all your groups, click on the “Labels” button on the left-hand side of the Contacts page. From here, you can edit, delete, or rename existing groups by clicking on the three dots next to the group name and selecting the desired action.
If you want to see the contacts within a specific group, simply click on the group name in the “Labels” section. This will display only the contacts that belong to that particular group.
Grouping and managing contacts provides a convenient way to organize your contacts and streamline your communication. Whether you need to categorize contacts for personal or professional purposes, Gmail’s grouping feature allows you to easily access the right contacts when you need them.
Using Google Contacts App
In addition to accessing your contacts through the Gmail website, Google provides a dedicated Google Contacts app for managing your contacts on both Android and iOS devices. The Google Contacts app offers a user-friendly interface and a range of useful features. Here’s how you can make the most of the Google Contacts app:
First, download and install the Google Contacts app from the Google Play Store or the Apple App Store, depending on your device’s operating system.
Once installed, open the app and sign in with your Gmail account credentials. This will synchronize your contacts with the app, ensuring that any changes made on the app or on your Gmail account are reflected across both platforms.
Upon launching the Google Contacts app, you’ll see a list of your contacts, similar to the web version. You can scroll through the list or use the search bar at the top of the screen to find specific contacts.
To view and edit the details of a contact, simply tap on their name. This will bring up their contact card, where you can see and modify their information.
The Google Contacts app also allows you to add new contacts. To do this, tap on the “+” icon at the bottom of the screen and fill in the necessary details, such as name, phone number, and email address.
To group contacts in the app, tap on the “Labels” option at the bottom of the screen and select or create a new label. You can then assign contacts to the respective labels for better organization.
One useful feature of the Google Contacts app is its ability to merge duplicate contacts. If you have multiple entries for the same person, the app can identify and consolidate the duplicate contacts, ensuring a clean and organized contact list.
Furthermore, the Google Contacts app allows you to import and export contacts directly from your device. This can be particularly handy when you want to transfer contacts between different devices or backup your contacts for safekeeping.
The Google Contacts app provides a convenient way to manage your contacts on the go. With its easy-to-use interface and synchronization with your Gmail account, you can ensure that your contact information is up to date and accessible whenever you need it.
Accessing Gmail Contacts on Mobile Devices
Gmail allows you to access and manage your contacts seamlessly on your mobile devices, ensuring that you have all your important contacts at your fingertips. Here’s how you can access Gmail contacts on your mobile devices:
If you’re using an Android device, your Gmail contacts are automatically synced with your device’s native Contacts app. Open the Contacts app on your Android device, and you’ll find all your Gmail contacts listed there. You can view, edit, and add new contacts directly from the app.
For iOS users, you can access your Gmail contacts through the pre-installed Contacts app. To do this, make sure you have added your Gmail account to your iOS device by going to Settings > Mail > Accounts and selecting “Add Account.” Once your Gmail account is added, open the Contacts app, and you’ll see your Gmail contacts available for viewing and editing.
On both Android and iOS devices, the Contacts app provides features like searching, grouping, and editing contact details. You can easily find specific contacts by using the search function or browse through your contacts list to locate the person you’re looking for.
If you prefer to use the Gmail app itself to access your contacts, you can do so as well. Open the Gmail app on your device and tap on the hamburger menu (three horizontal lines) in the top-left corner. From the menu, scroll down and select “Contacts.” This will open the Google Contacts page within the Gmail app, where you can view and manage your contacts.
Whether you choose to use the native Contacts app or the Gmail app, your Gmail contacts will be synchronized automatically across all your devices. Any changes or additions made to your contacts on one device will be reflected on all your other devices, ensuring that your contact information is always up to date.
Having access to your Gmail contacts on your mobile devices gives you the convenience of reaching out to people easily, whether you’re on the go or prefer using your smartphone or tablet for communication. With seamless synchronization and user-friendly interfaces, Gmail makes it simple to manage your contacts across different devices.
Deleting Contacts
Whether you’re decluttering your contact list or removing outdated information, deleting contacts from your Gmail account is a straightforward process. Follow these steps to delete contacts:
Start by logging in to your Gmail account and navigating to the Google Contacts page. You can do this by clicking on the “Mail” dropdown menu and selecting “Contacts.”
Once on the Contacts page, locate the contact you wish to delete by scrolling through your contacts list or using the search bar at the top. Click on the contact’s name to open their contact details.
Inside the contact details page, you’ll see information associated with that contact, such as their name, email address, phone number, and any additional details you may have added.
To delete the contact, click on the three dots icon (vertical ellipsis) at the top-right corner of the screen. A dropdown menu will appear, and from there, select “Delete.”
A confirmation prompt will appear, asking if you’re sure you want to delete the contact. Review the information to ensure you’ve selected the correct contact, and then click “Delete” to confirm.
The contact will now be deleted from your Gmail contacts list. Please note that this action is irreversible, and the deleted contact cannot be recovered.
If you have multiple contacts you want to delete, you can select multiple contacts by clicking the checkbox next to each contact’s name, and then click on the “Delete” button that appears at the top of the page. Confirm the deletion in the prompt that follows, and the selected contacts will be deleted.
Deleting unwanted contacts from your Gmail account helps keep your contact list organized and up to date. By removing unnecessary or outdated contacts, you can easily find and connect with the people who matter most to you.
Restoring Deleted Contacts
Accidentally deleting a contact can be frustrating, but Gmail provides a way to restore deleted contacts and recover lost information. Here’s how you can restore deleted contacts:
First, log in to your Gmail account and go to the Google Contacts page. You can do this by clicking on the “Mail” dropdown menu and selecting “Contacts.”
Once on the Contacts page, click on the “More” button at the left-hand side and select “Undo changes.”
A popup window will appear, displaying the changes that have been made recently. Here, you’ll see a list of contacts that have been deleted. Click on the “Undo” button next to the deleted contact you want to restore.
Gmail will immediately restore the deleted contact and add it back to your contacts list. You can now access and manage the recovered contact as usual.
If you accidentally deleted a contact and have since performed other actions in Google Contacts, such as adding or editing contacts, you may need to use the “Undo changes” feature multiple times until you reach the point where the contact was still present in your contacts list.
It’s important to note that the “Undo changes” feature is available for a limited time after the deletion occurs. It’s recommended to check for and restore deleted contacts as soon as possible to increase the chance of successful recovery.
In some cases, you may find that the “Undo changes” option is not available or does not restore the deleted contact. If this occurs, you can try to recover the contact from the Google Contacts Trash folder.
To access the Trash folder, click on the “More” button on the left-hand side of the Contacts page and select “Trash.” Here, you’ll find all the contacts that have been recently deleted. Select the deleted contact you want to restore and click on the “Restore” button.
The contact will be moved back to your contacts list, and you can once again access and manage it.
By using the “Undo changes” feature or restoring contacts from the Trash folder, you can recover deleted contacts and ensure that no valuable information is lost. It’s always a good idea to double-check your contacts before permanently deleting them to avoid accidental deletions.
Merging Duplicate Contacts
Over time, it’s common to accumulate duplicate contacts in your Gmail account, leading to clutter and confusion. Fortunately, Gmail provides a convenient feature that allows you to merge duplicate contacts, ensuring a clean and organized contact list. Here’s how you can merge duplicate contacts:
To start, log in to your Gmail account and navigate to the Google Contacts page. You can do this by clicking on the “Mail” dropdown menu and selecting “Contacts.”
Once on the Contacts page, scroll through your list of contacts or use the search bar at the top to locate duplicate contacts. Identify the contacts that you want to merge.
To merge two contacts, select the first contact by clicking on its name. The contact’s details will appear on the right-hand side of the page.
Next, click on the “Merge” button located at the top of the contact details. A dropdown menu will appear, showing the potential duplicate contacts that can be merged with the selected contact.
Select the duplicate contact you wish to merge with the selected contact by clicking on its name. Gmail will analyze the selected contacts and merge the data, combining the information from both contacts into one.
During the merging process, Gmail will identify and merge duplicate information, such as email addresses, phone numbers, and other details, while retaining unique information for each contact.
You can repeat this process to merge additional duplicate contacts into the selected contact. Simply click on the “Merge” button again and choose another contact to merge.
Once you’ve merged all the desired duplicate contacts, Gmail will display a confirmation message, and the merged contact will now appear as a single entry in your contacts list.
It’s important to carefully review the merged contact after the merging process to ensure that the combined information is accurate and complete. If needed, you can manually edit the merged contact to make any necessary adjustments.
Merging duplicate contacts in Gmail helps tidy up your contact list and ensures that you have a well-organized and efficient collection of contacts. By consolidating duplicate information, you can easily find and communicate with the right contact without any confusion.