
Exporting Contacts from Other Email Services
When transitioning to Gmail from another email service, it’s essential to transfer your contact list to ensure a seamless transition. Here’s a step-by-step guide on how to export your contacts from popular email services:
1. Outlook:
If you’ve been using Microsoft Outlook, exporting your contacts is a simple process. Open Outlook, navigate to the “File” tab, and click on “Options.” From the Options menu, select “Advanced” and then click on “Export.” Choose “Export to a file,” and then select “Microsoft Excel” or “CSV” as the file type. Follow the prompts to save the file to your computer.
2. Yahoo Mail:
To export contacts from Yahoo Mail, start by logging into your account. Click on the “Contacts” icon, and in the drop-down menu, select “Actions” followed by “Export.” Choose the format you want to export to (e.g., CSV or VCF) and click “Export Now.” Save the exported file to your chosen location.
3. AOL Mail:
AOL Mail also allows you to export your contacts. Begin by signing in to your AOL account and clicking on “Contacts” in the left-hand sidebar. Once in the Contacts section, click on “Settings” (the gear icon) and select “Export.” Choose the appropriate format for exporting (either CSV or VCF), and then click “Export” to save the file to your computer.
4. Other Email Services:
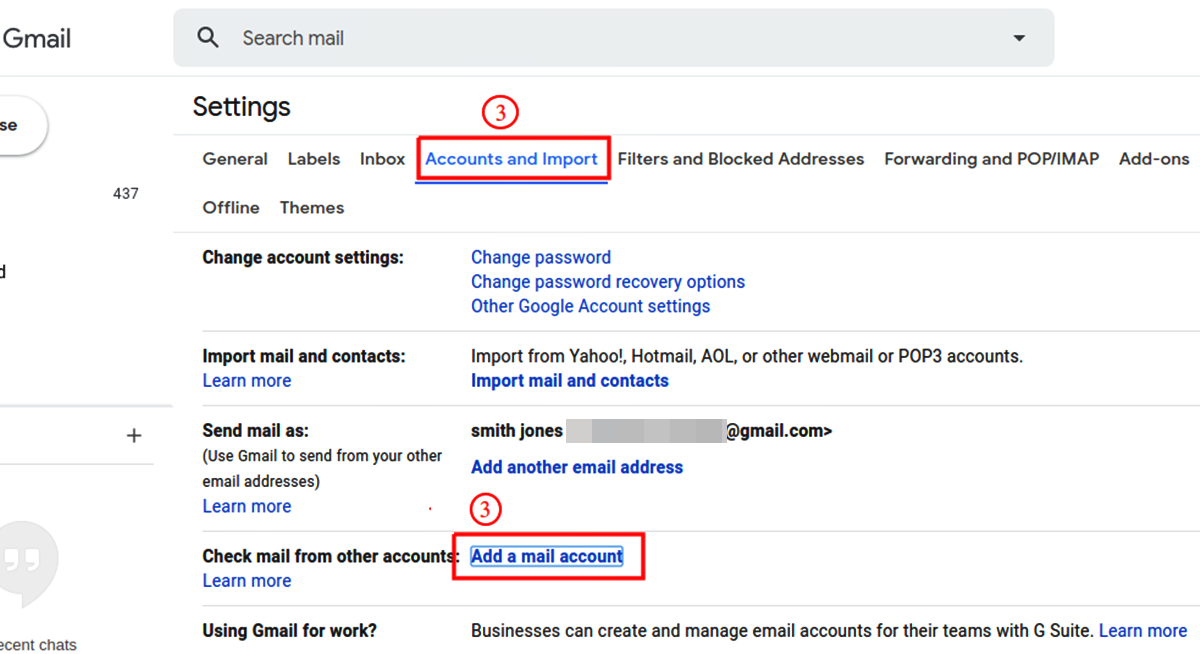
If you are using a different email service, consult its help documentation or support resources to learn how to export your contacts. Most email providers offer a way to export contacts in a CSV or vCard format, which can then be imported into Gmail.
Once you have exported your contacts from your old email service, you are ready to prepare the file for importing into Gmail. This will ensure that the contacts are properly formatted and organized when importing them into Gmail.
Preparing the Exported File for Gmail
Before importing your contacts into Gmail, you need to prepare the exported file to ensure a smooth import process. Follow these steps to ensure that the file is properly formatted:
1. Open the Exported File:
Locate the exported file from your previous email service and open it using a spreadsheet program such as Microsoft Excel or Google Sheets. This will allow you to view and modify the contact information if necessary.
2. Review and Format the Data:
Check the data in the file to ensure that all the contact details are correct. Double-check names, email addresses, phone numbers, and any other relevant information. Make any necessary corrections or updates directly in the spreadsheet. It’s important to ensure uniformity and consistency in the data fields to avoid any issues during the import process.
3. Organize the Contact Fields:
Gmail has specific fields for different contact information, such as first name, last name, email address, phone numbers, and more. Make sure that the data in your exported file aligns with Gmail’s contact fields. If needed, rearrange the columns or edit the headers in the spreadsheet to match Gmail’s contact fields. This step will make it easier for Gmail to map the data accurately during the import process.
4. Remove any Unwanted Data:
Review the contact list and remove any duplicate or unnecessary contacts. This will help to streamline the import process and ensure that your Gmail contacts list remains organized and clutter-free.
5. Save the File in CSV Format:
Once you have reviewed and formatted the data, save the file in CSV (Comma Separated Values) format. This format is compatible with Gmail’s import feature, ensuring a seamless transition of your contacts.
6. Verify the File Encoding:
Before finalizing the preparation process, ensure that the exported file is in valid HTML encoding. This will prevent any issues during the import process and ensure that all special characters and symbols are correctly interpreted by Gmail.
Now that you have prepared the exported file for Gmail, you are ready to import your contacts and get started with managing them in your new Gmail account.
Importing Contacts to Gmail
Once you have prepared your exported contact file, you can now import it into Gmail. Follow these steps to import your contacts:
1. Access Gmail Contacts:
Log in to your Gmail account and click on the “Google Apps” icon in the top-right corner. From the drop-down menu, select “Contacts.” This will open the Gmail Contacts page where you can manage your contacts.
2. Import Contacts:
In the left-hand sidebar of the Contacts page, click on “Import.” A dialog box will appear, prompting you to select a file to import. Click on the “Select file” button and navigate to the location where you saved the prepared CSV file. Select the file, and then click on “Open” to import it.
3. Configure Import Settings:
In the import dialog box, you will see options to configure how Gmail handles the imported contacts. These options include how to handle duplicates, whether to create a group for the imported contacts, and whether to import contact photos if available. Make the desired selections based on your preferences.
4. Start Import:
Once you have configured the import settings, click on the “Import” button to start the import process. Gmail will scan and process the imported file, adding the contacts to your Gmail contacts list. Depending on the size of the file and the number of contacts, this process may take a few moments.
5. Review and Manage Imported Contacts:
After the import process is complete, you will see the imported contacts listed in your Gmail contact list. Take a few moments to review the imported contacts and ensure that all the information has transferred correctly. You can also edit, delete, or organize the contacts as needed using Gmail’s contact management features.
Note: If you encounter any issues during the import process or notice any missing or incorrect data, you can repeat the import process with a corrected or updated CSV file.
By following these steps, you can seamlessly import your contacts from other email services into Gmail, allowing you to continue staying connected with your contacts through your new Gmail account.
Managing Imported Contacts in Gmail
After successfully importing your contacts into Gmail, you can start managing and organizing them to keep your contact list updated and easily accessible. Here are some tips on how to effectively manage your imported contacts in Gmail:
1. Edit Contact Details:
To update or modify contact information, click on the desired contact in your Gmail contact list. In the contact details view, click on the “Edit” button to make changes. You can edit or add details such as phone numbers, email addresses, job titles, and more. Remember to save the changes before moving on to the next contact.
2. Group Contacts:
Gmail allows you to create contact groups to categorize and organize your contacts. To group contacts, select the desired contacts by checking the checkboxes next to their names. Then, click on the “Labels” button and select “Create label.” Give the group a name and save it. You can now assign contacts to this group by selecting them and applying the appropriate label.
3. Merge Duplicates:
If you encounter duplicate contacts or similar entries in your Gmail contact list, you can merge them to avoid clutter. To merge contacts, select the contacts you want to merge by checking the checkboxes next to their names. Then, click on the “More” button and select “Merge contacts.” Gmail will intelligently combine the selected contacts while retaining all the relevant details.
4. Export and Backup Contacts:
To keep a backup of your contacts or export them for use in other applications, Gmail provides an option to export your contacts. Click on the “More” button, select “Export,” and follow the prompts to choose the desired export format (CSV, vCard, etc.) and save the exported file to your computer.
5. Search and Filter Contacts:
Gmail offers powerful search and filtering capabilities that make it easy to find specific contacts. Use the search bar at the top of the Contacts page to search for contacts based on names, email addresses, phone numbers, or any other relevant information. You can also utilize the “Labels” section in the left sidebar to filter contacts by specific groups or labels you have created.
6. Keep Contacts Updated:
Regularly review and update your contacts to ensure that the information remains accurate and up to date. Periodically reach out to your contacts to verify their contact details and make any necessary updates in your Gmail contact list. This will help you maintain an organized and reliable contact database.
By following these tips and utilizing Gmail’s contact management features, you can effectively manage and maintain your imported contacts, ensuring that your Gmail contact list remains organized and accessible.