
Why Hide or Unhide Rows in Google Sheets?
Google Sheets is a powerful tool that allows you to organize and manage data in a spreadsheet format. One of its useful features is the ability to hide or unhide rows. This feature can come in handy for various reasons, whether you want to temporarily remove irrelevant data from view or protect sensitive information from being seen by others.
Here are a few reasons why you might want to hide or unhide rows in Google Sheets:
- Focus on relevant information: In large data sets, it can be overwhelming to have all the rows visible at once. By hiding rows that are not relevant to your current analysis or task, you can focus on the specific information that you need. This allows for better data analysis and decision-making.
- Protect sensitive data: If you’re sharing your Google Sheets with others, there may be certain rows that contain sensitive information, such as personal or financial data. By hiding these rows, you can ensure that only authorized individuals have access to this data, maintaining data privacy and security.
- Filter data: Hiding rows can be a useful way to filter data without permanently deleting any information. For example, if you have a large dataset and want to view only a specific subset of rows that meet certain criteria, you can hide the rows that don’t match the criteria temporarily.
Hiding or unhiding rows in Google Sheets provides flexibility and control over the displayed data, making it easier to manage and analyze information effectively.
How to Hide Rows in Google Sheets
To hide rows in Google Sheets, follow these simple steps:
- Open your Google Sheets document and navigate to the sheet where you want to hide rows.
- Select the row or rows that you want to hide. To select multiple rows, hold down the “Shift” key and click on each row you want to hide.
- Right-click on the selected rows and click on “Hide row” from the context menu. Alternatively, you can go to the “Format” menu, select “Row,” and click on “Hide row.”
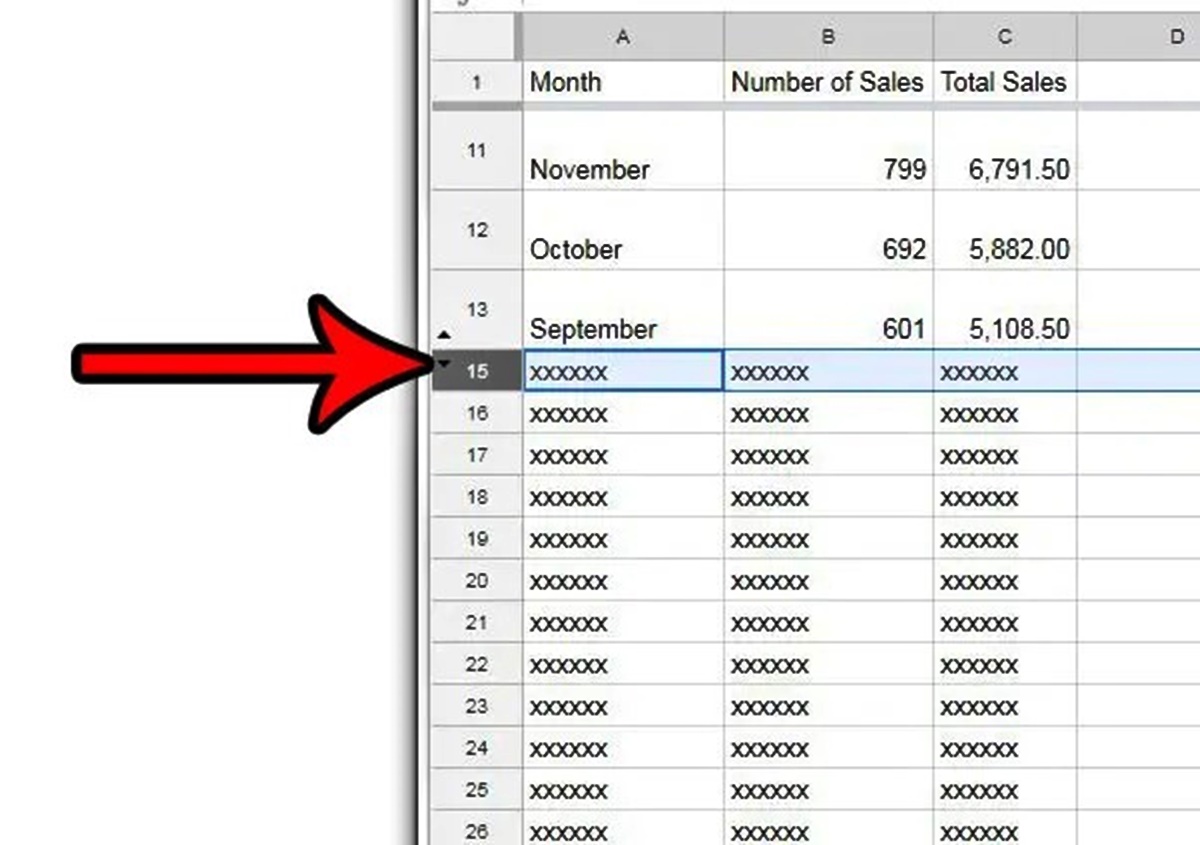
- The selected rows will now be hidden from view, and you will notice a thin line on the left side of the sheet indicating that rows are hidden.
- To unhide the hidden rows, click and drag your mouse to select the rows above and below the hidden rows to ensure you include them in the selection.
- Right-click on the selected rows and click on “Unhide rows” from the context menu. If the hidden rows are adjacent and only one row is hidden, you can also right-click on the row above or below the hidden row and select “Unhide rows” from the context menu.
- The hidden rows will now be visible again, and the thin line indicating hidden rows will disappear.
By following these steps, you can easily hide and unhide rows in Google Sheets to customize the view of your data and show or hide specific information as needed.
How to Unhide Rows in Google Sheets
If you have hidden rows in your Google Sheets document and want to make them visible again, follow these steps:
- Open your Google Sheets document and navigate to the sheet where the hidden rows are located.
- To check if any rows are hidden, look for thin lines on the left side of the sheet. These lines indicate that rows are hidden.
- If you want to unhide a single row, right-click on the row above or below the hidden row and select “Unhide row” from the context menu. This will immediately make the hidden row visible again.
- If you want to unhide multiple hidden rows, click and drag your mouse to select the rows above and below the hidden rows to ensure you include them in the selection.
- Right-click on the selected rows and click on “Unhide rows” from the context menu. Alternatively, you can go to the “Format” menu, select “Row,” and click on “Unhide rows.”
- The hidden rows will now be restored and visible in your Google Sheets document.
Unhiding rows in Google Sheets is a simple process that allows you to quickly bring back any hidden information and adjust the visibility of your data as needed.
Other Tips and Tricks for Hiding and Unhiding Rows in Google Sheets
While the basic steps mentioned earlier allow you to hide and unhide rows in Google Sheets, there are some additional tips and tricks that can further enhance your experience:
- Use keyboard shortcuts: To quickly hide or unhide rows, you can utilize keyboard shortcuts. For example, to hide selected rows, press “Ctrl + Shift + 9” on Windows or “Cmd + Shift + 9” on Mac. To unhide selected rows, use the shortcut “Ctrl + Shift + 8” on Windows or “Cmd + Shift + 8” on Mac.
- Hide multiple rows at once: Instead of hiding rows one by one, you can save time by selecting multiple rows and hiding them simultaneously using the right-click context menu or the “Format” menu.
- Automatically hide rows based on conditional formatting: You can set up conditional formatting rules in Google Sheets to automatically hide rows based on specific criteria. This can be useful for dynamically updating the visibility of rows depending on the data in your spreadsheet.
- Protect hidden rows: If you want to ensure that hidden rows are not accidentally unhidden or modified, you can protect them. Go to the “Data” menu, select “Protect sheets and ranges,” and choose the range of hidden rows. Set the permissions to ensure that only authorized users can unhide or modify the protected rows.
- Group rows: Instead of hiding individual rows, you can group related rows together. This allows you to collapse and expand the group to hide and unhide rows as needed. To group rows, select the rows, right-click, and choose “Group rows” from the context menu.
- Use the “Hide rows” option in filters: If you are using filters in Google Sheets, you can hide specific rows by applying filter conditions. This is a powerful way to selectively display only the relevant rows that meet certain criteria.
These additional tips and tricks provide you with more flexibility and functionality when it comes to hiding and unhiding rows in Google Sheets. Explore these options to make the most out of this feature and customize your spreadsheet according to your needs.