
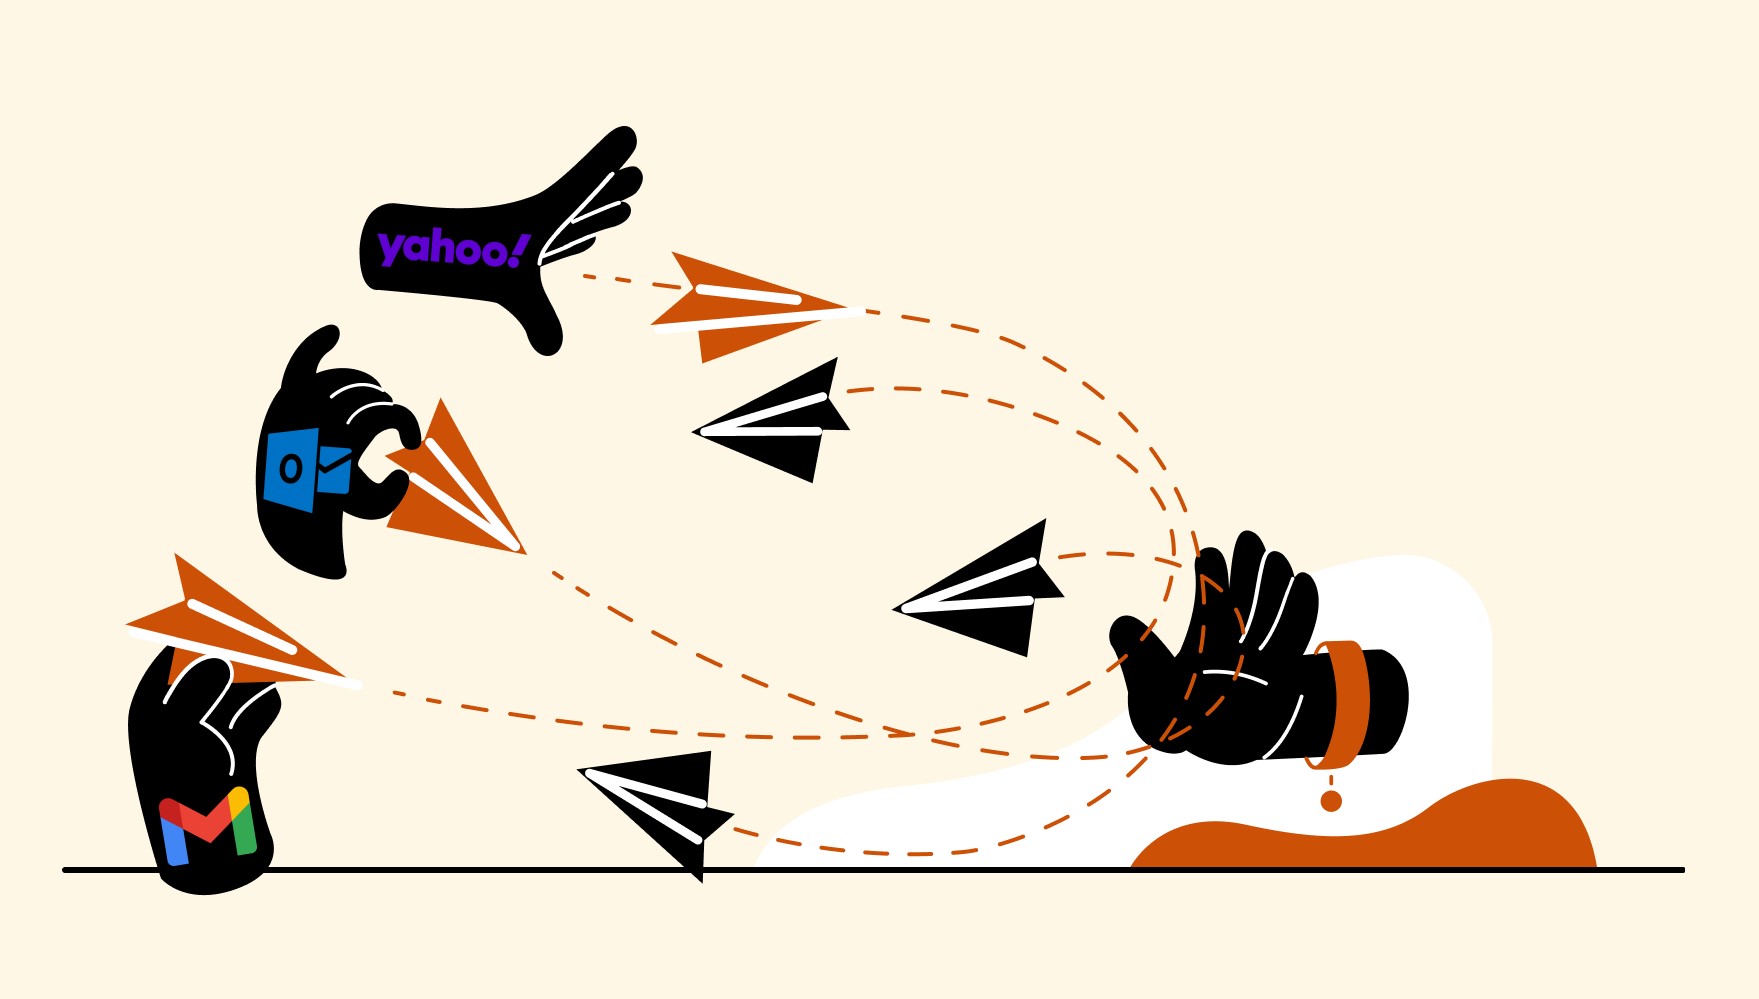
Why Block Email Addresses in macOS Mail?
Email has become an integral part of our lives, allowing us to communicate quickly and efficiently. However, not all emails are welcome. Spam, scams, and unwanted messages can flood our inboxes, wasting our time and potentially exposing us to harmful content. This is where blocking email addresses in macOS Mail becomes essential. By blocking specific email addresses, you can effectively filter out unwanted messages and regain control over your inbox.
There are several reasons why you might want to block email addresses. The most common is to stop receiving spam emails. These unsolicited messages often clog up our inboxes and can be a major annoyance. By blocking the email addresses responsible for sending these spam emails, you can reduce clutter and ensure that only important messages make it into your inbox.
Blocking email addresses is also useful for protecting yourself against phishing attempts and scams. Cybercriminals often use email as a means to steal personal information or trick users into disclosing sensitive data. By blocking known malicious email addresses, you can significantly reduce the risk of falling victim to these types of attacks.
In some cases, you may want to block email addresses from individuals or organizations that are sending harassing or offensive messages. By blocking their email addresses, you can create a safer and more comfortable online environment for yourself.
Additionally, blocking email addresses can help manage and reduce distractions. If you find yourself constantly receiving emails from certain senders that are unrelated to your work or personal life, blocking their email addresses can help you stay focused and productive.
Overall, blocking email addresses in macOS Mail allows you to take control of your inbox, protect yourself against spam and scams, create a safer online environment, and maintain your productivity. It’s a powerful feature that can greatly enhance your email experience and bring you peace of mind.
Method 1: Blocking Email Addresses Manually
If you want to block email addresses in macOS Mail, you have the option to do it manually. Follow these simple steps to block specific senders:
- Open the Mail app on your macOS device and go to your inbox or the folder where the email from the sender you want to block is located.
- Find an email from the sender you want to block, right-click on it, and select “Block Sender” from the drop-down menu. You can also go to the “Message” menu at the top of the screen and choose “Block Sender” from there.
- A confirmation dialog will appear asking if you want to block the email address. Click “Block” to confirm.
- The email address is now blocked, and any future emails from that sender will be automatically moved to the Junk folder. You won’t receive any notifications for these blocked emails.
It’s important to note that blocking a sender will only apply to the email address associated with that sender. If the same sender uses different email addresses or aliases, you may need to block them separately.
If you change your mind and want to unblock a sender, follow these steps:
- Go to the Mail app and click on the “Mailbox” menu at the top of the screen.
- Choose “Junk Mail” from the drop-down menu.
- In the Junk Mail folder, find the email from the sender you want to unblock.
- Right-click on the email and select “Mark as Not Junk” from the options. This will move the email back to your inbox and unblock the sender.
By blocking email addresses manually, you have full control over which senders you want to block and can easily unblock them if needed. This method is simple, effective, and built into the macOS Mail app, making it a convenient way to manage unwanted emails.
Method 2: Creating a Rule to Block Email Addresses
If you receive emails from specific senders that you want to block in macOS Mail, you have the option to create a rule to automate the process. Follow these steps to create a rule to block email addresses:
- Open the Mail app on your macOS device and go to the menu bar at the top of the screen. Select “Mail” and then choose “Preferences” from the drop-down menu.
- In the Preferences window, click on the “Rules” tab.
- Click on the “Add Rule” button to create a new rule.
- In the Description field, enter a name for the rule, such as “Block Sender Name.”
- In the “If” section, choose “Sender Contains” from the first drop-down menu, and enter the email address or part of the email address of the sender you want to block in the text field next to it.
- In the “Perform the following actions” section, choose “Move Message” from the first drop-down menu, and select “Junk” from the second drop-down menu.
- Click on the “OK” button to create the rule.
With this rule in place, any email that matches the criteria you specified will be automatically moved to the Junk folder. This effectively blocks the sender from reaching your inbox.
If you want to block multiple email addresses or domains, you can create multiple rules following the same process. Each rule will block a specific sender based on the criteria you set.
If you want to edit or delete a rule, follow these steps:
- Go to the Preferences window by selecting “Mail” from the menu bar and choosing “Preferences.”
- Click on the “Rules” tab.
- Select the rule you want to edit or delete from the list.
- Click on the “Edit” or “Remove” button to make the desired changes.
- Click on the “OK” button to save your changes or close the Preferences window.
Creating rules to block email addresses can significantly streamline the process and ensure that unwanted emails are automatically filtered into the Junk folder. It’s a powerful tool for managing your inbox and keeping it free from unwanted messages.
Method 3: Using Third-Party Apps to Block Email Addresses
While macOS Mail provides built-in features for blocking email addresses, you also have the option to use third-party apps to enhance your email blocking capabilities. These apps offer additional features and customization options to help you better manage and block unwanted email addresses. Here are a few popular third-party apps you can consider:
- SpamSieve: SpamSieve is a powerful spam filtering app that integrates with macOS Mail. It uses advanced algorithms to block unwanted emails and provides customizable settings to meet your specific needs.
- Block Sender for Gmail: If you use macOS Mail with a Gmail account, Block Sender for Gmail is a useful extension that allows you to block email addresses directly from your Gmail interface. It works seamlessly with the macOS Mail app and offers additional features like scheduled blocking and automatic deletion of blocked emails.
- Clean Email: Clean Email is an email management app that helps you declutter your inbox and block unwanted senders. It provides various tools to organize and filter your emails, including the ability to create rules to block specific email addresses.
These are just a few examples of the many third-party apps available for blocking email addresses. Before installing any app, make sure to do your research and read reviews to ensure it meets your requirements and is compatible with your macOS Mail setup.
To use a third-party app for blocking email addresses, follow these general steps:
- Visit the app’s website or the Mac App Store to download and install the app on your macOS device.
- Follow the app’s instructions to set up and configure the blocking features.
- Once installed and configured, the app will integrate with macOS Mail and provide additional options for blocking email addresses.
Using third-party apps can enhance your email blocking capabilities and provide advanced features for managing unwanted emails. They often offer more flexibility and customization options to suit your specific needs.
Remember to regularly update these apps to ensure you have the latest security features and bug fixes. Additionally, be cautious when granting permissions to these apps and only download them from trusted sources to maintain the security of your email communications.
Tips for Managing Blocked Email Addresses
Blocking email addresses in macOS Mail can be an effective way to filter out unwanted messages and regain control over your inbox. To ensure you make the most out of this feature, here are some helpful tips for managing blocked email addresses:
- Regularly review your blocked senders list: Take the time to review your blocked senders list periodically. This will allow you to reassess which email addresses you’ve blocked and determine if any should be removed or added.
- Adjust your spam filter settings: macOS Mail provides spam filter settings that you can customize. Experiment with different levels of sensitivity to find the right balance that accurately identifies unwanted emails without blocking important ones.
- Report phishing emails: If you receive phishing emails even after blocking senders, report them as phishing to your email provider. This helps improve their spam filters and protect other users from falling victim to similar scams.
- Use email aliases: If you’re concerned about blocking email addresses that you may still need to receive important messages from, consider using email aliases. This way, you can provide a different email address for certain purposes while keeping your primary email address blocked from unwanted senders.
- Regularly update your email client: Software updates often include security patches and improvements to spam filtering algorithms. Keeping your macOS Mail app up to date ensures you have the latest features to effectively manage and block email addresses.
- Be cautious with unsubscribing: While blocking email addresses can reduce the amount of unwanted messages you receive, be cautious when clicking on “unsubscribe” links in suspicious emails. Sometimes, these links can be used to confirm that your email address is valid, leading to more spam emails.
- Consider using additional security measures: In addition to blocking email addresses, consider enhancing your email security by using strong, unique passwords, enabling two-factor authentication, and using a reputable antivirus software.
By following these tips, you can effectively manage and minimize unwanted email messages while ensuring important emails make it to your inbox. Remember that email blocking is just one part of maintaining a secure and organized email experience. Combine it with other best practices to create a robust defense against unwanted emails and potential threats.