
Enable IMAP Access in Hotmail
Syncing your Hotmail account with the macOS Mail app requires enabling IMAP access in your Hotmail settings. IMAP (Internet Message Access Protocol) allows you to access and manage your emails across multiple devices seamlessly. Follow these steps to enable IMAP access for your Hotmail account:
- Open a web browser and go to the Hotmail website.
- Sign in to your Hotmail account using your email address and password.
- Once logged in, click on the Gear icon in the top-right corner to access the settings menu.
- From the dropdown menu, select “View all Outlook settings.”
- In the Settings page, navigate to the “Sync email” section.
- Under the “POP and IMAP” heading, toggle the switch next to “Enable POP and IMAP” to ON.
- Save the changes by clicking the “Save” button.
Enabling IMAP access ensures that your Hotmail account can be accessed by third-party email clients such as the macOS Mail app. With IMAP enabled, the Mail app can synchronize your emails, folders, and other related data, providing you with a seamless email experience across devices.
It is important to note that enabling IMAP access in Hotmail may take a few minutes to activate. Once the change has been processed, you can proceed with adding your Hotmail account to the macOS Mail app.
Add Hotmail Account in Mail App
After enabling IMAP access for your Hotmail account, you can now add it to the macOS Mail app to start syncing your emails. Follow these steps to add your Hotmail account in the Mail app:
- Open the Mail app on your macOS device. If you don’t have it set up already, you can find it in the Applications folder or by using Spotlight search.
- In the menu bar at the top, click on “Mail” and select “Add Account” from the dropdown menu.
- Choose “Other Mail Account” and click on “Continue.”
- Enter your Hotmail email address and the password associated with it. Click on “Sign In.”
- The Mail app will attempt to automatically configure the account settings. If successful, you can skip to the next step. If not, proceed to the next step.
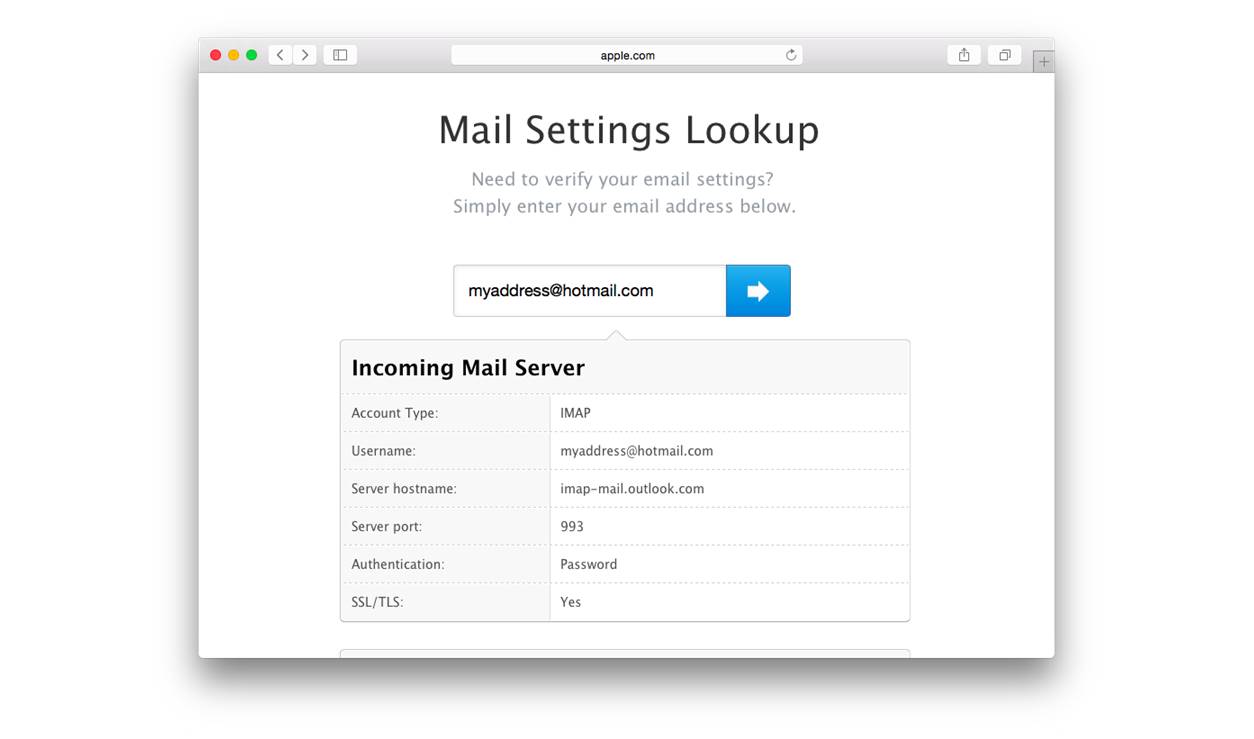
- Manually configure the account settings. Select the account type as “IMAP” and enter the incoming and outgoing mail server details.
- Click on “Sign In” to proceed.
The Mail app will now attempt to connect to your Hotmail account using the provided settings. Once connected, you will be able to view and manage your Hotmail emails directly within the Mail app.
Note that it may take a few moments for the Mail app to sync and download your emails, depending on the size of your mailbox and your internet connection speed. Once the initial sync is complete, your Hotmail account will be fully integrated with the Mail app, allowing you to access your emails effortlessly.
Set Up Hotmail Account Settings
Once you have added your Hotmail account to the macOS Mail app, it is essential to configure some account settings to ensure optimal functionality and synchronization. Follow these steps to set up your Hotmail account settings:
- Open the Mail app on your macOS device.
- In the menu bar at the top, click on “Mail” and select “Preferences” from the dropdown menu.
- In the Preferences window, click on the “Accounts” tab.
- Select your Hotmail account from the list on the left-hand side.
- Adjust the following settings as per your preferences:
- Mailbox Behaviors: Configure how the Mail app handles various actions such as deleting messages, storing drafts, and archiving messages. Ensure that the settings align with your desired workflow.
- Signature: Customize your email signature that will be automatically added to the end of your Hotmail emails.
- Advanced: Access advanced settings such as disabling or enabling encryption, configuring server ports, and setting up automated mail rules.
By customizing these settings, you can personalize your Hotmail experience within the macOS Mail app. Take some time to explore and adjust the settings to best suit your needs and preferences.
Remember to save any changes you make before closing the Preferences window. The Mail app will automatically update these settings for your Hotmail account accordingly.
Sync Hotmail Folders
Having successfully added your Hotmail account to the macOS Mail app and configured the account settings, you can now sync your Hotmail folders for a seamless email management experience. Follow these steps to synchronize your Hotmail folders:
- Open the Mail app on your macOS device.
- In the sidebar, locate your Hotmail account under the “Accounts” section.
- Click on the arrow next to your Hotmail account to expand it and reveal the folders.
- Checkmark the folders you want to sync with the Mail app. By default, the “Inbox” folder is selected for syncing.
- If you have created custom folders in your Hotmail account, you can also select them to sync with the Mail app.
- Once you have selected the folders, the Mail app will begin syncing the emails and their corresponding folder structure.
- Wait for the synchronization process to complete. The time it takes to sync will vary depending on the number of emails and folders.
Once the synchronization is finished, you will be able to access and manage your Hotmail folders directly from the Mail app. Any changes made to the folders or emails in the Mail app will be reflected in your Hotmail account and vice versa.
It’s important to note that syncing can take some time if you have a large number of emails or a slow internet connection. Be patient while the Mail app updates and downloads your emails to ensure a comprehensive and up-to-date folder structure.
Troubleshoot Syncing Issues
While syncing your Hotmail account with the macOS Mail app is usually a smooth process, you may encounter occasional syncing issues. Here are some troubleshooting steps you can take to resolve common synchronization problems:
- Check your internet connection: Ensure that you have a stable and active internet connection. Poor or intermittent connectivity can hinder the syncing process.
- Restart the Mail app: Sometimes, simply restarting the Mail app can help resolve syncing issues. Quit the Mail app and relaunch it to see if the problem persists.
- Verify account settings: Double-check that you have correctly configured the account settings for your Hotmail account in the Mail app. Ensure that you have used the correct incoming and outgoing mail server details.
- Update macOS and Mail app: Ensure that you are using the latest version of macOS and the Mail app. Check for updates and install any available updates to resolve any syncing-related bugs or issues.
- Disable antivirus or firewall: If you have antivirus software or a firewall installed on your macOS device, temporarily disable them and check if the syncing problem persists. Sometimes, these security measures can block or interfere with email synchronization.
- Remove and re-add the account: If none of the above steps resolve the issue, you can try removing your Hotmail account from the Mail app and then adding it again. This can help refresh the account settings and resolve any underlying syncing problems.
- Contact Hotmail support: If the syncing issue persists after trying the above troubleshooting steps, reach out to Hotmail support for further assistance. They may be able to provide specific guidance or solutions tailored to your account.
By following these troubleshooting steps, you can resolve most common syncing issues and ensure that your Hotmail account syncs seamlessly with the macOS Mail app.
Additional Tips for Hotmail Syncing
To further enhance your Hotmail syncing experience with the macOS Mail app, consider implementing the following tips:
- Regularly update the Mail app: Keeping the Mail app up to date ensures that you have the latest features and bug fixes, improving the overall syncing performance.
- Organize your Hotmail folders: Create a logical folder structure in your Hotmail account to help you stay organized. This organization will carry over to the Mail app, making it easier to find and manage your emails.
- Limit the number of emails synced: If you have a large number of emails in your Hotmail account, consider adjusting the settings to sync only a specific period or a certain number of emails. This can improve syncing speed and performance.
- Regularly clean up your account: Delete unnecessary emails, empty the Trash folder, and archive older emails to keep your Hotmail account clutter-free. This can help reduce syncing time and improve overall performance.
- Manage your internet bandwidth: If you have a limited internet connection or frequently experience slow speeds, avoid performing resource-intensive tasks while the Mail app is syncing. This can help ensure a faster and smoother syncing process.
- Enable notifications: Configure the Mail app to receive notifications for new emails. This way, you won’t miss any important messages, and the syncing process can stay up to date.
- Regularly backup your emails: While syncing with the Mail app provides convenience, it’s always a good idea to periodically backup your Hotmail emails. This ensures that you have a copy of your important emails in case of any unforeseen circumstances.
By implementing these additional tips, you can optimize your Hotmail syncing experience and efficiently manage your emails using the macOS Mail app.