
Preparing to Move Apple Mail
Moving your Apple Mail to a new Mac requires some preparation to ensure a smooth transition. By following these steps, you can make sure that all your mailboxes and messages are safely transferred to your new computer.
1. Backup Your Mail
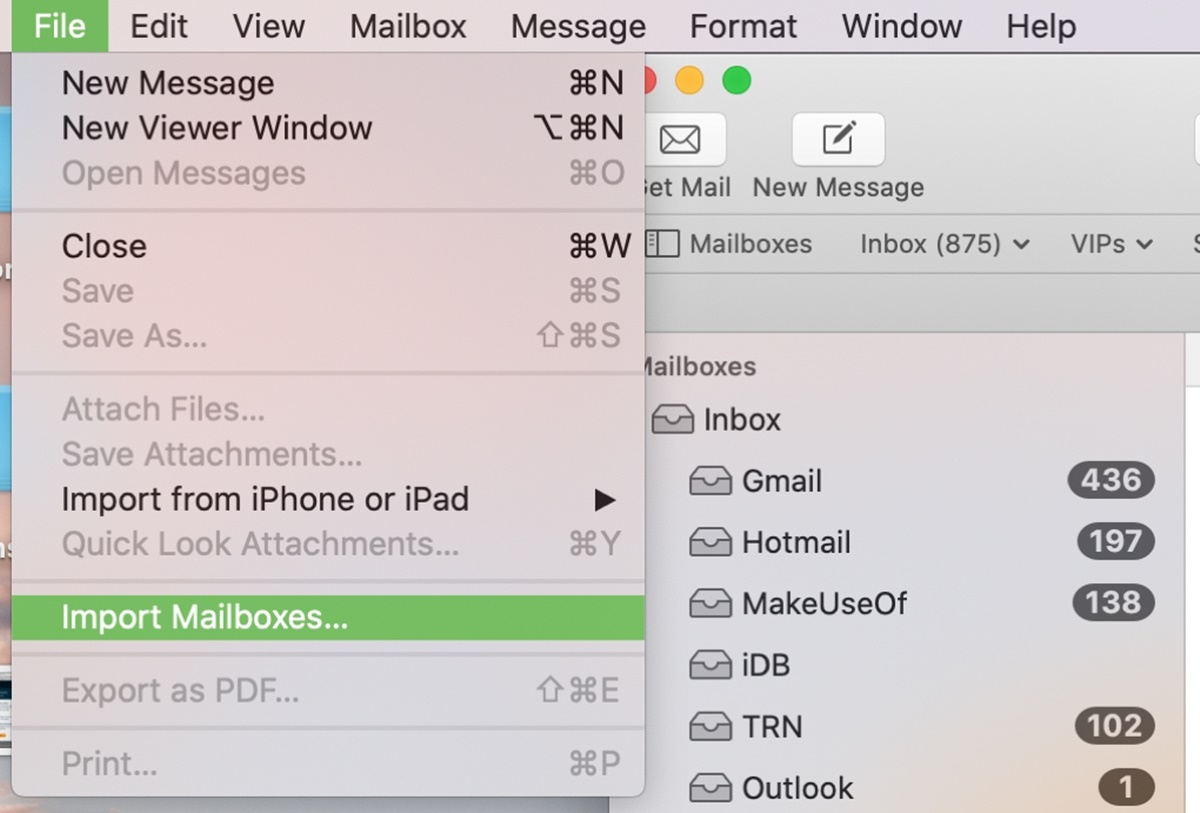
Before making any changes or transferring your mail, it is crucial to create a backup of your existing Apple Mail data. This backup will serve as a safety net in case anything goes wrong during the migration process. The easiest way to backup your mail is by exporting your mailboxes to an external storage device or a cloud storage service.
2. Update Your Apple Mail App
Ensure that both your current and new Mac have the latest version of Apple Mail installed. This will help minimize compatibility issues when transferring your mailboxes and messages between the two computers. To update Apple Mail, go to the App Store on your Mac and check for any available updates.
3. Check Storage Space
Make sure that your new Mac has enough storage space to accommodate all your mail and attachments. You can check the available storage by going to the Apple menu, selecting “About This Mac,” and then clicking on the “Storage” tab. If needed, consider freeing up space on your new Mac by deleting unnecessary files or moving them to an external storage device.
4. Gather Necessary Information
Collect any login credentials, server settings, and account information for your email accounts. This information is necessary for setting up your email accounts on the new Mac. You can find this information by accessing your email provider’s website or contacting their support team.
5. Note Mailbox Organization
If you have your mailboxes organized into different folders or subfolders, make a note of the organization structure. This will help you recreate the same folder hierarchy on your new Mac, ensuring that you can easily navigate and locate your messages after the migration.
By following these preparatory steps, you can minimize the risk of data loss and ensure a smooth transition when moving your Apple Mail to a new Mac. Once you have completed these preparations, you can proceed with setting up your new Mac and transferring your mailboxes and messages.
Setting Up the New Mac
After completing the necessary preparations, it’s time to set up your new Mac in preparation for the transfer of your Apple Mail. Follow these steps to get your new Mac ready for the migration:
1. Power on Your New Mac
Start by turning on your new Mac and following the setup instructions. This will involve selecting your language, region, and signing in with your Apple ID.
2. Connect to the Internet
Ensure that your new Mac is connected to the internet. This is necessary for various steps, including downloading software updates and setting up your email accounts.
3. Update macOS
Check for any available software updates and install them on your new Mac. Keeping your operating system up to date ensures compatibility and security. To update macOS, go to the Apple menu, select “System Preferences,” and then choose “Software Update.”
4. Sign in with Apple ID
If you haven’t already signed in with your Apple ID during the initial setup, go to the Apple menu, select “System Preferences,” and then click on “Apple ID.” Sign in with the same Apple ID you used on your previous Mac to ensure a seamless transfer of your Apple Mail settings and preferences.
5. Set Up Email Accounts
Open the Apple Mail app on your new Mac and follow the built-in setup wizard to add your email accounts. Enter the login credentials and server settings for each account you want to migrate. Once set up, Apple Mail will begin syncing your mailboxes and messages.
6. Configure Preferences
Take some time to customize the Apple Mail app’s preferences based on your preferences. This may include adjusting mail display options, organizing inbox layouts, enabling or disabling features, and setting notifications.
7. Verify Syncing
Make sure that your email accounts are synchronizing properly on your new Mac. Check if all your mailboxes and messages are appearing correctly, and if any changes made on one device are reflected on the other.
Once you have completed the setup of your new Mac, you are ready to proceed with transferring your Apple Mail data. The following sections will guide you through different methods of moving your mailboxes and messages from your old Mac to the new one.
Transferring Mailboxes and Messages
Now that your new Mac is set up and ready, it’s time to transfer your Apple Mail mailboxes and messages from your old Mac. There are two main methods you can use: the Migration Assistant or manual migration.
Using the Migration Assistant
If you want a seamless transfer of all your data, including Apple Mail, applications, and settings, using the Migration Assistant is the recommended method. Here’s how to use it:
- Connect your old Mac to your new Mac using a Thunderbolt or Ethernet cable.
- On your new Mac, open the Migration Assistant. You can find it in the Applications > Utilities folder.
- Follow the on-screen instructions and select the option to transfer data from a Mac.
- Select your old Mac from the list of available sources.
- Select the data you want to transfer, including your Apple Mail data.
- Click “Continue” and wait for the transfer process to complete.
Once the transfer is finished, open the Apple Mail app on your new Mac, and you should see all your mailboxes and messages from your old Mac.
Migrating Manually
If you prefer more control over the migration process or if you only want to transfer specific mailboxes or messages, you can do a manual migration. Here are the steps:
- On your old Mac, locate and copy the entire “Mail” folder. You can find it in the “~/Library” directory. Ensure that you have the necessary permissions to access this folder.
- Transfer the copied “Mail” folder to your new Mac using an external storage device or file-sharing methods like AirDrop or a cloud storage service.
- On your new Mac, paste the copied “Mail” folder into the “~/Library” directory. If you encounter any permission issues, you may need to provide administrator privileges.
- Open the Apple Mail app on your new Mac, and you should see all your mailboxes and messages imported from the copied “Mail” folder.
Regardless of the method you choose, it’s essential to ensure that both your old and new Macs are running the same version of Apple Mail for compatibility.
With your mailboxes and messages successfully transferred to your new Mac, you can now proceed to set up and transfer your iCloud Mail, if applicable.
Using the Migration Assistant
If you want a seamless transfer of all your data, including Apple Mail, applications, and settings, using the Migration Assistant is the recommended method. Here’s how to use it:
- Connect your old Mac to your new Mac using a Thunderbolt or Ethernet cable.
- On your new Mac, open the Migration Assistant. You can find it in the Applications > Utilities folder.
- Follow the on-screen instructions and select the option to transfer data from a Mac.
- Select your old Mac from the list of available sources.
- Select the data you want to transfer, including your Apple Mail data.
- Click “Continue” and wait for the transfer process to complete.
The Migration Assistant will transfer not only your Apple Mail mailboxes and messages but also your applications, documents, user accounts, and various settings. This ensures that your new Mac is set up exactly as your old one, providing a seamless transition.
During the migration process, it’s important to keep both Macs connected to power and ensure a stable network connection. The time it takes to complete the transfer will vary depending on the amount of data being transferred and the speed of your connection.
Once the transfer is finished, open the Apple Mail app on your new Mac, and you should see all your mailboxes and messages from your old Mac. It’s important to note that the Mail app on your new Mac will reflect the exact state of your old Mac, including read and unread messages, folder organization, and account settings.
Using the Migration Assistant eliminates the need to manually export, copy, or reconfigure your Apple Mail data. It streamlines the transfer process, saving you time and effort while ensuring a comprehensive transfer of your data.
After the migration is complete, you can continue using the Apple Mail app on your new Mac as you did on your old one. Your mailboxes will remain intact, and you can access all your emails seamlessly.
It’s worth mentioning that the Migration Assistant only works when transferring data between Macs. If you are switching from a PC or using a different email client, you will need to explore alternative methods of transferring your Apple Mail data.
With the Migration Assistant, moving your Apple Mail data to a new Mac has never been easier. It offers a hassle-free solution that ensures all your mailboxes, messages, and settings are transferred, enabling you to pick up right where you left off.
Migrating Manually
If you prefer more control over the migration process or if you only want to transfer specific mailboxes or messages, you can opt for a manual migration. Here’s how you can transfer your Apple Mail data manually:
- On your old Mac, locate and copy the entire “Mail” folder. You can find it in the “~/Library” directory. Ensure that you have the necessary permissions to access this folder.
- Transfer the copied “Mail” folder to your new Mac using an external storage device or file-sharing methods like AirDrop or a cloud storage service.
- On your new Mac, paste the copied “Mail” folder into the “~/Library” directory. If you encounter any permission issues, you may need to provide administrator privileges.
- Open the Apple Mail app on your new Mac, and you should see all your mailboxes and messages imported from the copied “Mail” folder.
By manually migrating your Apple Mail data, you have greater flexibility in choosing which mailboxes or messages to transfer. You can choose to move all of them or selectively transfer specific folders, depending on your preferences and needs.
It’s important to note that the “~/Library” directory is hidden by default in recent macOS versions. To access it, you can either use the “Go to Folder” option in the Finder’s “Go” menu or press Command + Shift + G and type in “~/Library” in the dialog box.
When copying the “Mail” folder, ensure that you maintain its original structure and hierarchy. This way, the Apple Mail app on your new Mac can recognize and display your mailboxes and messages correctly.
After pasting the “Mail” folder into the “~/Library” directory on your new Mac, open the Apple Mail app, and it should automatically detect the imported data. It may take some time for the app to index and organize the transferred mailboxes and messages, so be patient during this process.
It’s worth mentioning that manually migrating your Apple Mail data gives you more control, but it requires extra effort and attention to detail. It’s essential to double-check that all your mailboxes and messages are properly transferred and accessible on your new Mac.
In addition, manual migration may not retain certain settings or preferences from your old Mac, such as account settings or mailbox rules. You will need to reconfigure these settings manually on your new Mac.
Overall, manual migration is a suitable option for users who want more control and customization over their Apple Mail migration process. It allows you to selectively transfer your mail data, ensuring that you have exactly what you need on your new Mac.
Moving iCloud Mail
If you have an iCloud email account and want to move your iCloud Mail to a new Mac, the process is a bit different from transferring regular Apple Mail data. Here’s how you can move your iCloud Mail:
1. Set Up iCloud on Your New Mac
Before you can access your iCloud Mail on the new Mac, you need to set up your iCloud account. Go to the Apple menu, select “System Preferences,” and click on “iCloud.” Sign in with your Apple ID and enable the option to sync Mail.
2. Allow Time for Syncing
Once you have set up your iCloud account, give it some time to sync your iCloud Mail on your new Mac. Depending on the size of your mailbox and the speed of your internet connection, it may take some time for all your emails to appear in the Mail app.
3. Configure Mail Settings
Review the Mail settings on your new Mac to ensure that they match your preferences. You can customize options such as email signatures, notification settings, and mailbox organization. Make any necessary adjustments based on your preferences.
4. Check Syncing Status
Verify that your iCloud Mail is synchronizing properly on your new Mac. Check if all your mailboxes and messages are appearing correctly, and if any changes made on one device are reflected on the other.
5. Verify Additional iCloud Mail Components
Apart from your mail content, iCloud Mail also includes other components such as contacts, calendars, and notes. Ensure that these components are also syncing correctly on your new Mac. You can check their status in the respective apps (Contacts, Calendar, Notes).
6. Remember to Sign Out from Your Old Mac
Once you have confirmed that your iCloud Mail is successfully set up on your new Mac, it’s essential to sign out from your iCloud account on your old Mac. This ensures that all future email activity and changes are synced only with your new Mac.
Moving iCloud Mail to a new Mac mainly involves setting up your iCloud account and allowing time for the synchronization of your email content. The process is seamless and convenient, as long as you have a stable internet connection and properly configured iCloud settings on both your old and new Macs.
With your iCloud Mail successfully moved to your new Mac, you can now enjoy seamless access to your emails, contacts, calendars, and notes across all your Apple devices.
Troubleshooting Common Issues
During the process of moving your Apple Mail to a new Mac, you may encounter some common issues. Here are a few troubleshooting tips to help you overcome these challenges:
1. Missing or Incomplete Mailboxes
If you notice that some of your mailboxes are missing or incomplete after the transfer, try rebuilding your mailboxes in the Apple Mail app. To do this, select the problematic mailbox, go to the “Mailbox” menu, and choose “Rebuild.” This process may take some time, but it can help restore missing or incomplete messages.
2. Authentication Errors
If you encounter authentication errors when setting up your email accounts on the new Mac, double-check your login credentials and ensure that you have entered them correctly. If the issue persists, confirm that your email provider’s server settings are correct and consider updating the password for your email account.
3. Slow or Stuck Transfer Process
If the migration process using the Migration Assistant or manual transfer is slow or appears stuck, make sure that both your old and new Macs are connected to a stable network. Slow internet speed or a weak connection can affect the speed of the transfer. Additionally, ensure that both Macs are plugged into a power source to prevent any interruptions due to low battery.
4. Incompatibility with Older Mail Versions
If you are moving from an older Mac with an outdated version of Apple Mail, there may be compatibility issues with the Mail app on your new Mac. Make sure that both Macs are running the latest version of macOS and the Apple Mail app. If needed, update the Mail app on your old Mac before starting the migration process.
5. Incorrect Folder Hierarchy
If the folder hierarchy of your mailboxes is not preserved during the transfer, you may need to manually recreate the folder structure on your new Mac. This can be done by creating new folders in the Apple Mail app and organizing your messages accordingly. Make sure to note the original folder hierarchy on your old Mac to guide you during the recreation process.
6. Large Attachment Import Issues
If you are experiencing problems with importing large attachments, it is recommended to transfer only the email headers instead of the entire message. This allows you to preserve the email metadata while reducing the transfer size. You can configure this option in the Mail app settings on both your old and new Macs.
If you have exhausted these troubleshooting tips and are still encountering issues, consider reaching out to Apple support or consulting online forums and communities for further assistance. With patience and perseverance, you can overcome any obstacles and successfully move your Apple Mail to your new Mac.
Finalizing the Move
After migrating your Apple Mail to a new Mac, there are a few final steps to ensure a smooth transition and ensure that everything is in order:
1. Verify Data Integrity
Take some time to go through your mailboxes and messages on your new Mac to ensure that everything has been transferred correctly. Check for any missing or corrupted messages. If you notice any discrepancies, refer back to your backup to restore any missing data.
2. Remove Old Mail Data
If you no longer need the Apple Mail data on your old Mac, you can delete it to free up disk space. Make sure to double-check that all your data has been successfully transferred to your new Mac before proceeding with any deletions.
3. Set Up Email Signatures
If you had custom email signatures on your old Mac, make sure to set them up again on your new Mac. Open the Apple Mail app, go to “Preferences,” and navigate to the “Signatures” tab. Create or import your desired signatures to personalize your emails.
4. Reconfigure Mail Rules
If you had any custom rules set up in the Apple Mail app on your old Mac, recreate them on your new Mac. Go to “Preferences” in the Mail app and navigate to the “Rules” tab. Add and configure your desired rules to automatically manage incoming emails.
5. Test Email Sending and Receiving
Send a test email to ensure that your new Mac is configured correctly for both incoming and outgoing emails. Check if you can send and receive messages seamlessly. If you encounter any issues, double-check your email account settings or contact your email provider for assistance.
6. Clean Up and Organize
Take the opportunity to clean up and organize your mailboxes on the new Mac. Delete unnecessary emails, create folders to categorize your messages, and set up filters or flags to help you manage your inbox effectively. This will ensure a clutter-free and efficient email experience.
By following these final steps, you can finalize the move of your Apple Mail to your new Mac and start enjoying a seamless and organized email experience on your new device.
Remember to keep your new Mac regularly updated with the latest software updates to ensure optimal performance and security. Additionally, it’s always a good practice to regularly back up your mail data on your new Mac to prevent any potential loss or data corruption.
Congratulations on successfully completing the move of your Apple Mail to your new Mac! Enjoy exploring the features and functionalities of your new device and make the most of your email experience.