
What are message templates in Apple Mail?
Message templates are pre-designed email structures that allow you to save time and effort when composing repetitive emails in Apple Mail. They are essentially pre-formatted email drafts that can be easily accessed and used whenever you need to send a specific type of email.
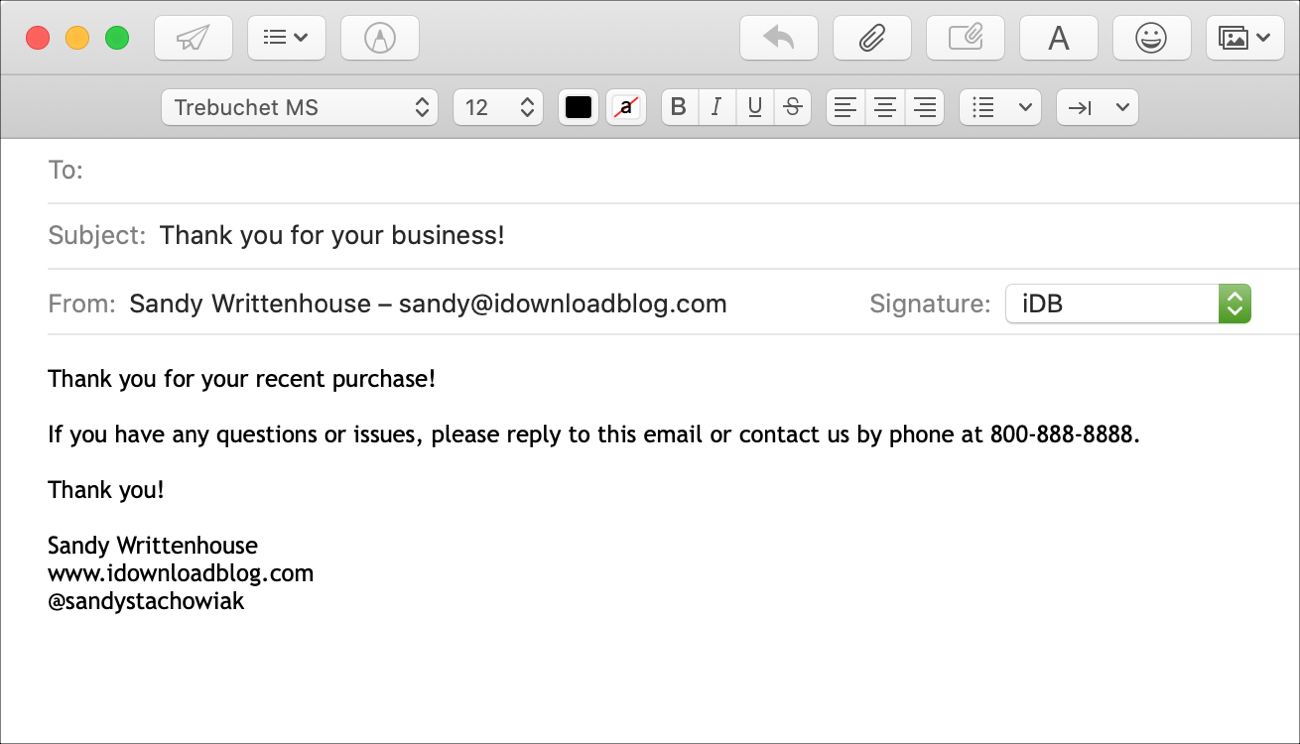
Imagine you frequently send out the same type of email, such as meeting invitations, project updates, or customer support responses. Instead of starting from scratch each time, you can create a message template with all the necessary elements, including the subject line, body text, and even attachments. This way, you can simply select the template, make a few personalized changes, and send the email without having to type everything from scratch.
Message templates not only save your valuable time, but they also ensure consistency and accuracy in your communication. By using templates, you can maintain a professional and polished appearance in all your emails, regardless of how many times you need to send similar messages.
In Apple Mail, message templates are easily accessible and can be customized to suit your specific needs. Whether you’re a business professional, a freelancer, or someone who frequently communicates through email, using message templates can greatly streamline your email workflow and eliminate the need for repetitive typing.
Now that you understand what message templates are in Apple Mail, let’s explore how to create and utilize them effectively to simplify your email management.
Creating a new message template
In Apple Mail, creating a new message template is a straightforward process. Follow these steps to create your own customized template:
- Open the Apple Mail application on your Mac.
- Click on “New Message” to start composing a new email.
- Compose the email with the desired subject line, body text, and any other elements you want to include in the template.
- Once you have finished composing the email, go to the “File” menu and select “Save As Template.”
- A window will appear prompting you to name the template. Give it a descriptive name that will help you identify its purpose in the future.
- Choose the location where you want to save the template. By default, Apple Mail will save it in the “Templates” folder within your Library folder.
- Click “Save” to save the template.
That’s it! You have successfully created a new message template in Apple Mail. The template will be available for use whenever you need it.
It’s important to note that when creating a template, you can include placeholders for customizable fields such as the recipient’s name or any other variable information. This allows you to personalize each email you send using the template without having to make manual edits to the template itself.
Now that you know how to create a new message template, let’s explore the steps to modify an existing template if you need to make any changes in the future.
Modifying an existing message template
In Apple Mail, modifying an existing message template is a simple process. Follow these steps to make changes to your template:
- Open the Apple Mail application on your Mac.
- Click on “New Message” to start composing a new email.
- In the “New Message” window, go to the “File” menu and select “Open Stationery.”
- A window will appear displaying all your saved message templates. Locate the template you want to modify and double-click on it.
- The template will open in a new window, allowing you to make changes to the subject line, body text, or any other elements as needed.
- After making the desired modifications, go to the “File” menu and select “Save” to save the changes to the template.
That’s it! You have successfully modified an existing message template. The changes you made will be reflected the next time you use the template to create a new email.
It’s important to note that modifying a template will only affect future emails created using that template. The original template and any emails sent using it prior to the modifications will remain unchanged.
By being able to modify existing templates, you can ensure that your email communication remains up-to-date and relevant. It’s a useful feature, especially if you often find yourself needing to customize certain elements of your templates based on specific circumstances or feedback.
Now that you know how to modify an existing message template, let’s learn how to save an email as a template in case you come across an email you want to use as a template in the future without starting from scratch.
Saving an email as a template
In Apple Mail, you have the option to save an existing email as a template to reuse in the future. This can be helpful when you want to preserve the exact formatting and content of a particular email. Here’s how you can save an email as a template:
- Open the Apple Mail application on your Mac.
- Find the email that you want to save as a template in your mailbox or archive.
- Open the email by double-clicking on it.
- In the menu bar, click on “File” and select “Save As Template”.
- A dialog box will appear asking you to name the template. Choose a descriptive name that helps you identify it easily in the future.
- Decide where to save the template. By default, Apple Mail will save it in the “Templates” folder within your Library folder.
- Click on “Save” to finalize the process.
That’s it! The selected email is now saved as a template in Apple Mail. You can access and use it whenever you want to compose a similar email.
It’s important to note that the saved email template will retain all the original content, including the subject line, body text, formatting, and attachments, allowing you to quickly replicate the email without having to retype or recreate its structure.
Saving emails as templates is especially useful for frequently sent emails, such as follow-up emails, standard responses, or specific types of inquiries. It saves time, ensures consistency, and helps you maintain an organized email system.
Now that you know how to save an email as a template, let’s move on to using these templates to create new emails effortlessly.
Using a message template to create a new email
In Apple Mail, using a message template to create a new email is a convenient way to save time and simplify the process of composing repetitive emails. Here’s how you can use a message template:
- Open the Apple Mail application on your Mac.
- Click on “New Message” to start composing a new email.
- In the menu bar, click on “Window” and select “Stationery.”
- A window will appear displaying all your saved message templates.
- Select the template you want to use by clicking on it.
- The template will open in a new email window, pre-filled with the subject line, body text, and any other elements you included in the template.
- Make any necessary edits or personalizations to the email, such as changing the recipient’s name or adding specific details.
- When you’re ready to send the email, click on the “Send” button as you would for any other email.
That’s it! You have successfully used a message template to create a new email. The template provides a solid foundation for your email, allowing you to save time and effort while maintaining consistency in your communication.
By using templates, you can avoid repetitive typing and ensure that important information is consistently included in your emails. Whether you’re reaching out to clients, colleagues, or friends, message templates can streamline your workflow and make your email communication more efficient.
It’s worth noting that once you select a template, it becomes a regular email, and any changes you make are specific to that particular email. The original template remains unchanged for future use.
Now that you know how to use a message template to create a new email, let’s explore how to personalize a template by adding customized fields or variables.
Personalizing a message template
While message templates in Apple Mail offer a convenient way to save time and effort when composing repetitive emails, you can also personalize these templates to add a personal touch to your communication. Here’s how you can personalize a message template:
- Open the Apple Mail application on your Mac.
- Click on “New Message” to start composing a new email.
- In the menu bar, click on “Window” and select “Stationery.”
- A window will appear displaying all your saved message templates.
- Select the template you want to use by clicking on it.
- The template will open in a new email window, pre-filled with the subject line, body text, and any other elements you included in the template.
- To personalize the template, locate the areas that need customization, such as the recipient’s name or any other variable information.
- Edit the template by replacing the generic fields with the specific information you want to include.
- Make any additional changes or additions to the email to further personalize it.
- When you’re ready to send the email, click on the “Send” button.
That’s it! By personalizing the message template, you have added your unique touch and customized the email to suit the recipient and the specific context. This can help create a more meaningful and engaging email communication.
When editing the template, you can use variables or placeholders to dynamically insert personalized information into the email. For example, you can use the recipient’s name by inserting the variable “{{name}}” in the template. When you send the email, Apple Mail will prompt you to enter the actual name, which will automatically update within the email.
Personalizing message templates allows you to maintain a professional appearance while still adding a personal touch to your emails. It shows that you value and acknowledge the recipient by addressing them directly and tailoring the content to their specific needs or interests.
Now that you know how to personalize a message template, let’s explore how to organize and manage these templates for easy access and navigation.
Organizing and managing message templates
In Apple Mail, organizing and managing your message templates can help ensure easy access and efficient use of your templates. Here are some tips for organizing and managing your message templates:
- Create folders: Consider creating folders to categorize your message templates based on their purpose, such as “Client Communication,” “Project Updates,” or “Customer Support.” This will help you easily locate the relevant templates when needed.
- Drag and drop: Move your templates into the appropriate folders by simply dragging and dropping them. This helps keep your template library organized and decluttered.
- Delete unwanted templates: Regularly review your templates and delete any that are no longer relevant or necessary. This reduces confusion and makes it easier to find the templates you actually use.
- Rename templates: If you find it difficult to identify templates based on their default names, consider renaming them with more descriptive titles. This makes it easier to quickly identify the template you need.
- Backup your templates: To avoid losing your templates due to accidental deletion or system issues, it’s a good idea to periodically back up your template folder. This can be done by creating a copy of the folder and storing it in a secure location.
By organizing and managing your message templates, you can streamline your workflow, save time searching for the right template, and maintain an efficient email management system. The more structured and organized your template library is, the easier it will be to utilize these templates effectively.
With your message templates in a well-organized state, you can focus on your email communication without the added stress of searching for the right template every time.
Now that you know how to organize and manage your message templates, let’s explore the process of deleting any templates that are no longer needed.
Deleting a message template
In Apple Mail, deleting unused or unnecessary message templates can help declutter your template library and ensure that you only have the templates you actually use. Here’s how you can delete a message template:
- Open the Apple Mail application on your Mac.
- Click on “New Message” to start composing a new email.
- In the menu bar, click on “Window” and select “Stationery.”
- A window will appear displaying all your saved message templates.
- Locate the template you want to delete.
- Right-click on the template and select “Move to Trash.”
- A confirmation dialog box will appear asking if you want to move the template to the trash. Click “OK” to delete the template.
That’s it! The selected message template has been deleted from your template library. You will no longer see it when accessing your templates.
Deleting unused or irrelevant templates is important to keep your template library organized and make it easier to find the templates you need. It helps reduce clutter, streamline your workflow, and ensure that you can quickly locate the templates that are meaningful to your communication needs.
Remember, once a template is deleted, it cannot be recovered. Therefore, it’s a good practice to review your templates periodically and delete any that are no longer relevant or necessary.
Now that you know how to delete a message template, let’s go over some troubleshooting tips for common issues you may encounter when working with message templates in Apple Mail.
Troubleshooting common issues with message templates
While using message templates in Apple Mail can greatly streamline your email workflow, you may encounter some common issues or challenges along the way. Here are a few troubleshooting tips to help resolve these issues:
- Template not appearing in the template library: If you have recently created or modified a template but it’s not showing up in the template library, try restarting Apple Mail. This can refresh the application and ensure that the template appears in the library.
- Template content not updating: If you have made changes to a template but the changes are not reflected when using the template to compose a new email, ensure that you have saved the template after making the modifications. If you have saved it, try restarting Apple Mail to update the template content.
- Template formatting issues: If you are experiencing formatting issues with your message templates, such as fonts appearing differently or missing line breaks, make sure that you are using standard fonts and formatting options. Avoid using specialized fonts or complex formatting that may not be supported across different email clients.
- Template customization limitations: While message templates can be personalized, there may be limitations on the level of customization. For example, some variables or placeholders may not support dynamic content or fail to populate with the intended information. Double-check the syntax and ensure that you are using the supported variables or placeholders provided by Apple Mail.
- Template folder organization: If you are having trouble locating specific templates because of a lack of organization, consider creating folders and categorizing your templates based on their purpose or type. This will make it easier to find and utilize the appropriate templates.
If you continue to experience issues with message templates in Apple Mail, you may consider checking for any software updates or seeking assistance from Apple Support or online communities for further guidance.
By troubleshooting common issues, you can ensure the smooth functioning of your message templates and maintain a streamlined workflow in your email communication.
Now that we have addressed some troubleshooting tips, you are well-equipped to use message templates effectively in Apple Mail. Happy template creation and efficient emailing!