
Checking Internet Connection
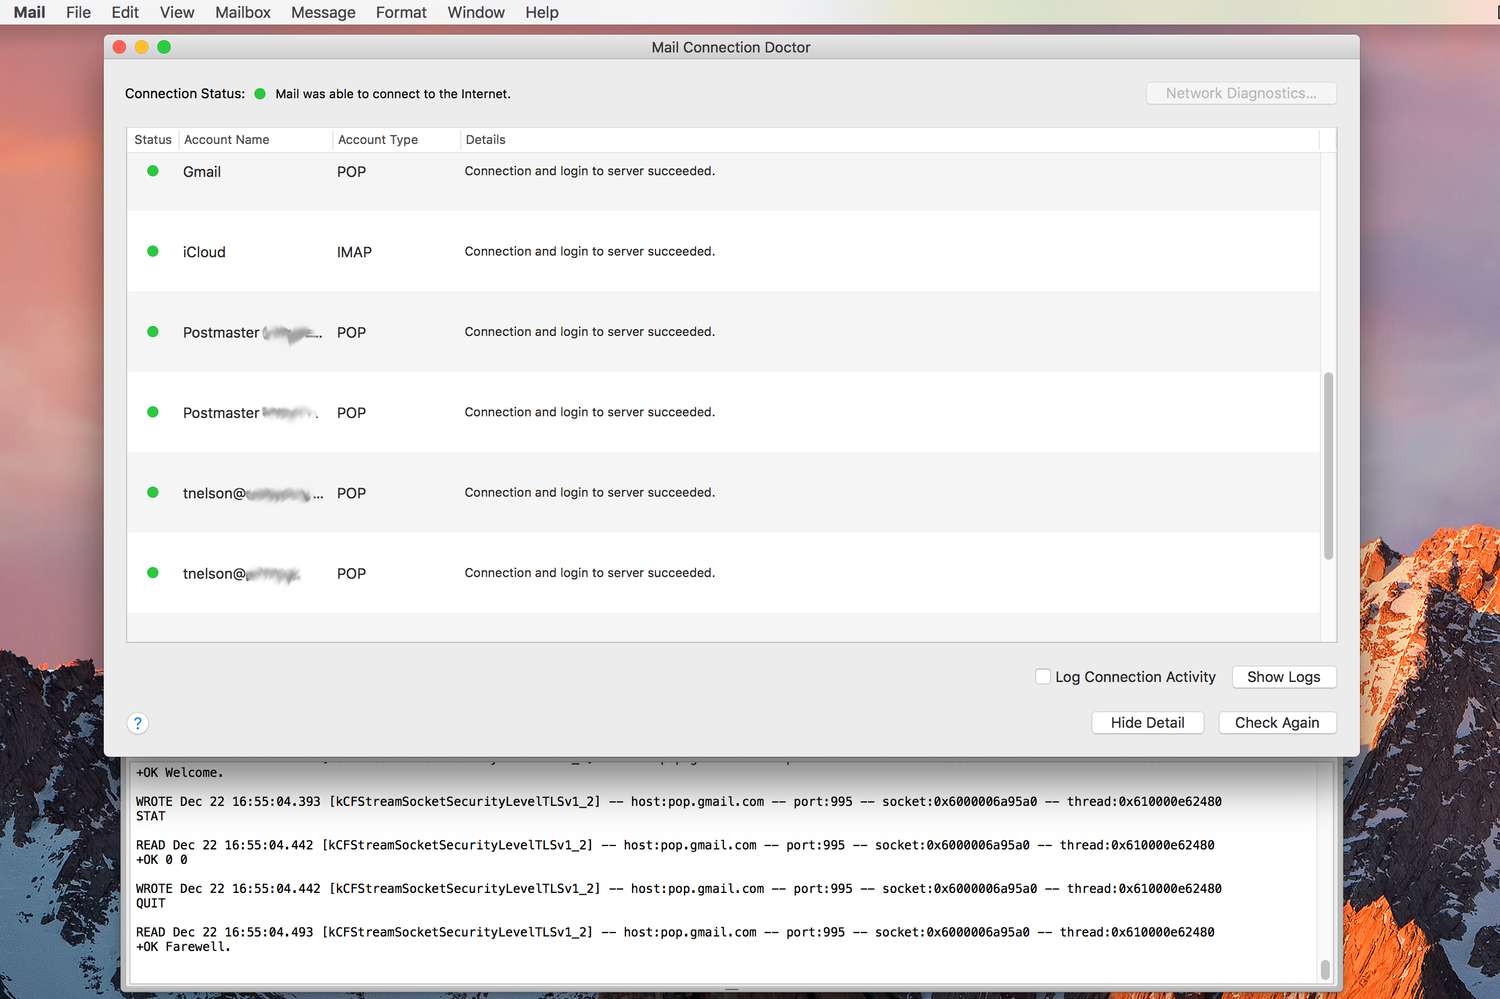
In today’s digital age, a reliable internet connection is vital for seamless communication and productivity. When troubleshooting issues with Apple Mail, it’s essential to start by ensuring that your internet connection is stable and working correctly. Without a stable connection, you may experience difficulty sending or receiving emails or encounter other email-related issues.
Here are a few steps to check and troubleshoot your internet connection:
- Verify that your Wi-Fi or Ethernet connection is active and properly connected to your computer or device.
- Try opening a web browser and visiting various websites to confirm that your internet is functional. If you encounter any issues, reach out to your internet service provider for assistance.
- If you’re using a public Wi-Fi network, ensure that you have agreed to any terms or conditions and that the network’s signal strength is sufficient.
- Temporarily disable any firewalls or security software on your device, as these may interfere with your internet connection. Be sure to enable them back once troubleshooting is complete.
- If you’re unable to connect to the internet, try restarting your Wi-Fi router or modem. Sometimes, a simple reset can resolve connectivity issues.
- Consider connecting your device to a different network or using a mobile hotspot to determine if the problem lies with your internet connection.
Checking your internet connection is an essential first step in troubleshooting Apple Mail issues. If you have confirmed that your internet is functioning properly and are still experiencing problems with Apple Mail, it’s time to explore other potential causes.
Updating Apple Mail
Keeping your Apple Mail app up to date is crucial for its optimal performance. Updates often include bug fixes, security enhancements, and new features that can address any known issues. If you’re experiencing problems with Apple Mail, it’s important to ensure that you are using the latest version of the app.
Here’s how you can update Apple Mail:
- Open the App Store on your Mac.
- Click on the “Updates” tab in the menu bar at the top of the App Store window.
- If an update for Apple Mail is available, you will see it listed here. Click on the “Update” button next to the app to begin the update process.
- Alternatively, you can click on the “Update All” button to update all the apps on your Mac, including Apple Mail.
- Follow the on-screen instructions to complete the update. Depending on the size of the update, it may take a few minutes to download and install.
Once the update is finished, restart your Mac to ensure that the changes are fully applied. Launch Apple Mail again and check if the issues you were experiencing have been resolved.
If you’re using a version of macOS that doesn’t have the App Store, such as an older version or macOS Server, you can check for updates through the “Software Update” feature in the System Preferences. Open “System Preferences” from the Apple menu, click on “Software Update,” and follow the prompts to install any available updates, including updates for Apple Mail.
Updating Apple Mail is often a straightforward process and can help fix any known issues or bugs. If updating the app doesn’t resolve the problems with Apple Mail, we should explore other troubleshooting steps.
Checking Server Settings
When troubleshooting issues with Apple Mail, it’s important to ensure that the server settings are correct and properly configured. Incorrect server settings can cause problems with sending or receiving emails, syncing folders, or accessing your email account through Apple Mail. To check and verify your server settings, follow these steps:
- Open Apple Mail on your Mac.
- Go to the “Mail” menu and select “Preferences.”
- In the Preferences window, click on the “Accounts” tab.
- Select the email account that is experiencing issues from the list on the left-hand side.
- Ensure that the “Account Information” tab is selected.
- Review the incoming mail server and outgoing mail server settings for accuracy.
- If you’re unsure about the correct server settings, contact your email provider or IT department for assistance. They can provide you with the specific server address, port numbers, and authentication methods.
- Double-check that your username and password for the email account are correctly entered.
- If you have multiple email accounts configured in Apple Mail, repeat the above steps for each account to verify the server settings.
- Click on the “Advanced” tab in the Account Preferences window to review additional server settings, such as SSL/TLS settings, authentication, and port numbers.
If you find any discrepancies or errors in the server settings, make the necessary corrections. After updating the settings, close the Preferences window and try accessing your email account again through Apple Mail. Check if the issues have been resolved.
It’s important to note that server settings can vary depending on the email provider or email service you’re using. Therefore, it’s crucial to consult the official documentation or reach out to your email provider for specific server settings.
Verifying and correcting server settings can help resolve many issues with Apple Mail. If the problems persist, we will explore other troubleshooting steps next.
Checking Email Account Settings
Problems with email account settings can often lead to issues with Apple Mail. It’s crucial to ensure that your email account settings are correctly configured to ensure smooth synchronization and communication. Here are the steps to check and verify your email account settings:
- Open Apple Mail on your Mac.
- Go to the “Mail” menu and select “Preferences.”
- In the Preferences window, click on the “Accounts” tab.
- Select the email account that is experiencing problems from the list on the left-hand side.
- Ensure that the “Account Information” tab is selected.
- Review the account settings, including the email address, full name, and reply-to address.
- Double-check that the email address entered is accurate and matches your actual email address.
- Verify that the “Description” field accurately reflects the email account. You can customize this field to make it easier to identify your accounts, especially if you have multiple email accounts configured in Apple Mail.
- Check the “Email Address” field to confirm that it matches your actual email address. If it’s incorrect, make the necessary changes.
- Review the “User Name” field and ensure that it matches the username or email ID associated with the account.
- Verify that the “Incoming Mail Server” and “Outgoing Mail Server” fields are correctly filled out. These fields should reflect the server settings provided by your email provider.
- Check the “Authentication” settings and make sure it’s set to the appropriate method (e.g., password, OAuth) as per your email provider’s requirements.
If you notice any discrepancies or errors in the email account settings, make the necessary corrections. After updating the settings, close the Preferences window and try accessing your email account again through Apple Mail. Check if the issues have been resolved.
Keep in mind that email account settings can differ depending on your email service provider. If you’re unsure about the correct settings, contact your email provider’s support or consult their official documentation for assistance.
Verifying and correcting email account settings is an important step in troubleshooting Apple Mail issues. If the problems persist, we will move on to other troubleshooting steps to resolve the issues.
Clearing Email Cache
Over time, Apple Mail accumulates cache files that store temporary data related to your email accounts. These cache files can sometimes become corrupted or outdated, leading to performance issues or unexpected behavior. Clearing the email cache can help resolve these problems. Here’s how to clear the email cache in Apple Mail:
- Close Apple Mail to ensure that the application is not actively accessing the cache.
- Open a Finder window on your Mac.
- Click on the “Go” menu in the menu bar and select “Go to Folder.”
- In the input field, enter the following path: ~/Library/Mail/V7/MailData
- A new Finder window will open, revealing the MailData folder.
- Select all the files and folders within the MailData folder.
- Move the selected items to the Trash. You may be prompted to enter your administrator password.
- Empty the Trash to permanently delete the cache files.
After clearing the email cache, relaunch Apple Mail and check if the issues have been resolved. Please note that clearing the cache will remove any locally stored data related to your email accounts, such as mailbox index information and previously downloaded attachments. However, this will not affect your actual email messages, as they are stored on the email server.
Clearing the email cache is a helpful troubleshooting step in resolving issues with Apple Mail. If the issues persist, we’ll move on to other troubleshooting methods in order to find a solution.
Checking for Large Attachments
Large email attachments can not only consume a significant amount of storage space but also cause issues with sending, receiving, or syncing emails in Apple Mail. If you’re experiencing problems with your email, it’s worth checking for and managing any large attachments. Here’s how you can do it:
- Open Apple Mail on your Mac.
- Go to the mailbox or folder where you suspect there might be large attachments.
- Sort the emails by size by clicking on the “Size” column header.
- Scan through the list and look for emails with unusually large file sizes.
- Once you identify emails with large attachments, consider removing or saving the attachment(s) to free up space. You can do this by right-clicking on the email and choosing the appropriate option to save the attachment or delete the email entirely, depending on your needs.
- If you’re not sure which emails have large attachments, you can utilize the “Attachments” smart mailbox in Apple Mail. This mailbox automatically collects emails with attachments across multiple mailboxes, making it easier to manage and remove large attachments.
- To access the “Attachments” smart mailbox, go to the “Mailbox” menu and select “New Smart Mailbox.” Set the condition to “Contains Attachment” and name the mailbox as desired.
- Navigate to the “Attachments” mailbox and review the emails listed. Take appropriate actions to delete or save any large attachments.
By managing large attachments, you can free up storage space and potentially alleviate performance issues with Apple Mail. Removing unnecessary attachments can also help reduce the load on your email server, resulting in smoother email synchronization and improved overall performance.
If you regularly receive large attachments and need to retain them, consider offloading them to cloud storage or archiving them elsewhere to maintain efficient email management.
Checking for and managing large attachments is an effective step in troubleshooting Apple Mail issues. If the problems persist, we’ll explore other troubleshooting steps to resolve them.
Resetting Apple Mail Settings
If you’ve attempted various troubleshooting steps and are still experiencing persistent issues with Apple Mail, resetting the app’s settings can often help resolve underlying problems. Resetting Apple Mail will revert the app to its default configuration, which can fix issues related to preferences, customizations, or corrupted settings. Here’s how to reset Apple Mail settings:
- Close Apple Mail to ensure that it’s not running in the background.
- Open a Finder window on your Mac.
- Click on the “Go” menu in the menu bar and select “Go to Folder.”
- In the input field, enter the following path: ~/Library/Containers/com.apple.mail/Data/Library/Preferences/
- A new Finder window will open, revealing the Mail preferences folder.
- Locate the file named “com.apple.mail.plist” and move it to the Trash. This file stores the preferences and settings for Apple Mail.
- If you have multiple user accounts on your Mac, repeat the above steps for each user account, as the preferences file may be located in a different user-specific folder.
- Empty the Trash to permanently delete the preferences file.
After resetting the Apple Mail settings, relaunch the app. You will need to set up your email accounts again. Test if the previous issues have been resolved.
Keep in mind that resetting the settings will remove any customizations or preferences you had set up in Apple Mail. This includes signatures, rules, smart mailboxes, and other personalizations. However, it often proves effective in resolving persistent issues that may be related to corrupted or misconfigured settings.
If the problems persist even after resetting the settings, further troubleshooting steps may be necessary to get to the root of the Apple Mail issues.
Rebuilding Mailbox
If you’re experiencing issues with Apple Mail, such as emails not appearing correctly, slow performance, or synchronization problems, rebuilding the mailbox might help resolve these issues. Rebuilding the mailbox involves recreating the mailbox index, which can fix problems related to corrupted or outdated mailbox data. Here’s how to rebuild a mailbox in Apple Mail:
- Open Apple Mail on your Mac.
- Locate the problematic mailbox in the mailbox list on the left-hand side of the app.
- Right-click or control-click on the mailbox and select “Rebuild” from the context menu that appears.
- The mailbox will enter a rebuilding process. This process can take some time, depending on the size and complexity of the mailbox. A progress bar will indicate the status of the rebuild.
- Allow the mailbox to rebuild completely before attempting to access or interact with it.
- If you have multiple mailboxes experiencing issues, consider rebuilding each one separately.
Once the rebuilding process is complete, check if the issues you were experiencing with the mailbox have been resolved. Emails and folders should appear correctly, and synchronization problems should be resolved.
Rebuilding the mailbox does not delete any emails or data from your email account. It only recreates the index that helps Apple Mail organize and display the emails within the mailbox.
If rebuilding the mailbox does not resolve the issues, you may need to explore further troubleshooting steps or seek additional assistance to address the problems with Apple Mail.
Deleting and Re-Adding Email Account
If you’re encountering persistent issues with Apple Mail, deleting and re-adding the email account can often provide a fresh start and resolve any underlying configuration or synchronization problems. This troubleshooting step ensures that you have a clean slate to work with. Here’s how you can delete and re-add an email account in Apple Mail:
- Open Apple Mail on your Mac.
- Go to the “Mail” menu and select “Preferences.”
- In the Preferences window, click on the “Accounts” tab.
- Select the email account that is causing problems from the list on the left-hand side.
- At the bottom of the accounts list, click on the “-” (minus) button to remove the selected account.
- A confirmation prompt will appear. Choose whether to retain or delete the account’s data on your Mac. If you select “Delete from Mac,” your emails and account settings will be removed.
- Click “OK” to confirm and remove the account.
- To re-add the email account, click on the “+” (plus) button at the bottom of the accounts list.
- Follow the prompts to enter your email address, username, password, and other required information to set up the account again.
- After adding the account, Apple Mail will automatically attempt to verify the account settings and establish a connection with the email server.
- If the account verification is successful, your email account will be added to Apple Mail, and you can start using it again.
Deleting and re-adding the email account can help resolve configuration issues, server connection problems, or other account-related disruptions. It essentially provides a fresh setup for your email account within Apple Mail.
Please note that deleting the account will remove the associated emails and account settings from your Mac. If you had previously backed up or synced your emails and wish to retain them, ensure that you have a copy of your important emails or data before deleting the account.
If the problems persist after re-adding the email account, further troubleshooting steps may be required to address the issues with Apple Mail.
Contacting Apple Support
If you have exhausted all troubleshooting options and are still facing persistent issues with Apple Mail, it may be time to seek assistance from Apple Support. Apple’s support team is equipped with the knowledge and resources to help diagnose and resolve complex issues. Here’s how you can contact Apple Support:
- Visit the Apple Support website (support.apple.com) on your web browser.
- Navigate to the “Contact Us” or “Support” section of the website.
- Select the appropriate topic or product related to Apple Mail.
- Choose from the available contact options, such as phone support, live chat, or scheduling a callback.
- Provide the necessary information, including your contact details and a description of the issue you’re experiencing.
- Submit your request or schedule an appointment for support.
- Alternatively, you can also schedule a visit to an Apple Store in your area and speak with an Apple Genius in person.
When contacting Apple Support, be prepared to provide specific details and any relevant error messages or screenshots related to the issue. This will assist the support team in diagnosing and addressing the problem more efficiently.
Apple Support professionals are trained to handle a wide range of issues related to Apple Mail and are dedicated to providing assistance and solutions. They can guide you through advanced troubleshooting steps, perform diagnostics, or even recommend software updates or repairs if necessary.
Remember, Apple Support is there to help, so don’t hesitate to reach out if you need further assistance with Apple Mail.