
Why Use SSL with an Email Account in macOS Mail
Using SSL (Secure Sockets Layer) with your email account in macOS Mail is crucial for maintaining the security and privacy of your communications. SSL ensures that the data exchanged between your email client and the mail server is encrypted, making it difficult for hackers and unauthorized individuals to intercept and read your messages.
Emails often contain sensitive information, such as personal or financial details, and without SSL, this data can be vulnerable to interception. By enabling SSL, you add a layer of protection that safeguards your emails and prevents them from being accessed or tampered with by malicious actors.
Here are a few key reasons why using SSL with your email account in macOS Mail is necessary:
- Data Encryption: SSL encrypts the connection between your email client and the mail server, ensuring that the information transmitted is unreadable to anyone attempting to intercept it. This protects your emails from being read or altered during transit.
- Authentication: SSL certificates authenticate the identity of the mail server, ensuring that you are connecting to the legitimate server and not a malicious imposter. This prevents phishing attacks where attackers attempt to trick you into providing sensitive information.
- Protection from Eavesdropping: Without SSL, your emails can be intercepted by hackers using techniques like packet sniffing. SSL encrypts the data, making it nearly impossible for eavesdroppers to decipher the content of your emails.
- Compliance with Privacy Regulations: Many privacy regulations, such as the General Data Protection Regulation (GDPR), require the use of encryption for transmitting personal data. By using SSL, you ensure compliance with these regulations and protect the privacy of your recipients.
- Secure Authentication: SSL also provides secure authentication methods, such as the use of digital certificates, which provide an added layer of verification when connecting to the mail server. This reduces the risk of unauthorized access to your email account.
By enabling SSL with your email account in macOS Mail, you can rest assured that your communications are secure and protected from prying eyes. It is a simple yet effective way to enhance the privacy and integrity of your emails, ensuring that your sensitive information remains confidential.
Setting up an Email Account with SSL in macOS Mail
In macOS Mail, configuring your email account to use SSL is a straightforward process that adds an extra layer of security to your communications. Follow these steps to set up an email account with SSL in macOS Mail:
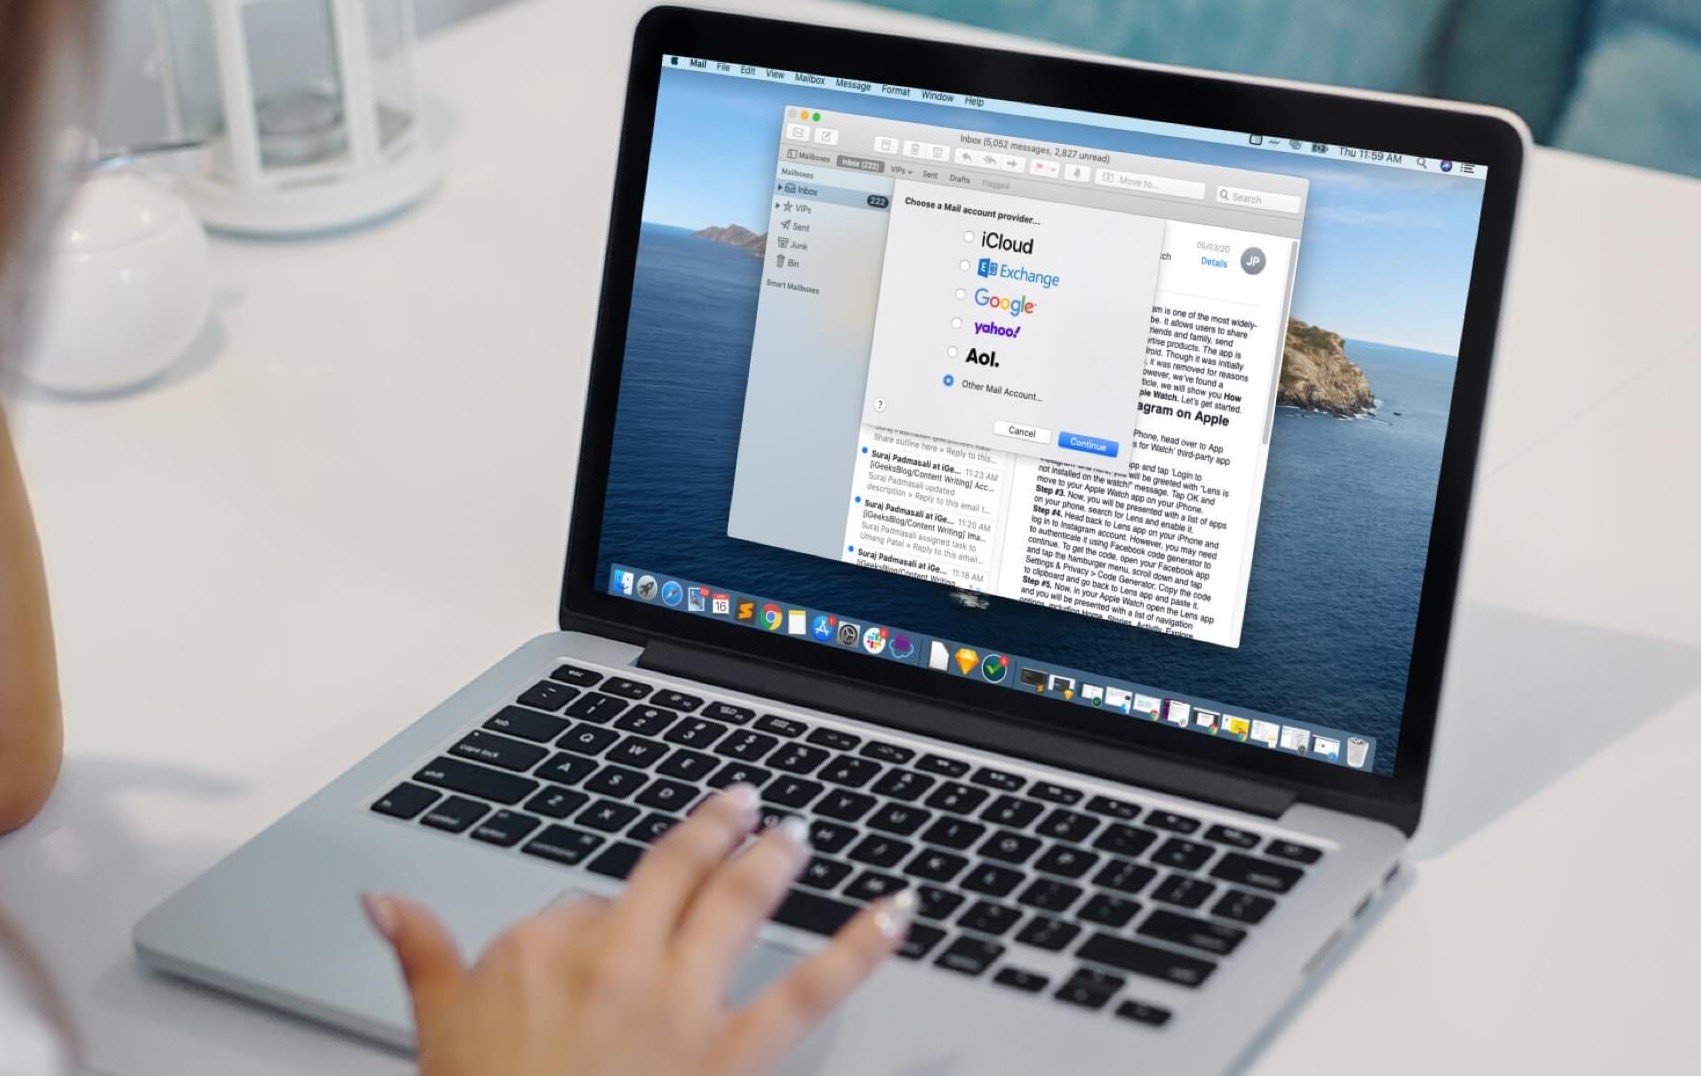
- Open the Mail app on your macOS device. If you don’t have an existing email account set up, you will be prompted to add an account. Click on “Add Account.”
- Choose the type of email account you want to set up, such as Gmail, Yahoo, or Exchange. If your email provider is not listed, select “Other Mail Account” and manually enter your account details.
- Enter your email address and password in the designated fields. macOS Mail will attempt to automatically configure the account settings.
- If the automatic setup process fails, you will need to enter the account settings manually. Click on “Continue” and choose the account type (IMAP or POP), then enter the incoming and outgoing mail server details provided by your email provider.
- Tick the box that says “Use SSL” or “SSL/TLS” to enable SSL encryption for both incoming and outgoing servers. This ensures that your email server connections are secure.
- Click on “Sign In” or “Set Up,” and macOS Mail will attempt to establish a connection with the email server using SSL.
- If the connection is successful, macOS Mail will verify the SSL certificate and prompt you to trust it. Verify the certificate details to ensure they match with your email provider. Once verified, click on “Trust” to continue.
- Complete the account setup by providing a description for the account and selecting additional options such as syncing calendars or notes. Click on “Done” to finish the setup process.
Once you have set up your email account with SSL in macOS Mail, your communications will be encrypted and secured from interception. Remember to periodically check the SSL settings and ensure they are properly configured to maintain the integrity and privacy of your email conversations.
Configuring SSL Settings in macOS Mail
Configuring SSL settings in macOS Mail allows you to fine-tune the security and encryption options for your email account. By adjusting these settings, you can ensure that your email communications are even more secure. Here’s how you can configure SSL settings in macOS Mail:
- Open the Mail app on your macOS device and go to the “Preferences” menu. This can be accessed by clicking on “Mail” in the top menu bar and selecting “Preferences.”
- Click on the “Accounts” tab to view a list of your email accounts. Select the account for which you want to configure SSL settings.
- In the account settings window, navigate to the “Advanced” tab. This tab contains various options for customizing your email account settings.
- Under the “Incoming Mail Server” section, ensure that the “Use SSL” option is selected. This enables SSL encryption for incoming emails, keeping them secure during transmission.
- Similarly, under the “Outgoing Mail Server (SMTP)” section, select the “Use SSL” option to enable SSL encryption for outgoing emails. This ensures that your sent emails are also protected.
- Review other SSL-related settings, such as the SSL certificate verify option. By default, macOS Mail verifies SSL certificates to ensure the server’s identity. However, you can choose to disable this option if necessary, although it is not recommended.
- Once you have made the desired changes, click on the “OK” button to save your settings. macOS Mail will update the SSL configuration for your email account accordingly.
Configuring SSL settings in macOS Mail allows you to take control of the security measures applied to your email account. By enabling SSL encryption for both incoming and outgoing servers and keeping the SSL certificate verification option enabled, you can enhance the security of your email communications.
Remember to regularly review and update your SSL settings whenever necessary to maintain the highest level of security for your email account.
Verifying SSL Certificate Details in macOS Mail
Verifying SSL certificate details in macOS Mail is an essential step in ensuring the authenticity and security of your email connections. By carefully examining the SSL certificate details, you can confirm that you are connecting to the correct and legitimate email server. Here’s how you can verify SSL certificate details in macOS Mail:
- Open the Mail app on your macOS device and go to the “Preferences” menu. This can be accessed by clicking on “Mail” in the top menu bar and selecting “Preferences.”
- Click on the “Accounts” tab to view a list of your email accounts. Select the account for which you want to verify SSL certificate details.
- In the account settings window, navigate to the “Advanced” tab. This tab contains various options for customizing your email account settings.
- Click on the “Certificate Trust Settings” button. A new window will open, displaying the list of trusted certificate authorities (CAs) and any custom certificates you have installed.
- Select the CA certificate that matches the one used by your email server. The certificate authority is responsible for issuing and verifying the SSL certificate for your email server.
- Inspect the details of the selected CA certificate, including the common name, expiration date, and any additional information provided. Ensure that these details match the information provided by your email provider.
- If the SSL certificate details match, you can proceed with confidence, knowing that you are connecting to the legitimate email server. If there are any discrepancies or inconsistencies, it’s advisable to contact your email provider for further assistance.
- After verifying the SSL certificate details, click on the “Cancel” button to close the Certificate Trust Settings window. Then, click on “OK” to save your changes in the account settings.
Verifying SSL certificate details in macOS Mail allows you to validate the authenticity of the email server and ensure a secure connection. By confirming the certificate’s details and checking for any discrepancies, you protect yourself from potential phishing attacks and unauthorized access to your email account.
Make sure to regularly review the SSL certificate details in macOS Mail, especially when connecting to new or unfamiliar email servers. This way, you can maintain the highest level of security and trust in your email communications.
Troubleshooting SSL Connection Issues in macOS Mail
While setting up SSL for your email account in macOS Mail is relatively straightforward, you may encounter occasional connection issues. These issues can prevent you from establishing a secure connection with the mail server. Fortunately, there are several troubleshooting steps you can take to resolve SSL connection problems in macOS Mail:
- Verify SSL Settings: Double-check that the “Use SSL” or “SSL/TLS” option is enabled for both incoming and outgoing mail servers in the account settings. Incorrect settings can result in SSL connection failures.
- Check Internet Connection: Ensure you have a stable and reliable internet connection. Unstable or weak connections can interfere with the SSL handshake process, causing connection issues.
- Confirm Server Settings: Review the server settings, including the incoming and outgoing mail server addresses and ports. Make sure they match the configuration provided by your email provider.
- Check Firewall and Antivirus Settings: Temporarily disable any firewall or antivirus software that may be interfering with the SSL connection. Some security tools may block SSL connections or flag them as potential threats by default.
- Update macOS and Mail App: Ensure that your macOS and Mail app are up to date with the latest patches and updates. Outdated software versions can sometimes have compatibility issues with SSL connections.
- Reset Keychain Certificates: If you are experiencing persistent SSL connection problems, you can try resetting the Keychain certificates in macOS. Open Keychain Access, go to Keychain Access > Certificate Assistant > Reset My Default Keychain, and follow the prompts.
- Contact Email Provider: If you have tried all the above steps and are still experiencing SSL connection issues, reach out to your email provider’s support team for assistance. They may have specific troubleshooting steps or insights related to their email server configuration.
Troubleshooting SSL connection issues in macOS Mail requires patience and attention to detail. By following these steps and systematically checking each potential problem area, you can diagnose and resolve most SSL connection problems.
Remember to document the steps you have taken and any error messages you have encountered. This information can be helpful when seeking assistance from your email provider or other technical support resources.
Additional Security Features for Email in macOS Mail
macOS Mail offers additional security features that can further enhance the protection of your email communication. By taking advantage of these features, you can safeguard your sensitive information and defend against various online threats. Here are some additional security features available in macOS Mail:
- Two-Factor Authentication (2FA): Enable two-factor authentication for your email accounts whenever possible. This adds an extra layer of security by requiring a second verification step, such as a temporary code sent to your smartphone, in addition to your password.
- S/MIME Encryption: Secure/Multipurpose Internet Mail Extensions (S/MIME) is a standard for encrypting and digitally signing email messages. By setting up S/MIME encryption, you can ensure that only the intended recipient can read your emails and verify the authenticity of the sender.
- Strong Passwords: Use strong, unique passwords for your email accounts. Avoid using common passwords and consider using a password manager to generate and store complex passwords securely.
- Email Filtering and Spam Protection: Configure macOS Mail’s spam filters and enable junk mail filtering to reduce the risk of malicious or unwanted emails reaching your inbox. Regularly review and delete suspicious emails.
- Phishing Detection: Be cautious of phishing attempts that impersonate legitimate entities. macOS Mail includes built-in phishing detection algorithms that can notify you if an email appears suspicious or contains potential phishing content.
- Data Protection and Backup: Regularly back up your email data to protect against accidental deletion, hardware failures, or malware attacks. macOS Mail allows you to export and backup your mailbox to ensure data integrity.
- Software Updates: Keep your macOS and Mail app up to date with the latest security patches and bug fixes. Software updates often address vulnerabilities that could be exploited by attackers.
- Education and Awareness: Stay informed about common email security threats, such as phishing scams, social engineering, and malware distribution. Educate yourself on best practices for identifying and avoiding these threats.
By employing these additional security features and practicing good email hygiene, you can greatly reduce the risk of falling victim to email-related attacks and protect your sensitive information.
Remember to regularly review and update your security settings in macOS Mail, and stay vigilant against evolving threats in the digital landscape.