
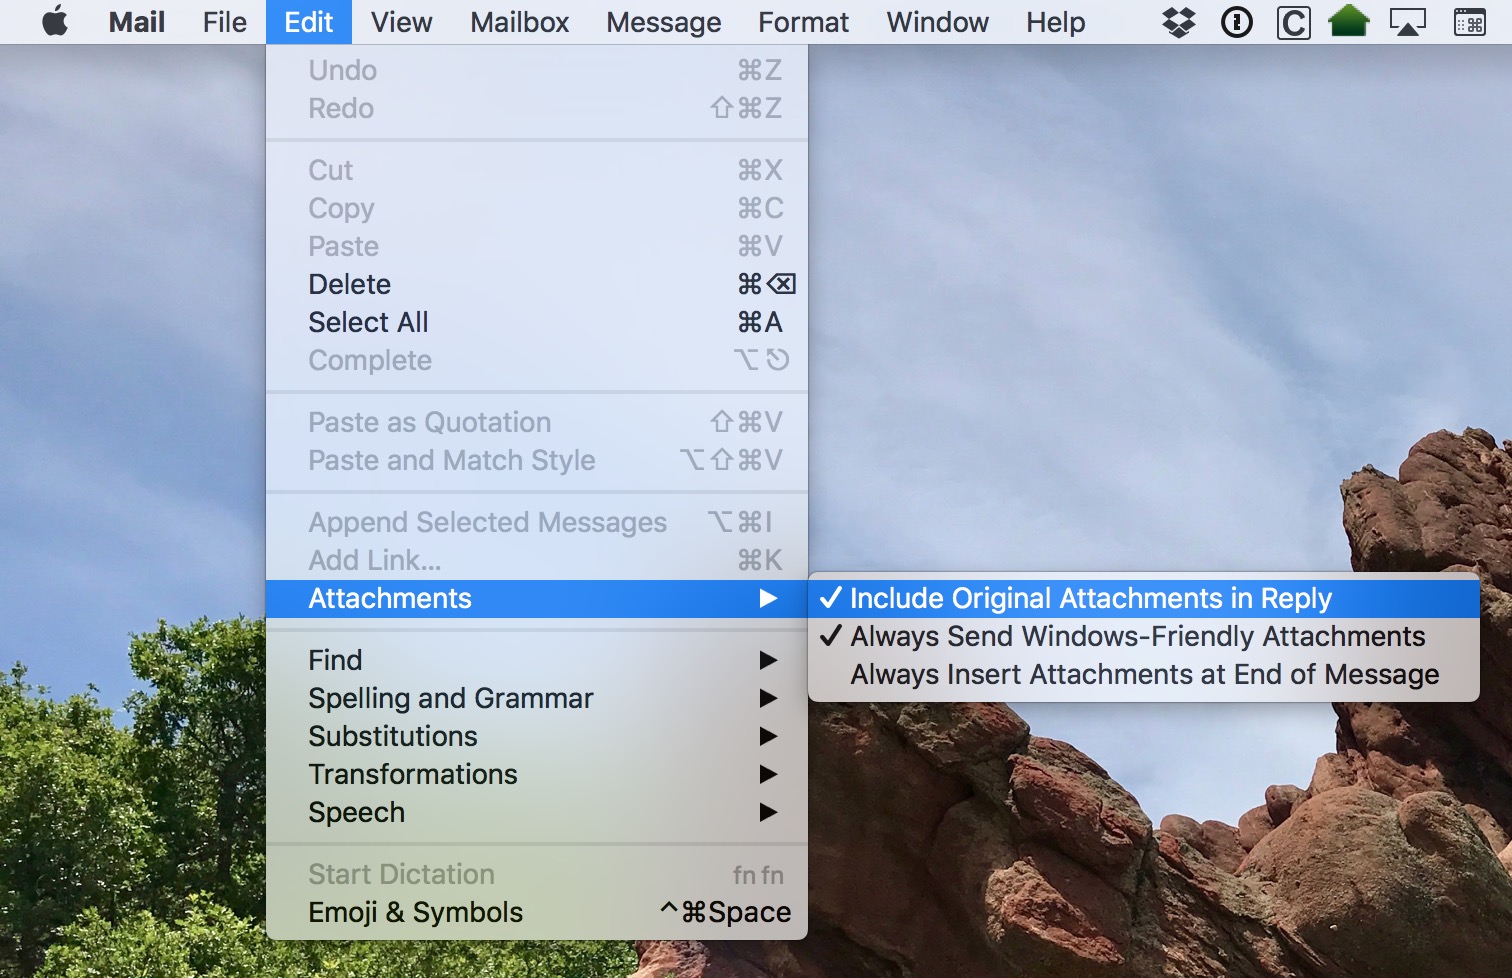
Benefits of Attaching Files at the End of Emails
When it comes to sending email attachments in macOS, you have the option to attach files at the end of your emails. While the traditional approach of attaching files at the beginning of the email is widely used, there are several benefits to consider when opting to attach files at the end.
1. Improved readability: Attaching files at the end of your emails allows you to communicate your message clearly and concisely. By positioning the attachments after the email body, you ensure that recipients can first focus on your message without the distraction of the attached files.
2. Enhanced organization: Placing attachments at the end of emails helps keep the email thread neat and organized. With the attachments separated from the main content, recipients can easily locate and access the files when needed.
3. Reduced scanning time: Attaching files at the end of emails saves recipients valuable time. Rather than having to scroll through lengthy attachments before getting to the email text, they can quickly assess the message and determine if they need to review the attachments or take action based on the email content alone.
4. Improved email load times: Large attachments can significantly increase the loading time of email messages, making it cumbersome for recipients to access the email and its content. By attaching files at the end of emails, the main email body loads first, allowing recipients to read and respond to the email promptly while the attachments load in the background.
5. Enhanced visual appeal: Attaching files at the end of emails helps create a cleaner and more visually appealing email layout. By separating the attachments from the main text, you can present your message in a more aesthetically pleasing format, enhancing the overall user experience.
6. Clear call to action: When attaching files at the end of emails, you can create a clear and concise call to action. You can include a brief summary of the attachments and provide instructions on what actions recipients should take regarding the files, such as reviewing, signing, or downloading.
7. Improved email deliverability: Some email providers and clients may flag emails with large attachments as spam or potential security risks. By attaching files at the end of emails, you reduce the likelihood of triggering spam filters or causing email delivery issues, helping to ensure that your message reaches the intended recipients.
By leveraging the benefits mentioned above, attaching files at the end of emails in macOS can streamline communication, improve email organization, and enhance the overall email experience for both senders and recipients.
How to Use the Attachment Feature in macOS Mail
The macOS Mail application provides a straightforward and user-friendly method for attaching files to your emails. Follow these steps to make the most of the attachment feature:
1. Open the Mail application on your macOS device and compose a new email or reply to an existing email thread.
2. Once you have drafted your email message, position the cursor at the end of your email body where you want to insert the attachment.
3. Click on the “Attach” button, which is typically represented by a paperclip icon. This action will open a file selection dialog box.
4. Navigate to the location on your computer where the file you want to attach is stored. You can choose files from your local storage, external devices, or cloud storage platforms such as iCloud or Dropbox.
5. Select the file you wish to attach and click the “Choose” or “Open” button, depending on your operating system version.
6. After selecting the file, macOS Mail will attach it to your email and place it at the cursor position you identified earlier. The file attachment will appear as a clickable link or an icon within your email message.
7. If you need to attach multiple files, repeat steps 3-6 for each additional file you want to include in the email.
8. Once you have attached all the desired files, review your email to ensure that everything is in order and that the attachments are positioned correctly at the end of the email body.
9. Add any remaining content or finishing touches to your email, such as a closing statement, signature, or additional information.
10. Finally, address the email to the intended recipient, add a subject line, and click the “Send” button to dispatch your email along with the attached files.
By following these steps, you can easily utilize the attachment feature in macOS Mail and seamlessly include files at the end of your emails for efficient and effective communication.
Step-by-Step Guide to Attaching Files at the End of Emails in macOS
Attaching files at the end of emails in macOS is a simple process. Follow this step-by-step guide to ensure a seamless experience:
1. Open the Mail application on your macOS device and create a new email or reply to an existing email thread.
2. Begin composing your email by typing your message in the email body. Include any necessary details or instructions that you want to communicate to the recipient.
3. Once you have finished writing the email content, position the cursor at the end of the email body, indicating where you want to insert the attachments.
4. Locate the file(s) you want to attach by either accessing them from your computer’s local storage, external devices, or cloud storage platforms.
5. Drag and drop the file(s) from their location onto the email body at the cursor position. Alternatively, you can click on the “Attach” button, usually represented by a paperclip icon, and select the file(s) from the file selection dialog box.
6. macOS Mail will automatically attach the file(s) at the cursor position, often displaying them as clickable links or icons within the email.
7. If you need to attach multiple files, repeat steps 4-6 for each additional file you want to include in the email.
8. Review the email to ensure that the attachments are positioned correctly at the end of the email body. Verify that the attached files are relevant to the content of your message.
9. Make any necessary edits or additions to the email, such as adding a closing statement, signature, or additional information.
10. Specify the recipient(s) of the email, add a subject line that accurately reflects the content, and click the “Send” button to deliver the email along with the attachments.
By following these step-by-step instructions, you can effortlessly attach files at the end of your emails in macOS, ensuring that your recipients receive the necessary files along with your message for effective communication.
Tips for Effectively Using Attachments in Emails
Attachments can be a powerful tool for sharing files and information in emails. To ensure that you use attachments effectively in your macOS emails, consider these helpful tips:
1. Choose the right file format: Select the appropriate file format for your attachments to ensure compatibility and ease of use for the recipient. Commonly used file formats include PDF, Word documents, Excel spreadsheets, and JPEG images.
2. Compress large files: If you need to send large files, consider compressing them using file compression software. This helps optimize file size, making it easier and faster for both you and the recipient to upload and download the attachments.
3. Clearly label your attachments: Provide descriptive and concise file names for your attachments. This makes it easier for recipients to understand the content of the files without having to open them. Avoid using generic names like “Document 1” or “Image 2” and instead opt for more specific names, such as “Quarterly Report Q3 2021” or “Family Vacation Photo Album.”
4. Mention attachments in the email body: Always mention the attachments in your email body to draw the recipient’s attention to them. Briefly summarize the contents of the attachments and explain why they are relevant to the email content. This will help ensure that the attachments are noticed and not overlooked.
5. Confirm file compatibility: Ensure that the recipient can open and access the attachments by specifying the required software or applications. If your attachments require specific programs, mention it in the email and provide alternative file formats if possible.
6. Avoid sending unnecessary or redundant attachments: Be mindful of the files you attach and only include those that are relevant to the email’s purpose. Avoid overwhelming recipients with excessive attachments or sending files that have already been shared in previous emails.
7. Request confirmation: If the attachments require an action or response from the recipient, clearly indicate this in your email and request confirmation. For example, if you need them to review and provide feedback on a document, ask them to confirm that they have received and reviewed the attachment.
8. Be conscious of file size limits: Different email providers and clients have varying file size limits. Verify the maximum attachment size allowed by the recipient’s email provider and make sure your attachments are within those limits to ensure successful delivery.
9. Consider alternative file-sharing methods: If your attachments exceed the recipient’s email provider’s file size limit or if you have a large number of files to share, consider using file-sharing services like Dropbox, Google Drive, or Microsoft OneDrive. Share links to the files in your email instead of attaching the files directly.
By following these tips, you can effectively utilize attachments in your macOS emails, ensuring that the files you share are relevant, accessible, and enhance the overall communication experience for both you and the recipient.
Best Practices for Email Attachments in macOS
Email attachments can greatly enhance communication, but it’s important to follow best practices to ensure a seamless experience for both senders and recipients. Here are some best practices to consider when using email attachments in macOS:
1. Use a professional email address: When sending attachments, it’s essential to use a professional email address that reflects your identity or the organization you represent. Avoid using personal or generic email addresses, as they may be perceived as unprofessional.
2. Scan attachments for viruses: Before attaching any files, ensure they are free from viruses or malware. Use reliable antivirus software to scan the files to protect the recipient’s computer and data from potential threats.
3. Be mindful of file size: Large attachments can cause delays in email delivery and may exceed the recipient’s mailbox size limits. Compress files or consider alternative file-sharing methods like cloud storage services when dealing with large attachments.
4. Provide context for attachments: Clearly communicate the purpose and relevance of the attachments in your email. Avoid sending attachments without any explanation, as recipients may be unsure why they received the files or how they relate to the email content.
5. Label attachments appropriately: Give your attachments meaningful names that accurately describe the content. Utilize descriptive filenames to help recipients identify the purpose or subject of the attachment without needing to open them.
6. Proofread before sending: Before sending an email with attachments, proofread the entire message, including attachments if applicable. Check for any errors, typos, or missing information to ensure the email and its attachments are error-free.
7. Respect privacy and data protection: Be cautious when handling sensitive or confidential information in attachments. Only send such files to authorized recipients and consider encrypting the attachments or using secure file transfer methods to protect sensitive data.
8. Follow email etiquette: Adhere to proper email etiquette standards when sending attachments. Be concise in your email content, use a professional tone, and include a polite closing. Avoid sending unnecessary attachments or repeatedly sending the same files in multiple emails.
9. Confirm attachment receipt: If the attachments require action or review from the recipient, request acknowledgment or confirmation of receipt. This ensures that the attachments have been successfully received and the intended action can be taken in a timely manner.
10. Regularly clean up attachments: Over time, email attachments can take up significant storage space. Regularly delete or archive old emails with attachments that are no longer necessary to free up storage and improve email organization.
By following these best practices, you can effectively utilize email attachments in macOS, ensuring smooth and professional communication while maintaining the security and integrity of your information.
Alternatives to Attaching Files at the End of Emails in macOS
While attaching files at the end of emails is a common practice, there are alternative methods available in macOS that can enhance file sharing and collaboration. Consider these alternatives to attaching files directly in your emails:
1. Cloud storage services: Instead of attaching files, utilize cloud storage services like Google Drive, Dropbox, or iCloud. Upload your files to the cloud and share a link to the files in your email. This method not only avoids attachment size limitations but also allows for easy collaboration and version control.
2. File transfer services: Use specialized file transfer services like WeTransfer or Send Anywhere to securely transmit large files. These services provide a temporary link that can be shared through email, allowing recipients to download the files directly.
3. Shared document collaboration: Collaborative platforms like Google Docs or Microsoft OneDrive enable users to work on documents together in real-time. Instead of attaching files, share a link to the shared document, allowing recipients to view, edit, and comment on the file simultaneously.
4. Zip and compress files: If you need to send multiple files or a large file, consider compressing them into a ZIP file. Mac users can easily create a ZIP file by right-clicking on the selected files and choosing the “Compress” option. The compressed file can then be attached to the email, reducing file size and simplifying the download process.
5. FTP (File Transfer Protocol): For large or sensitive files, FTP can be a secure alternative to email attachments. FTP allows you to upload files to a server and provide recipients with a link to access and download the files. There are various FTP client applications available for macOS, such as Cyberduck or Transmit.
6. File sharing within collaborative tools: If you are working within a project management or team collaboration tool, explore the built-in file sharing features. Platforms like Slack, Microsoft Teams, or Basecamp allow users to upload and share files directly within the application, making it easy for team members to access and collaborate on shared files.
7. Image hosting services: When sharing images, consider using image hosting services like Imgur or Flickr. These platforms allow you to upload images and provide links that can be shared in your emails. Recipients can view and download the images directly from the hosting site.
8. Printing or physical storage: In some cases, it may be more practical to print the document or save it to a physical storage device, such as a USB drive or external hard drive. This alternative is useful when the recipient prefers physical copies or when digital transmission is not feasible.
By exploring these alternatives, you can enhance file sharing, collaboration, and the overall efficiency of communication through email in macOS. Choose the method that best suits your needs and those of your recipients to ensure seamless file sharing and collaboration.