
Setting Up the Dr. J Projector
Setting up the Dr. J Projector is a straightforward process that allows you to enjoy your favorite content on a larger screen. Follow these simple steps to get started:
-
Unboxing the Projector: Begin by unboxing the Dr. J Projector and carefully removing all the components from the packaging. Ensure that all the necessary parts, including the power cable, remote control, and user manual, are present and in good condition.
-
Choosing the Ideal Location: Select an optimal location for the projector, taking into account factors such as distance from the screen, available power outlets, and minimizing potential obstructions. Ideally, the projector should be placed on a stable surface or mounted securely to ensure stability during operation.
-
Connecting the Power: Plug the power cable into the projector and then connect it to a power outlet. Ensure that the power source is stable and reliable to avoid any interruptions during use.
-
Powering On the Projector: Once the power is connected, power on the projector using the designated button or remote control. Allow the projector to initialize and reach its operational state.
-
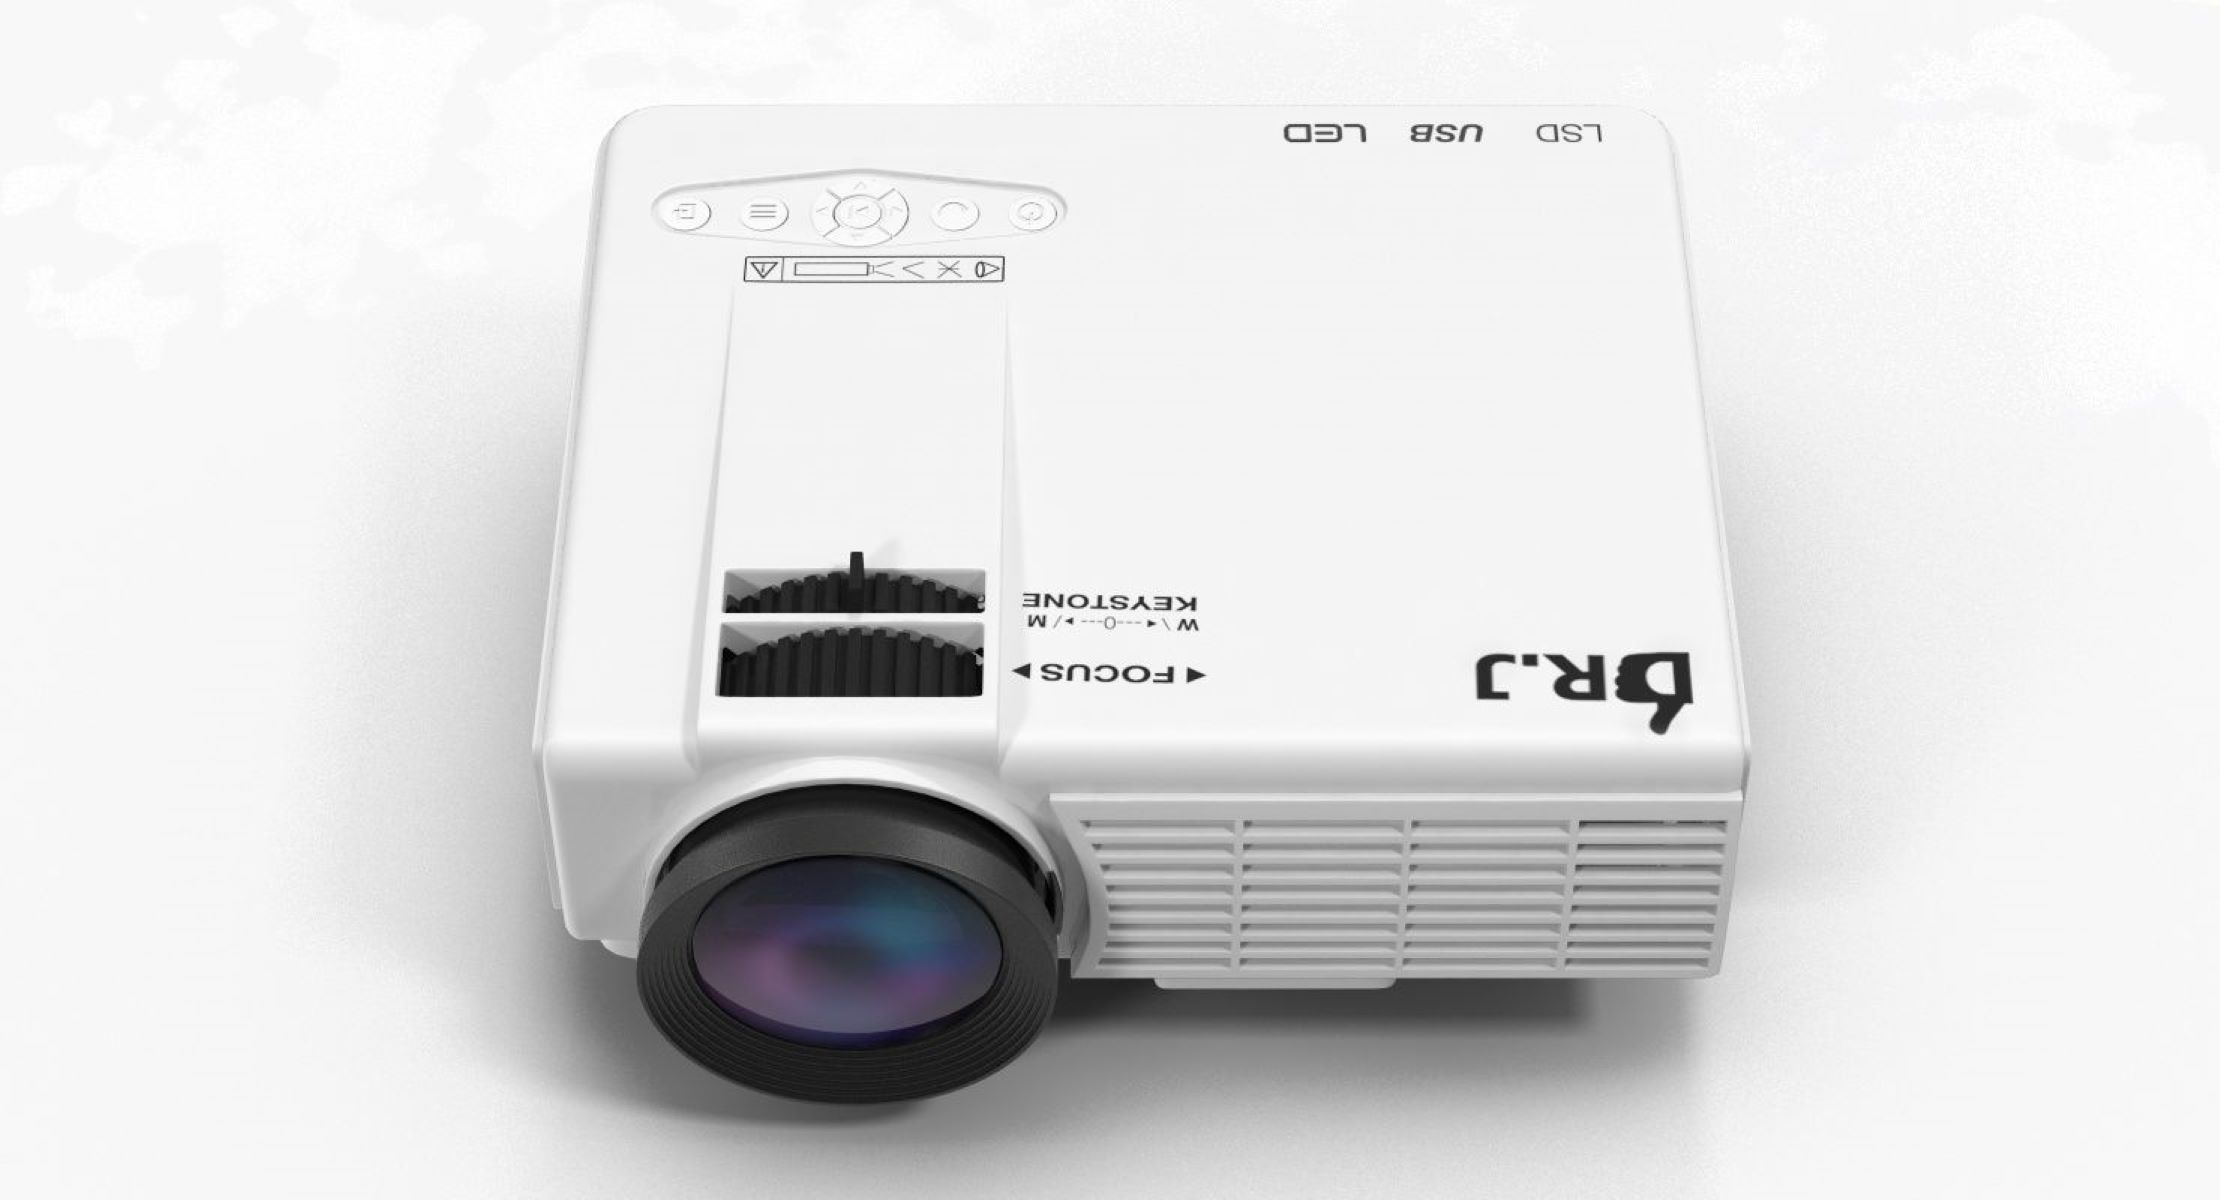
Adjusting the Focus and Keystone: Adjust the focus and keystone settings to ensure a clear and properly aligned image on the screen. Use the focus ring to sharpen the image and the keystone adjustment to correct any distortion caused by the angle of the projector.
-
Selecting the Input Source: Using the remote control or the control panel on the projector, select the appropriate input source for your content. For connecting an iPhone, the HDMI input or AV input may be used, depending on the specific model of the Dr. J Projector.
-
Testing the Projection: With the projector powered on and the input source selected, test the projection to ensure that the image is displayed correctly on the screen. Make any necessary adjustments to the projector's position or settings to achieve the desired projection quality.
By following these steps, you can effectively set up the Dr. J Projector for use with your iPhone, creating an immersive viewing experience for your favorite movies, TV shows, and more.
Connecting the iPhone to the Projector
Once the Dr. J Projector is set up, the next step is to connect your iPhone to the projector for seamless playback of your favorite content. Here’s a step-by-step guide to help you establish the connection:
-
Prepare the iPhone and Adapter: Ensure that your iPhone is charged and ready for use. Additionally, if your projector requires an adapter to connect to the iPhone, have it readily available.
-
Connect the Adapter to the iPhone: If an adapter is needed, plug it into the charging port of your iPhone. This will provide the necessary interface to connect the iPhone to the projector.
-
Attach the HDMI or AV Cable: Use an HDMI or AV cable, depending on the projector’s input options, to connect the adapter to the corresponding input port on the projector. Ensure that the connection is secure to avoid any interruptions during playback.
-
Switch Input Source on the Projector: Once the physical connections are in place, switch the input source on the projector to the port where the iPhone is connected. This can typically be done using the remote control or the control panel on the projector.
-
Unlock the iPhone and Start Playback: Unlock your iPhone and navigate to the content you wish to display. Whether it’s a movie, a presentation, or a photo slideshow, start playing the content on your iPhone. The projector should mirror the display of your iPhone, showcasing the content on the larger screen.
-
Adjust the iPhone Display Settings (if necessary): Depending on the iPhone model and the projector’s specifications, you may need to adjust the display settings on your iPhone to optimize the output for the projector. This includes adjusting the screen mirroring settings and resolution to ensure the best viewing experience.
With these steps, you can seamlessly connect your iPhone to the Dr. J Projector, unlocking a world of possibilities for sharing and enjoying multimedia content on a larger scale.
Adjusting the Projector Settings
After connecting your iPhone to the Dr. J Projector, it’s essential to fine-tune the projector settings to optimize the viewing experience. Here’s a detailed guide on adjusting the projector settings for optimal performance:
-
Aspect Ratio and Screen Size: Access the projector’s settings menu to adjust the aspect ratio and screen size to match the content being displayed. Common aspect ratios include 4:3 and 16:9, so select the appropriate ratio based on the content format for accurate projection.
-
Brightness and Contrast: Depending on the ambient lighting conditions, adjust the brightness and contrast settings to enhance the clarity and visibility of the projected image. This ensures that the content is displayed with optimal brightness and contrast levels, even in varying lighting environments.
-
Color and Image Mode: Explore the color and image mode options on the projector to customize the visual output according to your preferences. Options may include standard, vivid, cinema, or custom modes, allowing you to tailor the color reproduction and image characteristics to suit different types of content.
-
Keystone Correction: If the projector is not positioned directly in front of the screen, utilize the keystone correction feature to adjust the image and correct any trapezoidal distortion. This ensures that the projected image appears rectangular and properly aligned, regardless of the projector’s placement angle.
-
Projection Mode and Orientation: Some projectors offer different projection modes, such as front, rear, ceiling, or table-top projection. Select the appropriate mode based on the projector’s placement and orientation to achieve the desired projection setup.
-
Audio Settings: If the projector features built-in speakers or audio output options, adjust the audio settings to optimize the sound quality. This may include adjusting volume levels, equalizer settings, and selecting audio output sources for a complete multimedia experience.
By carefully adjusting these projector settings, you can tailor the viewing experience to your preferences and ensure that the content from your iPhone is presented with exceptional visual quality and clarity.
Playing Content from the iPhone
With the Dr. J Projector set up and the iPhone successfully connected, you’re ready to enjoy a wide range of multimedia content on the big screen. Here’s a comprehensive guide to playing content from your iPhone through the projector:
-
Streaming Videos and Movies: Launch your preferred video streaming app on the iPhone, such as Netflix, Hulu, or YouTube, and select the desired movie or video. With the content playing on your iPhone, it will be mirrored and projected onto the larger screen, providing an immersive viewing experience.
-
Photo Slideshows and Presentations: Whether it’s a collection of photos or a professional presentation, navigate to the photo or presentation app on your iPhone. Start the slideshow or presentation, and the projector will display each slide or image with enhanced clarity and size, captivating your audience or enhancing your personal viewing experience.
-
Mobile Gaming: Engage in mobile gaming on your iPhone and experience it on a grand scale through the projector. Whether it’s action-packed games, puzzles, or multiplayer challenges, the projector amplifies the gaming experience, making it more engaging and visually striking.
-
Screen Mirroring for Apps and Web Content: Utilize the screen mirroring feature on your iPhone to display apps, web content, or any other on-screen activity directly onto the projector. This versatile feature allows you to share a wide array of content, from social media feeds to educational apps, with a larger audience or for personal enjoyment.
-
Audio Playback and Sound Enhancement: If the projector features audio output options, take advantage of the enhanced sound quality to complement the visual experience. Enjoy music, podcasts, or audio from videos with improved audio output, creating a more immersive entertainment environment.
By leveraging the capabilities of the Dr. J Projector and your iPhone, you can unlock a myriad of entertainment and productivity possibilities, seamlessly integrating your iPhone’s content with the expansive projection capabilities of the projector.
Troubleshooting Common Issues
While using the Dr. J Projector with your iPhone, you may encounter common issues that can be resolved with simple troubleshooting steps. Here’s a guide to help you address potential challenges:
-
No Display on the Projector: If the projector does not display the iPhone’s content, ensure that the input source on the projector matches the port to which the iPhone is connected. Additionally, check the physical connections and the iPhone’s screen mirroring settings to ensure proper connectivity.
-
Poor Image Quality: If the projected image appears blurry or distorted, adjust the focus and keystone settings on the projector to optimize the image clarity and alignment. Also, verify the resolution and aspect ratio settings on the iPhone to ensure compatibility with the projector.
-
Audio Output Issues: If you encounter audio playback problems, check the audio settings on the projector and the volume levels. Ensure that the audio output source is correctly selected, and consider using external speakers for enhanced sound quality if the projector supports it.
-
Intermittent Connectivity: If the connection between the iPhone and the projector is inconsistent, inspect the adapter, cable, and iPhone’s charging port for any damage or debris. Reconnect the devices securely and consider using high-quality, certified accessories for reliable connectivity.
-
Compatibility and Software Updates: Verify that the Dr. J Projector and the iPhone are compatible in terms of hardware and software requirements. Additionally, check for any available firmware updates for the projector and ensure that your iPhone is running the latest iOS version to maintain seamless compatibility.
By addressing these common issues through systematic troubleshooting, you can ensure a smooth and enjoyable experience when using the Dr. J Projector with your iPhone, maximizing the potential of this versatile multimedia setup.