
What is Disabled Mode on iPhone 11?
Disabled mode on iPhone 11 is a security feature designed to protect the device and its data from unauthorized access. When an incorrect passcode is entered multiple times, the iPhone 11 automatically enters disabled mode as a safeguard. This prevents further attempts to unlock the device using the passcode, thereby thwarting potential unauthorized access.
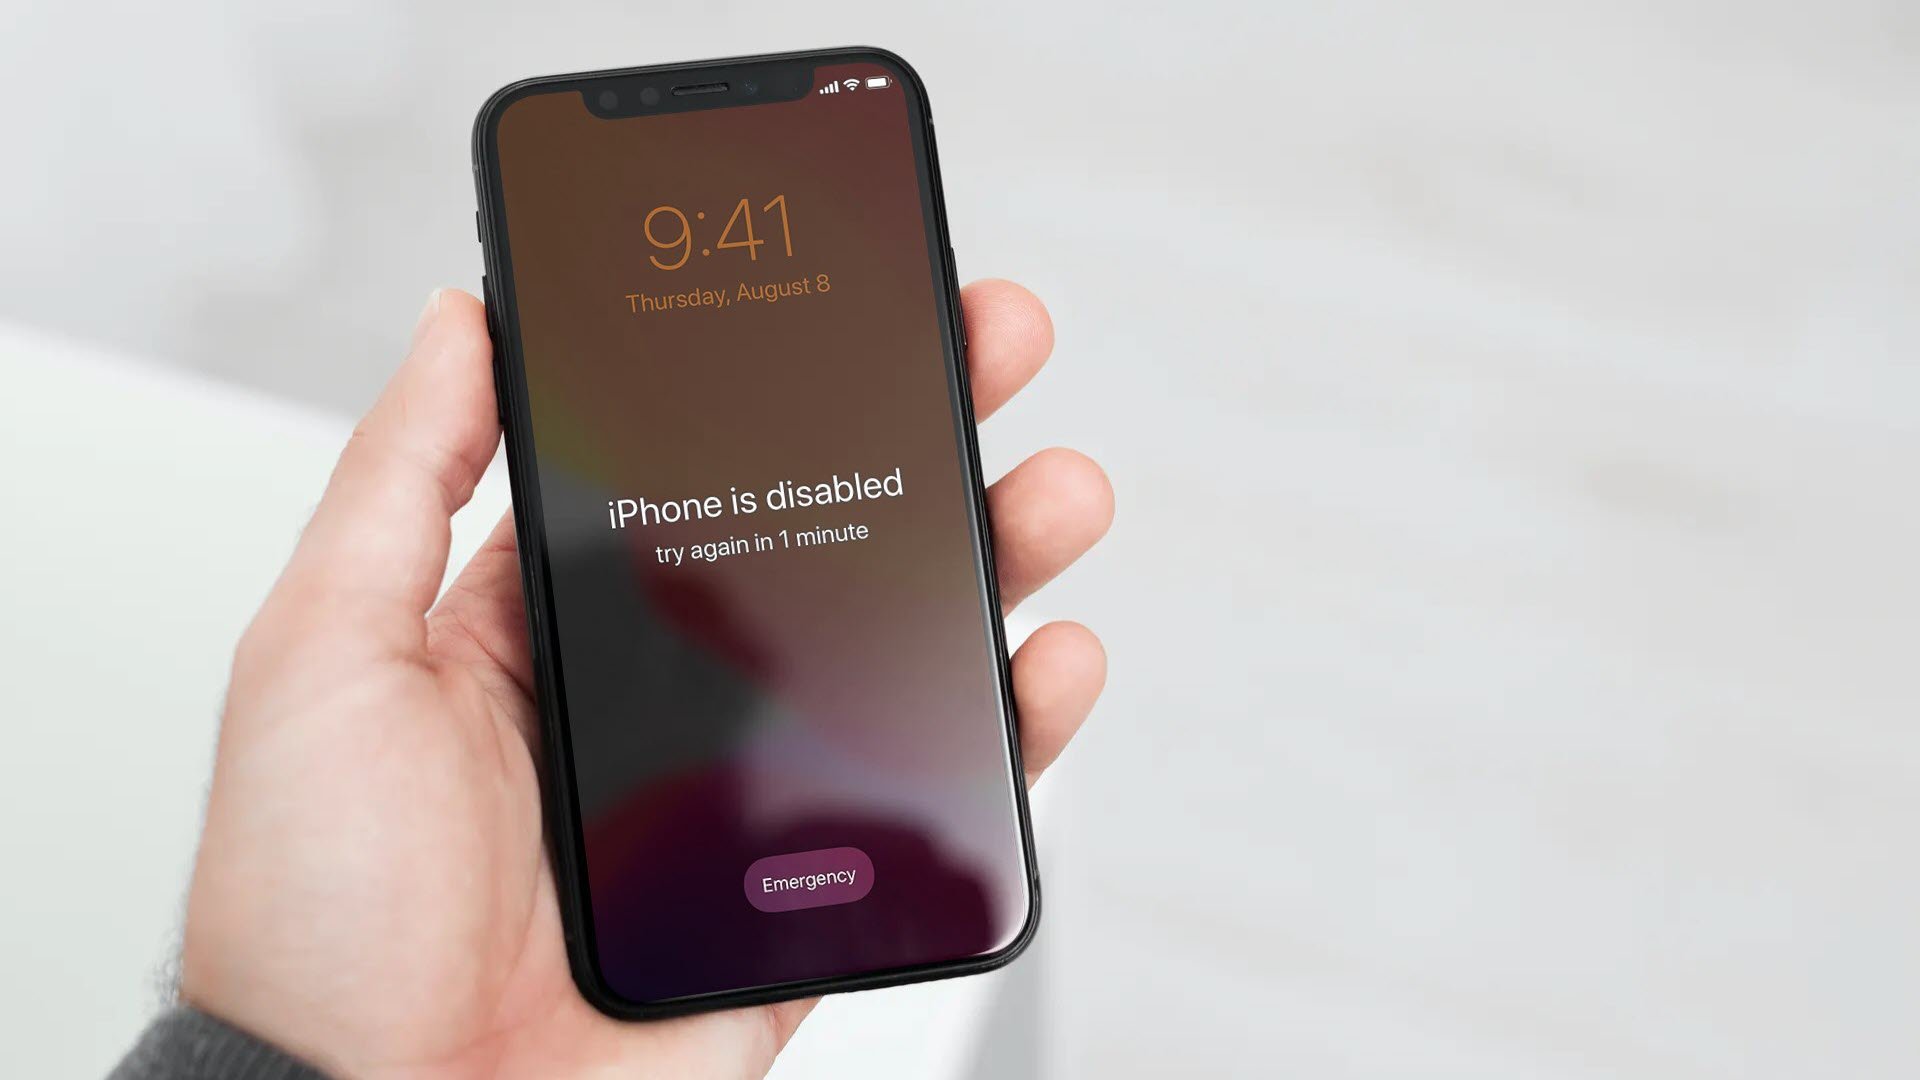
In disabled mode, the iPhone 11 becomes inaccessible, displaying a message such as "iPhone is disabled, try again in X minutes" or "iPhone is disabled, connect to iTunes." The duration of the disabled state increases with each subsequent incorrect passcode entry, serving as a deterrent against brute force attacks.
This security measure is crucial in safeguarding the sensitive information stored on the iPhone 11, including personal data, financial details, and confidential communications. By entering disabled mode, the device effectively limits access to prevent unauthorized individuals from gaining entry.
The disabled mode feature is an integral part of the iPhone 11's robust security infrastructure, providing users with peace of mind knowing that their data is protected in the event of unauthorized access attempts. Understanding the implications of disabled mode underscores the importance of implementing strong passcodes and adhering to best practices for device security.
By comprehending the significance of disabled mode on the iPhone 11, users can appreciate the protective measures in place to safeguard their personal information and maintain the integrity of their device.
Causes of Disabled Mode on iPhone 11
-
Incorrect Passcode Entries: One of the primary causes of disabled mode on iPhone 11 is the entry of incorrect passcodes. When an individual repeatedly enters an incorrect passcode, the device automatically enters disabled mode as a protective measure. This is a crucial security feature that prevents unauthorized access and protects the user's sensitive data.
-
Forgotten Passcode: Forgetting the passcode for an iPhone 11 can lead to the device entering disabled mode. This often occurs when a user has not accessed their device for an extended period or has recently changed their passcode. In such cases, the device goes into disabled mode to prevent unauthorized individuals from gaining access to the device and its contents.
-
Software Glitches or Malfunctions: Software glitches or malfunctions can also trigger disabled mode on the iPhone 11. These issues may arise due to software updates, conflicts with third-party applications, or other unforeseen software-related issues. When the device detects anomalies in its operation, it may activate disabled mode to prevent potential security breaches.
-
Security Breaches: In some cases, disabled mode may be activated as a result of security breaches or unauthorized attempts to access the device. This can occur when someone tries to gain unauthorized access to the iPhone 11, triggering the disabled mode as a protective measure against potential security threats.
-
System Errors: System errors within the iPhone 11's operating system can also lead to disabled mode. These errors may be caused by various factors, including hardware issues, corrupted system files, or conflicts within the device's software. When the system detects such errors, it may initiate disabled mode to prevent further complications and protect the device's integrity.
Understanding the diverse causes of disabled mode on the iPhone 11 underscores the importance of implementing robust security measures and adhering to best practices for device management. By recognizing the potential triggers for disabled mode, users can take proactive steps to mitigate these issues and maintain the security and functionality of their iPhone 11.
How to Get iPhone 11 Out of Disabled Mode Using iTunes
If your iPhone 11 has entered disabled mode due to multiple incorrect passcode entries, you can utilize iTunes to restore the device and exit disabled mode. This method is effective for resolving disabled mode issues while preserving your data, provided that you have previously synced your iPhone 11 with iTunes. Here's a step-by-step guide to help you navigate through the process:
-
Connect iPhone 11 to Computer: Begin by connecting your iPhone 11 to a computer that has the latest version of iTunes installed. Use a USB cable to establish the connection between the device and the computer.
-
Launch iTunes: Once the iPhone 11 is connected, launch iTunes on the computer. If prompted, enter the device passcode or select "Trust This Computer" on your iPhone 11 to establish a secure connection.
-
Enter Recovery Mode: To initiate the recovery process, you need to enter recovery mode on the iPhone 11. The method for entering recovery mode varies depending on the iPhone model. For iPhone 11, you can do this by pressing and quickly releasing the Volume Up button, followed by the Volume Down button. Then, press and hold the Side button until the recovery mode screen appears.
-
Restore iPhone: In iTunes, a prompt will appear, indicating that a device in recovery mode has been detected. You will be given the option to "Restore" or "Update" the iPhone 11. Select the "Restore" option to initiate the restoration process.
-
Follow On-Screen Instructions: iTunes will proceed to download the necessary software and restore your iPhone 11 to its factory settings. This process may take some time, and it's essential to ensure that the computer remains connected to the internet throughout the restoration process.
-
Set Up iPhone 11: Once the restoration is complete, you will have the option to set up your iPhone 11 as a new device or restore it from a previous backup. Select the preferred option based on your requirements.
By following these steps, you can effectively use iTunes to get your iPhone 11 out of disabled mode without losing your data. It's important to note that this method requires a computer with iTunes and a previously synced iPhone 11. Additionally, it's advisable to regularly back up your device to prevent data loss in unforeseen circumstances.
Utilizing iTunes to recover your iPhone 11 from disabled mode underscores the versatility and reliability of this method in resolving security-related issues while preserving the user's data and device settings.
How to Get iPhone 11 Out of Disabled Mode Using iCloud
If your iPhone 11 has entered disabled mode and you are unable to access it through traditional means, utilizing iCloud can offer a viable solution to restore the device and exit disabled mode. This method is particularly useful for individuals who have enabled the "Find My" feature on their iPhone 11 and have an iCloud account linked to the device. Here's a comprehensive guide on how to leverage iCloud to recover your iPhone 11 from disabled mode:
-
Access iCloud Website: Begin by accessing the iCloud website from a computer or another mobile device. Ensure that you have a stable internet connection to facilitate the recovery process.
-
Sign In to iCloud: Upon reaching the iCloud website, sign in using your Apple ID and password. This will grant you access to the iCloud dashboard, where you can manage various aspects of your Apple devices.
-
Navigate to Find iPhone: Within the iCloud dashboard, locate and click on the "Find iPhone" icon. This feature enables you to track, locate, and manage your Apple devices remotely, including those that are in disabled mode.
-
Select iPhone 11: After clicking on "Find iPhone," a list of devices associated with your Apple ID will be displayed. Select your disabled iPhone 11 from the list to initiate the recovery process.
-
Initiate Erase iPhone: Once your iPhone 11 is selected, click on the "Erase iPhone" option. This action will remotely erase all data and settings on the device, including the passcode that triggered the disabled mode.
-
Confirm Erase: A confirmation prompt will appear, requesting your consent to proceed with erasing the iPhone 11. Confirm the action to initiate the remote erasure process.
-
Wait for Erasure: iCloud will commence the erasure process, which may take some time to complete. It's essential to allow the process to finalize without interruption, ensuring that the device is effectively restored to its factory settings.
-
Set Up iPhone 11: Once the erasure is complete, you will have the option to set up your iPhone 11 as a new device or restore it from a previous iCloud backup. Select the preferred option based on your requirements.
By following these steps, you can effectively utilize iCloud to recover your iPhone 11 from disabled mode without the need for physical access to the device. This method leverages the remote management capabilities of iCloud to initiate a secure erasure process, effectively bypassing the disabled mode and enabling you to regain access to your iPhone 11.
Utilizing iCloud for disabled mode recovery underscores the convenience and versatility of remote device management, offering a practical solution for restoring access to your iPhone 11 while maintaining the security of your data and device settings.
How to Get iPhone 11 Out of Disabled Mode Without Losing Data
When faced with the challenge of disabled mode on an iPhone 11, the prospect of losing valuable data can be a significant concern. However, there are effective methods to restore the device without sacrificing your important information. One such approach involves leveraging the iPhone 11's recovery mode and utilizing specialized software to bypass the disabled state without data loss.
To initiate the process of getting your iPhone 11 out of disabled mode without losing data, you can follow these comprehensive steps:
-
Connect iPhone 11 to Computer: Begin by connecting your iPhone 11 to a computer using a USB cable. Ensure that the computer has the necessary software installed to facilitate the recovery process.
-
Launch Specialized Software: Utilize specialized software designed to bypass disabled mode without data loss. There are reputable third-party tools available that offer advanced functionality for recovering devices from disabled mode while preserving data integrity.
-
Enter Recovery Mode: Initiate the recovery mode on your iPhone 11. This can be achieved by following the specific instructions provided by the chosen specialized software. Entering recovery mode is a crucial step in preparing the device for the recovery process.
-
Follow Software Instructions: Once the iPhone 11 is in recovery mode, the specialized software will guide you through the necessary steps to bypass the disabled mode without compromising your data. This may involve running diagnostic checks, identifying the disabled state, and implementing targeted solutions to restore the device's functionality.
-
Wait for Recovery Process: Allow the specialized software to execute the recovery process, ensuring that it bypasses the disabled mode and restores access to your iPhone 11 without data loss. This may involve intricate procedures to address the disabled state while preserving the integrity of your device's data and settings.
-
Verify Data Integrity: Upon successful recovery, verify that all your data, including contacts, photos, messages, and applications, remains intact and accessible on your iPhone 11. This validation is essential to ensure that the recovery process effectively bypassed disabled mode without compromising your valuable information.
By following these steps and leveraging specialized software, you can effectively recover your iPhone 11 from disabled mode without losing data. This method offers a reliable and efficient solution for addressing disabled mode issues while safeguarding the integrity of your device's data and settings.
Utilizing specialized software for disabled mode recovery underscores the advanced capabilities available for preserving data integrity and restoring device functionality, providing users with a viable alternative to traditional recovery methods.