
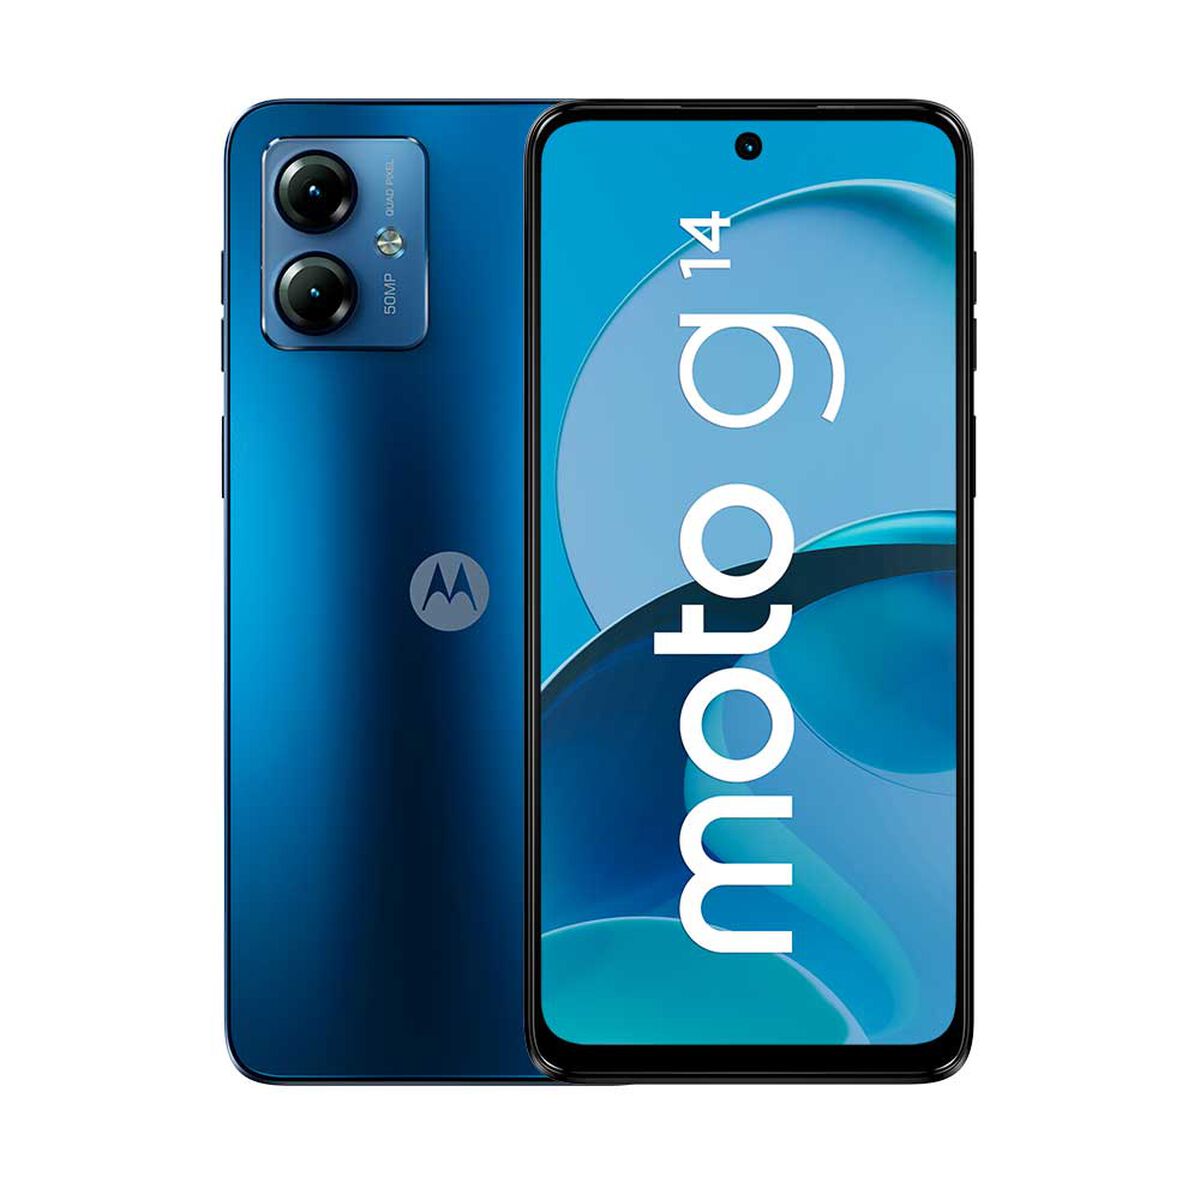
Setting up File Transfer
When it comes to managing files on your Moto G, setting up file transfer is the first step to accessing and organizing your data. Whether you want to transfer files between your phone and computer or share files with other devices, having a seamless file transfer setup is essential. Here's a quick guide to help you get started with file transfer on your Moto G.
Using USB Cable
One of the most common and straightforward methods for transferring files is using a USB cable. To set up file transfer via USB, simply connect your Moto G to your computer using a compatible USB cable. Once connected, your phone should prompt you to select the type of USB connection. Choose "File Transfer" or "MTP" mode to enable file transfer between your phone and computer. Your Moto G will then appear as a removable storage device on your computer, allowing you to drag and drop files between the two devices.
Using Bluetooth
If you prefer a wireless file transfer method, Bluetooth can be a convenient option. To set up file transfer via Bluetooth, ensure that Bluetooth is enabled on both your Moto G and the receiving device. Then, pair your Moto G with the target device and initiate the file transfer from the file manager or gallery app on your phone. Select the files you want to share, choose the option to share via Bluetooth, and select the paired device as the recipient. Once the transfer is initiated, the files will be sent wirelessly to the receiving device.
Using Google Drive
For seamless and accessible file storage, Google Drive offers a convenient solution for transferring and syncing files across devices. By installing the Google Drive app on your Moto G, you can easily upload, download, and share files through the cloud. Simply sign in to your Google account, upload the files you want to transfer, and access them from any connected device with Google Drive installed.
Setting up file transfer on your Moto G empowers you to efficiently manage and share your files across different platforms and devices. Whether you prefer the direct connection of a USB cable, the convenience of Bluetooth, or the versatility of cloud storage with Google Drive, having multiple file transfer options ensures that you can seamlessly access and organize your data whenever and wherever you need.
Using USB Cable
Using a USB cable to transfer files between your Moto G and a computer is a straightforward and reliable method. This approach provides a direct and stable connection, allowing for efficient file management. To initiate file transfer via USB, begin by connecting your Moto G to your computer using a compatible USB cable. Upon connection, your phone will prompt you to select the type of USB connection. Choose "File Transfer" or "MTP" mode to enable file transfer between your phone and computer.
Once the appropriate mode is selected, your Moto G will appear as a removable storage device on your computer. This seamless integration allows you to navigate through your phone's internal storage and SD card, if applicable, directly from your computer's file explorer. From here, you can effortlessly drag and drop files between the two devices, simplifying the process of transferring photos, videos, documents, and other file types.
The USB cable method offers several advantages, including high-speed data transfer and the ability to manage files without relying on an internet connection. This makes it an ideal choice for transferring large files or a substantial number of files efficiently. Additionally, the direct connection ensures the security of your data, as the transfer occurs exclusively between your Moto G and the connected computer.
Moreover, using a USB cable for file transfer is not limited to a specific operating system, making it a versatile option for users across different platforms. Whether you are using a Windows PC, a Mac, or a Linux-based system, the USB cable method provides a universal solution for accessing and managing files on your Moto G.
In summary, utilizing a USB cable for file transfer between your Moto G and a computer offers a reliable, secure, and platform-agnostic approach to managing your data. The direct connection facilitates seamless file transfer, enabling you to effortlessly organize and share your files without the need for an internet connection. This method empowers you to efficiently transfer files of various types and sizes, enhancing the overall accessibility and usability of your Moto G.
Using Bluetooth
Utilizing Bluetooth for file transfer on your Moto G offers a convenient wireless solution for sharing files with other devices. This method eliminates the need for physical cables and allows for seamless file transfer between your phone and compatible devices. To initiate file transfer via Bluetooth, ensure that Bluetooth is enabled on both your Moto G and the receiving device. Once Bluetooth is enabled, pair your Moto G with the target device to establish a secure connection for file sharing.
After pairing your Moto G with the receiving device, navigate to the file manager or gallery app on your phone to select the files you wish to share. Whether it's photos, videos, documents, or other file types, Bluetooth file transfer supports a wide range of file formats. Once you've selected the files, choose the option to share via Bluetooth and select the paired device as the recipient. This prompts the transfer process, allowing the files to be sent wirelessly to the receiving device.
The Bluetooth file transfer method offers several advantages, including the flexibility of wireless connectivity and the ability to share files without relying on an internet connection. This makes it an ideal choice for transferring files in environments where a physical connection or internet access may be limited. Additionally, Bluetooth file transfer is well-suited for sharing individual files or smaller batches of files with nearby devices, making it a practical option for quick and casual file sharing scenarios.
Furthermore, Bluetooth file transfer is supported by a wide range of devices, enabling compatibility with various smartphones, tablets, laptops, and other Bluetooth-enabled gadgets. This broad compatibility enhances the versatility of Bluetooth file transfer, allowing you to seamlessly share files with a diverse array of devices, regardless of their operating systems or manufacturers.
In summary, utilizing Bluetooth for file transfer on your Moto G provides a wireless and versatile method for sharing files with other devices. This approach simplifies the process of transferring files without the constraints of physical cables or internet connectivity, offering a convenient solution for casual file sharing scenarios. Whether you're sharing photos with a friend's smartphone or sending documents to a nearby laptop, Bluetooth file transfer empowers you to effortlessly share files across compatible devices, enhancing the overall accessibility and usability of your Moto G.
Using Google Drive
Google Drive serves as a versatile and accessible platform for managing and transferring files on your Moto G. By leveraging the Google Drive app, you can seamlessly upload, download, and share files through the cloud, providing a convenient and efficient solution for file storage and synchronization across devices.
To begin utilizing Google Drive on your Moto G, start by installing the Google Drive app from the Play Store. Once installed, sign in to your Google account or create one if you haven't already. This step ensures that your files are securely linked to your Google account, allowing for seamless access and management across devices.
Upon signing in, you can easily upload files from your Moto G to Google Drive by selecting the desired files within the file manager or gallery app. Whether it's photos, videos, documents, or other file types, Google Drive accommodates a wide range of file formats, enabling you to store and organize various types of content.
Once your files are uploaded to Google Drive, they become readily accessible from any connected device with Google Drive installed. This seamless synchronization ensures that your files are available whenever and wherever you need them, empowering you to access and manage your data across different platforms and devices.
Moreover, Google Drive offers robust sharing capabilities, allowing you to effortlessly collaborate and distribute files with others. Whether you need to share a document with a colleague or collaborate on a project with a team, Google Drive simplifies the process of sharing files by providing intuitive sharing options and permissions settings.
Additionally, Google Drive's integration with other Google services, such as Google Docs, Sheets, and Slides, enhances the versatility of the platform, enabling you to create, edit, and collaborate on documents directly within the Google Drive environment. This seamless integration streamlines the workflow, allowing you to work on files without the need to switch between different applications.
In summary, leveraging Google Drive on your Moto G offers a comprehensive solution for managing and transferring files. The platform's seamless cloud storage and synchronization capabilities, coupled with robust sharing options and integration with other Google services, empower you to efficiently organize, access, and collaborate on your files. By incorporating Google Drive into your file management workflow, you can enhance the accessibility and usability of your Moto G while simplifying the process of managing and sharing your data.
Accessing Internal Storage
Accessing the internal storage of your Moto G provides you with the ability to manage and organize the files and data stored within the device. Whether you need to view, transfer, or organize files such as photos, videos, documents, or app data, accessing the internal storage is essential for efficient file management.
To access the internal storage of your Moto G, begin by navigating to the device's settings and selecting the "Storage" or "Storage & USB" option. This will provide you with an overview of the storage usage, including the amount of space occupied by various file types and apps. From here, you can delve into the internal storage to view the specific files and directories stored on the device.
Once inside the internal storage, you can explore the different folders and directories to locate and manage your files. The internal storage typically contains dedicated folders for various types of data, such as "DCIM" for photos and videos, "Downloads" for downloaded files, and "Documents" for documents and other file types. Navigating through these folders allows you to access and organize your files based on their respective categories.
Furthermore, accessing the internal storage enables you to transfer files between the device and external sources, such as a computer or cloud storage. By connecting your Moto G to a computer via USB or utilizing file transfer methods such as Bluetooth or Google Drive, you can seamlessly transfer files to and from the internal storage, facilitating efficient data management and backup.
In addition to file management, accessing the internal storage allows you to review the storage usage and identify any large or unnecessary files that may be occupying valuable space. This insight empowers you to optimize the device's storage by removing redundant files or transferring them to external storage, ensuring that the internal storage remains organized and efficient.
Moreover, accessing the internal storage provides visibility into app data, allowing you to manage app-specific files and data stored on the device. This includes cached data, app downloads, and other app-related files, giving you the ability to clear unnecessary data to free up storage space and optimize the device's performance.
In summary, accessing the internal storage of your Moto G is crucial for efficient file management, data organization, and storage optimization. By navigating through the internal storage, you can access, transfer, and manage files, review storage usage, and optimize the device's storage capacity, enhancing the overall usability and functionality of your Moto G.
Accessing SD Card
Accessing the SD card on your Moto G provides a convenient and expandable storage solution, allowing you to store a wide range of files and data beyond the device's internal storage capacity. Whether you need to store multimedia files, documents, or app data, accessing the SD card empowers you to efficiently manage and organize your data.
To access the SD card on your Moto G, begin by locating the SD card slot on the device. Depending on the model of your Moto G, the SD card slot may be located on the side of the device or accessible via a removable back cover. Once you have located the SD card slot, carefully insert the SD card into the designated slot, ensuring that it is securely and correctly positioned.
After inserting the SD card, navigate to the device's settings and select the "Storage" or "Storage & USB" option. Within the storage settings, you should be able to view the SD card as a separate storage entity, distinct from the internal storage of the device. This allows you to access and manage the files stored on the SD card independently from the internal storage.
Once the SD card is recognized and accessible, you can explore the contents of the SD card by navigating through the file manager or storage settings. This enables you to view, transfer, and organize the files stored on the SD card, including photos, videos, documents, and other file types. Additionally, you can create new folders, move files between directories, and perform file management tasks directly within the SD card storage interface.
Accessing the SD card also facilitates the seamless transfer of files between the device and the SD card, providing a convenient method for expanding the device's storage capacity and managing large volumes of data. Whether you need to transfer multimedia files for storage or backup purposes, accessing the SD card empowers you to efficiently manage your data across different storage mediums.
Furthermore, the SD card serves as a versatile storage solution for storing media files, such as music and videos, and expanding the device's capacity for app installations and data storage. By accessing the SD card, you can optimize the device's internal storage for essential apps and system files while utilizing the SD card for additional storage needs.
In summary, accessing the SD card on your Moto G offers a flexible and expandable storage solution, enabling you to efficiently manage and organize your data beyond the device's internal storage capacity. By leveraging the SD card, you can seamlessly store, transfer, and access a diverse array of files, enhancing the overall usability and functionality of your Moto G.
Managing Files
Efficiently managing files on your Moto G is essential for maintaining an organized and accessible digital environment. Whether it's sorting through photos, organizing documents, or decluttering your storage, effective file management enhances the usability and functionality of your device. Here's a comprehensive guide to managing files on your Moto G, empowering you to streamline your digital content with ease.
File Organization
Organizing your files is the cornerstone of effective file management. Utilize the file manager on your Moto G to create dedicated folders for different file types, such as "Photos," "Videos," "Documents," and "Downloads." This categorization simplifies file retrieval and ensures that your data is neatly arranged for easy access.
Sorting and Filtering
Leverage the sorting and filtering options within the file manager to arrange files based on criteria such as date, size, or file type. This functionality allows you to quickly locate specific files and identify any redundant or large files that may be occupying valuable storage space.
Backup and Sync
Implement a robust backup and sync strategy to safeguard your files and ensure seamless accessibility across devices. Utilize cloud storage services such as Google Drive or Dropbox to automatically back up your important files, providing an additional layer of protection against data loss.
Deleting Redundant Files
Regularly review your files and remove any redundant or unnecessary data to free up storage space. This includes clearing cached files, temporary data, and obsolete downloads to optimize the device's storage capacity and improve overall performance.
Renaming and Tagging
Take advantage of the file manager's renaming and tagging features to customize file names and add descriptive tags. This enhances the organization of your files and simplifies the process of searching for specific content within your storage.
Batch Operations
Utilize batch operations within the file manager to perform actions such as moving, copying, or deleting multiple files simultaneously. This streamlines file management tasks and saves time when organizing large volumes of data.
By implementing these file management practices, you can effectively organize, safeguard, and optimize your digital content on your Moto G, ensuring a seamless and efficient file management experience.
Moving Files
Moving files on your Moto G is a fundamental aspect of file management, allowing you to reorganize your digital content and optimize storage space. Whether you need to relocate photos, videos, documents, or other file types, the ability to move files efficiently enhances the accessibility and organization of your data.
To initiate the process of moving files, begin by accessing the file manager on your Moto G. Within the file manager, navigate to the location of the files you intend to move, whether they are stored in the internal storage or on the SD card. Once you have located the files, select the individual files or folders that you wish to move to a new destination.
After selecting the files, utilize the file manager's built-in move function to specify the target location for the selected files. This may involve navigating to a different directory within the internal storage, the SD card, or an external storage device if connected. By designating the destination for the files, you can seamlessly transfer them to the desired location, facilitating efficient file organization.
Furthermore, the file manager's move function supports batch operations, enabling you to move multiple files or entire folders simultaneously. This streamlines the process of reorganizing your digital content, allowing you to efficiently manage large volumes of files with ease.
In addition to moving files within the device's internal storage, you can also transfer files between the internal storage and external sources, such as a connected computer or cloud storage. Utilizing methods such as USB file transfer, Bluetooth, or Google Drive, you can seamlessly move files to and from the Moto G, facilitating versatile file management across different platforms and devices.
By leveraging the capability to move files on your Moto G, you can effectively restructure your digital content, optimize storage allocation, and streamline file organization. Whether you're rearranging your photo collection, organizing documents, or transferring multimedia files, the ability to move files efficiently empowers you to maintain a well-organized and accessible digital environment on your Moto G.
Deleting Files
Deleting files on your Moto G is a crucial aspect of file management, enabling you to declutter your storage, free up valuable space, and optimize the organization of your digital content. Whether it's removing redundant photos, clearing out obsolete documents, or eliminating temporary files, the ability to delete files efficiently empowers you to maintain a streamlined and efficient storage environment on your device.
To initiate the process of deleting files, navigate to the file manager on your Moto G and locate the files or folders that you intend to remove. Whether the files are stored in the internal storage or on the SD card, the file manager provides a comprehensive overview of your digital content, allowing you to identify and select the files for deletion.
Once you have identified the files to be deleted, utilize the file manager's built-in delete function to remove the selected files from the device. This straightforward process ensures that the designated files are permanently removed from the storage, freeing up space and decluttering your digital environment.
When deleting files, it's essential to exercise caution and review the selected files to avoid unintentional data loss. Consider backing up important files to a secure location, such as cloud storage or an external device, before proceeding with the deletion process. This precautionary measure safeguards your valuable data and provides a safety net in the event of accidental file deletion.
Regularly reviewing and deleting redundant or unnecessary files is essential for optimizing the storage capacity of your Moto G. This includes clearing cached data, temporary files, and obsolete downloads to ensure that the device's storage remains efficient and responsive. By periodically decluttering your storage through file deletion, you can enhance the overall performance and usability of your Moto G.
In summary, the process of deleting files on your Moto G is a fundamental component of effective file management. By leveraging the file manager's delete function and exercising caution when removing files, you can streamline your digital content, free up storage space, and maintain an organized and efficient storage environment on your device.
Renaming Files
Renaming files on your Moto G is a simple yet powerful tool for customizing and organizing your digital content. Whether it's personalizing the names of photos, documents, or media files, the ability to rename files empowers you to create descriptive and identifiable titles that enhance the accessibility and organization of your data.
To rename a file on your Moto G, begin by accessing the file manager and navigating to the location of the file you wish to rename. Once you have located the file, initiate the renaming process by selecting the file and accessing the file manager's renaming function. This typically involves long-pressing the file to reveal the renaming option or selecting a specific renaming command from the file manager's menu.
Upon initiating the renaming process, you can customize the file's name to better reflect its content or purpose. Whether it's adding a descriptive title, including relevant dates, or categorizing the file with specific tags, the renaming function allows for flexible and personalized file naming. This customization enhances the clarity and organization of your digital content, making it easier to identify and retrieve specific files within your storage.
Furthermore, the renaming function supports batch operations, enabling you to rename multiple files simultaneously. This streamlined approach simplifies the process of customizing file names across various categories of digital content, ensuring consistent and descriptive naming conventions throughout your storage.
By leveraging the capability to rename files on your Moto G, you can effectively personalize and categorize your digital content, enhancing the accessibility and organization of your data. Whether you're customizing the names of photos, documents, or media files, the ability to rename files efficiently empowers you to maintain a well-organized and identifiable digital environment on your device.