How to cut your own hair at home without it looking a mess? You’ve probably read or seen all the little mishaps that could happen and the aftermaths of quarantine haircuts that didn’t go as planned. Don’t fret! There are ways of avoiding all that, ensuring that you’ll end up with a fresh somewhat new look instead of regrets.
Remember, if you’re only looking to change things up, there are always temporary options before you dive into the deep end. Consider this time as an opportunity to either grow your hair or let it heal from all the damage caused by constant styling. Whilst learning how to cut your own hair is manageable, it does come with certain risks. A guide can only do so much, after all. It’s still you who’ll be doing the snipping.
Needless to say, if you’re doing it on a whim then it’s best to busy yourself with something else. The last thing you want is to be stuck at home, questioning your life and hair cut choices.
Do’s and Don’ts of DIY Hair Cut
Sure, one too many things can go wrong while learning how to cut your own hair short, but there are also ways to prevent the bad from happening. Keep these do’s and don’ts in mind:
- Get a mirror or two! The better you can see the angles of your head and hair, the safer and more accurate your cuts will be. It’s easy to get lulled into a false sense of confidence after watching tutorials on how to trim your own hair, but trust us. You’ll need all the help you can get, especially if you can’t call on a friend or loved one to help out.
- Never cut wet hair. You’ve seen the videos of people getting a rude awakening after drying their hair and realizing they may have cut off more than they should. Cutting dry hair will give you a more realistic impression of the length and appearance of your haircut once done. No surprises here!
- Always shampoo and condition before starting. Doing so will make sure that there’s no excess oil that will make your hair stick together, leading to uneven cuts.
- How to cut your own hair straight without it ending up looking chunky? Never cut the ends of your hair in a straight line. The likelihood of you getting it done neatly and precisely is slim, given the conditions.
- Start with small cuts. Sure, it will take a bit more time, but slow and steady will help you avoid any huge mistakes.
Essential Tools for Learning How to Cut Your Own Hair
Just because you’re cutting your hair at home, it doesn’t mean you can be lax when it comes to the tools you’ll be using. Ask any expert and they’ll tell you that these can make or break your haircut.
- Scissors: Most people make the mistake of assuming that any old scissors would do, just as long as it’s sharp. Before you reach for your kitchen scissors or the ones you use in your home office—stop. Whilst these do fine for household use, know that they would not be sharp enough to cut hair. You can end up with crooked lines and damaged ends by using them. If you’re not keen on ordering one then find the sharpest scissors you have at home. One that hasn’t been used much is preferred. Whether you’re learning how to cut your own hair, women or men, the sharpest scissor you have will be your best friend throughout the process.
- Hair clips: You’ll need hair clips to help with sectioning your hair and keeping any loose strands in place. These will come in handy, especially if you have particularly thick hair and have to work layer by layer.
- Fine-toothed comb: Whilst a regular comb would work, a fine-toothed one will give you more precision when sectioning your hair and making sure the lines are straight. These can also help hold your hair together once you begin cutting, ensuring neat cuts.
How to Cut Bangs – Change Up Your Look in Minutes!
Let’s start with something easy, but effective when it comes to giving you a new look. The length of one’s bangs can vary from person to person, but cutting it is fairly similar across the board.
- Find where your bangs begin. Face sideways and look for the area where your head begins to round in the front.
- Get your fine-toothed comb and separate this area by creating a triangle shape. It might take a few tries, just make sure the lines are neat.
- If this is your first go at learning how to cut bangs, look through inspiration pictures to get a better idea of what degree of thickness or shape would best suit you.
- What about the length? If you’ve never had bangs before, opt for cheek length. This gives you some allowance to pin it back if you feel it doesn’t suit you. PRO TIP: Start long and just work your way to the length you’re comfortable with.
- Once you’ve measured out the length, take your hair between your fingers, and carefully pull it up and away from your forehead. Adjust the position of your fingers accordingly. This is an essential trick when learning how to cut your own hair in general.
- Now, the fun part. When you cut, don’t do it straight across. Instead, use a point cutting motion. Hold your scissors at an angle so that only its tip is touching your hair. Slowly, snip along the line until you’ve managed to cut across the width of your bangs.
- Check each time you finish and simply repeat until you have achieved the look you want.
Curly and Wavy Hair Types
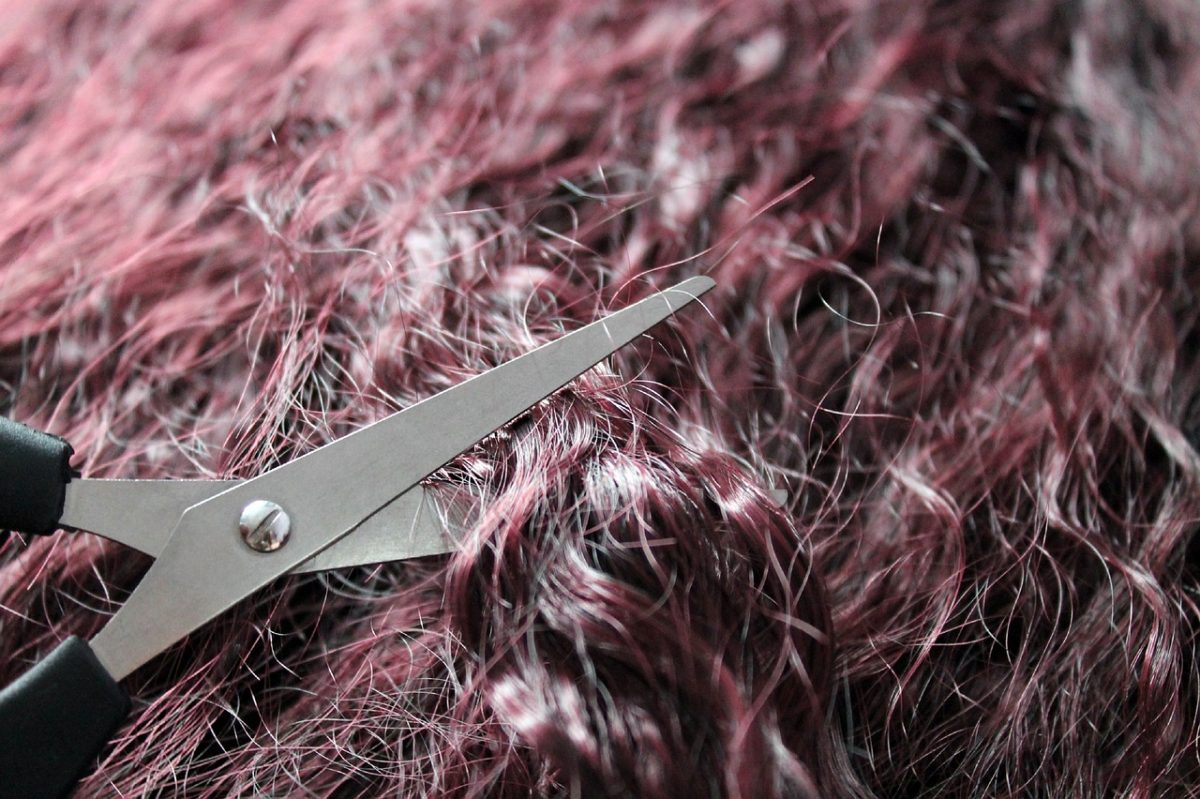
Cutting curly or wavy hair might seem like a task that’s best left to the experts, but if you’re interested in cleaning things up with a home hair cut then this is what you need to know.
First, determine the curly hair type that you have.
- Type 2 means your hair has natural waves.
- Type 3 means you have loose curls.
- Type 4 means you have tighter coils.
You might want to look at these Naturally Curly hair type samples before you begin with your hair cut.
Next, prep your hair for cutting
- For curly, wavy, or kinky hair it’s best to cut after the second (or third) day of washing it. By this time, your hair would have already settled back to its natural state. Make sure you don’t use any straightening or heat tools on it as well.
- Move your hair back and forth. This would allow it to position itself naturally. Observe where it settles, the overall length, and its shape. From here, plan where and just how much you’re going to snip off.
- Pros suggest cutting no more than a fraction of an inch—especially if you have tight curls. For curly hair, even snipping off an inch can make quite a difference. Whether you’re learning how to cut your own hair curly or straight, always start with small snips.
Making the first cut.
- Start at the top of your head. Take a finger-thick curl and hold it up as far as the length goes. Pin it between your fingers and mark the point where you plan on cutting.
- Slowly bring this piece forward, so you can see clearly, then snip off the ends using the tip of your scissors. Remember, don’t cut straight across.
- Repeat this with the next strand, until you’ve done the other side of your head.
- To check how it looks, gently move your head back and forth to see how the hair cut blends in with the rest of your hair. Double check for any split ends. You can always go back and clean those up later.
How to Cut Your Own Hair in Layers – A 3-Step Guide
Layers are not only a great way to add a touch of style and texture to otherwise pin-straight hair, it’s also quite doable at home as well. The key is to do things step by step and try not to get overzealous with the shears.
1. The Prep
- Start by combing through your hair, making sure that there are no knots in it.
- If you have naturally straight hair, you can opt to iron it straight. This should make it a lot easier to handle
- If you have natural waves in your hair, however, skip the hot iron and just comb your hair down neatly.
2. Sectioning
- Gather your hair into a high ponytail and tie it at the top of your head. Now, this is where it can get tricky. Where you tie your ponytail can affect where the layers appear more. You’ll get face-framing layers and keep your hair length if you tie it near or at the top of your head. If you tie it closer to your nape, you’ll get more layers in the back and a shorter overall length.
- Next, get a second hair tie and use it to keep your hair together by tying it at the middle of your ponytail. This will keep your hair from moving too much while you’re cutting, ensuring a neater cut.
3. Where and How to Layer Your Own Hair
- Once your hair is secure, measure out about half an inch starting from the end of your ponytail. Slowly cut across. This should create a blunt cut and remove any split ends that you have.
- Next, soften the blunt ends by using the point cutting technique. Make sure your scissors are pointed up and aren’t at an angle while you’re cutting. Again, work slowly.
- Check for any unevenness and clean it up before releasing the ponytail. You can also opt to check in-between cutting, to make sure all of your layers are even. A must-do if this is your first time learning how to cut your own hair in layers.
- If you want more layers, simply repeat the process until you get your desired look.
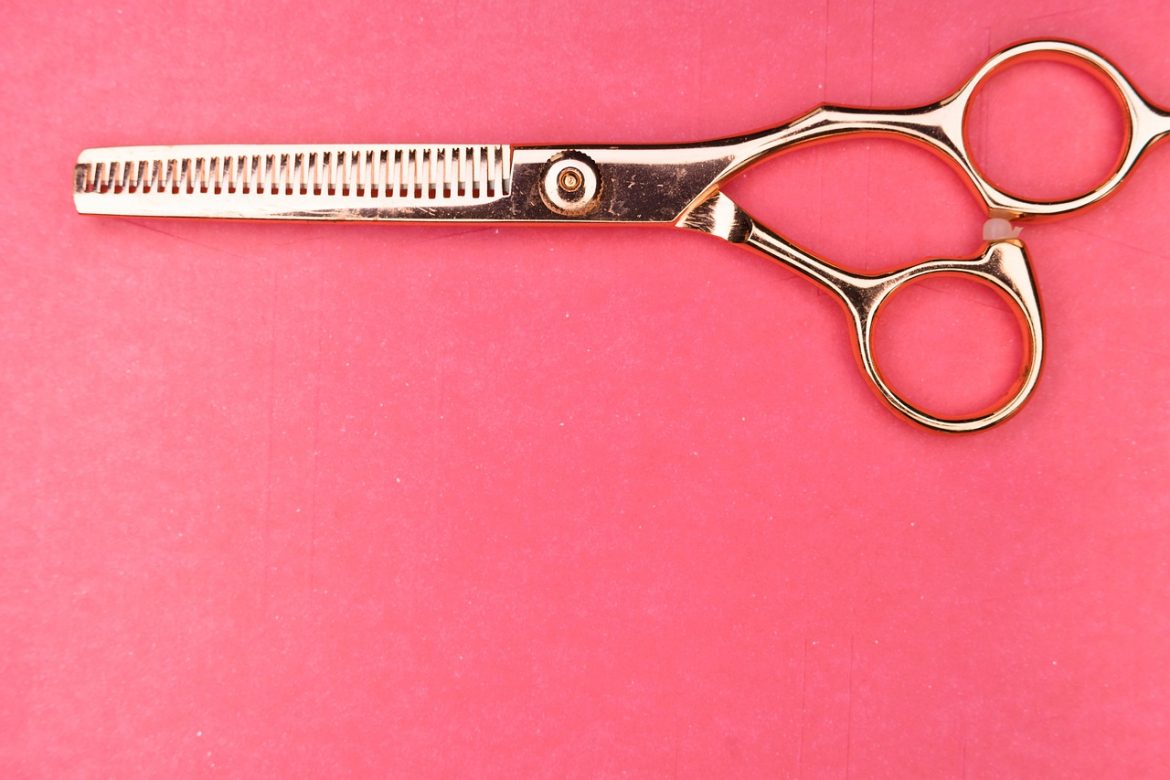
PRO-TIP: If you’re feeling confident and have experience using thinning scissors in the past, you can also use these to create more dramatic layers, and create a softer look. Just practice caution and don’t cut too high up or you’ll end up with stubborn short hair that’s always sticking out!
Men’s Easy Hair Cuts
A quick look at social media tags should give you enough of an idea just how bad quarantine hair cuts have gotten for men as well. From crooked buzzcuts, accidental mullets, to those who have simply given up and embraced the “hermit” look, the results are certainly discouraging. Before you stow away those clippers, why not give our guide a try and learn how to cut your own hair, men.
Forget the Scissors.
Unless you have the training for it, never use scissors on your hair. It may seem simple, but men’s hair cuts do require a degree of technique. The worst thing that can happen is you end up ruining all the work your professional barber put into styling your hair, which means they’ll have to work from scratch next time. And by the looks of things, that “next time” might take a while. Instead, figure out a style that you can maintain easily while your hair grows. We’re here to help you with that!
The Prep
- Run your fingers through your hair and check for any bumps, dents, or bruises that you should avoid while using clippers.
- Next, make sure that you clean your hair thoroughly. This is especially so if you use a hair product on the daily. Make sure you have no tangles in it as well.
The Buzzcut
For a while, there was a running joke that after quarantine is over, there’d be legions of men with buzzcuts. It’s the foolproof hair cut for men, after all.
- To leave room for adjustment, always start with a higher clip guard, such as a #5. This will trim your hair down to about half an inch, allowing you to go shorter if need be.
- Start from the top of your head and always run your clippers against the direction of hair growth. Stop at the widest area of your head, near the temples.
- If you’re fully invested in a buzzcut, you can use the #1 clip guard and simply run it across your head. This will give you the basic military-cut style.
The Undercut
If you have medium-length hair and don’t want to go all the way when it comes to buzzing it off, try an undercut. This will clean up the back and the sides, leaving the hair on top untouched.
- Determine the part of your hair you want to leave untouched. If you have hair clips or even just a hair tie, separate this from the part you’re buzzing off.
- Experts recommend trimming right below the widest part of your head.
- Next, choose a high clip guard then test out the length. If you want a closer cut, select a lower clip guard before proceeding with the undercut.
- Make sure you double check your progress bit by bit to make sure that both sides are evenly cut.
Remember to start slow when using the clippers as well. Despite the fact that these are the safer option compared to scissors, you can still accidentally hit bumps on your head and cause minor cuts.
We hope this article helped you better understand how to cut your own hair at home! Just follow the step by step guide and exercise proper judgment when dealing with the tools.