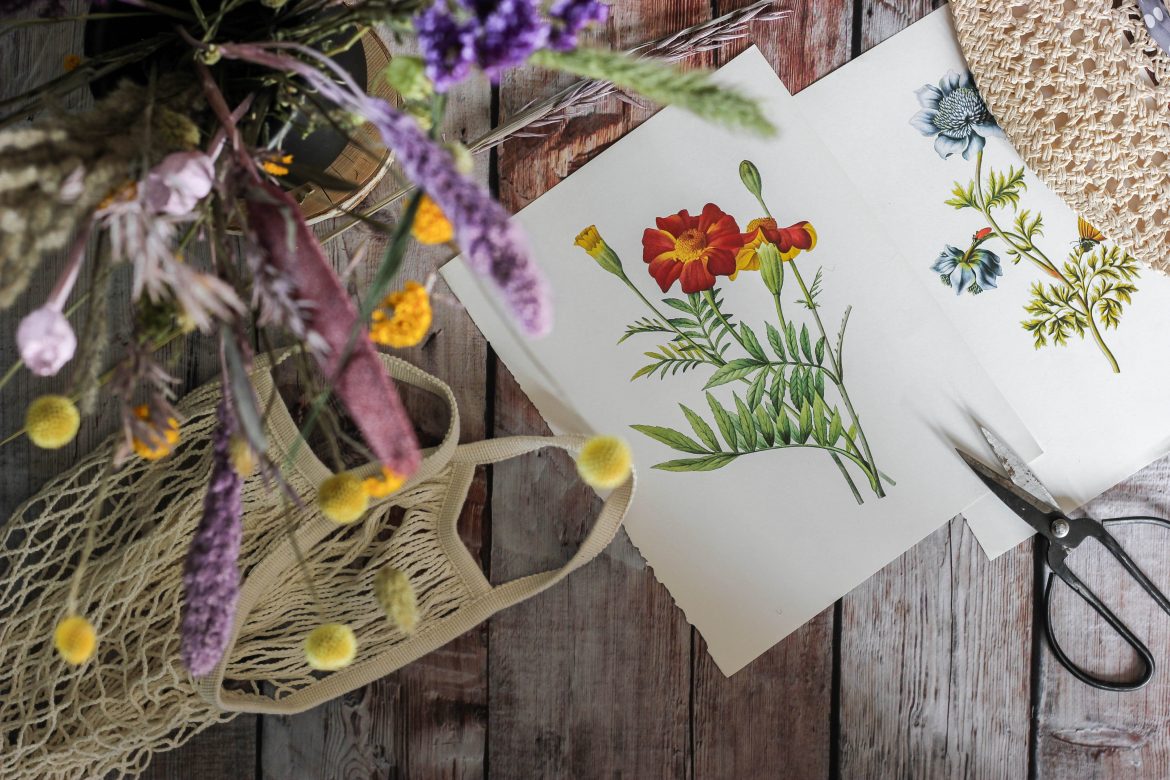
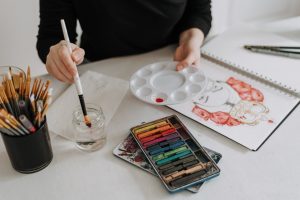
Flower drawing skills can spruce up cards, gifts, and other everyday items. Having a touch of fall flowers and various botanical illustrations in your life can also help you develop not only a passion for art, but also a love for nature.
Learn the basics and reap the benefits of drawing simple flower designs with this guide.
Uses and Benefits of Drawing Flowers
In itself, flower drawing is already an enjoyable activity. It can provide a way to pass time or acquire fulfillment from putting your art skills to the test. Aside from these, learning how to draw flowers has other practical uses that people of all ages can benefit from, such as:
Spruce Up Cards or Gifts


This is one of the most practical uses of learning how to draw good and easy flower drawings. For instance, you can celebrate Galentine’s Day with a handcrafted card designed with your beautiful flower design. Moreover, you can make other events or holidays even more memorable by giving gifts that show off your amazing botanical illustration skills. These already amazing presents can be given a personal touch through the time and dedication you allotted to make them even more special.
Stylize Personal Items


You can also turn your plain, old materials into fresher ones with hand-drawn flowers and designs. By stylizing personal items, you can feel a sense of satisfaction and even happiness in seeing your belongings transform into cooler items. For instance, you can try bullet journal ideas that can vamp up your go-to diary. Moreover, you can also customize your shoes, purses, and pretty much anything you can think of. This way, you can personalize your items according to your own style. Drawing flowers on your things can also help you have unique pieces of clothing and other personal items that only you can have.
Vamp Up Your Space
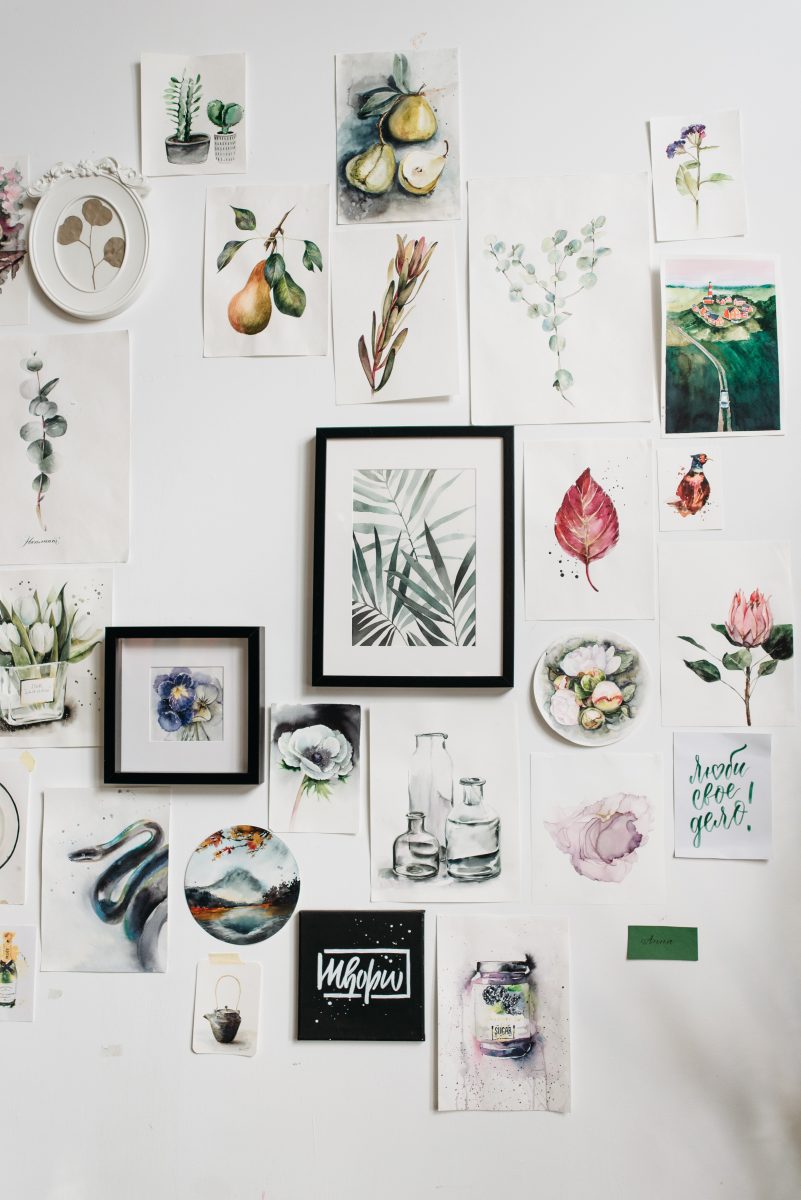

If you’re looking for unique home office ideas at home or other tips to vamp up your space, easy flower painting and drawing knowledge can help you achieve these. For instance, you can make home art with your sketches of flowers incorporated with other DIY washi tape projects. You can also create an accent wall with cute flower drawings that you can paint. Indeed, there are endless possibilities when it comes to improving and designing your home and making it extra cozy. With the ability to draw flowers beautifully, the sky is truly the limit!
Develop Your Artistic Skills
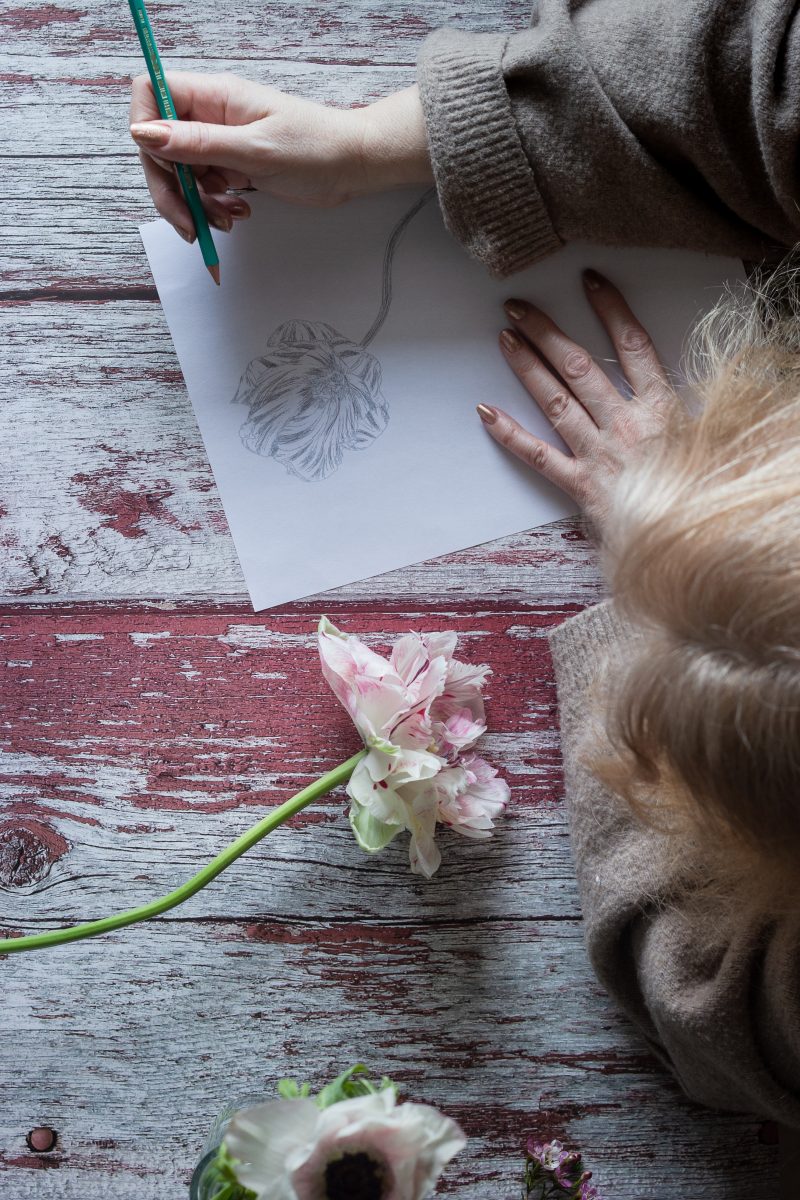

Aspiring artists can always start small. Learning how to draw an easy flower sketch or design can go a long way in understanding art concepts and skills. Constant practice also allows you to develop your artistic sense and talents.
Acquire Relaxation or Pleasure


Doing something you enjoy is one of the best self care ideas for a happier life. You can acquire a newfound love for drawing flower images and illustrations. In turn, this can be your hobby and a way to relax as well.
For Career or Business Purposes


As many people say, work with something that you love and you’ll never have to work a single day of your life. So, why not turn your hobby or interest in drawing into something that you can work on? Currently, many occupations offer work experiences in the field of art. Due to this, studying the basics of drawing can help you take advantage of it for your personal career or business purposes.
Step-by-Step Flower Drawing Instructions
Now that you have an idea of the benefits of flower drawing skills, it’s time to put your drawing skills to the test. Immerse yourself into an artistic state as you go through these instructions on how to achieve the best flower drawings. Most of all, take your time and enjoy every minute of seeing your rough outlines transform into wonderful and even realistic flower illustrations.
How to Draw a Lily Flower
Lilies are undoubtedly among the most favored flowers of all. Their beauty can easily catch the eyes of anyone. Moreover, they serve as symbols of peace and innocence that can also capture everyone’s hearts. Many people also love to give these flowers as a sign of a strong friendship or even a romantic bond.
Due to these, a lily flower drawing became one of the most common and favored illustrations that artists and even beginners love to try. A lily flower drawing may look complicated, but it is actually quite easy to learn.
Here are some steps to help you draw a beautiful lily flower:
- A lily flower drawing for beginners starts with just a circle and a stalk. By placing a small circle at the end of a stalk that you drew, you can have an indicator of where the lily flower’s bud will be later sketched.
- For the second step, you will need to make a rough outline of the lily petals’ placements. Sketch around five to seven arched lines. Attach their ends to the small circle you initially drew. Take note that your lines do not have to be of the same length. This way, your petals’ placements can eventually look more realistic.
- Next, start drawing the contours of the petal shapes. Look for a realistic flower drawing example so you can have a better idea of how you want to make the petal figures.
- Add the finishing touches by drawing the petal lines, stamen, and other details of the lily flower. As a tip, don’t stress over making these parts look too symmetrical. Varying sizes and lengths can help you make your drawing look more realistic.
- Lastly, erase all of the primary lines and guides that you drew and keep the final contour for your beautiful lily flower illustration.
Step-by-Step Drawing of a Daisy Flower
When one thinks of purity and rebirth, daisies are among the first flowers that come into mind. Indeed, they are great symbols for children, mothers, and pretty much anyone who feels renewed. If you wish to have a reminder of the essence of new chances and beginnings, making a daisy flower illustration can help you achieve this.
Sketch an awe-inspiring daisy flower drawing with these easy instructions:
- As a guideline of your daisy flower’s center, draw a circle in the middle of your writing material. You can opt for a perfect circle or effortlessly draw a simple one.
- Inside the circle that you sketched, draw at least seven lines across the shape. These lines should cross and look like how a pizza would be cut. These will eventually serve as guidelines for the petals as well.
- Then, start drawing the daisy’s stem by sketching a line arching below the circle that you initially drew.
- Using the line guidelines you initially drew, start sketching seven petals by drawing ovals from the center of the circle. While these shapes are quite long and elliptical, make sure that their ends are as round as actual daisy flowers’.
- Behind the seven petals that you initially drew, make your flower illustration look even more complete by adding more petals in between. Note that these should be oriented behind the first seven petals which will overlap them.
- Finally, begin erasing the initial guidelines that you drew to make your daisy flower drawing look neater. Don’t forget to erase the overlapping parts of the petals on your sketch, either.
- After removing the unnecessary parts of your simple flower design, you can then start adding in the details that will complete your drawing. Draw some leaves and texture in the center of the daisy to make it look even more realistic. Note that the leaves should be thin and wavy. Moreover, the center of the flower should have a stigma.
- To make your daisy flower drawing look even more amazing, color the center yellow and the leaves green. Keeping the petals white will also make your daisy illustration appear more distinguishable and fresh.
How to Draw A Tulip
Have a touch of Holland at home by drawing tulips that you can transform into various artworks. With beautiful sketches of flowers, you can ditch the bouquet and opt for timeless yet amazing gifts. Follow these simple steps to achieve a realistic and amazing tulip flowering drawing:
- First, start drawing a line that curves as how a stem would. Make another line parallel to this one to make it look more whole.
- Then, draw a rough draft of the tulip’s contour by sketching a simple teardrop or U-shaped line at the end of a stalk. This will eventually be the tulip’s main bud.
- For the next step in your tulip flower drawing process, start outlining the petals. Make sure that the petals on the left and right sides of the flower are sketched above the others to achieve a more realistic tulip illustration.
- Fill in the details by adding leaves and complimentary lines to make your petals look more realistic. Make sure to also erase the initial lines that you sketched earlier.
How to Draw A Simple Rose: Step-by-Step Tutorial
Roses are one of the most known and loved types of flowers. Indeed, they are famous icons featured in various literary and film works. They are also the center of many event places such as weddings and date nights. Above all, they are much-loved presents that people give to their special ones all year round.
Due to these, roses became a staple among people who wish to acquire or enhance their flower drawing skills. However, learning how to draw roses can seem daunting at first. Looking at a simple and easy rose drawing can make you think that the process of creating it is complicated. This intricate flower does have a couple of overlapped yet gentle-looking petals. The leaves are also quite tricky to imagine how to draw at a glance. Fret not! Making a simple drawing of a rose flower is actually quite easy. With just a few steps, you can easily familiarize yourself with the process. Moreover, you can master it with determination and regular practice.
Easily make an amazing and realistic rose drawing with these basic steps:
- You can start by practicing making flower outlines. Don’t worry too much about making your rough sketch perfect as this will only serve as a guide. Do make sure that it resembles a realistic rosebud.
- Next, make an indicator of where the middle of the rosebud is. This will help you later determine the rose petals’ orientation and placement.
- Proceed with your flower doodle by adding front petals. Looking at drawing flower images online or if you do have one, an actual rose flower will be a great way for you to achieve a sense of this.
- For the final touches, ensure that the petals are overlapped and wrapped around the rose. Dishevel parts of the flowers to also make your drawing look even more realistic.
How to Draw a Lotus Flower
Lotus flowers constantly receive high praise and regard from many people. In many cultures, this flower symbolizes purity and renewal. Due to their significance and symbolism, they have also served as an inspiration for some of the best tattoo ideas that people love. As such, an aesthetic drawing of this flower may not only look amazing, it could be a great way to express your individuality and pure character.
Follow these steps to achieve an easy-to-do yet wonderful lotus flower drawing:
- Sketch a narrow teardrop-shaped bud. Make sure that its top end is sharp and its bottom end is a bit curved as a teardrop should look like.
- Next, draw another petal by sketching the same teardrop-shaped lotus bud. Place it behind the first petal that you drew. Do the same process for the third petal as well. Make sure that all of the lotus’ petals meet at the sharp bottom end of the teardrop that you first drew.
- Start sketching the top ends of the petals behind the first three ones that you drew. Always make a point to connect the petals so that you can achieve a perfect flower look. Do the same process on the back and sides of the flower until you get enough volume and achieve a natural-looking lotus flower drawing.
- For the bottom petals, sketch lines in an arching manner with ends that attach to the lotus’ bottom. Draw at least three petals to make it look more realistic.
- Finally, draw the remaining parts of the lotus flower. Create anthers by drawing short lines that extend alongside each other. Then, add a circle at the end of these parallel lines.
- While you can already settle for a plain lotus flower drawing, drawing a backdrop for it could make it look distinguishable and even more amazing. Add a lily pad beneath the flower and rippling waves to give it more personality.
Jasmine Flower Drawing
Small jasmine flowers are undoubtedly lovely and popular due to their distinct scent and of course, beautiful appearance. This flower type blooms at any time of the year and brings a sense of love, purity, and beauty to people. These aspects can easily make anyone yearn to gaze at them any time of the day.
Fortunately, you can also enjoy a jasmine flower’s beauty with an amazing artwork of your own by following these easy steps:
- Start by drawing a circle in the middle of your writing material. This will be your main guideline for the jasmine flower.
- Sketch an upright, straight line in the middle of the huge circle that you initially drew. Make sure it goes through the whole circle and divide it into two equal parts.
- Using the basic shapes that you primarily sketched as a guide, start drawing the petals of the jasmine flower. Make sure their edges are wavy so that the petals could look more realistic. They don’t necessarily need to be symmetrical or of equal size, either. Draw at least two petals from the center.
- From the two primary petals, start sketching the leaves that overlap them as in the actual jasmine flower. Contrary to the petals, the leaves are much less wavy and much larger as well.
- Proceed with drawing the remaining petals that rest on the backside of the leaves and the first two petals that you sketched. Make sure that they look concealed so that they will look more like an actual jasmine flower.
- Finally, let your creative side run as you add in the important details of your jasmine flower drawing such as leaf or petal lines. Don’t forget to add the anthers and filaments in the flower’s center, too.
- After adding the essential definition and parts of your jasmine flower sketch, erase the initial guidelines that you used. Then, you can also paint or color your drawing to give it more life and flair.
Art Supplies for Drawing Flowers
Even easy drawings such as flower doodles require the best art supplies. Indeed, you won’t be able to fully hone your flower-drawing skills without grabbing at least a pen and paper for sketching practice. While you don’t need expensive or high-end materials, you can make your flower sketches even more amazing with quality supplies. Aside from an online video tutorial or a flower clip art for reference, we listed down other essential art supplies that you will need to draw the most beautiful flowers.
Take note that some of these may already be in your possession, so don’t feel too worried about spending too much on supplies. If you are a beginner, you can make do with the most basic or essential materials such as a pencil, paper, and eraser for your easy flower drawing practice. If you have some experience in drawing and wish to up your floral drawing art, you can always opt for high-end art supplies as well. Taking the extra mile by coloring your black-and-white sketches will also make them look even more amazing.
Flower Drawing Essentials
Writing Materials
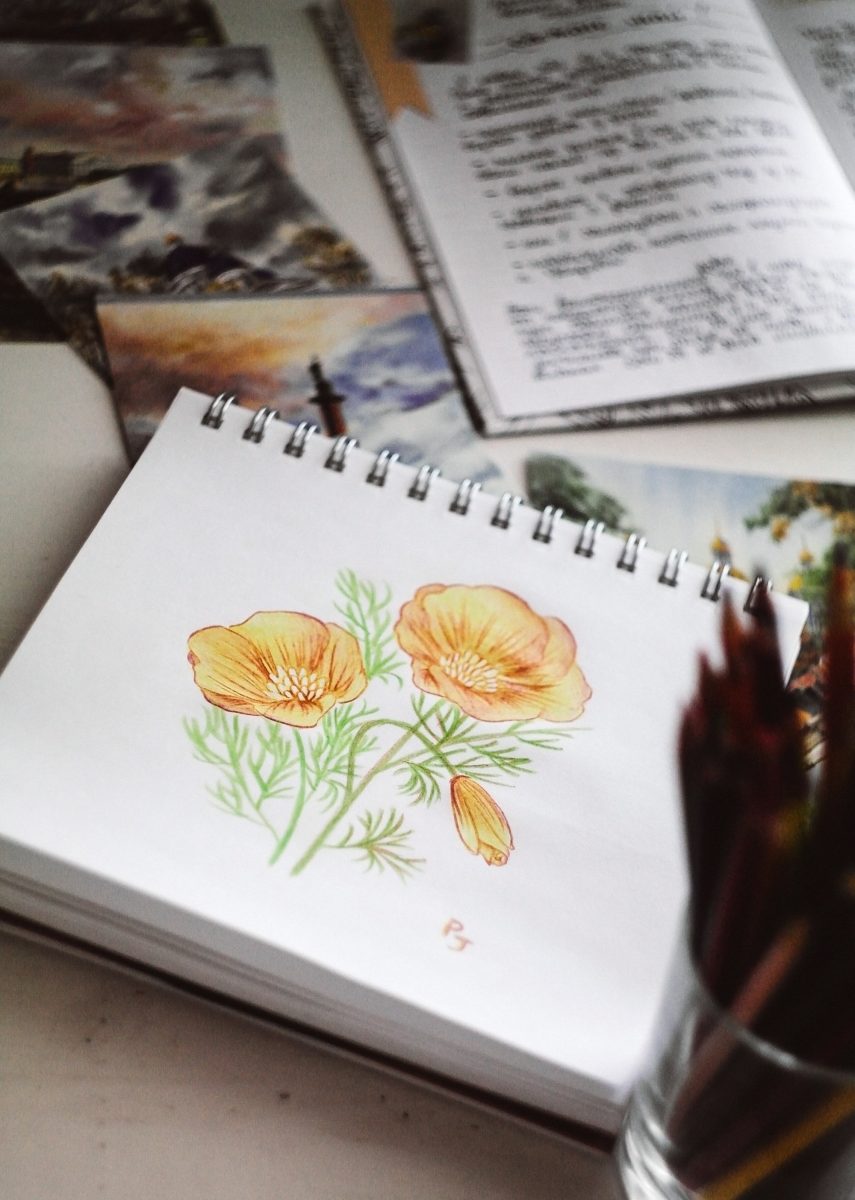

Of course, you will first need a surface or material to write on. While sketchbooks are recommended, pretty much any kind of writing material will do. You can practice drawing on a spare notebook, your favorite journal, or even just a blank sheet of paper. Any kind of paper that you feel most comfortable using will do. We do suggest opting for blank, clean ones so you can easily see any flower line drawing guides you sketched. This way, you can more easily and effectively master the art of drawing a flower.
Pencil


There are many options when it comes to choosing a tool that you can use for drawing or sketching. Although you can always opt for a pen or marker, we suggest you start with pencils. If you are a beginner, you will most likely need to make erasures now and then. In turn, it would be counterproductive to use permanent pens or markers as you practice simple flower drawing.
Eraser
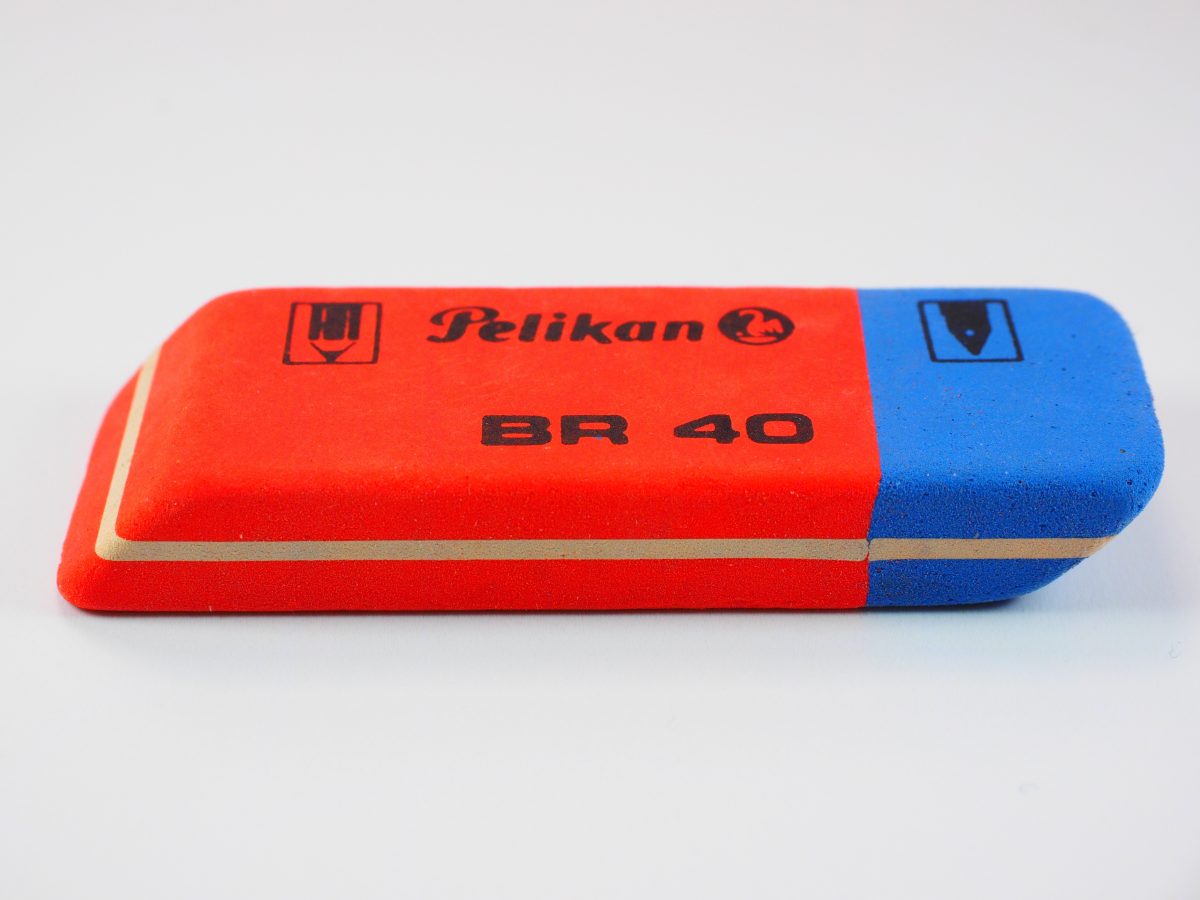

To remove your mistakes, you can always use a good old reliable eraser. There are many types of erasers out there so make sure to opt for one that cleanly erases sketches. This way, you can save time as you make neat and easy-to-draw flowers.
Other Flower Drawing Materials

Aside from the basic materials used for flower sketches, you can also take the extra mile in making your floral illustration even more amazing. With high-end materials, you can produce better quality pencil drawings of flowers. Moreover, better tools can help you achieve even more aesthetic or even realistic drawn flowers. Above all, using coloring materials can bring life into your flower drawings as well.
Some of the materials that could up your flower sketching game are the following:
- Colored pencils
- Coloring Markers
- Watercolor
- Acrylic Paint
- Oil Pastels
- Sharpened Blending Stumps
- Artist Pens
Final Thoughts
Aside from these examples, you can also learn sunflower, peony, or hibiscus flower drawing processes. Indeed, there are a lot of flower types that you can choose and practice with. Starting with the ones on this guide can also help you enhance your artistic skills as you simultaneously develop a passion for art and a love for nature. If you find yourself getting confused or making various mistakes as you practice, don’t be too hard on yourself. Like other skills, drawing takes time, determination, and practice to master. After familiarizing yourself with the process and honing your drawing talents, you can eventually make even more beautiful flower illustrations by studying shading, coloring, or painting.
We hope that this guide helped you learn the basics and workarounds of drawing flowers beautifully. Above all, we hope that it inspired you to develop a newfound love in sketching or a sense of comfort, as well.

