
Tools You Will Need
Before you begin drawing a vase of roses, it’s important to gather the necessary tools. This will ensure that you have everything you need to create a beautiful and detailed drawing. Here are the essential tools:
- Pencil: Use a good quality pencil with a range of hardness (HB, 2B, 4B). This will allow you to create light and dark shades in your drawing.
- Eraser: Have a good quality eraser to make corrections and remove any unwanted lines. A kneaded eraser is ideal for gently lifting graphite off the paper.
- Sketchbook or Drawing Paper: Use a smooth-surfaced sketchbook or drawing paper that can handle graphite pencils well. Avoid textured paper, as it may affect the details of your drawing.
- Ruler: Have a straight edge ruler to help create straight lines and measurements.
- Reference Image: Find a clear and well-lit reference image of a vase of roses. This will serve as your guide throughout the drawing process.
- Optional: Blending Tools – If you prefer smoother shading, you can use blending tools such as blending stumps or tortillons.
Having these tools ready will ensure that you have a smooth and enjoyable drawing experience. Remember to keep them within reach as you progress through the steps to create your beautiful vase of roses.
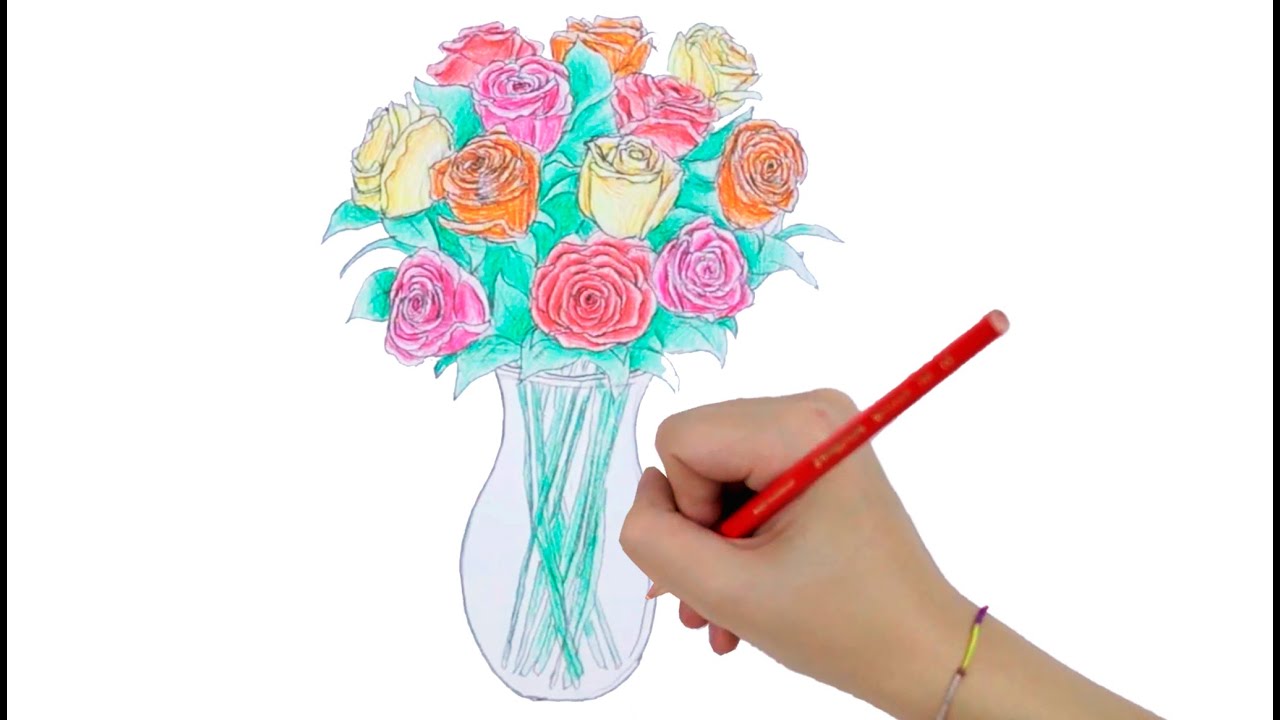
Step 1: Basic Outlines
The first step in drawing a vase of roses is to create the basic outlines of the composition. This will provide a framework for the rest of the drawing. Follow these steps to create the basic outlines:
- Start by lightly sketching a large oval shape to represent the body of the vase. Make sure to position it towards the center of your paper.
- Draw a slightly curved line extending from the top of the oval, forming the opening of the vase. Add a smaller curved line near the bottom to represent the base of the vase.
- Next, create a vertical line down the center of the vase to indicate the division between the two sides.
- Using additional curved lines, sketch the basic shape of the roses on top of the vase. Start with the larger roses and then add smaller ones around them.
- Feel free to adjust the shape and position of the roses as needed. Remember, these are just preliminary outlines that will be refined in later steps.
As you create the basic outlines, focus on maintaining light and loose strokes. This will allow you to make adjustments easily as you develop the composition. Don’t worry about perfection at this stage; your goal is to establish the overall form and position of the vase and roses.
Once you’re satisfied with the basic outlines, you can move on to the next step: drawing the vase.
Step 2: Drawing the Vase
Now that you have the basic outlines of the vase and roses, it’s time to focus on adding more details and dimension to the vase itself. Follow these steps to draw the vase:
- Begin by refining the outline of the vase, making it more defined and symmetrical. Use the reference image to guide you in capturing the shape and proportions accurately.
- Gradually add thickness to the outline of the vase by drawing parallel lines along its edges. This will give the vase a three-dimensional appearance.
- Next, carefully add curved lines near the mouth of the vase to create a sense of depth. These lines should represent the inner edge of the opening.
- To add further detail, draw a few horizontal lines across the body of the vase. These lines can be used to indicate subtle folds or accents in the glass surface.
- Once the basic structure and details of the vase are complete, use an eraser to gently remove any unnecessary guidelines or overlapping lines.
Remember to maintain a light touch and use shading sparingly at this stage. The focus should be on capturing the shape and form of the vase. Pay attention to the subtle curves and lines that give the vase its unique character.
With the vase now taking shape, you’re ready to move on to the next step: sketching the roses
Step 3: Sketching the Roses
Now that you have drawn the basic outlines of the vase, it’s time to focus on sketching the roses. This step will involve adding more detail and defining the shape and structure of the flowers. Follow these steps to sketch the roses:
- Start by focusing on the larger roses in the composition. Begin by creating the outline of the rose petals, using curved lines to form their distinct shape. Take reference from the image to accurately depict the petals.
- Add individual petals within the outline, using short curved lines that connect to the outer shape. Roses typically have layers of overlapping petals, so make sure to capture this detail in your sketch.
- Continue sketching the rest of the roses, maintaining a loose and organic feel to the petals. Each rose can have a slightly different shape and angle, so embrace the natural variations of the flowers.
- Pay attention to the center of each rose, known as the bud. Draw the bud as a small, closed oval shape, with smaller curved lines radiating from it to represent the petals that are still unfolding.
- Once the basic structure of the roses is complete, use the eraser to remove any unwanted lines and refine the edges of the petals. This will give your roses a cleaner and more polished appearance.
As you sketch the roses, remember to observe the reference image closely and take note of the subtle variations in petal shapes and sizes. This will help bring a sense of realism and depth to your drawing.
With the roses taking shape, it’s time to move on to the next step: adding details to the flowers.
Step 4: Adding Details to the Flowers
Now that you have sketched the basic shape of the roses, it’s time to add more intricate details to make them come to life. This step will involve refining the petals, adding texture, and enhancing the overall realism of the flowers. Follow these steps to add details to the flowers:
- Start by shading the petals to create depth and dimension. Identify the areas of the petals that would be in shadow, and use your pencil to gently add light, hatching strokes in those areas. Gradually build up the shading to create a realistic appearance.
- Use your eraser to create highlights on the petals. Lightly erase areas where the light would hit the petals, such as the edges or the parts that are facing up. This will create the illusion of light and add a sense of depth to your drawing.
- Focus on the center of each rose and add smaller details like the stamen and pistil. Use fine lines or dots to depict the delicate parts of the flower.
- Observe the reference image and add any additional small details to the flowers, such as subtle folds, creases, or tiny thorns on the stems. These minute details can bring your drawing to life and make it more realistic.
- Take a step back occasionally to assess your progress and make adjustments as needed. Compare your drawing to the reference image and make refinements to achieve the desired level of detail.
Remember to keep your strokes light and controlled as you add the fine details. Patience and attention to detail are key in this step as they will contribute to the overall beauty and realism of your drawing.
With the details now added to the flowers, it’s time to move on to the next step: shading and adding depth.
Step 5: Shading and Adding Depth
Shading plays a crucial role in bringing depth, volume, and realism to your drawing of the vase of roses. In this step, you will focus on adding shading techniques to create a sense of light and shadow. Follow these steps to shade and add depth to your drawing:
- Start by identifying the light source in your reference image. This will help you determine where the light falls on the roses and vase.
- Use hatching and cross-hatching techniques to add shading to the petals of the roses. Pay attention to the areas that would be in shadow and shade them accordingly, using varying pressures on your pencil to create different values of darkness.
- Gradually build up the shading, adding layers of strokes to create depth and volume. Remember to leave some areas lighter, to represent the highlights and reflections on the petals.
- Apply shading to the vase as well, considering the form and structure of the object. Use a combination of light and dark strokes to create the illusion of a three-dimensional surface.
- Blend the shading with a blending stump or tortillon to create smoother transitions between light and shadow. This will help soften the edges and give a more polished look to your drawing.
- Continue refining the shading and adding depth, regularly comparing your drawing to the reference image to ensure accuracy.
Remember to take your time with shading and be patient in achieving the desired results. The careful application of light and dark values will add realism and dimension to your drawing, making the roses and vase appear three-dimensional.
With shading and depth added to your drawing, you’re almost finished! The next step will involve adding the final touches and refining your artwork.
Step 6: Final Touches and Refining the Drawing
In the final step of drawing a vase of roses, it’s time to add the finishing touches and refine your artwork. This step will involve making any necessary adjustments, polishing the details, and ensuring that your drawing is complete. Follow these steps to add the final touches:
- Take a step back and carefully observe your drawing as a whole. Look for any areas that may need refinement or modification.
- Make any necessary adjustments to the shapes, proportions, or details of the roses or the vase. Use your pencil or eraser to make these changes, paying attention to the reference image to maintain accuracy.
- Refine the outlines and edges of the flowers and vase, using precise and confident lines. This will give your drawing a more polished and professional look.
- Check the overall composition and ensure that all elements are visually balanced. Make any necessary adjustments to achieve harmony and coherence.
- Add additional details to enhance the realism and artistic value of your drawing. For example, you can add subtle shading to the background or include other elements such as leaves or stems.
- Finally, give your drawing a final once-over, making sure there are no smudges or unwanted marks. Erase any stray pencil marks or smudges, and clean up any areas that may need refinement.
Remember, the final touches are crucial in elevating your drawing from good to exceptional. Take your time with this step, as it allows you to truly refine and showcase your artistic skills.
Once you’re satisfied with the final touches and the overall quality of your drawing, you can consider it complete! Stand back and admire your beautiful artwork, showcasing your ability to draw a vase of roses with skill and creativity.