
What is Winamp?
Winamp is a widely-used media player application that allows users to play and manage various audio and video files on their computers. It was first released in 1997 and has since gained a reputation for its user-friendly interface and extensive customization options. Developed by Nullsoft, a subsidiary of AOL, Winamp has become a popular choice among music enthusiasts and media professionals alike.
What sets Winamp apart from other media players is its versatility and wide range of features. It supports a wide variety of audio file formats, including MP3, WAV, FLAC, and WMA, allowing users to play their favorite songs without any compatibility issues. In addition to playing audio files, Winamp also has the capability to playback video files, offering a comprehensive multimedia experience.
One of the key advantages of using Winamp is its customizable user interface. Users can choose from a wide range of skins and visualizations to personalize the appearance of the player according to their preferences. This level of customization extends to the functionality of Winamp as well, with the ability to add and arrange various plugins to enhance the features of the player.
Winamp also offers advanced features such as equalizer controls, playlist management, and a smart tagging system that automatically organizes and tags audio files. This makes it easy for users to create customized playlists, manage their music libraries, and edit metadata information for individual tracks. With its comprehensive set of features, Winamp provides a seamless and enjoyable music playback experience.
In addition to its core functions, Winamp also supports file conversion, allowing users to convert audio files from one format to another. This feature is particularly useful for those who want to convert their music library into a specific file format or for users who need to convert audio files for specific purposes.
How to download and install Winamp?
Downloading and installing Winamp is a straightforward process. Follow these steps to get started:
- Visit the official Winamp website or a trusted software download platform.
- Click on the “Download” button or link for the latest version of Winamp.
- Choose the appropriate installer based on your operating system (Windows, Mac, etc.).
- Wait for the download to complete. This may take a few minutes depending on your internet speed.
- Once the download is finished, locate the installer file on your computer.
- Double-click on the installer file to start the installation process.
- Follow the on-screen instructions to proceed with the installation.
- Read and accept the End User License Agreement (EULA), if prompted.
- Choose the installation options such as the installation directory and additional components you want to include (optional).
- Click on the “Install” or “Next” button to begin the installation.
- Wait for the installation process to complete. This may take a few moments.
- Once the installation is finished, you will be notified that Winamp has been successfully installed.
- Click on the “Finish” button to exit the installer.
After installing Winamp, you can find it in your list of installed programs or in the applications folder. Double-click on the Winamp icon to launch the application and start enjoying your favorite music and videos.
How to open Winamp?
Opening Winamp is a simple process that can be done in a few easy steps. Here’s how to do it:
- Locate the Winamp icon on your desktop or in your list of installed programs.
- Double-click on the Winamp icon to launch the application.
- Alternatively, you can also right-click on the Winamp icon and select “Open” from the context menu.
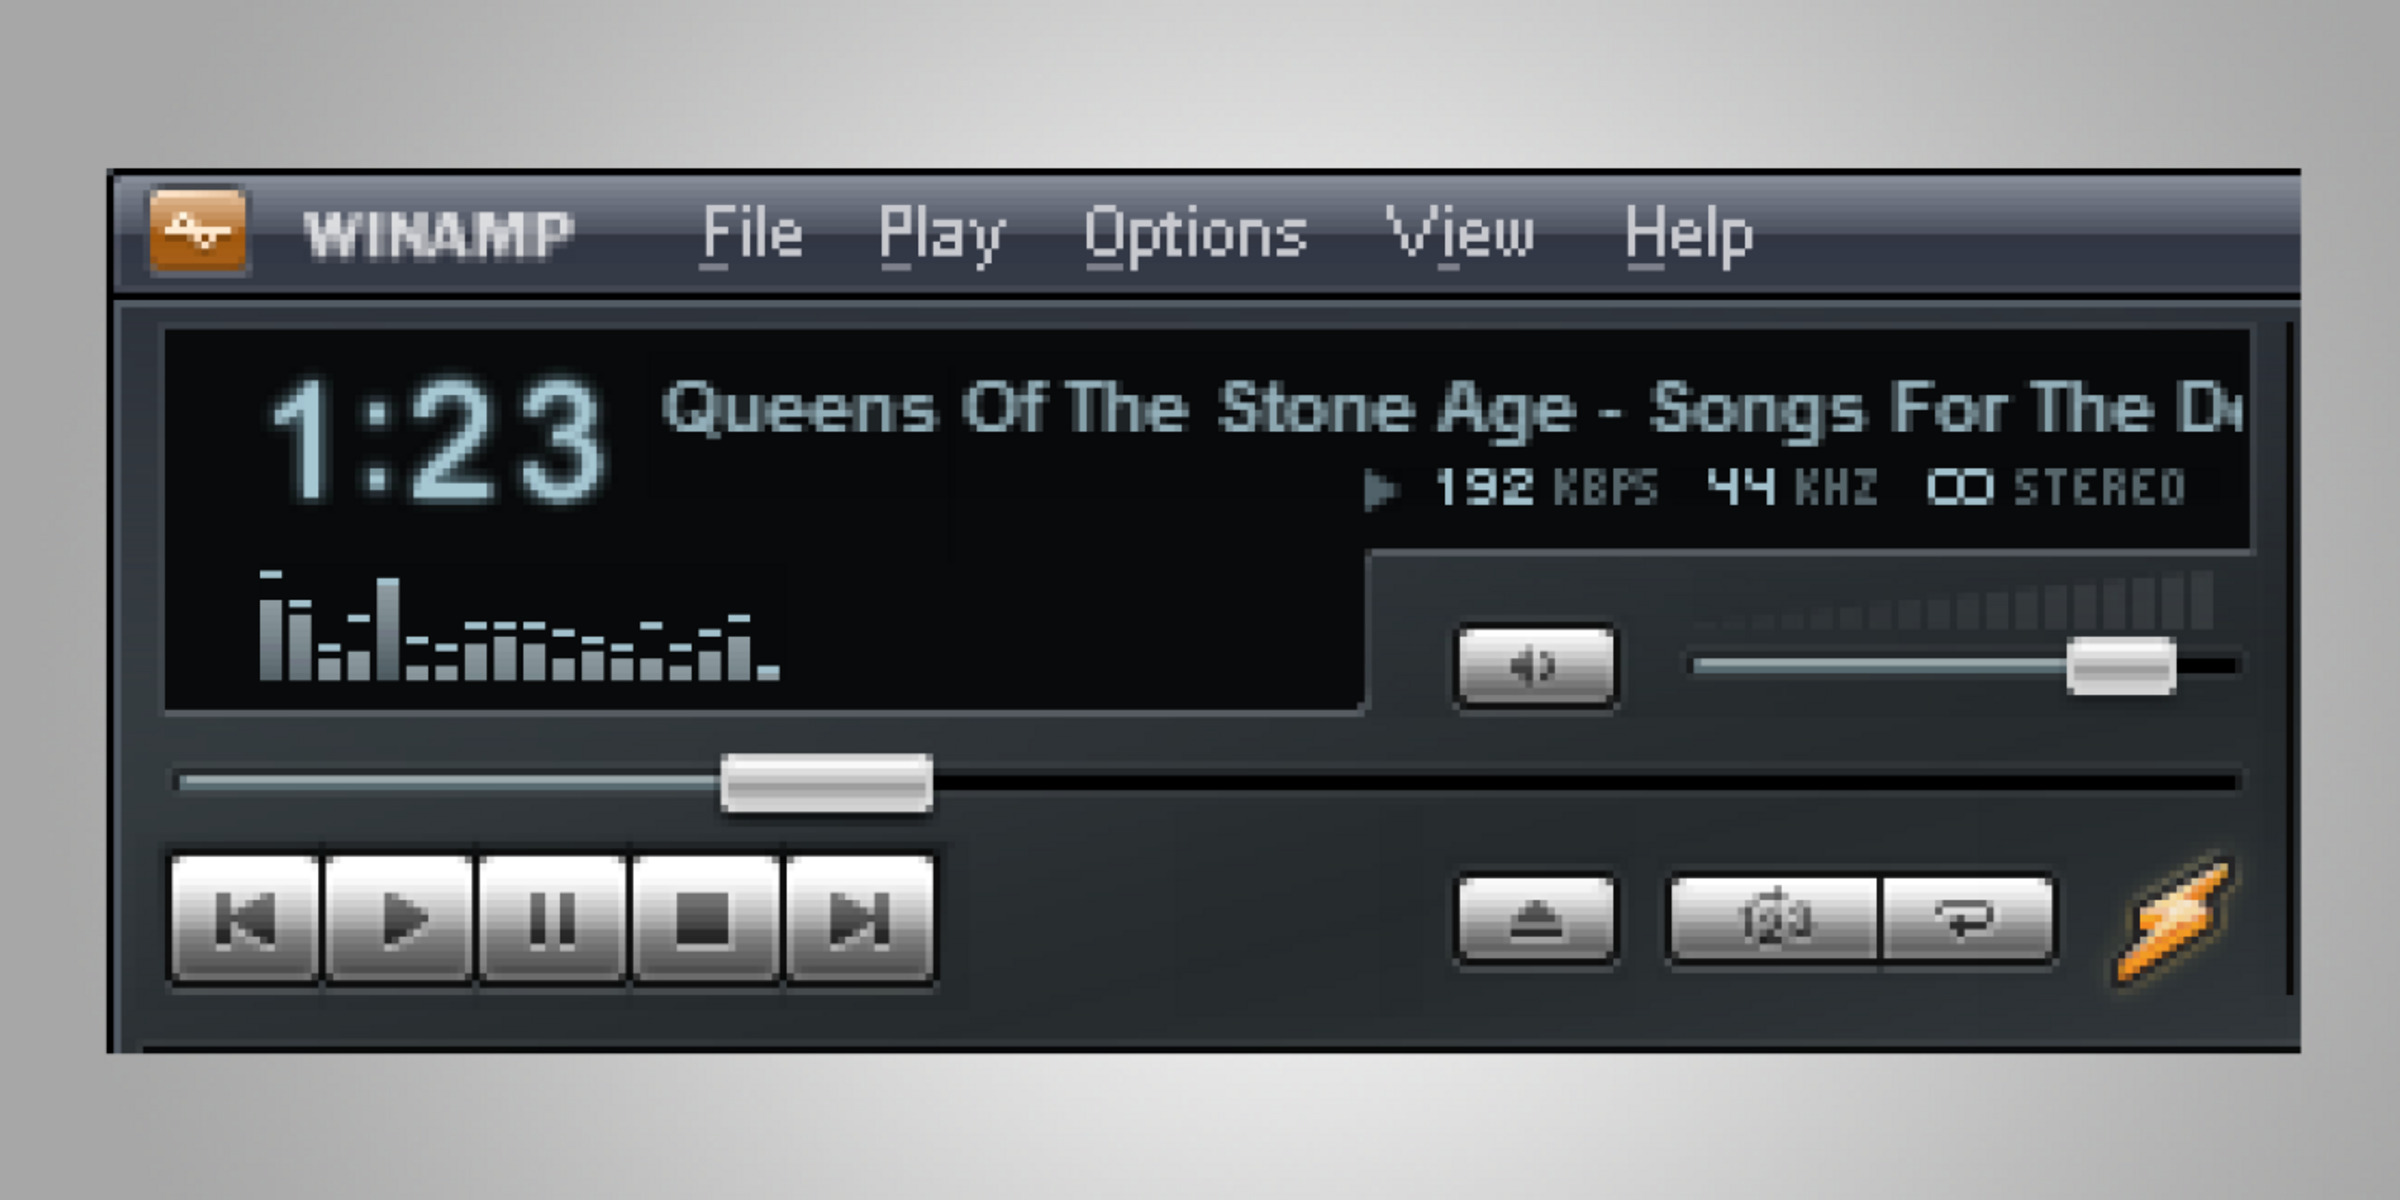
Once you have opened Winamp, the player interface will appear on your screen. You will see various controls and options for playing and managing your audio and video files.
If you prefer, you can also configure Winamp to open automatically when you start your computer. To do this, follow these steps:
- Open Winamp by following the steps mentioned above.
- Click on the “Options” menu at the top of the Winamp window.
- Select “Preferences” from the dropdown menu.
- In the Preferences window, click on the “General Preferences” category on the left sidebar.
- Check the box that says “Load Winamp when Windows starts” or similar option.
- Click on the “OK” or “Apply” button to save the changes.
Now, Winamp will automatically open whenever you start your computer, allowing you quick and easy access to your media files.
How to add audio files to Winamp?
Adding audio files to Winamp is a simple process that allows you to create playlists and enjoy your favorite music. Here’s how you can do it:
- Open Winamp by following the steps mentioned earlier.
- Click on the “File” menu at the top of the Winamp window.
- Select the “Add Media to Library” option from the dropdown menu.
- In the “Add Media to Library” window, navigate to the folder where your audio files are stored.
- Select the audio files you want to add. You can hold the Ctrl key (or Command key on Mac) to select multiple files or use Shift key to select a range of files.
- Click on the “Add” button to add the selected files to the Winamp library.
Alternatively, you can also drag and drop audio files directly into the Winamp window. Simply open the folder where your audio files are located, select the files you want to add, and drag them into the Winamp interface.
Once you have added the audio files to Winamp, they will be listed in the Winamp library. You can access them by clicking on the “Library” tab in the Winamp window. From there, you can create playlists, organize your music, and quickly find the songs you want to listen to.
It’s worth noting that Winamp supports various audio file formats, including MP3, WAV, FLAC, and WMA. This means you can add files in these formats to your Winamp library and enjoy seamless playback.
With the ability to add audio files to Winamp, you can keep your music organized and easily access your favorite songs whenever you want to listen to them.
How to convert audio file formats in Winamp?
Winamp offers a convenient feature that allows you to convert audio files from one format to another. Converting audio file formats in Winamp is a simple process that can be done using the following steps:
- Open Winamp on your computer.
- Click on the “File” menu at the top of the Winamp window and select “Preferences” from the dropdown menu.
- In the Preferences window, click on the “Output” category on the left sidebar.
- Under the “Output” category, select the “Nullsoft Disk Writer” option as the output plugin.
- Click on the “Configure” button next to the “Nullsoft Disk Writer” option.
- In the Disk Writer configuration window, choose the desired audio format for the conversion. Winamp supports popular audio formats such as MP3, WAV, FLAC, and WMA.
- Specify the output folder where you want the converted files to be saved. You can either choose an existing folder or create a new one.
- Adjust any additional settings such as the audio quality, bitrate, or other specific requirements for the output format.
- Click on the “OK” or “Apply” button to save the changes and close the configuration window.
- Now, you can add the audio files you want to convert to the Winamp playlist. You can either click on the “Add Media to Library” option under the “File” menu or drag and drop the files directly into the Winamp window.
- Once the audio files are added to the playlist, click on the “Play” button to start the conversion process.
- Winamp will automatically convert the audio files to the specified format and save them in the designated output folder.
- Once the conversion is complete, you can find the converted files in the output folder you specified earlier.
By following these simple steps, you can easily convert audio file formats in Winamp and have your music in the format that best suits your needs or preferences.
What are the supported audio file formats in Winamp?
Winamp supports a wide range of audio file formats, making it a versatile media player for all your music needs. Here are some of the supported audio file formats in Winamp:
- MP3: This is one of the most popular and widely-used audio formats, known for its high audio quality and small file size.
- WAV: WAV files are uncompressed audio files that offer excellent audio quality but tend to have larger file sizes.
- FLAC: FLAC is a lossless audio format that provides high-quality sound reproduction while maintaining a smaller file size compared to uncompressed formats.
- WMA: Windows Media Audio (WMA) is a proprietary audio format developed by Microsoft. It is commonly used for streaming or online music platforms.
- AAC: Advanced Audio Coding (AAC) is a popular audio format that provides high-quality sound with compression, commonly used for iTunes and other digital music platforms.
- OGG: OGG is an open-source audio format that offers both lossy and lossless compression options, providing flexibility in audio quality and file size.
- AIFF: Audio Interchange File Format (AIFF) is an uncompressed audio format commonly used on Apple devices.
- ALAC: Apple Lossless Audio Codec (ALAC) is a lossless audio format developed by Apple, which provides high-quality sound while reducing file size.
- AC3: AC3, also known as Dolby Digital, is a popular audio format used for surround sound in movies and DVDs.
- MIDI: MIDI files are digital representations of musical notes and commands, commonly used for creating and playing back musical compositions.
These are just a few examples of the supported audio file formats in Winamp. With such a diverse range of supported formats, Winamp ensures compatibility with your entire music library, allowing you to enjoy your favorite songs without any hassle.
How to convert MP3 to WAV in Winamp?
Converting MP3 files to WAV format in Winamp is a straightforward process that can be done using the following steps:
- Open Winamp on your computer.
- Click on the “File” menu at the top of the Winamp window and select “Preferences” from the dropdown menu.
- In the Preferences window, click on the “Output” category on the left sidebar.
- Under the “Output” category, select the “Nullsoft Disk Writer” option as the output plugin.
- Click on the “Configure” button next to the “Nullsoft Disk Writer” option.
- In the Disk Writer configuration window, select “WAV” as the desired audio format for the conversion.
- Specify the output folder where you want the converted WAV files to be saved. You can either choose an existing folder or create a new one.
- Adjust any additional settings such as the audio quality, bitrate, or other specific requirements for the WAV format.
- Click on the “OK” or “Apply” button to save the changes and close the configuration window.
- Now, you can add the MP3 files you want to convert to the Winamp playlist. You can either click on the “Add Media to Library” option under the “File” menu or drag and drop the files directly into the Winamp window.
- Once the MP3 files are added to the playlist, click on the “Play” button to start the conversion process.
- Winamp will convert the MP3 files to WAV format and save them in the designated output folder.
- Once the conversion is complete, you can find the converted WAV files in the specified output folder.
By following these steps, you can easily convert your MP3 files to the WAV format using Winamp. This allows you to have your audio files in a different format while preserving the quality of the original sound.
How to convert WAV to MP3 in Winamp?
Converting WAV files to MP3 format in Winamp is a simple process that can be accomplished using the following steps:
- Launch Winamp on your computer.
- Click on the “File” menu at the top of the Winamp window and select “Preferences” from the dropdown menu.
- In the Preferences window, click on the “Output” category on the left sidebar.
- Under the “Output” category, select the “Nullsoft Disk Writer” option as the output plugin.
- Click on the “Configure” button next to the “Nullsoft Disk Writer” option.
- In the Disk Writer configuration window, select “MP3” as the desired audio format for the conversion.
- Specify the output folder where you want the converted MP3 files to be saved. You can either choose an existing folder or create a new one.
- Adjust any additional settings such as the audio quality, bitrate, or other specific requirements for the MP3 format.
- Click on the “OK” or “Apply” button to save the changes and close the configuration window.
- Add the WAV files you want to convert to the Winamp playlist. You can do this by clicking on the “Add Media to Library” option under the “File” menu or by dragging and dropping the files into the Winamp window.
- Once the WAV files are added to the playlist, click on the “Play” button to begin the conversion process.
- Winamp will convert the WAV files to MP3 format and save them in the designated output folder.
- After the conversion is complete, you can find the converted MP3 files in the specified output folder.
By following these steps, you can easily convert your WAV files to the MP3 format using Winamp. This allows for more efficient storage and playback compatibility with a wide range of devices and media players.
How to convert FLAC to MP3 in Winamp?
Converting FLAC files to MP3 format in Winamp is a simple process that can be done using the following steps:
- Launch Winamp on your computer.
- Click on the “File” menu at the top of the Winamp window and select “Preferences” from the dropdown menu.
- In the Preferences window, click on the “Output” category on the left sidebar.
- Under the “Output” category, select the “Nullsoft Disk Writer” option as the output plugin.
- Click on the “Configure” button next to the “Nullsoft Disk Writer” option.
- In the Disk Writer configuration window, select “MP3” as the desired audio format for the conversion.
- Specify the output folder where you want the converted MP3 files to be saved. You can either choose an existing folder or create a new one.
- Adjust any additional settings such as the audio quality, bitrate, or other specific requirements for the MP3 format.
- Click on the “OK” or “Apply” button to save the changes and close the configuration window.
- Add the FLAC files you want to convert to the Winamp playlist. You can do this by clicking on the “Add Media to Library” option under the “File” menu or by dragging and dropping the files into the Winamp window.
- Once the FLAC files are added to the playlist, click on the “Play” button to initiate the conversion process.
- Winamp will convert the FLAC files to MP3 format and save them in the designated output folder.
- After the conversion is complete, you can find the converted MP3 files in the specified output folder.
By following these steps, you can easily convert your FLAC files to the popular MP3 format using Winamp. This will allow for greater compatibility with various devices and media players, making it easier to enjoy your music collection wherever you go.
How to convert WMA to MP3 in Winamp?
If you have WMA (Windows Media Audio) files that you want to convert to MP3 format, you can easily do so using Winamp. Follow these steps to convert WMA to MP3:
- Launch Winamp on your computer.
- Click on the “File” menu at the top of the Winamp window and select “Preferences” from the dropdown menu.
- In the Preferences window, click on the “Output” category on the left sidebar.
- Under the “Output” category, select the “Nullsoft Disk Writer” option as the output plugin.
- Click on the “Configure” button next to the “Nullsoft Disk Writer” option.
- In the Disk Writer configuration window, select “MP3” as the desired audio format for the conversion.
- Specify the output folder where you want the converted MP3 files to be saved. You can choose an existing folder or create a new one.
- Adjust any additional settings for the MP3 format, such as audio quality, bitrate, or other specific requirements.
- Click on the “OK” or “Apply” button to save the changes and close the configuration window.
- Add the WMA files you want to convert to the Winamp playlist. You can do this by clicking on the “Add Media to Library” option under the “File” menu or by dragging and dropping the files into the Winamp window.
- Once the WMA files are added to the playlist, click on the “Play” button to start the conversion process.
- Winamp will convert the WMA files to the MP3 format and save them in the specified output folder.
- Once the conversion is complete, you can find the converted MP3 files in the designated output folder.
By following these steps, you can easily convert your WMA files to the widely compatible MP3 format using Winamp. This allows you to enjoy your audio files on various devices and media players without any compatibility issues.
How to adjust the audio quality when converting files in Winamp?
When converting audio files in Winamp, you have the option to adjust the audio quality to suit your preferences or specific requirements. Follow these steps to customize the audio quality during the conversion process:
- Open Winamp on your computer.
- Click on the “File” menu at the top of the Winamp window and select “Preferences” from the dropdown menu.
- In the Preferences window, click on the “Output” category on the left sidebar.
- Under the “Output” category, select the “Nullsoft Disk Writer” option as the output plugin.
- Click on the “Configure” button next to the “Nullsoft Disk Writer” option.
- In the Disk Writer configuration window, you will find settings related to audio quality, bitrate, and other parameters.
- Adjust the settings according to your preference. For example, you can choose a higher bitrate for better audio quality or a lower bitrate to reduce the file size.
- Take note of any additional options that are available in the configuration window, such as sample rate or stereo modes, which can further impact the audio quality.
- Click on the “OK” or “Apply” button to save the changes and close the configuration window.
By customizing the audio quality settings in Winamp, you can strike a balance between audio fidelity and file size based on your specific needs. Keep in mind that higher audio quality settings will generally result in larger file sizes, while lower quality settings may sacrifice some detail for smaller file sizes.
It is recommended to experiment with different audio quality settings and bitrate options to find the optimal balance that suits your preferences or the intended use of the converted files.
With the ability to adjust the audio quality when converting files, Winamp provides flexibility and control over the final output, ensuring a satisfactory audio experience based on your preferences and requirements.
Can I convert multiple files at once in Winamp?
Yes, Winamp allows you to convert multiple files at once, which can save you time and effort. Follow these steps to convert multiple files simultaneously in Winamp:
- Open Winamp on your computer.
- Add the audio files you want to convert to the Winamp playlist. You can do this by clicking on the “Add Media to Library” option under the “File” menu or by dragging and dropping the files into the Winamp window.
- Once the files are added to the playlist, select all the files that you want to convert. You can hold down the Ctrl key (or Command key on Mac) and click on each file to select multiple files.
- Click on the “Play” button or right-click on one of the selected files and choose “Play” from the context menu.
- Winamp will start converting the selected files one by one, and it will save them in the specified output folder.
- You can monitor the progress of the conversions in the Winamp interface, which will show the status of each file as it is being converted.
- Once the conversion process is complete, you can find the converted files in the designated output folder.
By converting multiple files simultaneously in Winamp, you can save time and streamline your audio conversion tasks. Whether you have a few files or a whole batch to convert, Winamp can handle them efficiently, allowing you to quickly obtain the desired format for your audio files.
Keep in mind that the conversion speed may vary depending on the number and size of the files, as well as the processing power of your computer. It is recommended to have sufficient resources and monitor the conversion process to ensure smooth operation.
How to save the converted audio files in a specific folder in Winamp?
When converting audio files in Winamp, you have the option to choose where the converted files will be saved. You can easily specify a specific folder for the converted files by following these steps:
- Open Winamp on your computer.
- Click on the “File” menu at the top of the Winamp window and select “Preferences” from the dropdown menu.
- In the Preferences window, click on the “Output” category on the left sidebar.
- Under the “Output” category, select the “Nullsoft Disk Writer” option as the output plugin.
- Click on the “Configure” button next to the “Nullsoft Disk Writer” option.
- In the Disk Writer configuration window, you will find an option to specify the output folder for the converted files.
- Click on the folder icon next to the output folder field to browse and select the desired folder.
- Choose the folder where you want the converted audio files to be saved.
- Click on the “OK” or “Apply” button to save the changes and close the configuration window.
By specifying a specific folder for the converted audio files in Winamp, you can easily organize and locate the files after the conversion process. This gives you greater control over where the converted files are stored on your computer.
When selecting the output folder, you can choose an existing folder or create a new one specifically for the converted files. This allows for better organization and makes it easier to find and access the converted audio files when needed.
By following these steps, you can conveniently save the converted audio files in a specific folder of your choice, ensuring easy access and efficient file management when using Winamp’s file conversion feature.
How to delete the original files after conversion in Winamp?
If you prefer to delete the original files after the conversion process in Winamp, you can enable a specific setting to automatically remove them. Follow these steps to delete the original files after conversion:
- Open Winamp on your computer.
- Click on the “File” menu at the top of the Winamp window and select “Preferences” from the dropdown menu.
- In the Preferences window, click on the “Output” category on the left sidebar.
- Under the “Output” category, select the “Nullsoft Disk Writer” option as the output plugin.
- Click on the “Configure” button next to the “Nullsoft Disk Writer” option.
- In the Disk Writer configuration window, you will find an option labeled “Delete source file(s) when finished”.
- Check the box next to this option to enable it, indicating that you want Winamp to delete the original files after the conversion process.
- Click on the “OK” or “Apply” button to save the changes and close the configuration window.
By enabling the “Delete source file(s) when finished” option in Winamp, the original files that you have converted will be automatically deleted, freeing up storage space and providing a cleaner organization of your audio library.
It is important to note that once the original files are deleted, they cannot be recovered. Therefore, it is recommended to create a backup of your files before enabling this option to ensure that you have a copy of the original files if needed.
By following these steps, you can choose to automatically delete the original files after the conversion process in Winamp, helping you to better manage your audio files and maintain an organized library.
Can I pause or cancel the file conversion process in Winamp?
Yes, Winamp provides the option to pause or cancel the file conversion process, allowing you to regain control over the conversion and manage your media files effectively. Here’s how you can pause or cancel the file conversion process in Winamp:
- Pausing the File Conversion Process:
- If you want to temporarily pause the file conversion process in Winamp, you can do so by following these steps:
- Open Winamp on your computer.
- Locate the progress bar or status indicator that shows the ongoing conversion process.
- Click on the pause button or icon associated with the conversion process. This will pause the conversion and temporarily halt the file processing.
- To resume the conversion process, simply click on the play or resume button in Winamp.
- Cancelling the File Conversion Process:
- If you want to completely cancel the file conversion process in Winamp, you can do so by following these steps:
- Open Winamp on your computer.
- Locate the progress bar or status indicator that shows the ongoing conversion process.
- Click on the stop or cancel button or icon associated with the conversion process. This will stop the conversion and discard any partially converted files.
- If prompted, confirm that you want to cancel the conversion process.
- After canceling the conversion process, you can decide whether to delete the partially converted files or keep them for future use.
By allowing users to pause or cancel the file conversion process, Winamp provides flexibility and control over the conversion tasks. Whether you need to temporarily halt the conversion or stop it altogether, Winamp gives you the ability to manage the process according to your requirements.
Having these options at your disposal ensures that you have control over the file conversion process and can make any necessary adjustments or decisions as needed.
How to troubleshoot common issues during file conversion in Winamp?
While using Winamp for file conversion, you may encounter some common issues that can hinder the smooth conversion process. Here are a few troubleshooting steps to resolve these issues:
- Unsupported File Format:
- If you encounter an error stating that the file format is not supported during the conversion process, ensure that you are converting the file to a format that Winamp supports. Refer to the Winamp documentation to check the supported file formats and try converting to a compatible format.
- Invalid Output Directory:
- If you receive an error related to the output directory, verify that the specified output folder is valid and accessible. Make sure you have the necessary permissions to write files to that location. If needed, choose a different output directory.
- Insufficient Disk Space:
- If you encounter a disk space error during conversion, check that you have enough free disk space available for the converted files. Clear some space if needed or choose a disk with sufficient storage capacity for the output files.
- Corrupted Source Files:
- If the source files are corrupted or incomplete, it may cause issues during conversion. Ensure that the source files are not damaged or try converting a different set of files to isolate the issue.
- Conflicting Plugins:
- In some cases, conflicts between Winamp plugins can affect the conversion process. Disable any unnecessary plugins or try converting without any additional plugins enabled to see if the issue is resolved.
- Update Winamp and Plugins:
- Ensure that your Winamp installation and any relevant plugins are up to date. Check for any available updates and install them to ensure you have the latest features and bug fixes.
- Contact Support:
- If you have exhausted all troubleshooting steps and are still encountering issues during file conversion in Winamp, consider reaching out to Winamp support for further assistance. They can provide specific guidance tailored to your situation.
By following these troubleshooting steps, you can effectively resolve common issues that may arise during the file conversion process in Winamp. Remember to ensure compatibility, verify settings, and keep your software up to date to minimize any potential hurdles.