
Check Compatibility
Before transferring data from your SIM card to your phone’s memory, it’s crucial to ensure that your phone is compatible with the SIM card. Here’s a step-by-step guide to help you check compatibility:
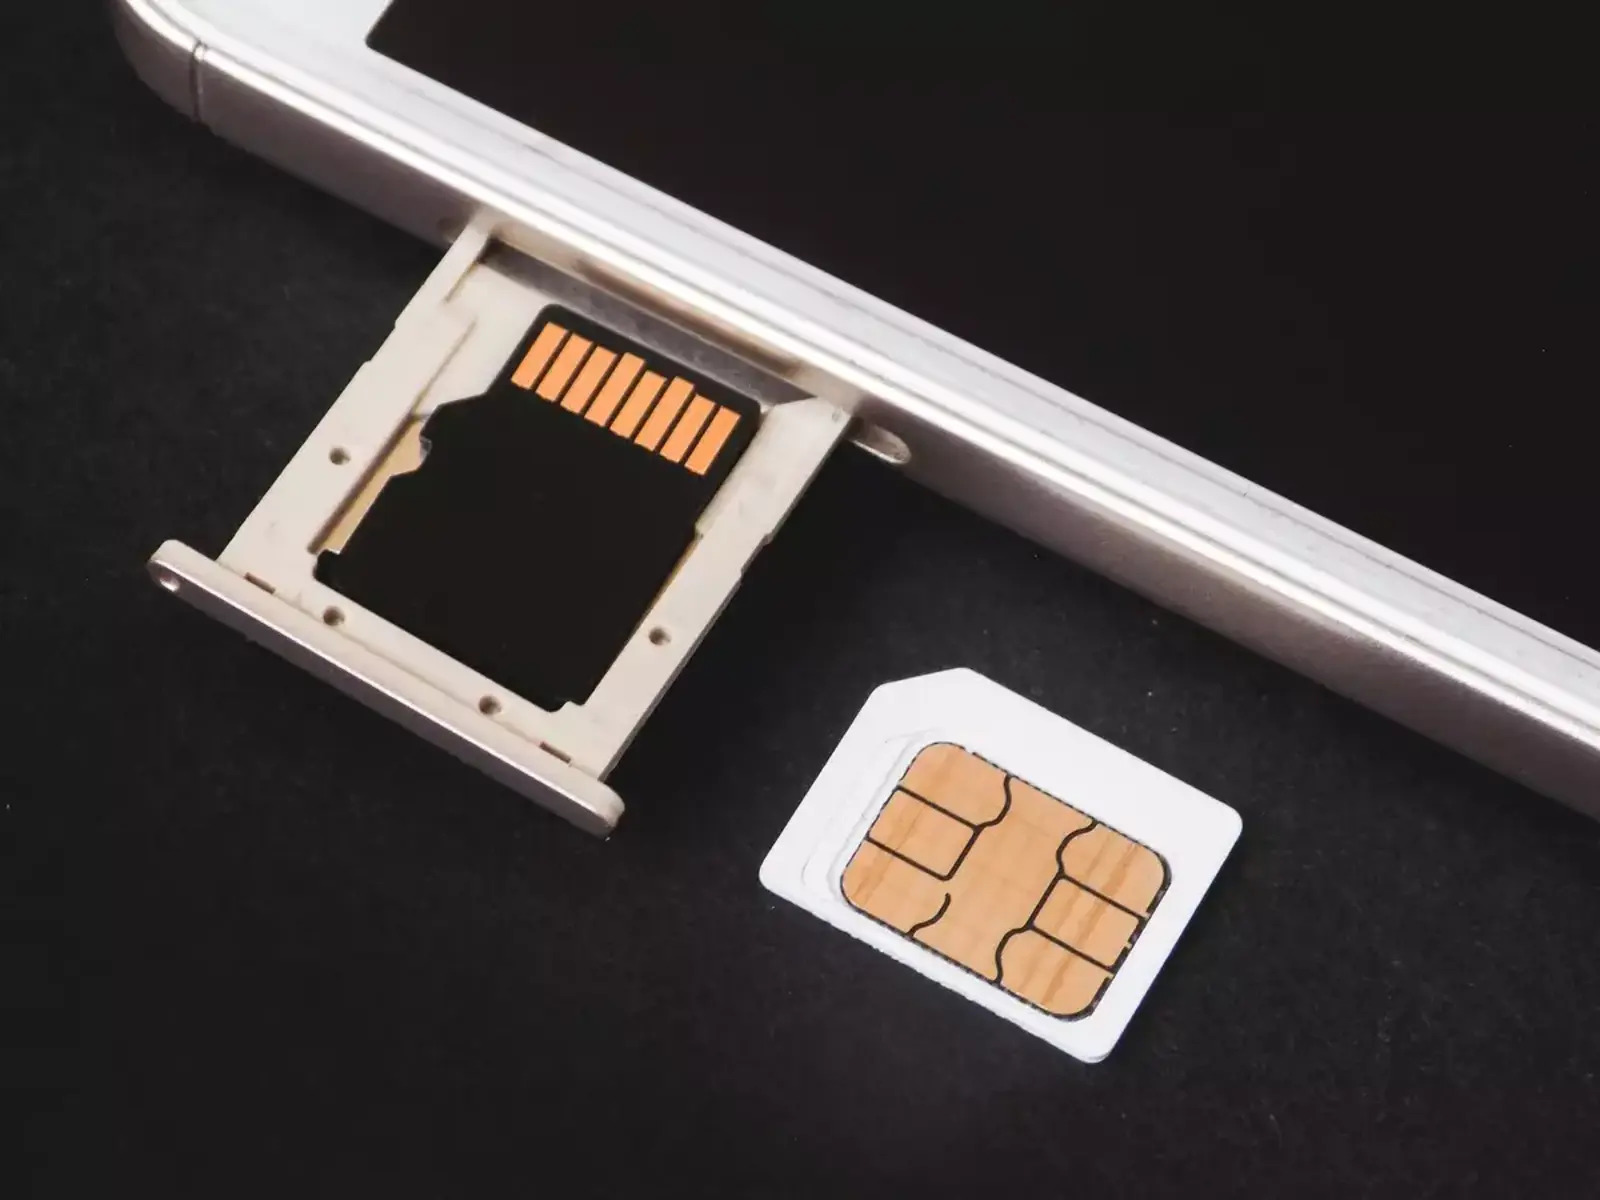
- Review Phone Specifications: Start by reviewing your phone’s specifications to determine if it supports the type of SIM card you have. Some phones only accept specific SIM card sizes, such as standard, micro, or nano SIM cards. Check your phone’s user manual or the manufacturer’s website for detailed information on compatible SIM card types.
- Examine SIM Card Slot: Inspect your phone to locate the SIM card slot. Depending on the phone model, the slot may be located on the side, top, or back of the device. Once you’ve found the slot, compare the SIM card’s size and shape with the slot to ensure they match. If they don’t align, you may need an adapter or a different SIM card that fits your phone.
- Check Network Compatibility: Verify that your phone is compatible with the network or carrier associated with the SIM card. Different carriers use various network technologies, such as GSM or CDMA. Ensure that your phone supports the same network type as your SIM card’s carrier to guarantee seamless functionality.
- Consult Manufacturer or Service Provider: If you’re uncertain about your phone’s compatibility with the SIM card, consider reaching out to the phone’s manufacturer or your service provider for assistance. They can provide specific details about compatibility and offer guidance on how to proceed with the data transfer process.
By thoroughly checking the compatibility of your phone with the SIM card, you can avoid potential issues and proceed with confidence when transferring data to your phone’s memory.
Backup SIM Card Data
Before initiating the process of transferring data from your SIM card to your phone’s memory, it’s essential to create a backup of the SIM card data. Here’s a detailed guide on how to perform this crucial step:
- Identify Data to Backup: Begin by identifying the specific data stored on your SIM card that you want to transfer to your phone’s memory. This typically includes contacts, messages, and in some cases, network-specific settings.
- Utilize SIM Card Backup Tools: Many phones offer built-in tools for backing up SIM card data. Explore your phone’s settings or tools menu to locate the option for SIM card management. Within this feature, you may find the ability to back up SIM card data directly to your phone’s internal storage or an external storage device.
- Third-Party Backup Applications: If your phone doesn’t provide a native option for backing up SIM card data, consider exploring third-party applications available on the app store. These applications are designed to facilitate the backup and transfer of SIM card data, providing a user-friendly interface for seamless data management.
- Export Contacts to Storage: If your primary concern is backing up contacts, most phones offer the functionality to export contacts from the SIM card to the phone’s internal storage or cloud services. This ensures that your contacts are safely stored and easily accessible during and after the data transfer process.
- Verify Backup Completion: Once you’ve initiated the backup process, double-check to ensure that the data transfer is complete and that all essential information from the SIM card is securely stored in your phone’s memory or an external storage location.
By following these steps to back up your SIM card data, you can safeguard important information and streamline the process of transferring data to your phone’s memory.
Insert SIM Card into Phone
Once you’ve confirmed compatibility and backed up your SIM card data, the next step is to insert the SIM card into your phone. Follow these steps to ensure a smooth and successful insertion:
- Power Off Your Phone: Before inserting the SIM card, power off your phone to prevent any potential disruption to the insertion process and protect the device from damage.
- Locate the SIM Card Slot: Depending on your phone model, the SIM card slot may be located on the side, top, or back of the device. Consult your phone’s user manual or the manufacturer’s website if you’re unsure about the exact location of the SIM card slot.
- Use the Ejector Tool: Some phones come with a small ejector tool specifically designed for removing and inserting SIM cards. If your phone includes this tool, use it to gently eject the SIM card tray from the slot.
- Position the SIM Card: Carefully place the SIM card on the designated area of the SIM card tray, ensuring that it aligns with the tray’s shape and size. Most SIM cards are designed with a notched corner to facilitate proper alignment.
- Insert the Tray: Once the SIM card is securely positioned on the tray, carefully slide the tray back into the SIM card slot until it is fully inserted. Use gentle pressure to avoid damaging the tray or the slot.
- Power On Your Phone: After successfully inserting the SIM card, power on your phone and wait for it to establish a connection with the network associated with the SIM card. Once the connection is established, you’ll be ready to access the SIM card data and proceed with the data transfer process.
By following these steps to insert the SIM card into your phone, you can ensure that the card is properly installed and ready for the next phase of the data transfer process.
Access SIM Card Data
After successfully inserting the SIM card into your phone, the next step is to access the SIM card data. Here’s a comprehensive guide to help you navigate this process:
- Navigate to SIM Card Settings: Access your phone’s settings menu and locate the option for SIM card management or SIM card settings. Depending on your phone model and operating system, this option may be found within the “Network & Internet,” “Connections,” or “SIM card” section of the settings menu.
- Enter PIN if Required: If your SIM card is secured with a PIN (Personal Identification Number), you will be prompted to enter the PIN to unlock the card. This additional security measure ensures that only authorized users can access the SIM card data.
- Explore SIM Card Data: Once you’ve accessed the SIM card settings, you’ll be able to explore the data stored on the SIM card. This typically includes contacts, messages, and network-specific settings. Take the time to review the available data and identify the specific items you intend to transfer to your phone’s memory.
- Manage SIM Card Contacts: If your primary objective is to transfer contacts from the SIM card to your phone, navigate to the contacts or address book application on your phone. From there, you can select the option to import contacts from the SIM card to the phone’s internal storage, ensuring that your contacts are readily accessible.
- Review Messages and Settings: In addition to contacts, you may also want to review any messages or network-specific settings stored on the SIM card. Take note of any essential messages or configuration details that you wish to transfer to your phone for continued use.
By following these steps to access the SIM card data, you can effectively review and prepare the information for transfer to your phone’s memory, streamlining the overall data transfer process.
Select Data to Transfer
Once you’ve accessed the SIM card data on your phone, it’s time to select the specific items you want to transfer to your phone’s memory. This step involves identifying and choosing the essential data that you wish to migrate. Here’s a detailed guide to help you navigate this process:
- Identify Essential Data: Begin by identifying the types of data stored on your SIM card that are crucial for your daily use. This may include contacts, messages, and network-specific settings that you rely on for communication and connectivity.
- Review Contact List: If contacts are a priority, review the contact list stored on the SIM card. Identify the contacts that you want to transfer to your phone’s memory, ensuring that important contact information is readily available on your device.
- Select Messages for Transfer: If your SIM card contains important messages, select the specific messages that you want to transfer to your phone. This ensures that significant conversations and information are seamlessly transferred and accessible on your device.
- Consider Network Settings: In some cases, SIM cards may store network-specific settings, such as APN (Access Point Name) configurations. Evaluate whether these settings need to be transferred to your phone to maintain seamless connectivity with your network provider.
- Assess Storage Capacity: Before initiating the transfer, consider the available storage capacity on your phone. Ensure that there is sufficient space to accommodate the selected data from the SIM card, preventing any potential storage limitations.
By carefully selecting the data to transfer from your SIM card to your phone’s memory, you can prioritize essential information and streamline the transfer process, ensuring that your phone is equipped with the necessary data for seamless functionality.
Choose Transfer Location
Once you’ve selected the specific data from your SIM card that you wish to transfer to your phone’s memory, the next step is to determine the transfer location within your phone. This crucial decision ensures that the transferred data is seamlessly integrated into your phone’s storage. Here’s a comprehensive guide to help you navigate this process:
- Internal Storage vs. External Storage: Evaluate whether you want to transfer the selected data to your phone’s internal storage or an external storage option, such as a microSD card. Consider the available space and your preference for organizing the transferred data.
- Access Transfer Settings: Navigate to the transfer settings or data management section on your phone. Depending on your device, this option may be found within the settings menu, storage settings, or data transfer settings.
- Choose Destination Folder: If transferring data to the internal storage, select the specific folder or category where you want the data to be stored. This could include the contacts, messages, or general storage folders within your phone’s memory.
- Transfer to External Storage: If opting for external storage, ensure that the microSD card is inserted into your phone. Select the microSD card as the transfer destination and specify the relevant folders for the transferred data.
- Consider Backup Options: As a precautionary measure, consider creating a backup of the transferred data. Some phones offer the option to automatically back up transferred data to cloud services or other backup locations for added security.
By carefully choosing the transfer location for the selected data, you can efficiently organize and store the transferred information, optimizing the functionality and accessibility of the data within your phone’s memory.
Confirm Transfer
After selecting the data and transfer location, it’s essential to confirm the transfer process to ensure that the chosen data from your SIM card is seamlessly integrated into your phone’s memory. This step involves verifying the transfer settings and initiating the data migration. Here’s a detailed guide to help you confirm the transfer:
- Review Transfer Settings: Before proceeding with the transfer, review the selected data and the chosen transfer location. Double-check the settings to ensure that the transfer aligns with your preferences and that no essential data is overlooked.
- Confirm Storage Availability: Verify that the destination storage, whether internal or external, has sufficient space to accommodate the transferred data. This prevents any potential interruptions or errors during the transfer process due to inadequate storage capacity.
- Initiate the Transfer: Once you’ve reviewed and confirmed the transfer settings, initiate the transfer process as per your phone’s specific instructions. This may involve selecting a “Transfer” or “Confirm” option within the transfer settings menu.
- Monitor Transfer Progress: During the transfer process, monitor the progress to ensure that the selected data is successfully transferred to the designated location. Some phones provide a progress indicator or notification to keep you informed about the transfer status.
- Verify Completion: Once the transfer is complete, verify that the selected data is now accessible in the designated storage location within your phone’s memory. Take the time to ensure that the transferred data is organized and readily available for use.
By diligently confirming the transfer process, you can ensure that the selected data from your SIM card is accurately and securely transferred to your phone’s memory, facilitating seamless access and utilization of the transferred information.
Review Transferred Data
After completing the transfer process, it’s crucial to review the transferred data within your phone’s memory to ensure that the migration was successful and that the data is easily accessible. This step involves verifying the presence and organization of the transferred information. Here’s a comprehensive guide to help you review the transferred data:
- Access Transferred Data: Navigate to the designated storage location, whether internal or external, where the transferred data is stored. This could include the contacts, messages, or specific folders within your phone’s memory.
- Verify Data Integrity: Review the transferred data to ensure that the information remains intact and accurately reflects the original content from your SIM card. Pay particular attention to contacts, messages, and any network-specific settings that were migrated.
- Organize Transferred Data: If necessary, organize the transferred data within your phone’s memory to facilitate easy access and efficient utilization. This may involve categorizing contacts, archiving messages, or configuring network settings as per your preferences.
- Test Functionality: Test the functionality of the transferred data by accessing contacts, reviewing messages, and confirming that network settings are operational. This ensures that the transferred information seamlessly integrates with your phone’s existing data.
- Create Backup (Optional): As an additional precaution, consider creating a backup of the transferred data to safeguard against any unforeseen data loss. This backup can be stored in cloud services or other secure backup locations.
By thoroughly reviewing the transferred data, you can confirm the success of the transfer process and ensure that the data is well-organized and readily available for your use, optimizing the functionality of your phone’s memory.